Um zur deutschen Version zurückzukehren, klicke bitte .
This (english) version of the equipment-page is quite outdated. We’re working hard on publishing a new translated page, until then you can view the 2016 version in english here; for an (more or less) up-to-date version of the equipment page, please refer to the german version.
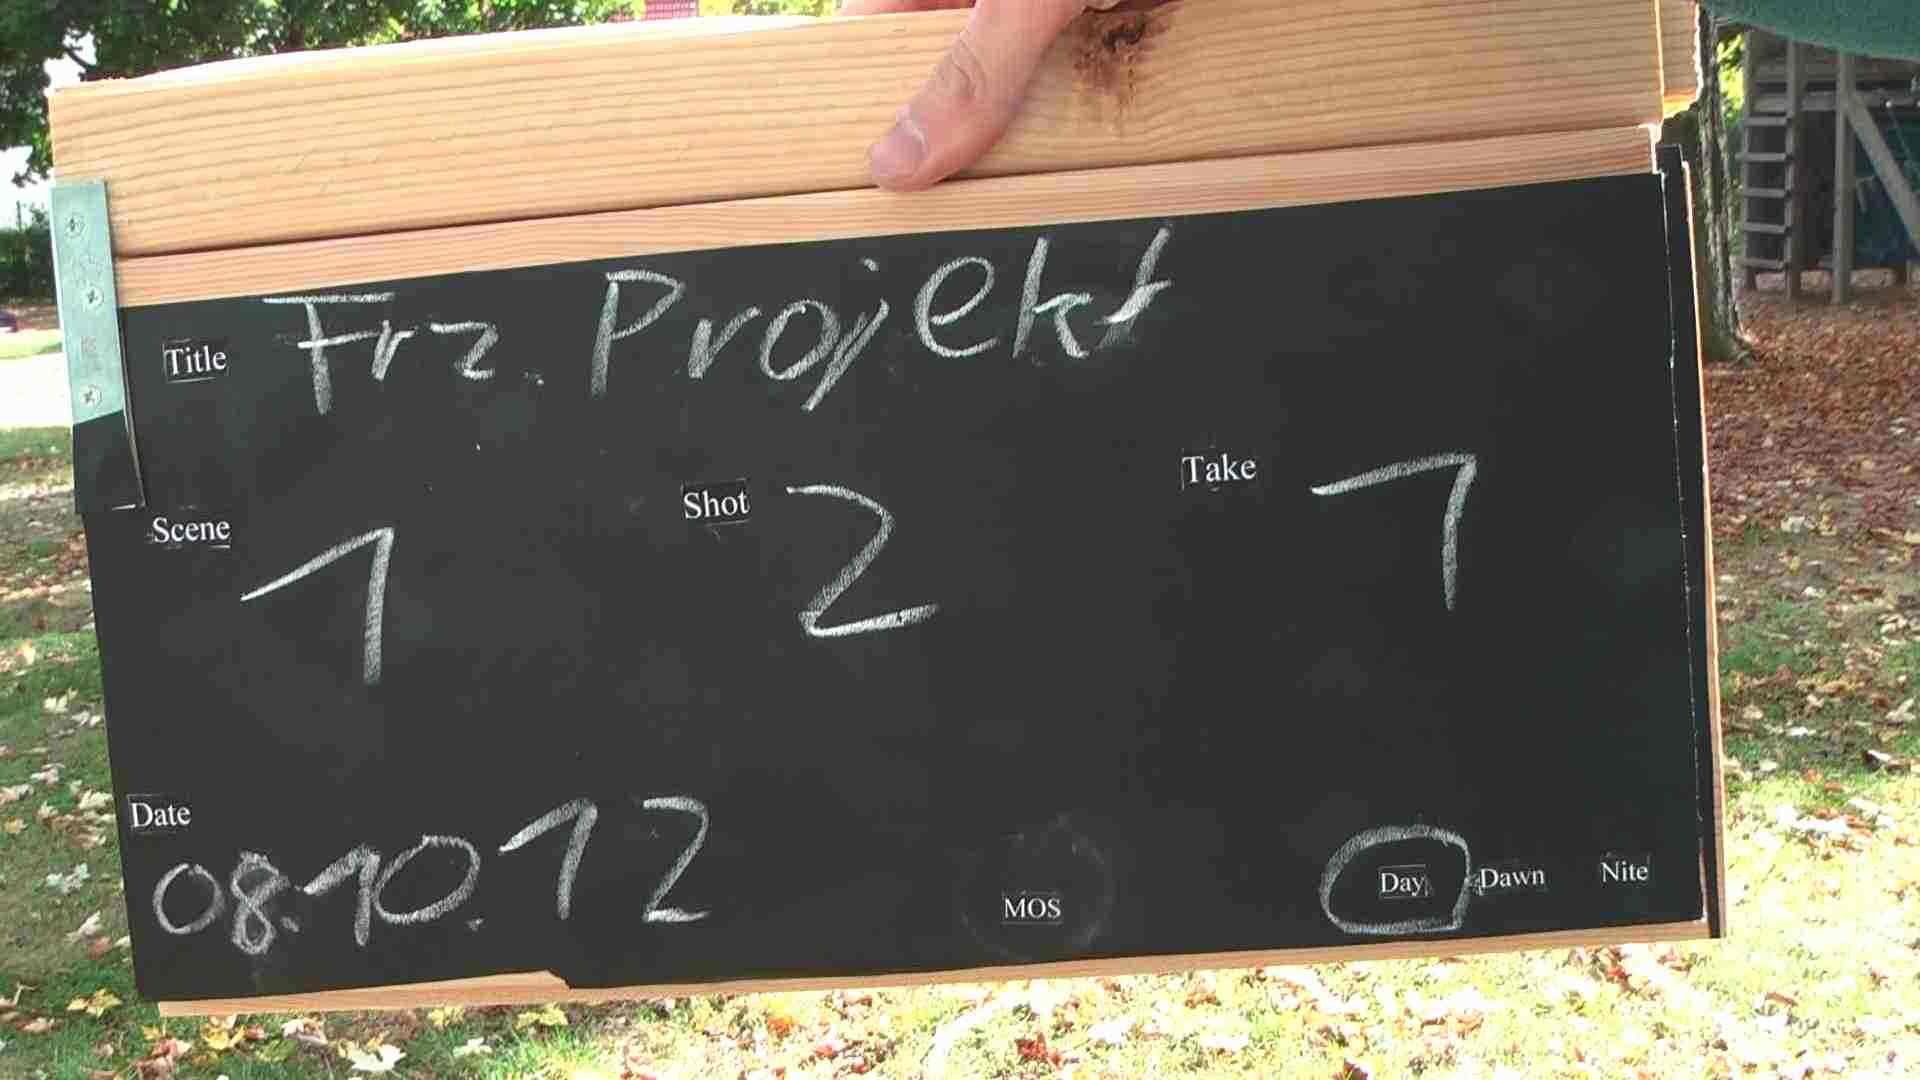
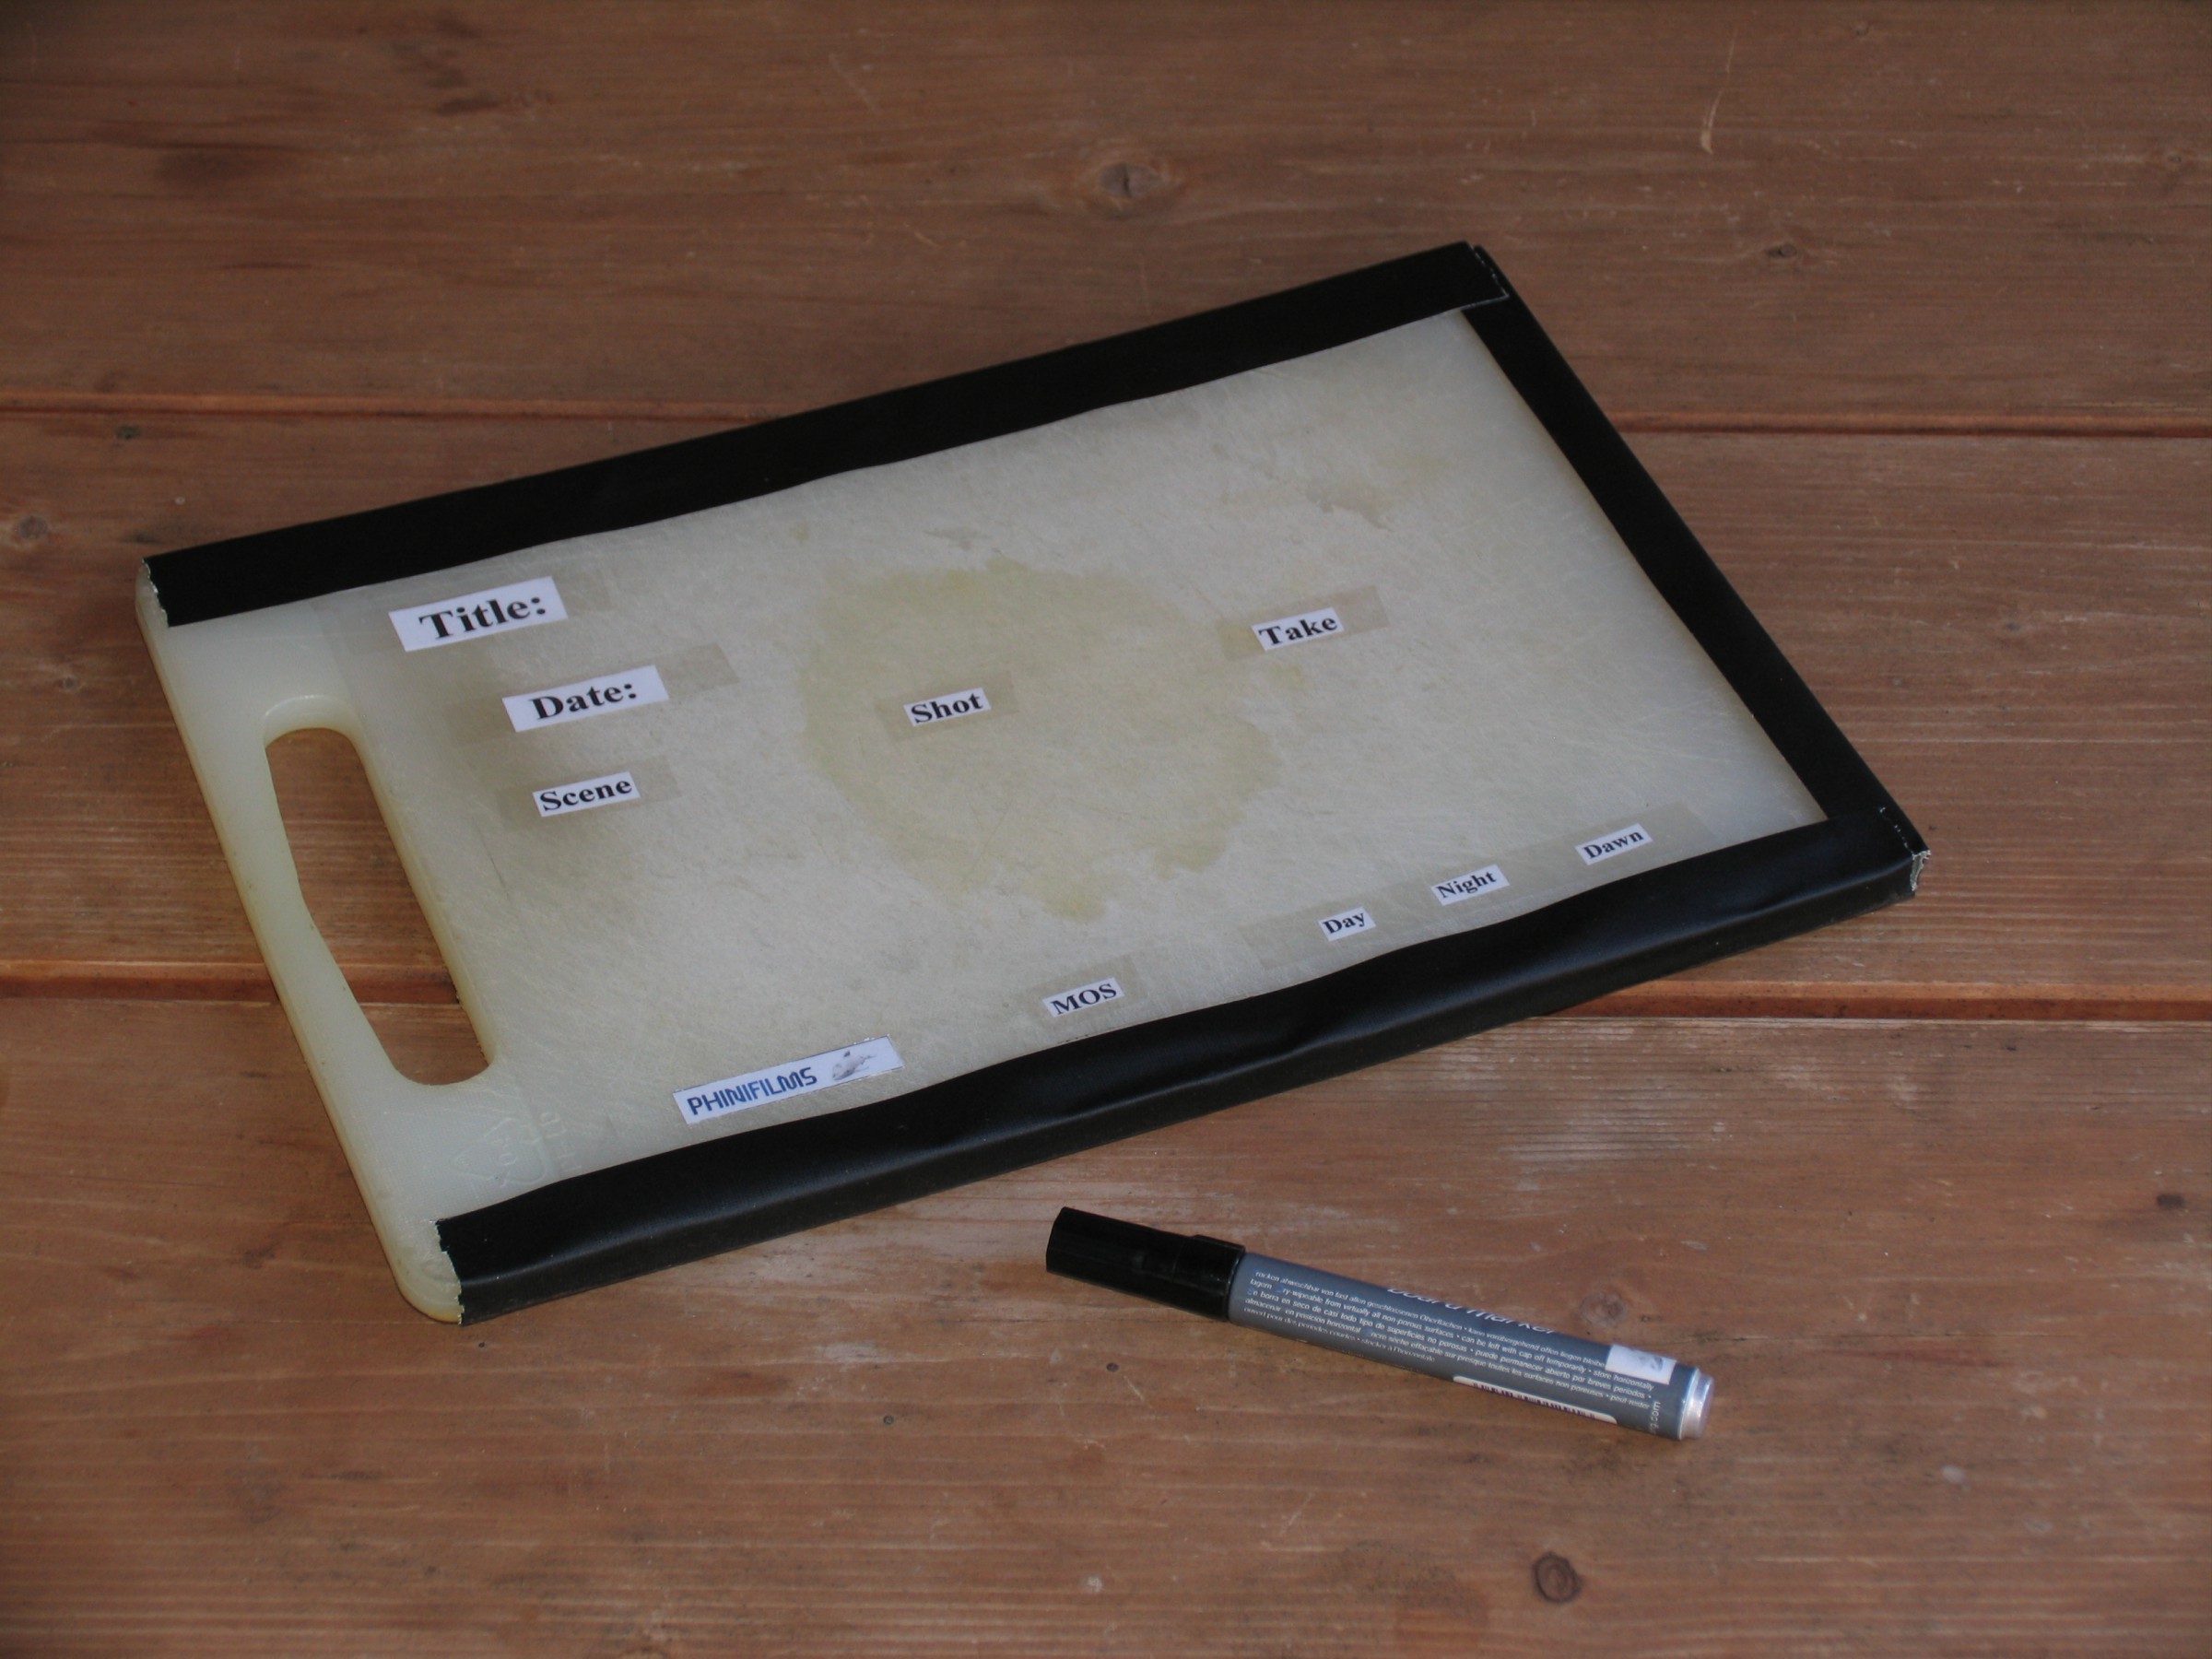
Slate
The first slate is made of a floor board, two pieces of metal as joint, another piece of wood and blackboard film.The second slate consists of a plastic board and a foil.
additional pictures coming soon…
Camera
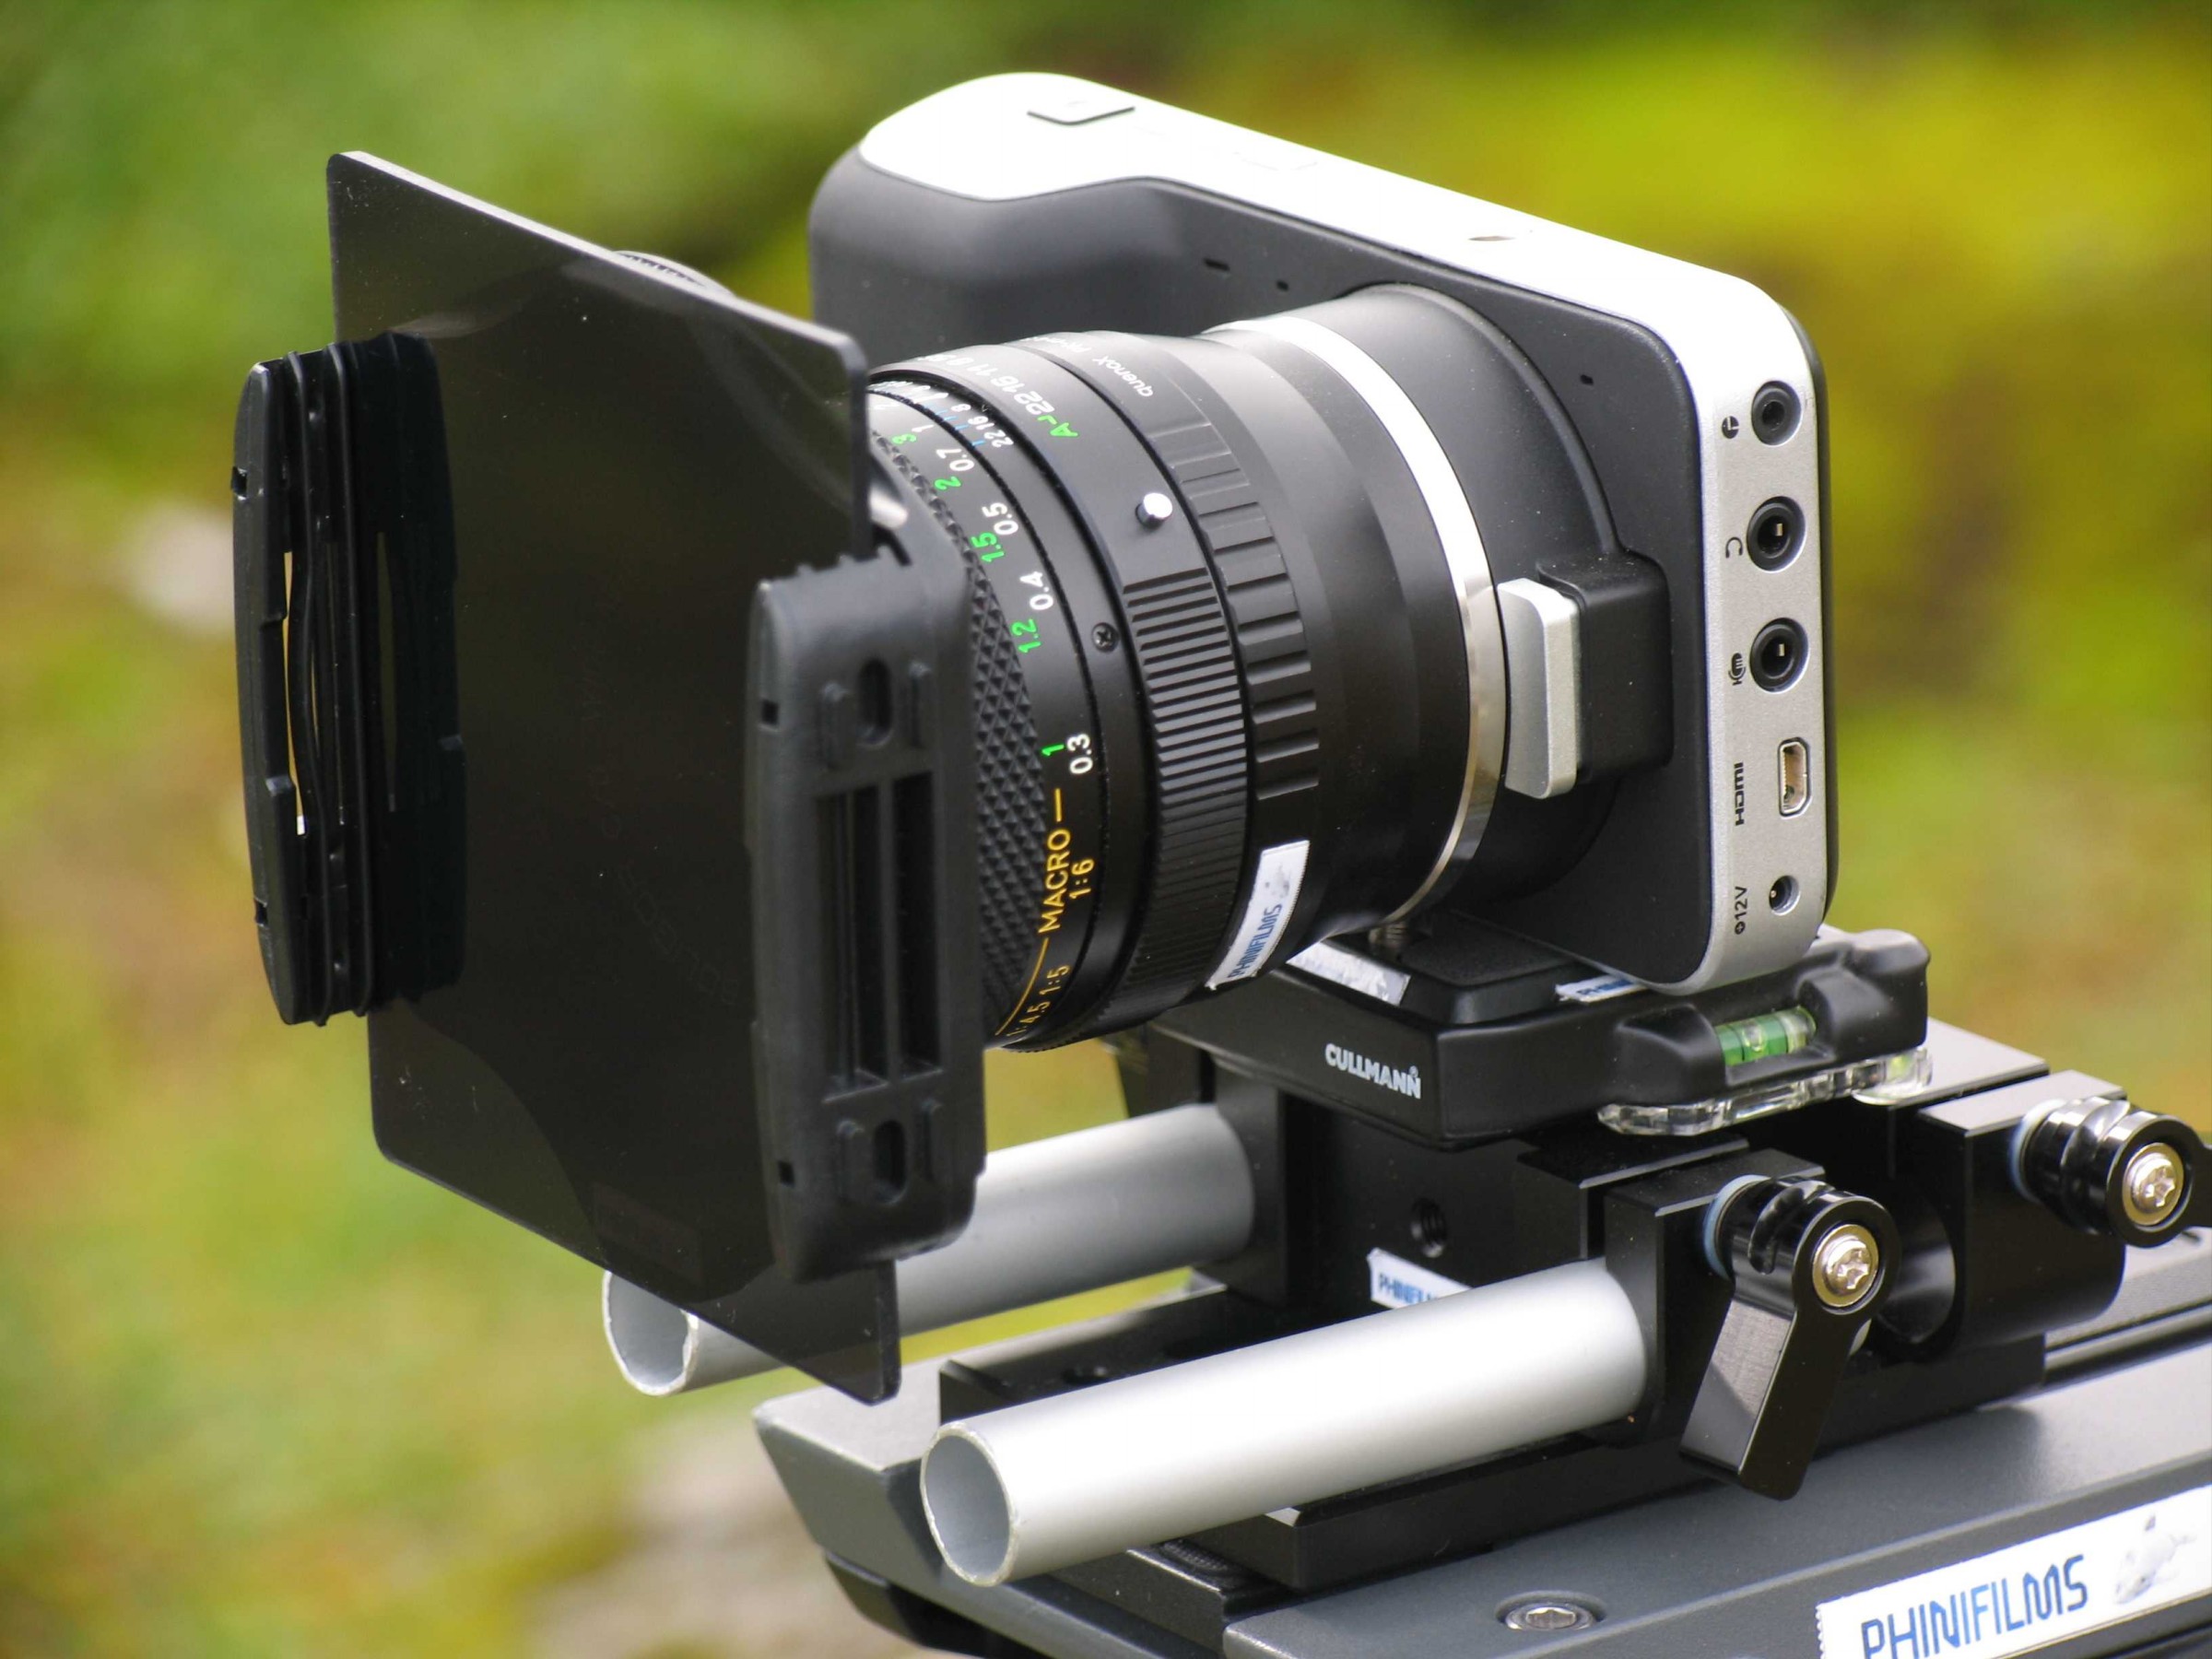
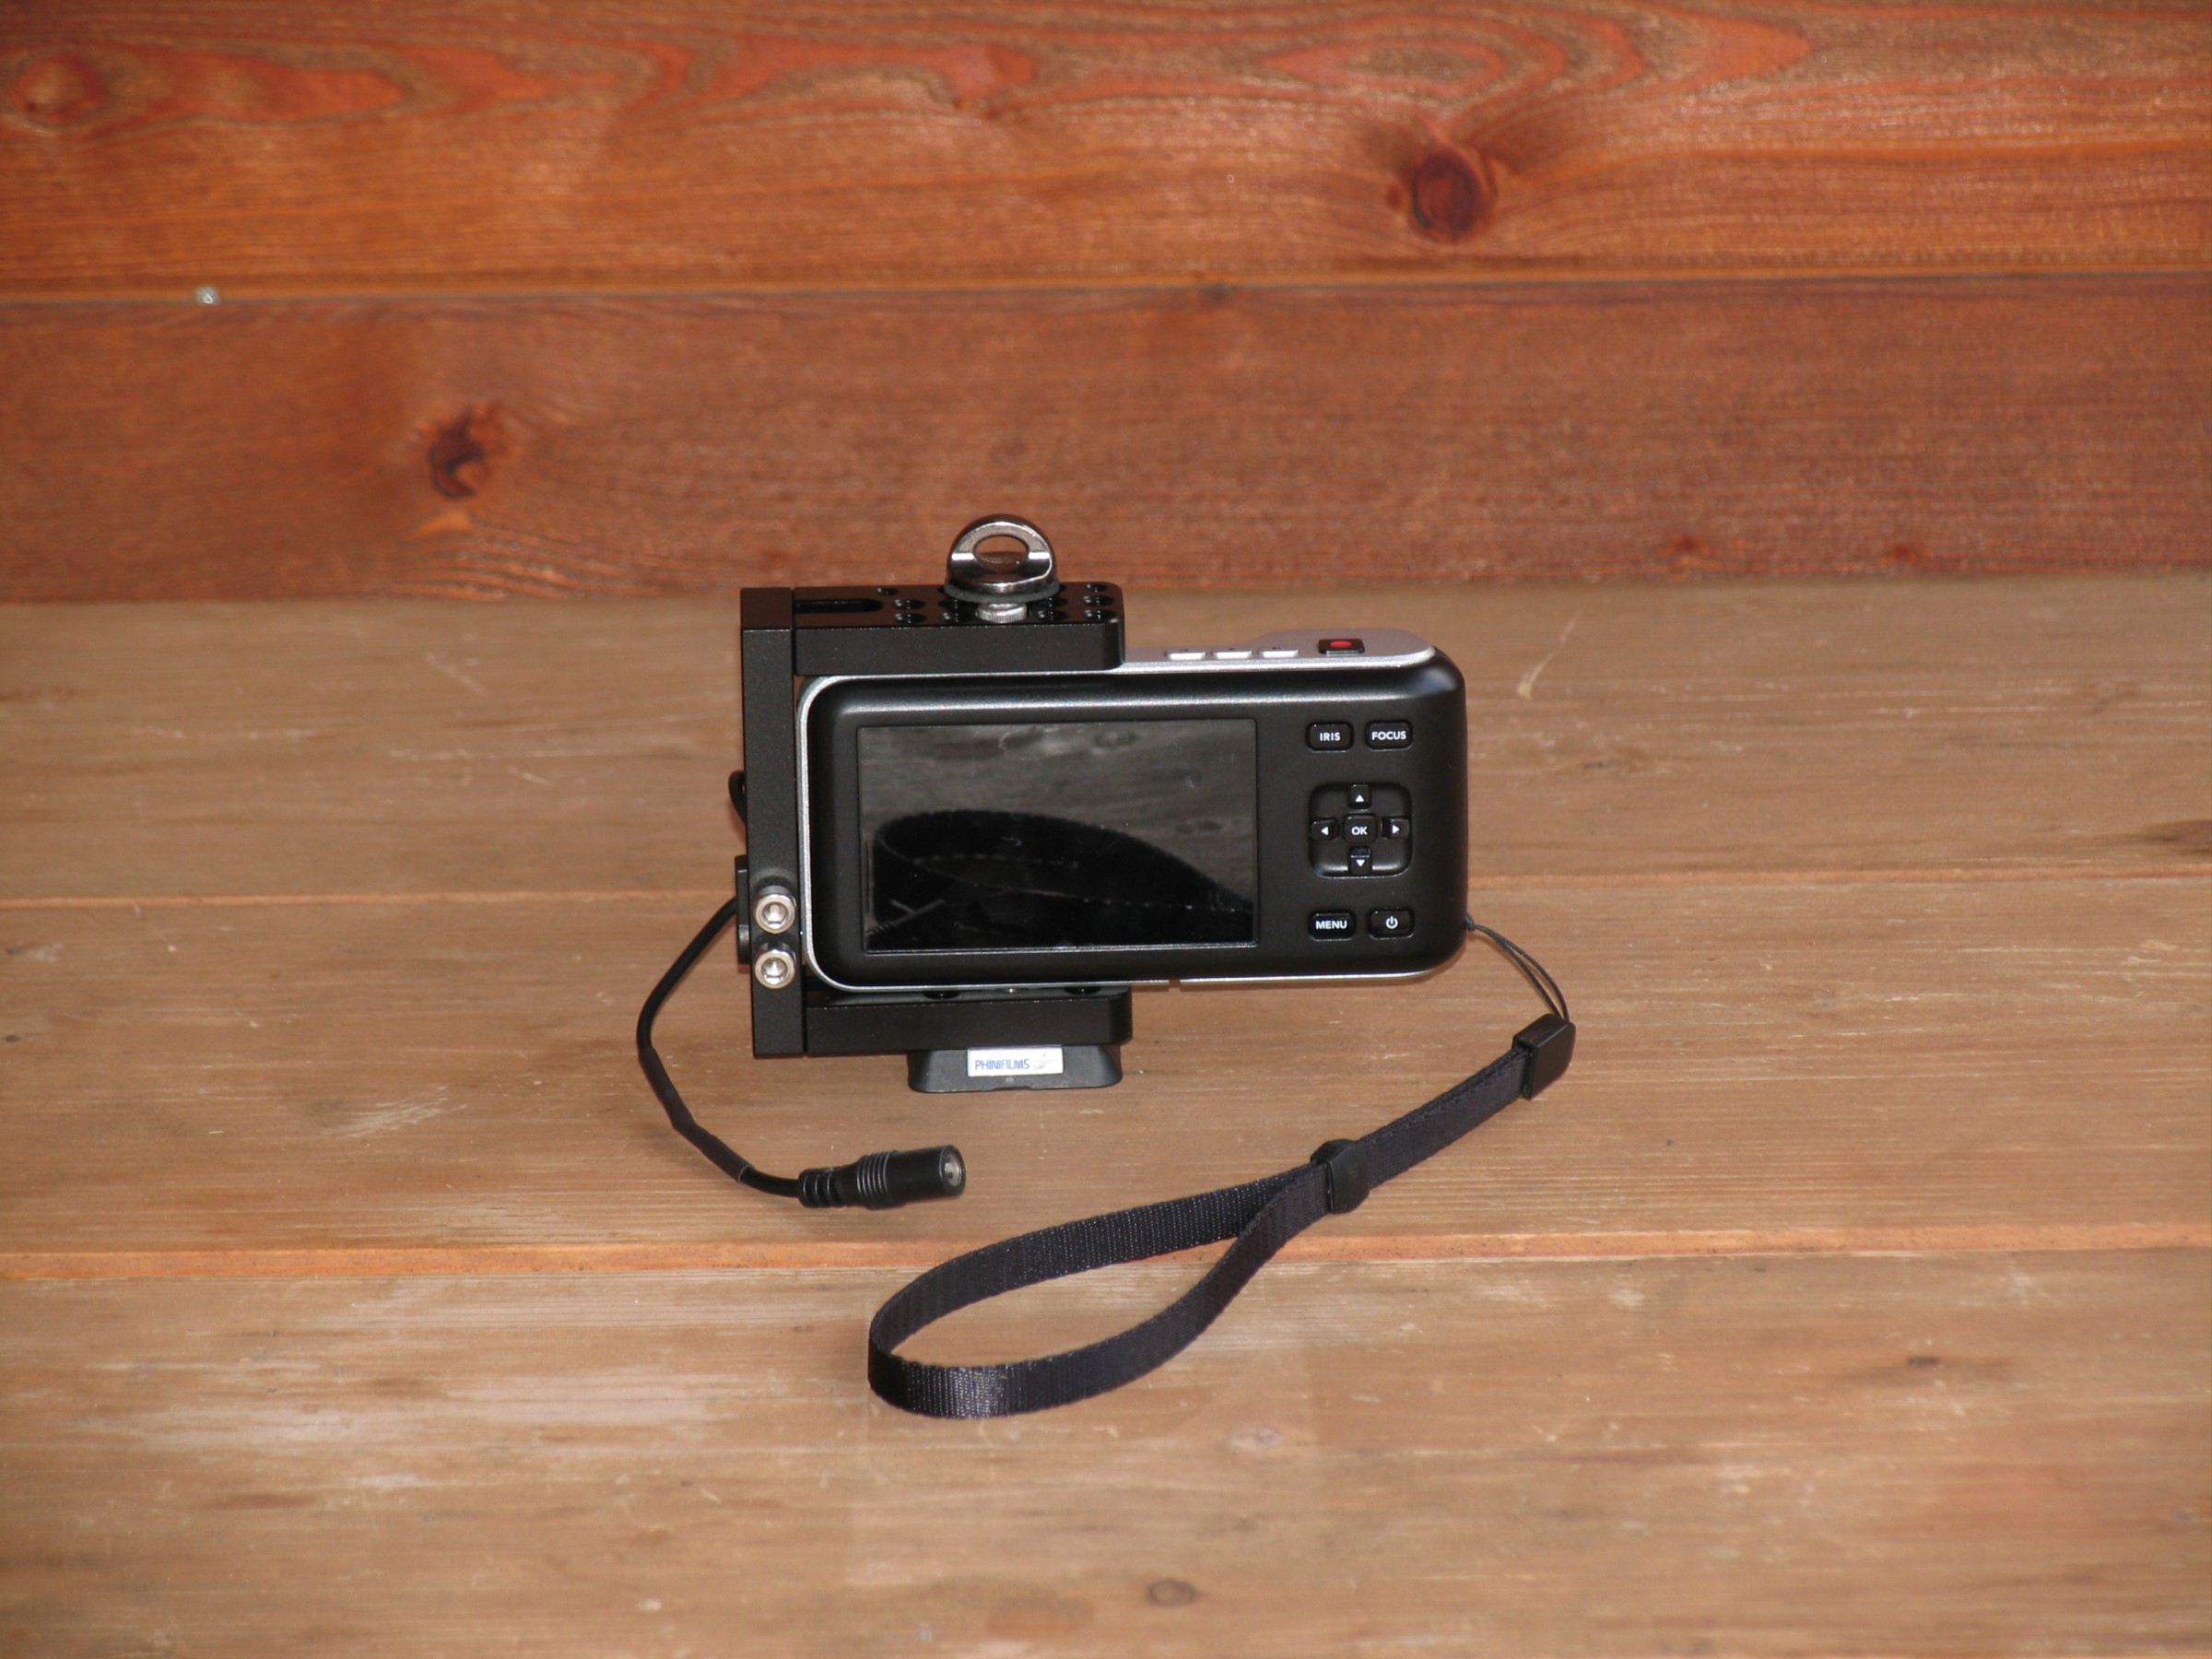
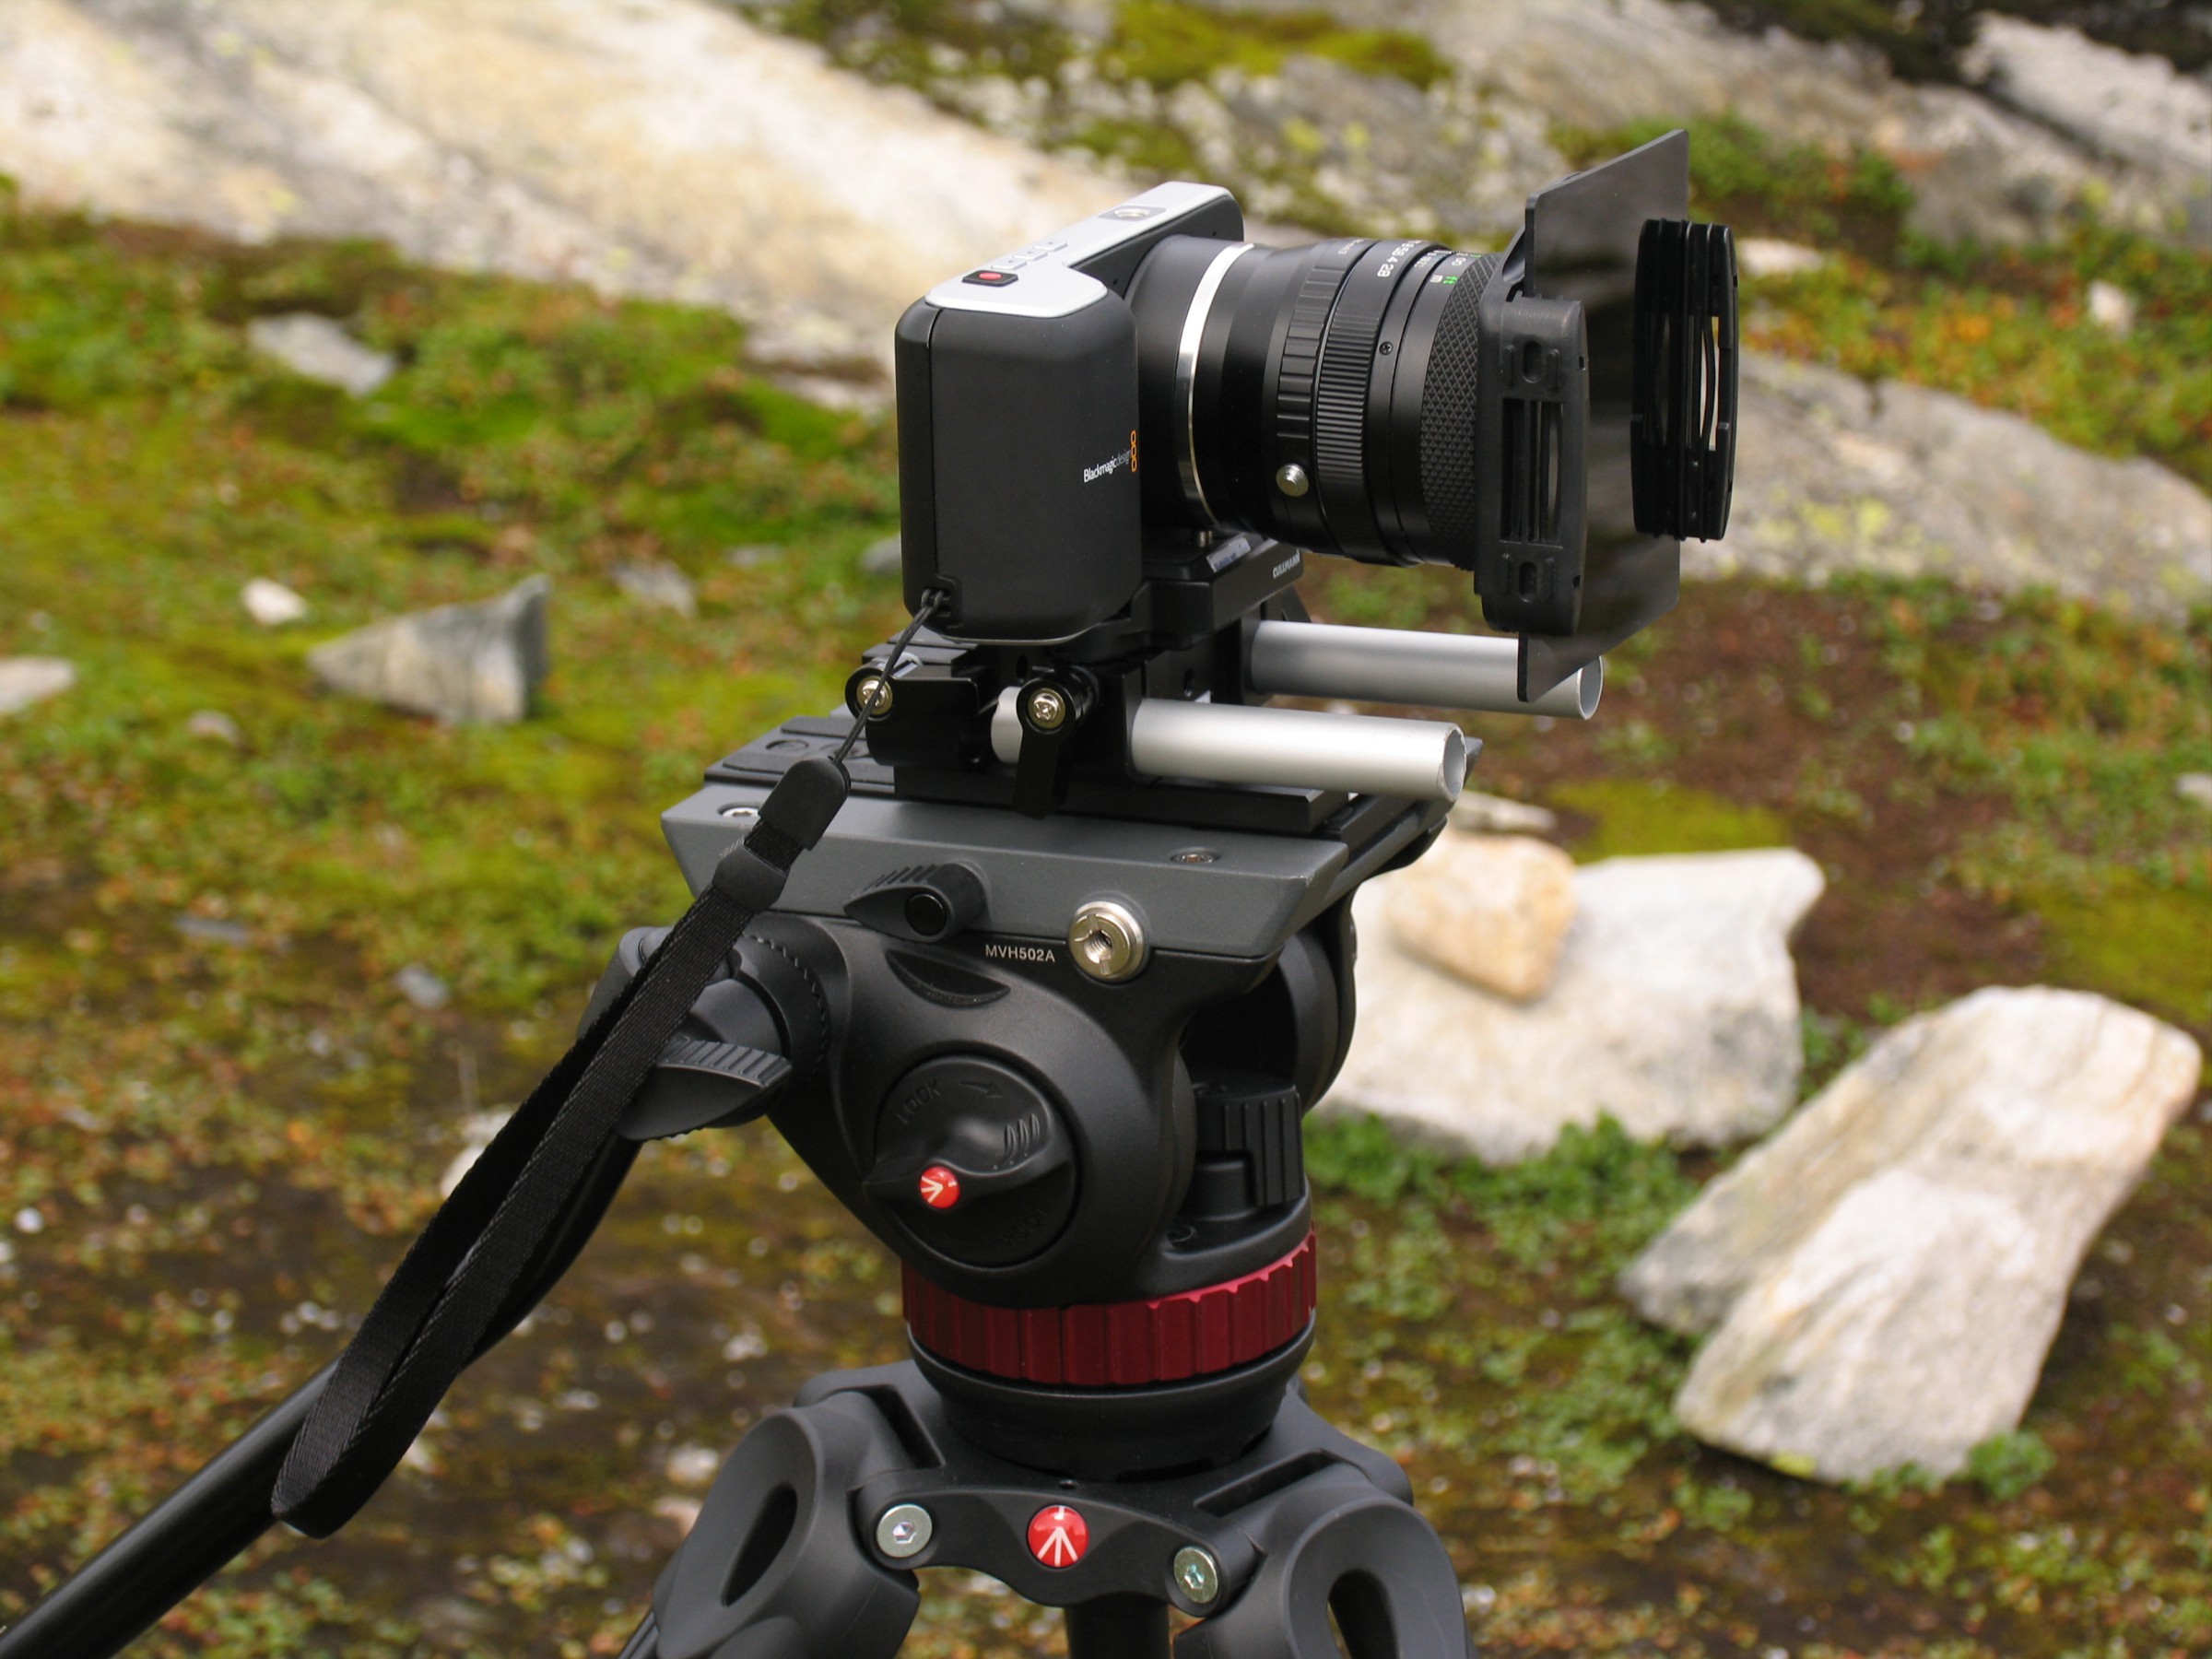
For some time now I’m a proud owner of a Pocket Cinema Camera by Blackmagic Design (short: BMPCC). As lenses I mainly use old manual Pentax-glass via an adaptor. That works pretty fine; the lenses still have a very good quality, and working with them is a dream (especially compared to modern cheap plastic lenses). The handling of the camera is very simple, too. It’s actually quite minimalistic; but don’t get me wrong: There are all essential functions available and at hand, but not more. No unneeded automatics, no deep menues etc.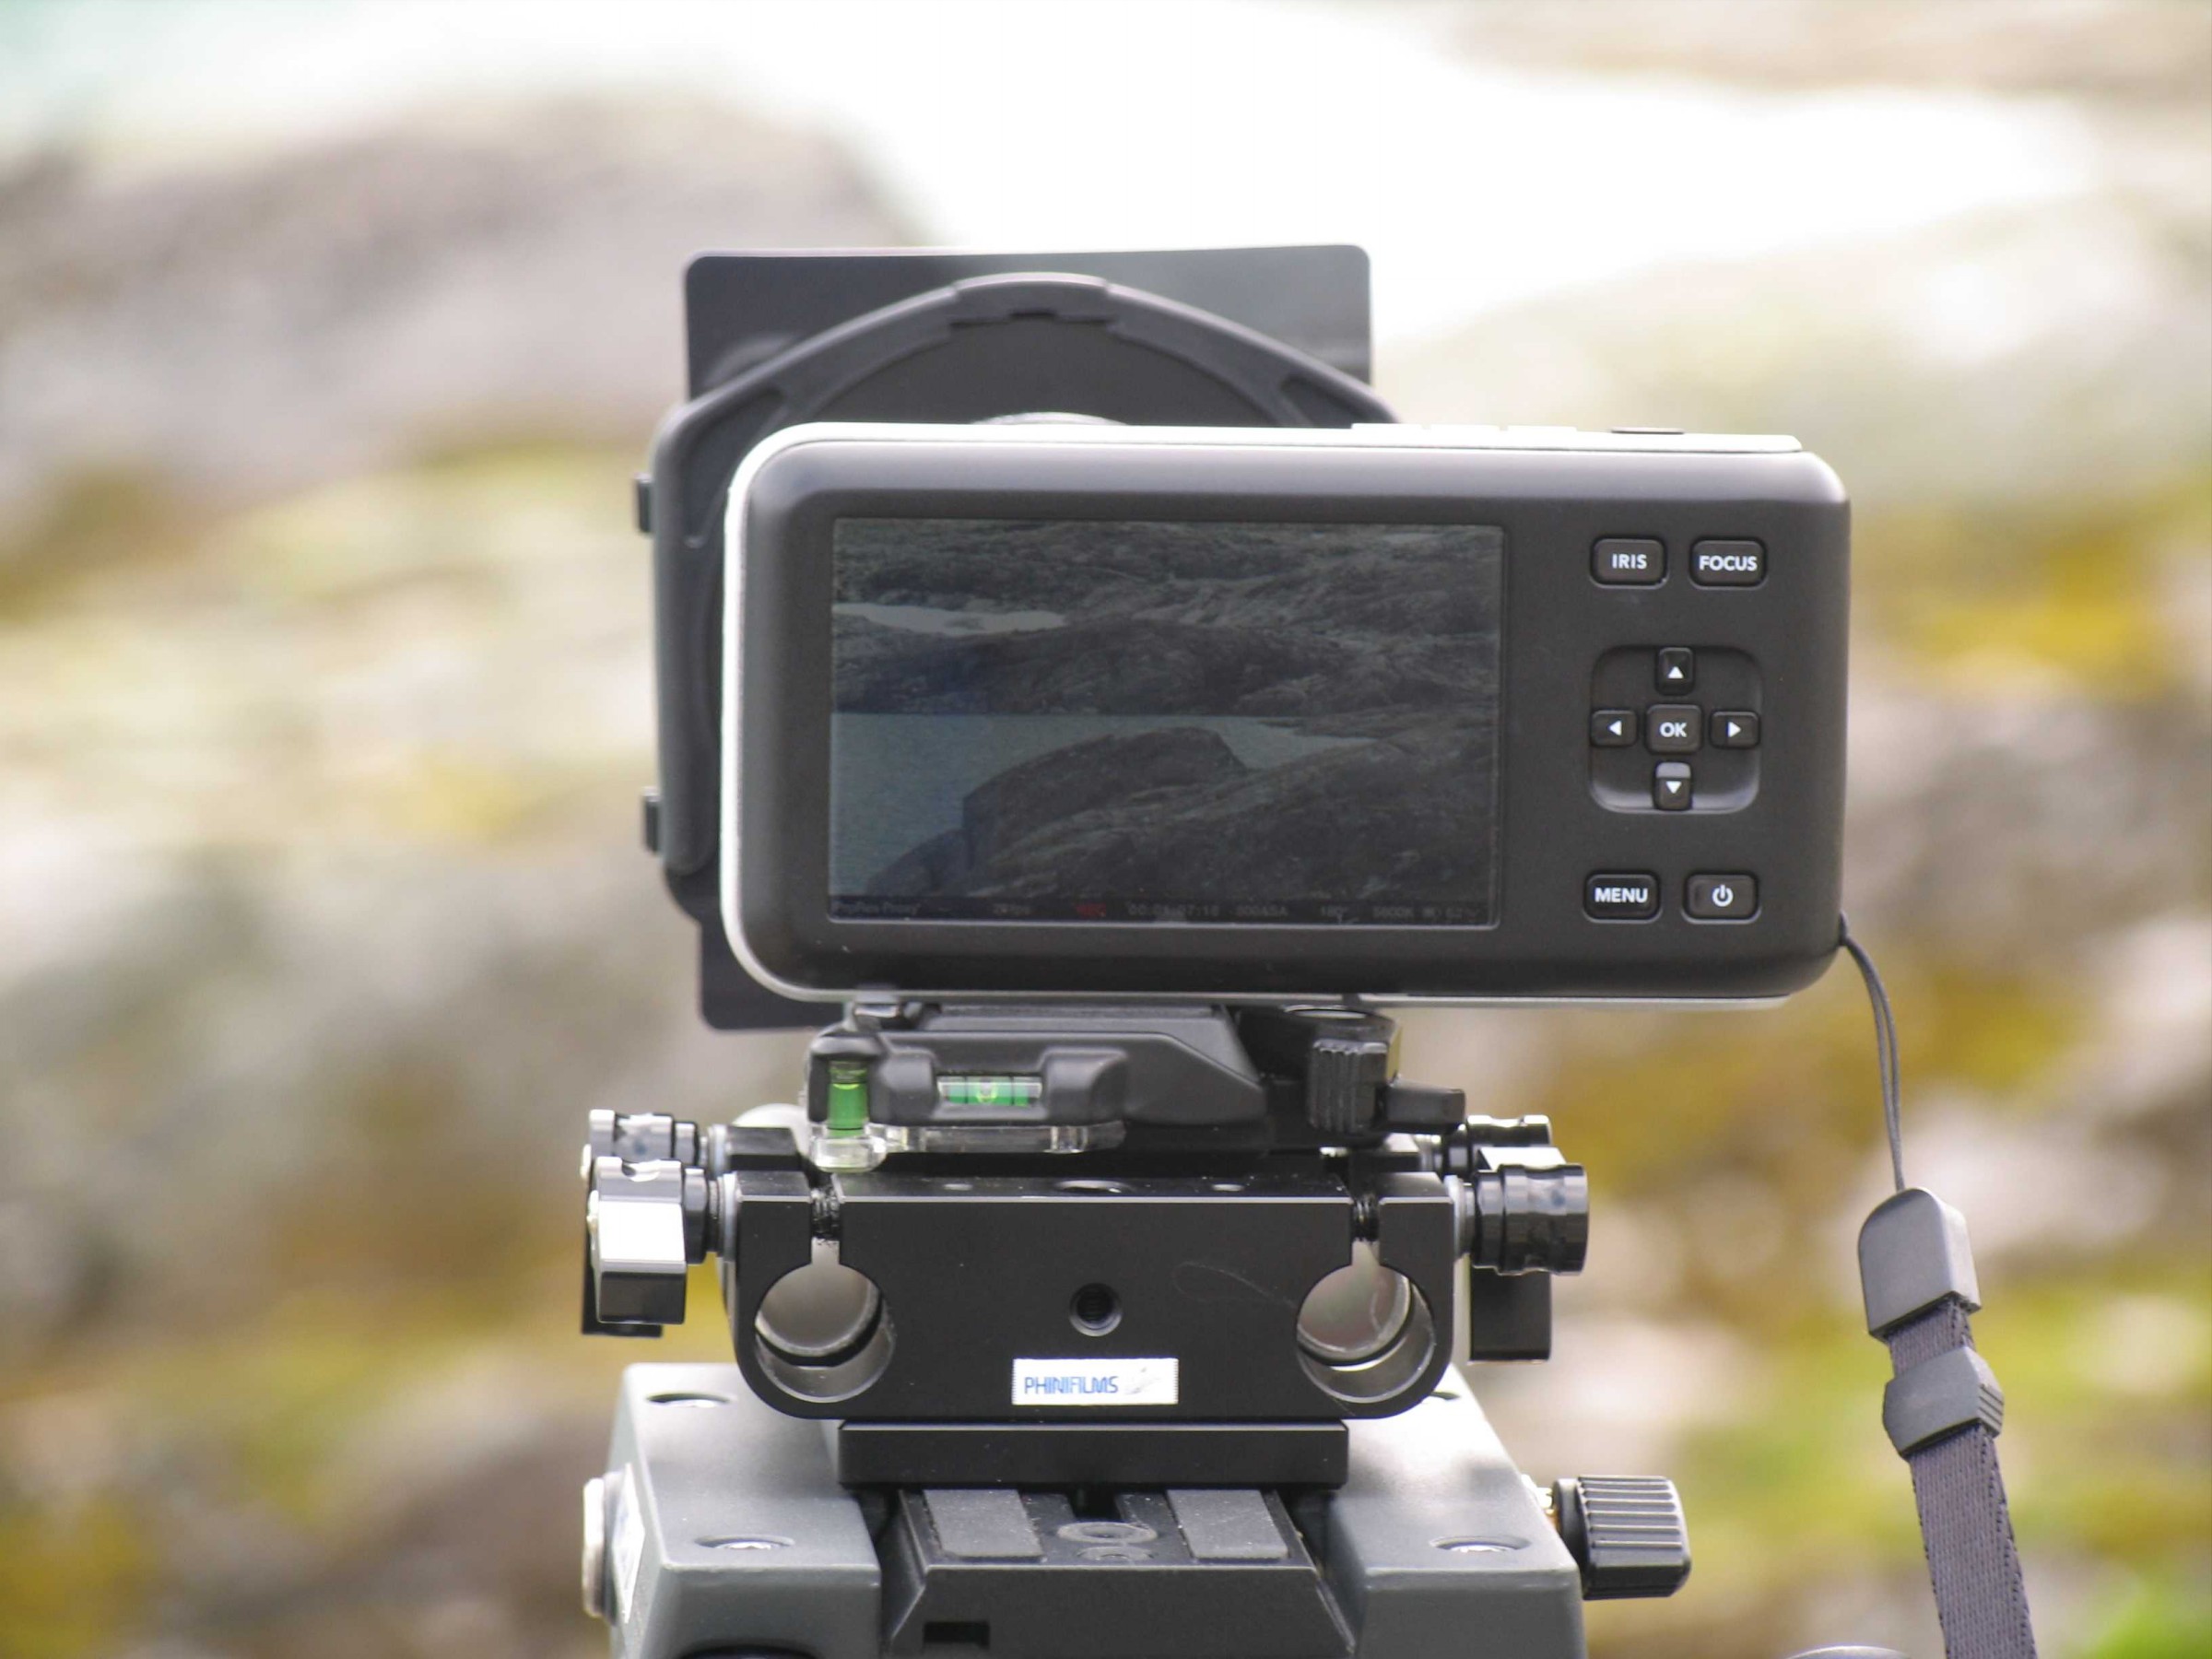 But that gets totally beaten by the quality of the shots you get with this camera! I don’t even want to talk about sharpness which is complimented by all the others; I can’t actually see that much of a difference compared to other cameras. Sure, the image is sharp, but not extremely. But maybe that is due to my old lenses. Whatever. The dynamic range is by all means overwhelming, the flat image profile is very useful, and I’ve never seen so few artefacts in a video from a camera of even nearly that price. Just to make it clear: At least when recording in ProResHQ there are literally none!
The only thing that really bothers me, and which is why I am almost regretting the buy of the cam a bit (but just a very tiny bit), is the small sensor size and the „crop factor“ caused by that. This can be really annoying, especially when shooting with old glass with the smallest focal length of 28mm, what due to the crop becomes an equivalent of roughly 85mm. But I have to live with it, because for that price there simply isn’t another camera with this incredible image quality.


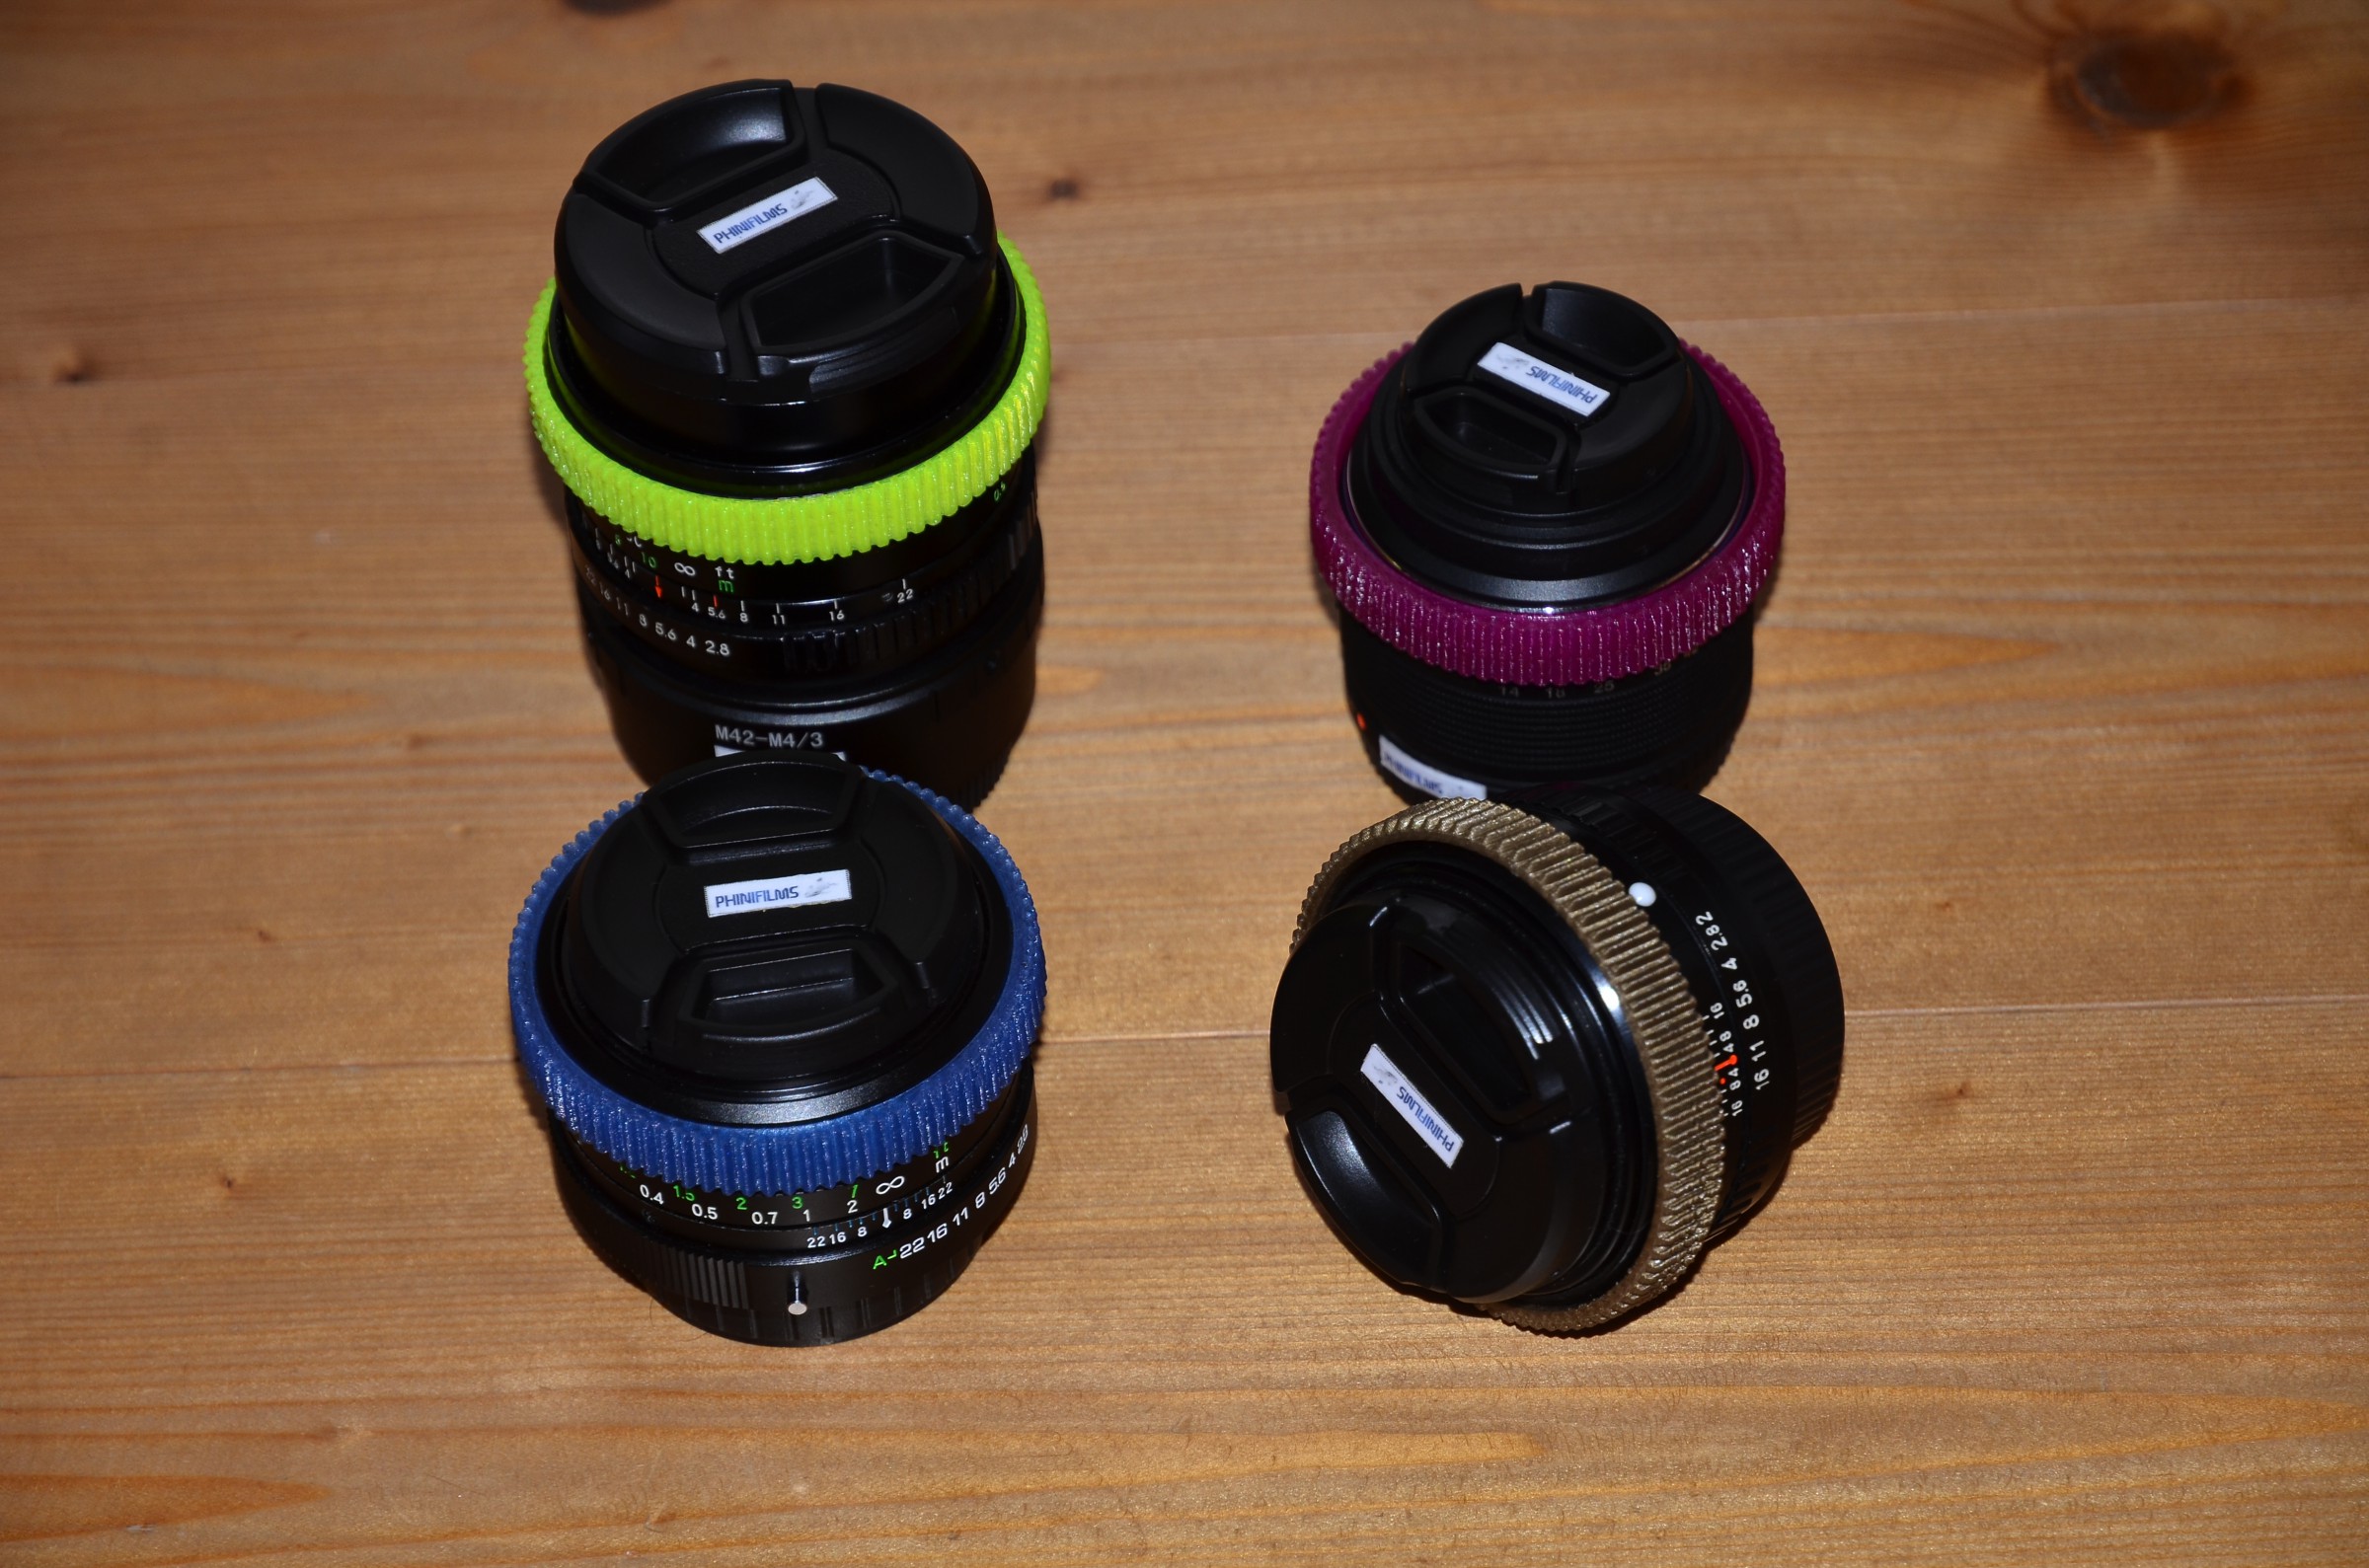
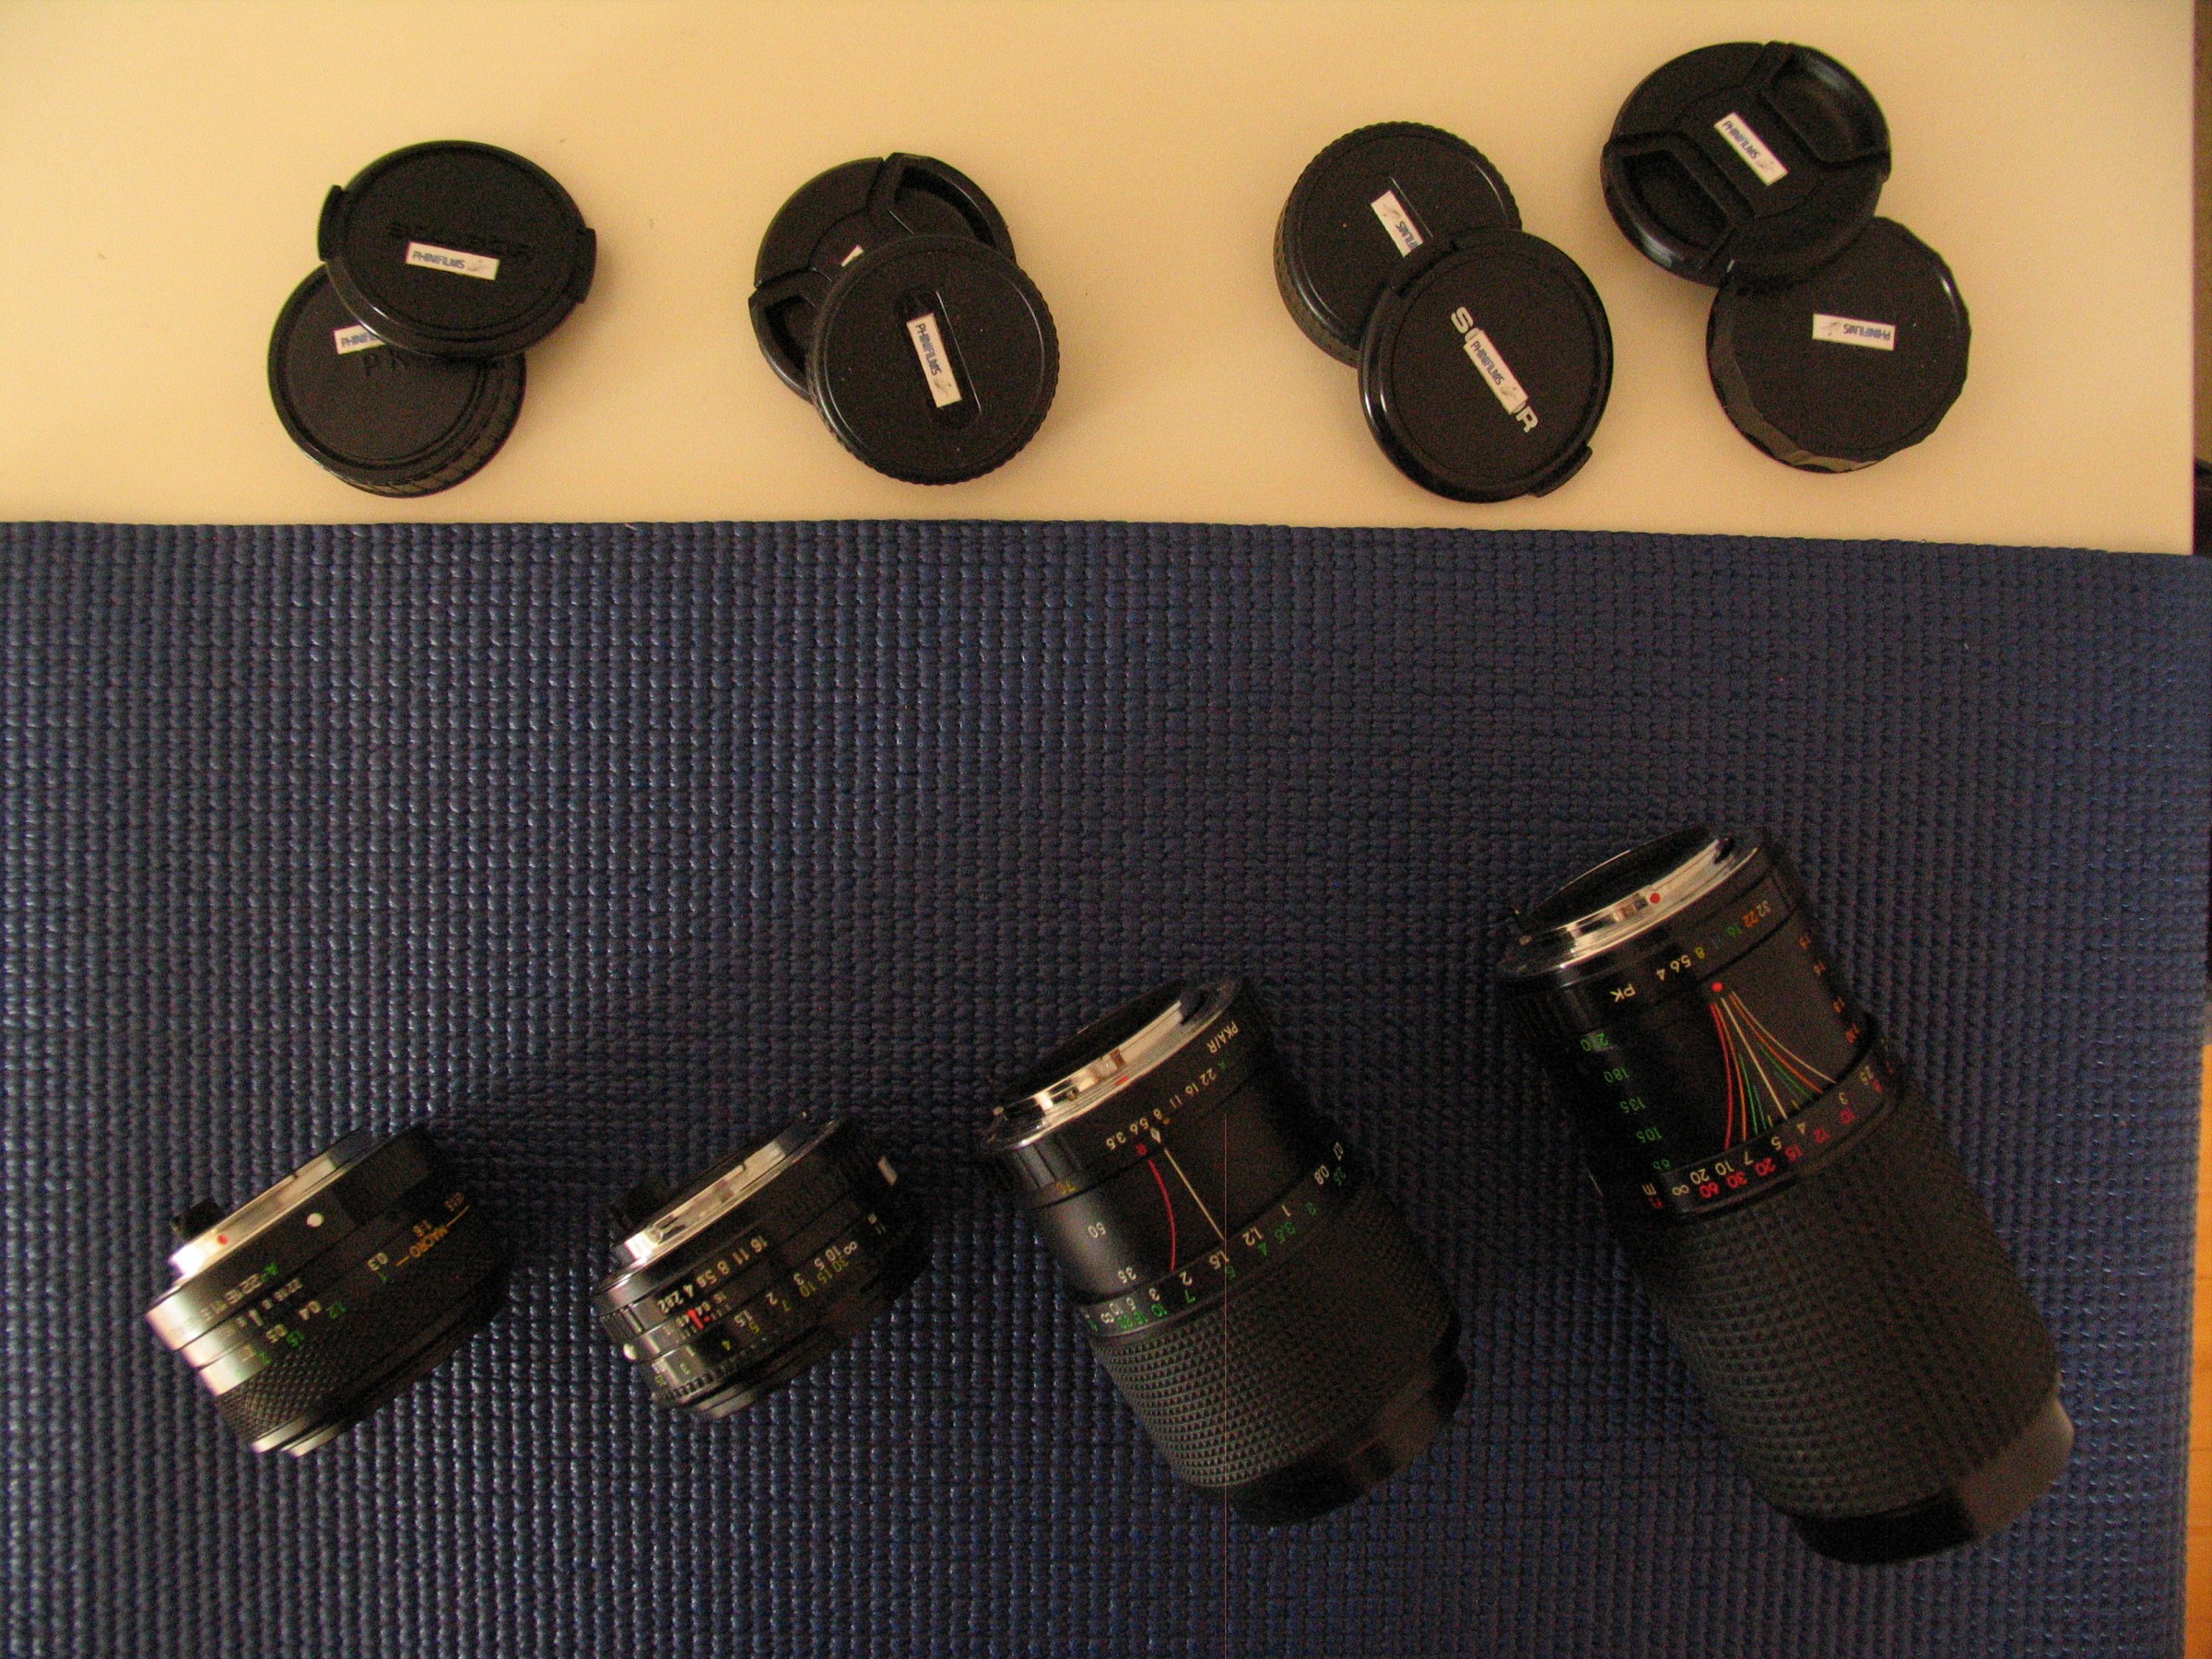
Lenses
Currently, I own the following lenses to use in combination with my BMPCC:Pentax-K-glass:
- MC Soligor C/D 28mm f/2.8
- Pentax-M 50mm f/2.0
- MC Soligor S/M 35-70mm f/3.5-4.0
- Auto Revuenon MC 70-210mm f/4.0
M42-glass:
- Porst MC 35mm f/2.8
MFT-glass:
- Olympus M.Zuiko Digital 14-42mm f/3.5-5.6 II R


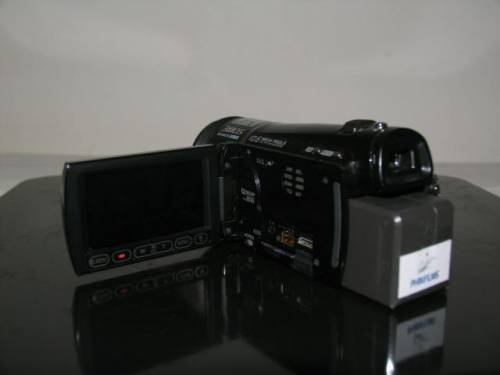
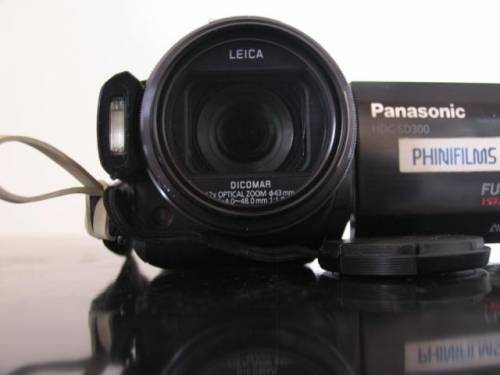
Camcorder
My camcorder is a HDC-SD300 E-GK from Panasonic.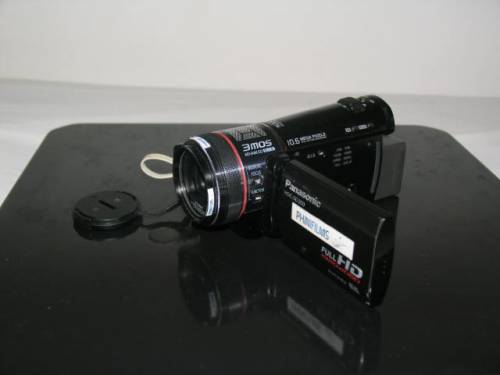


Fotoapparat
For photography I have a Canon PowerShot Pro1.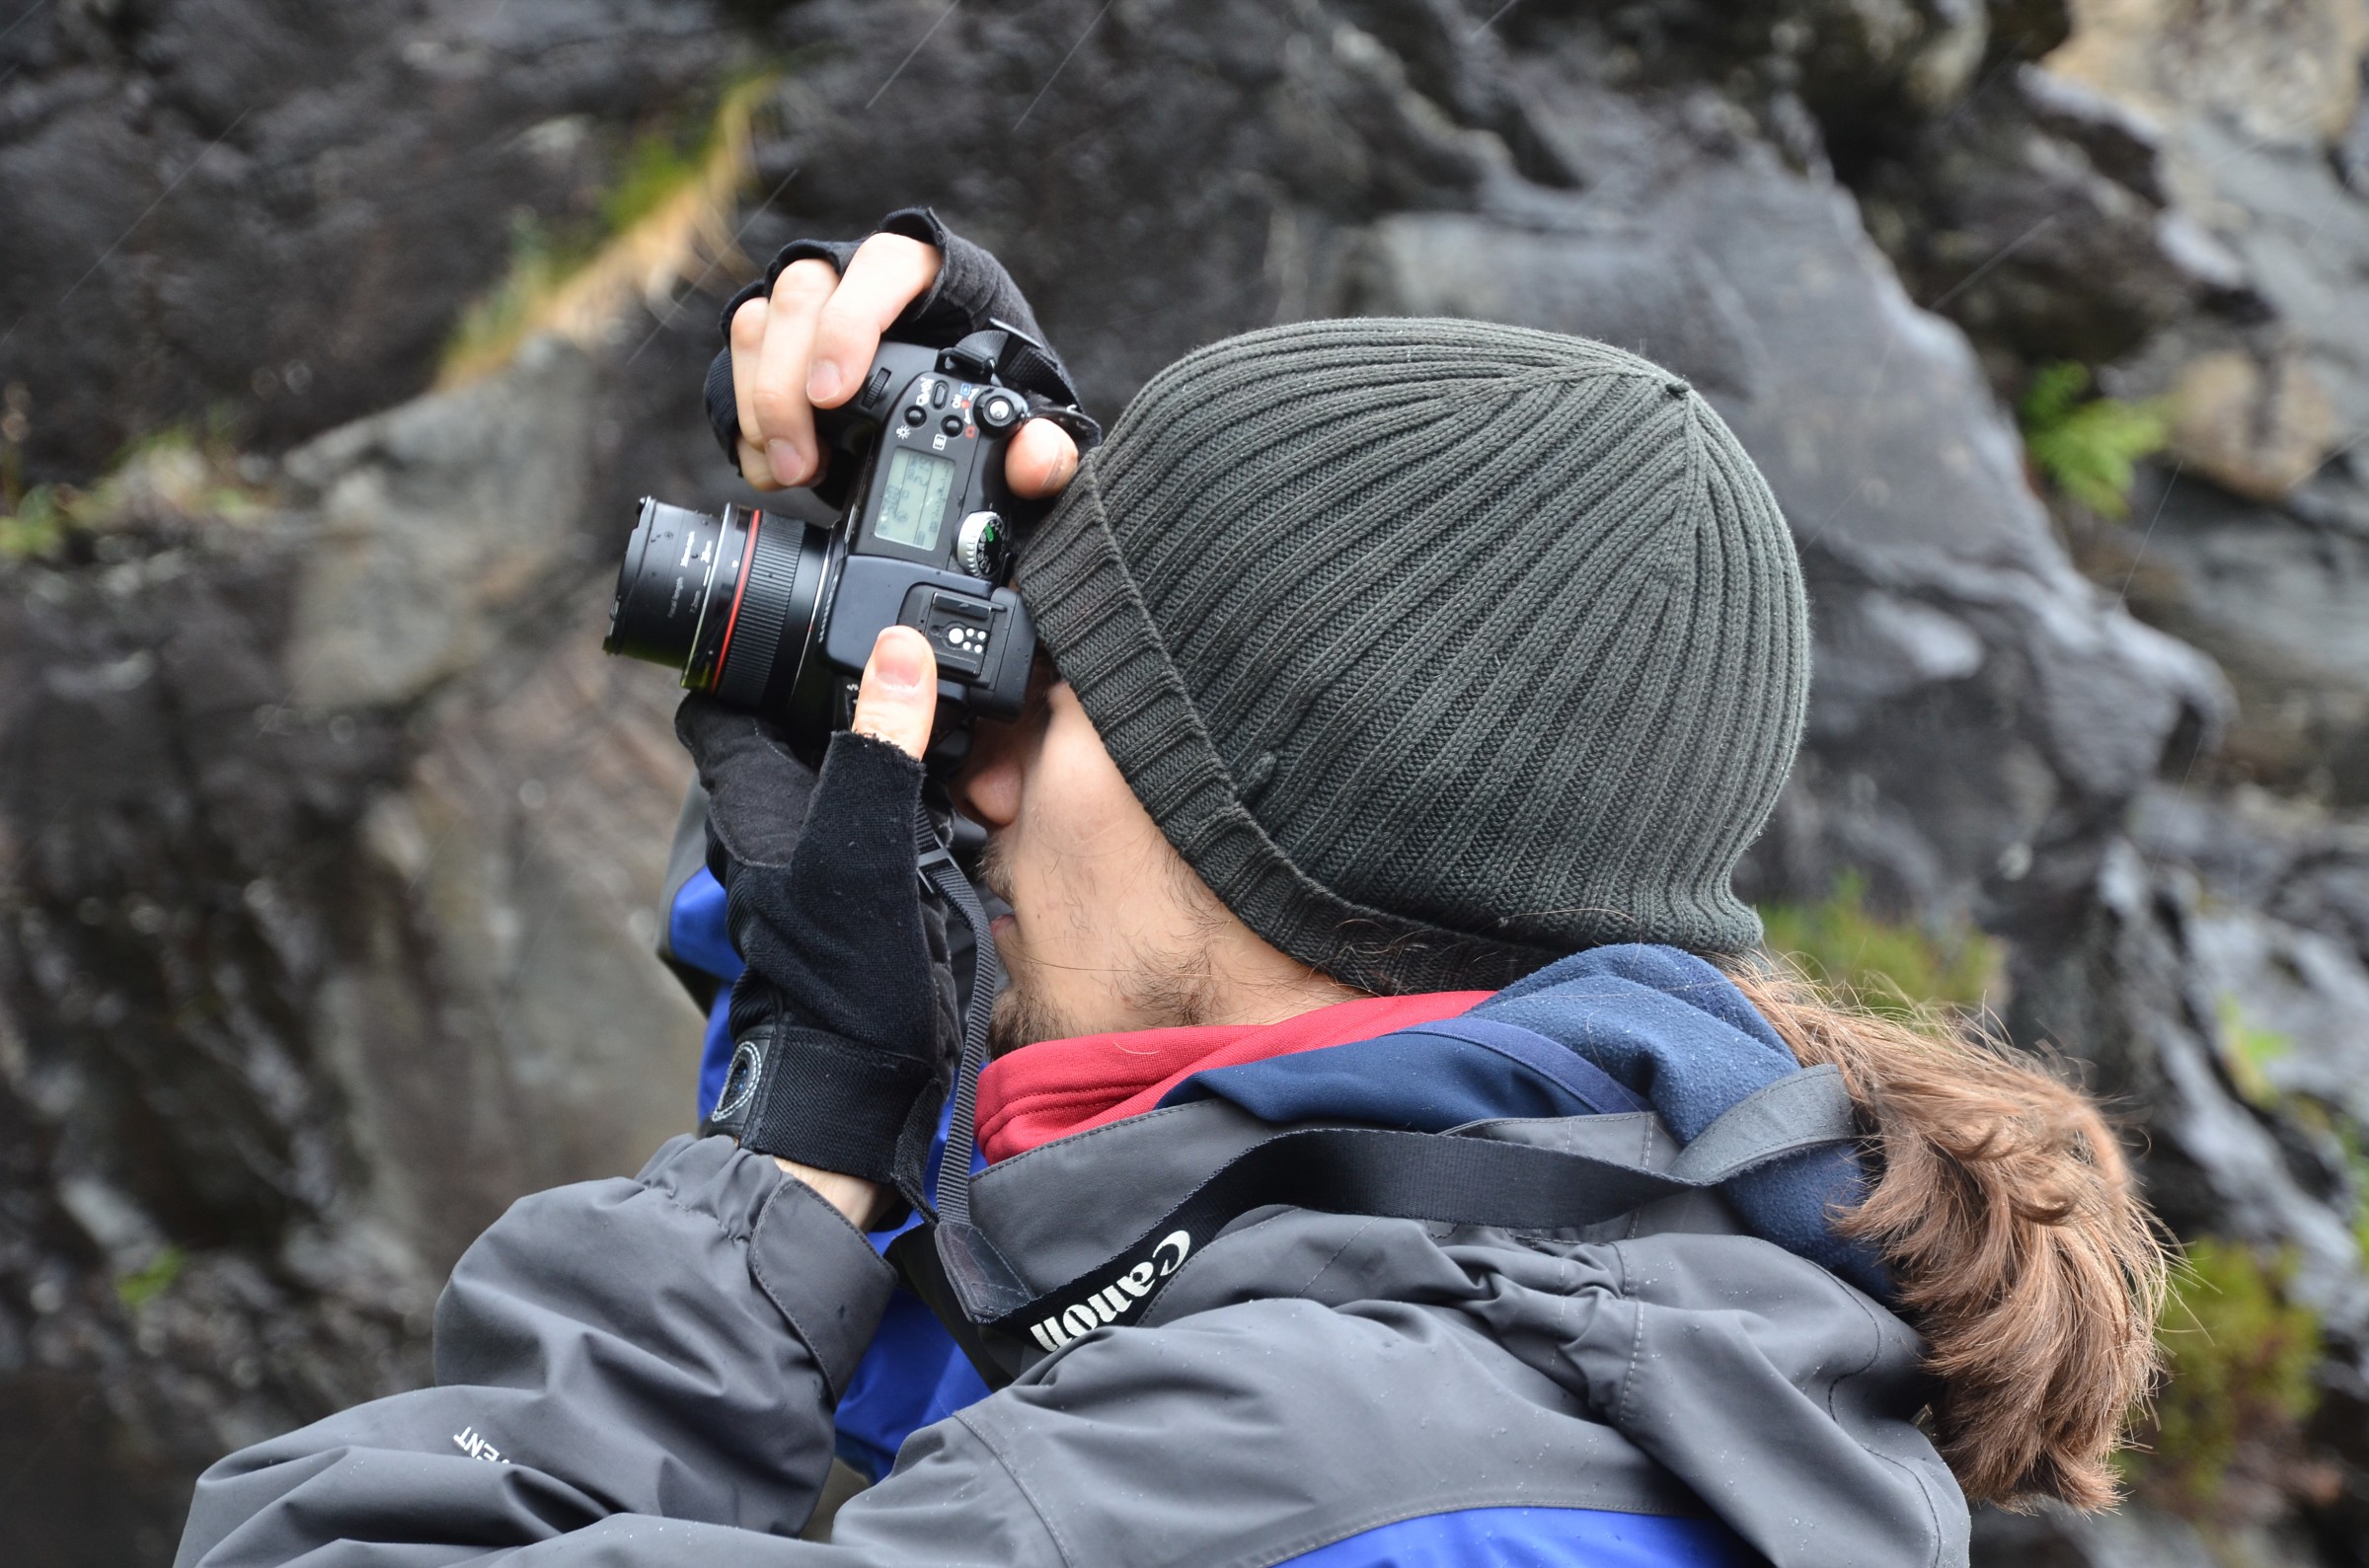
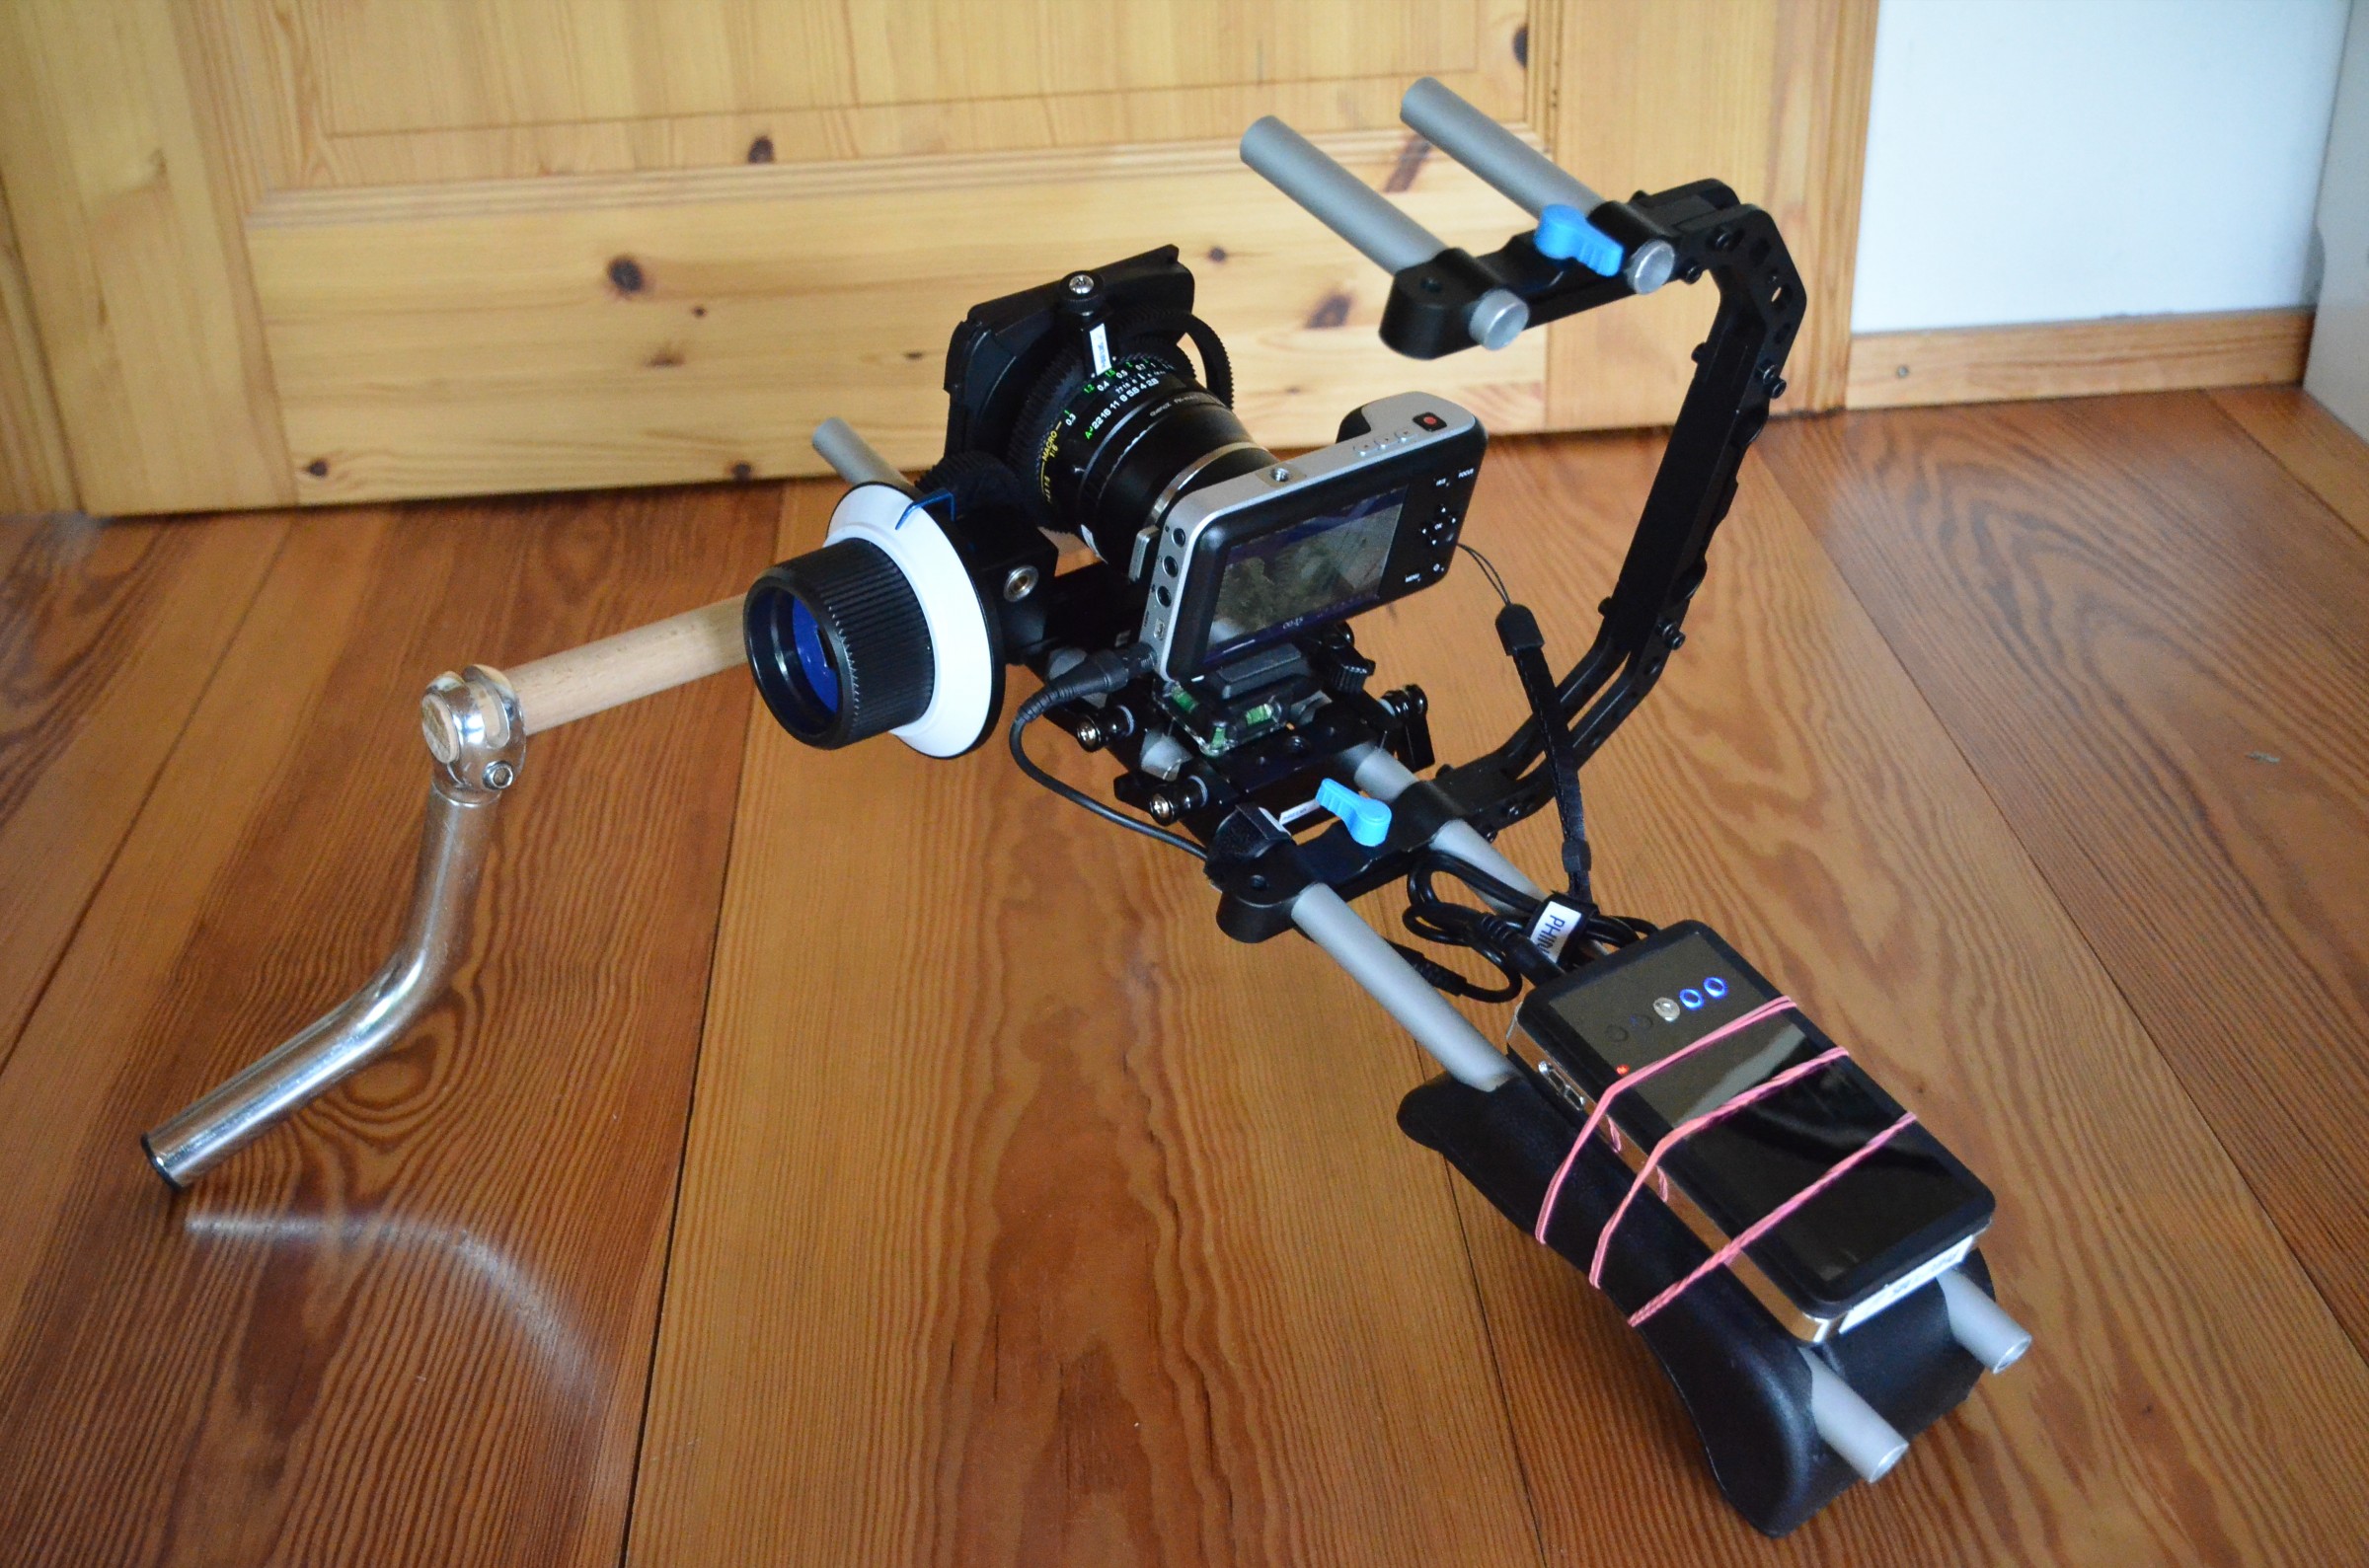
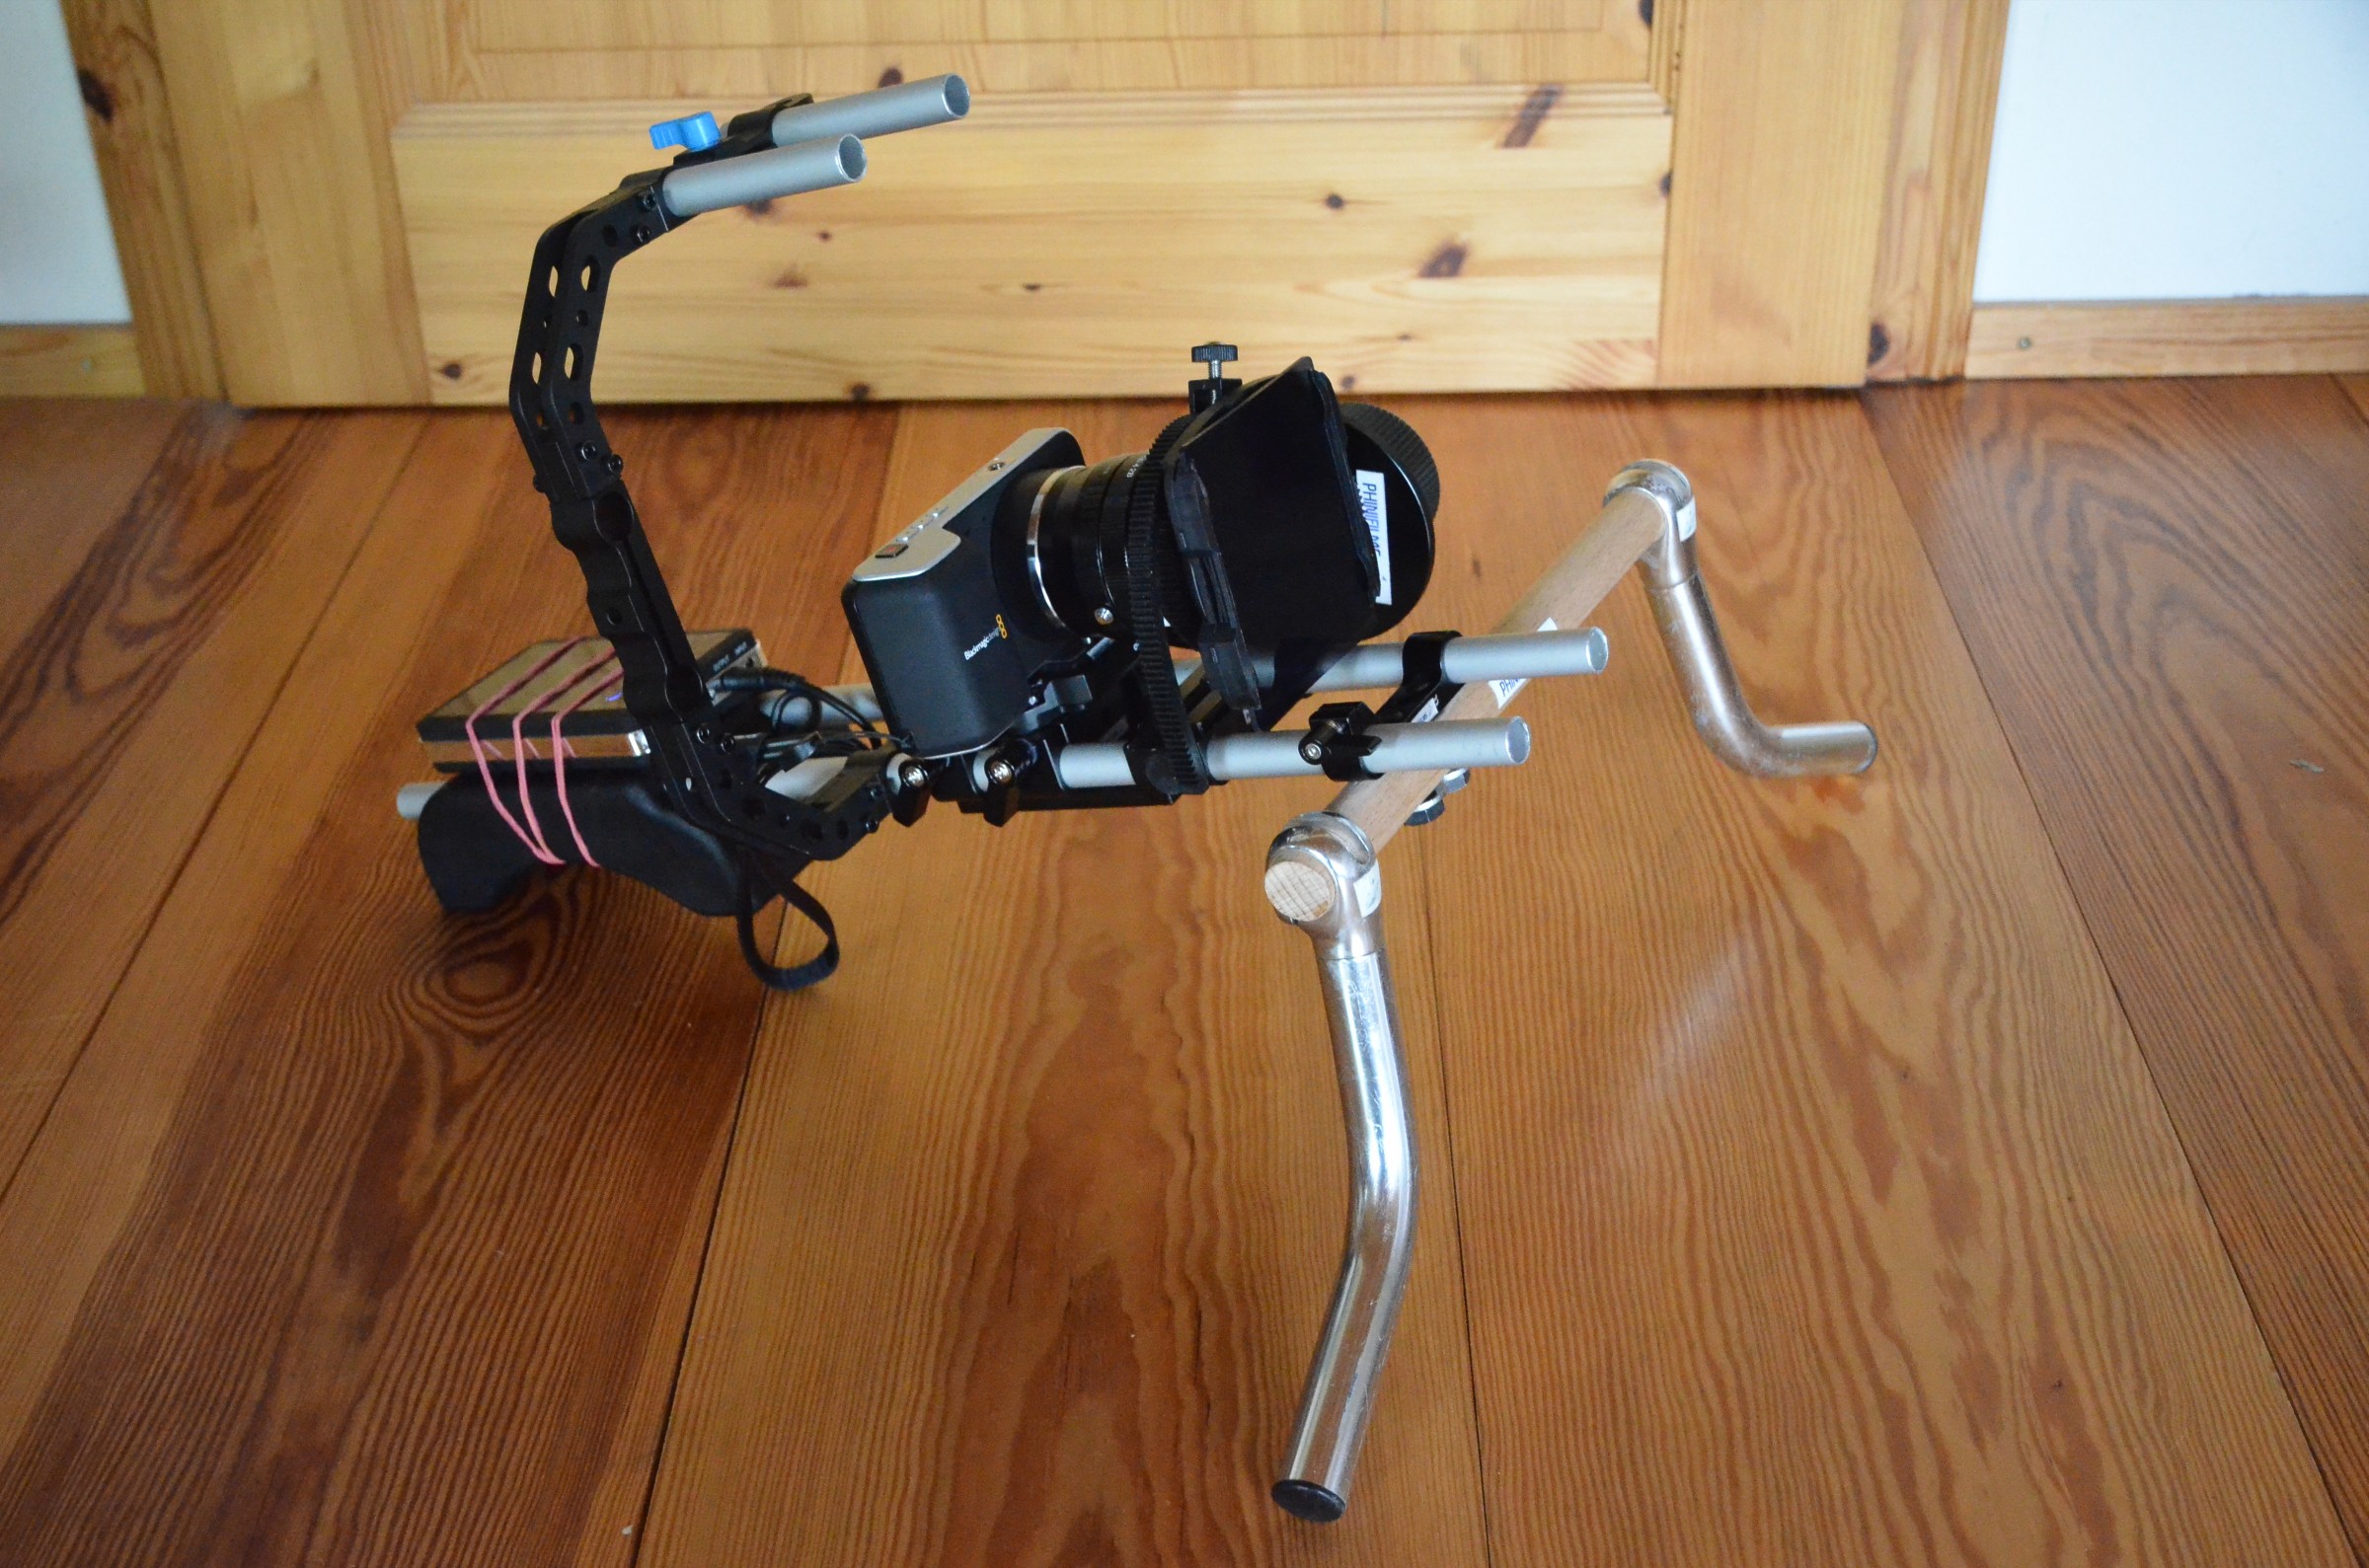
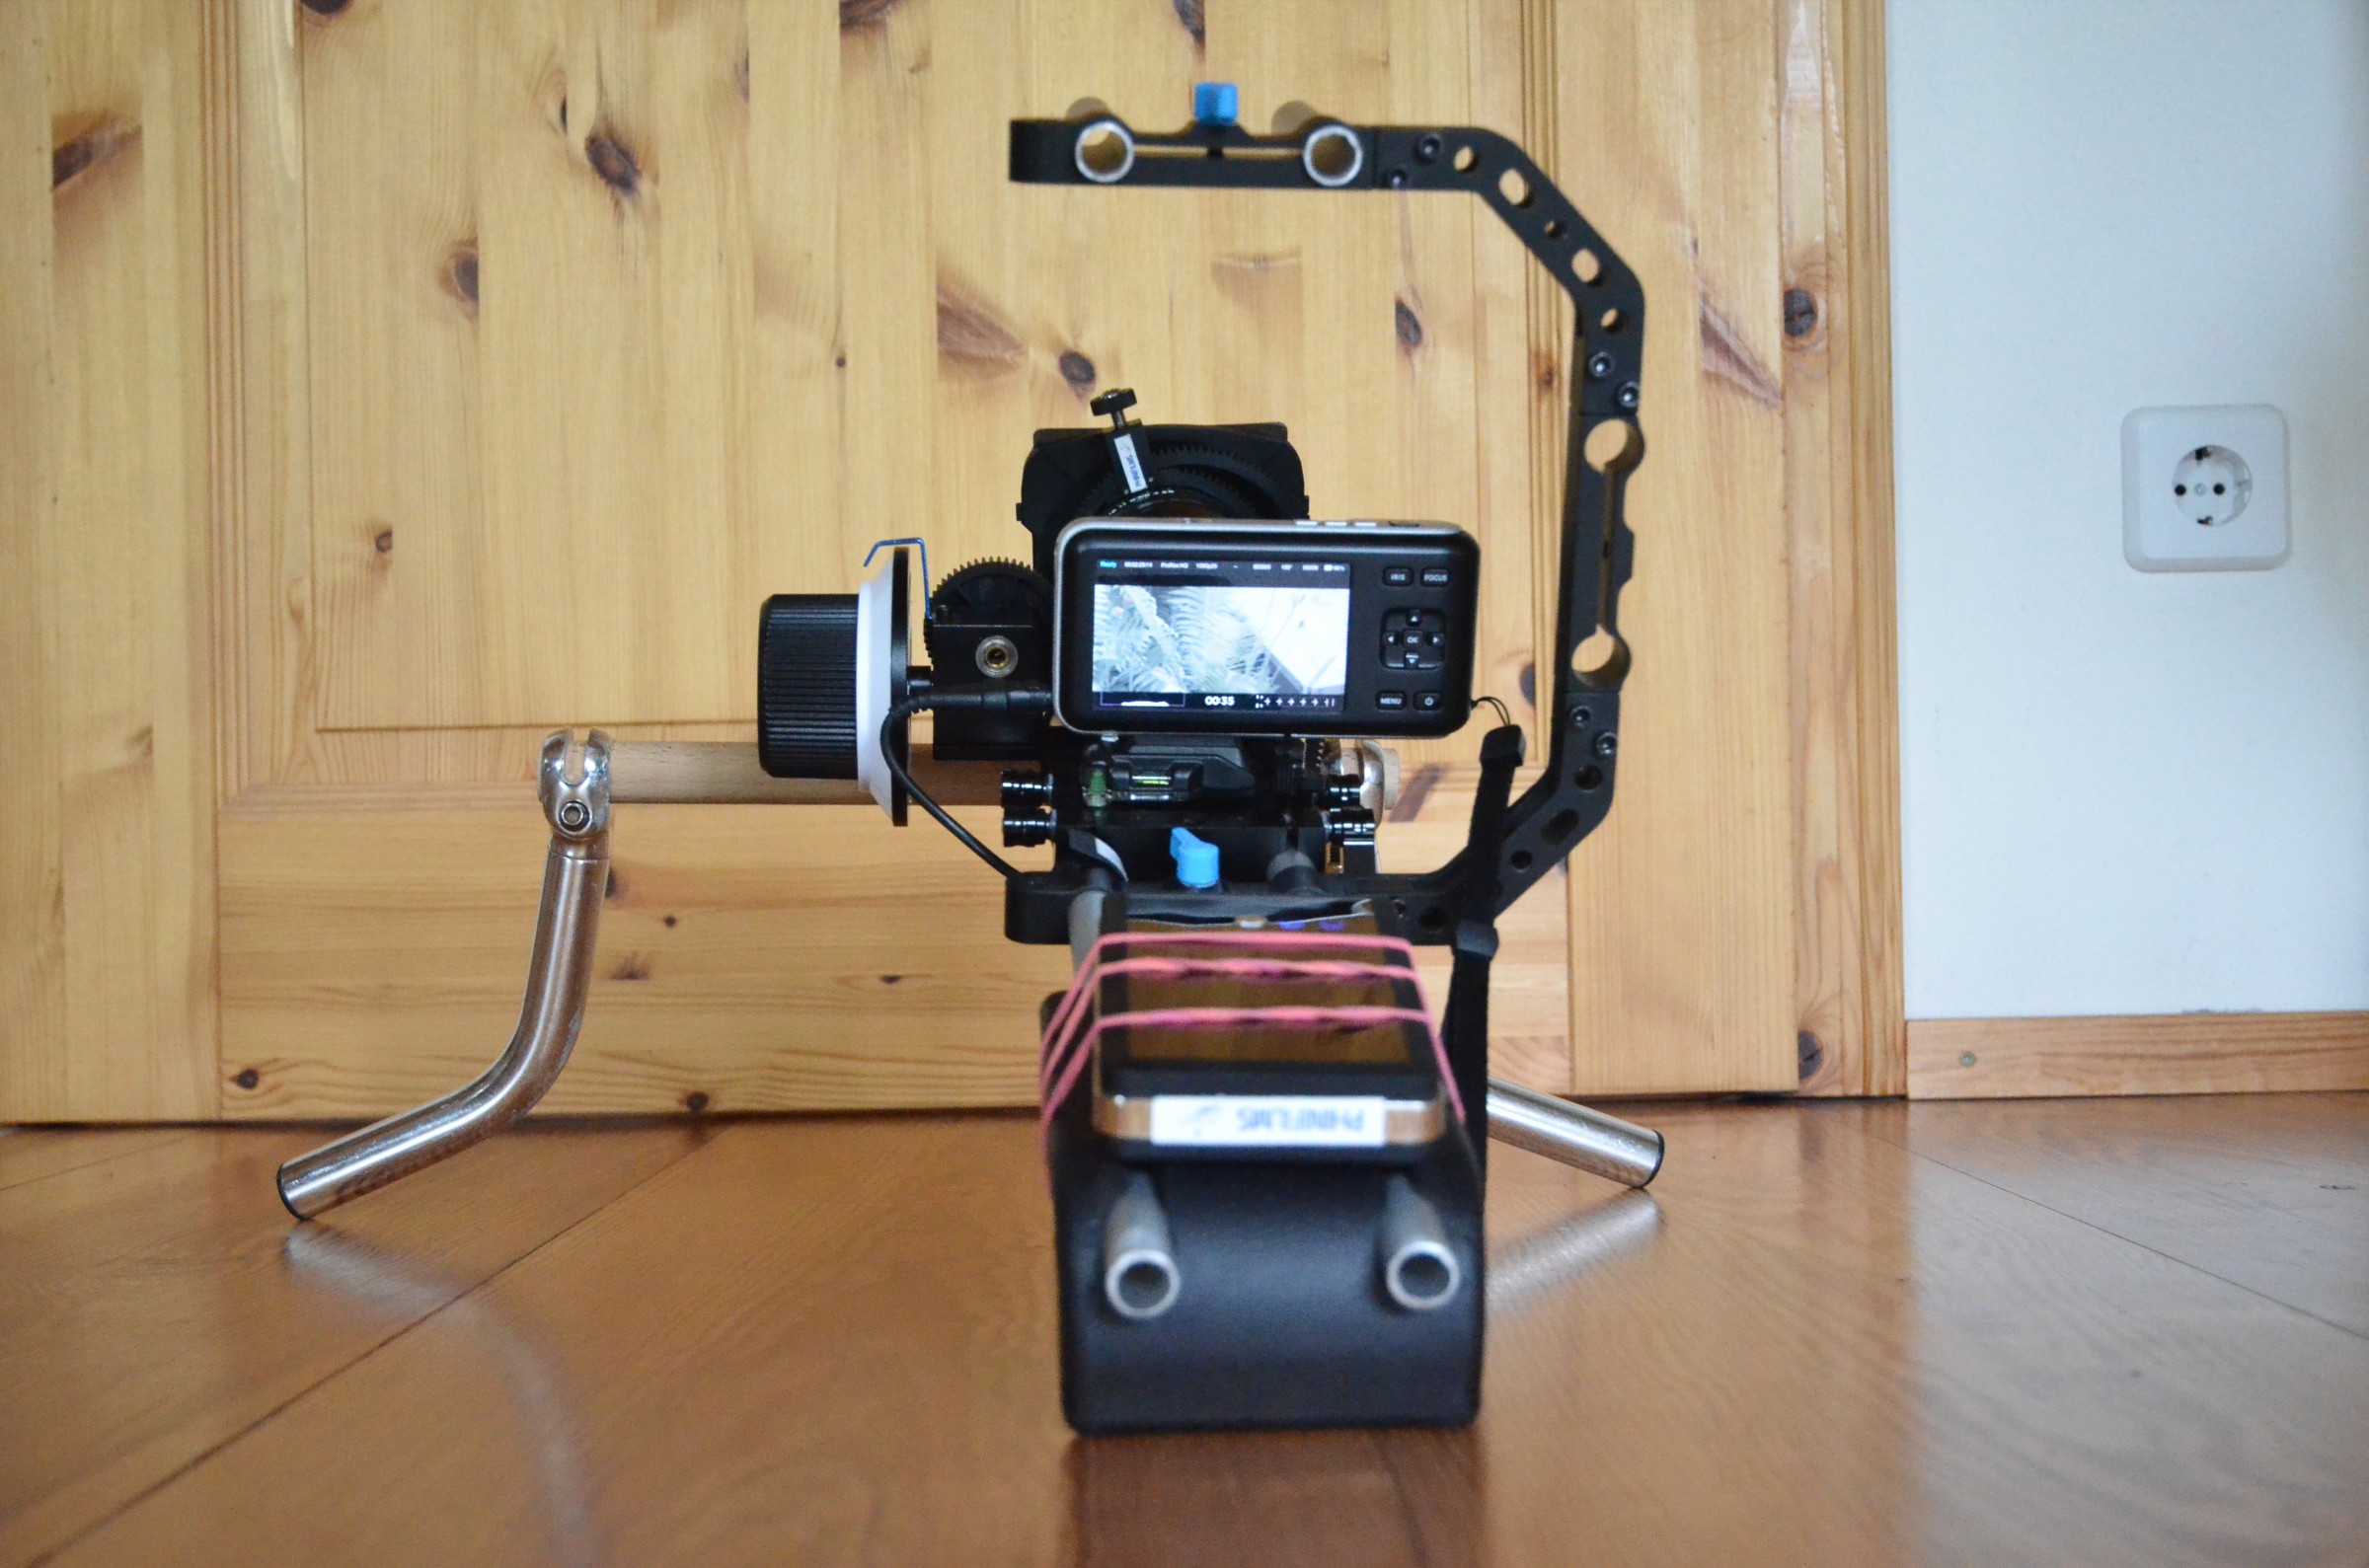
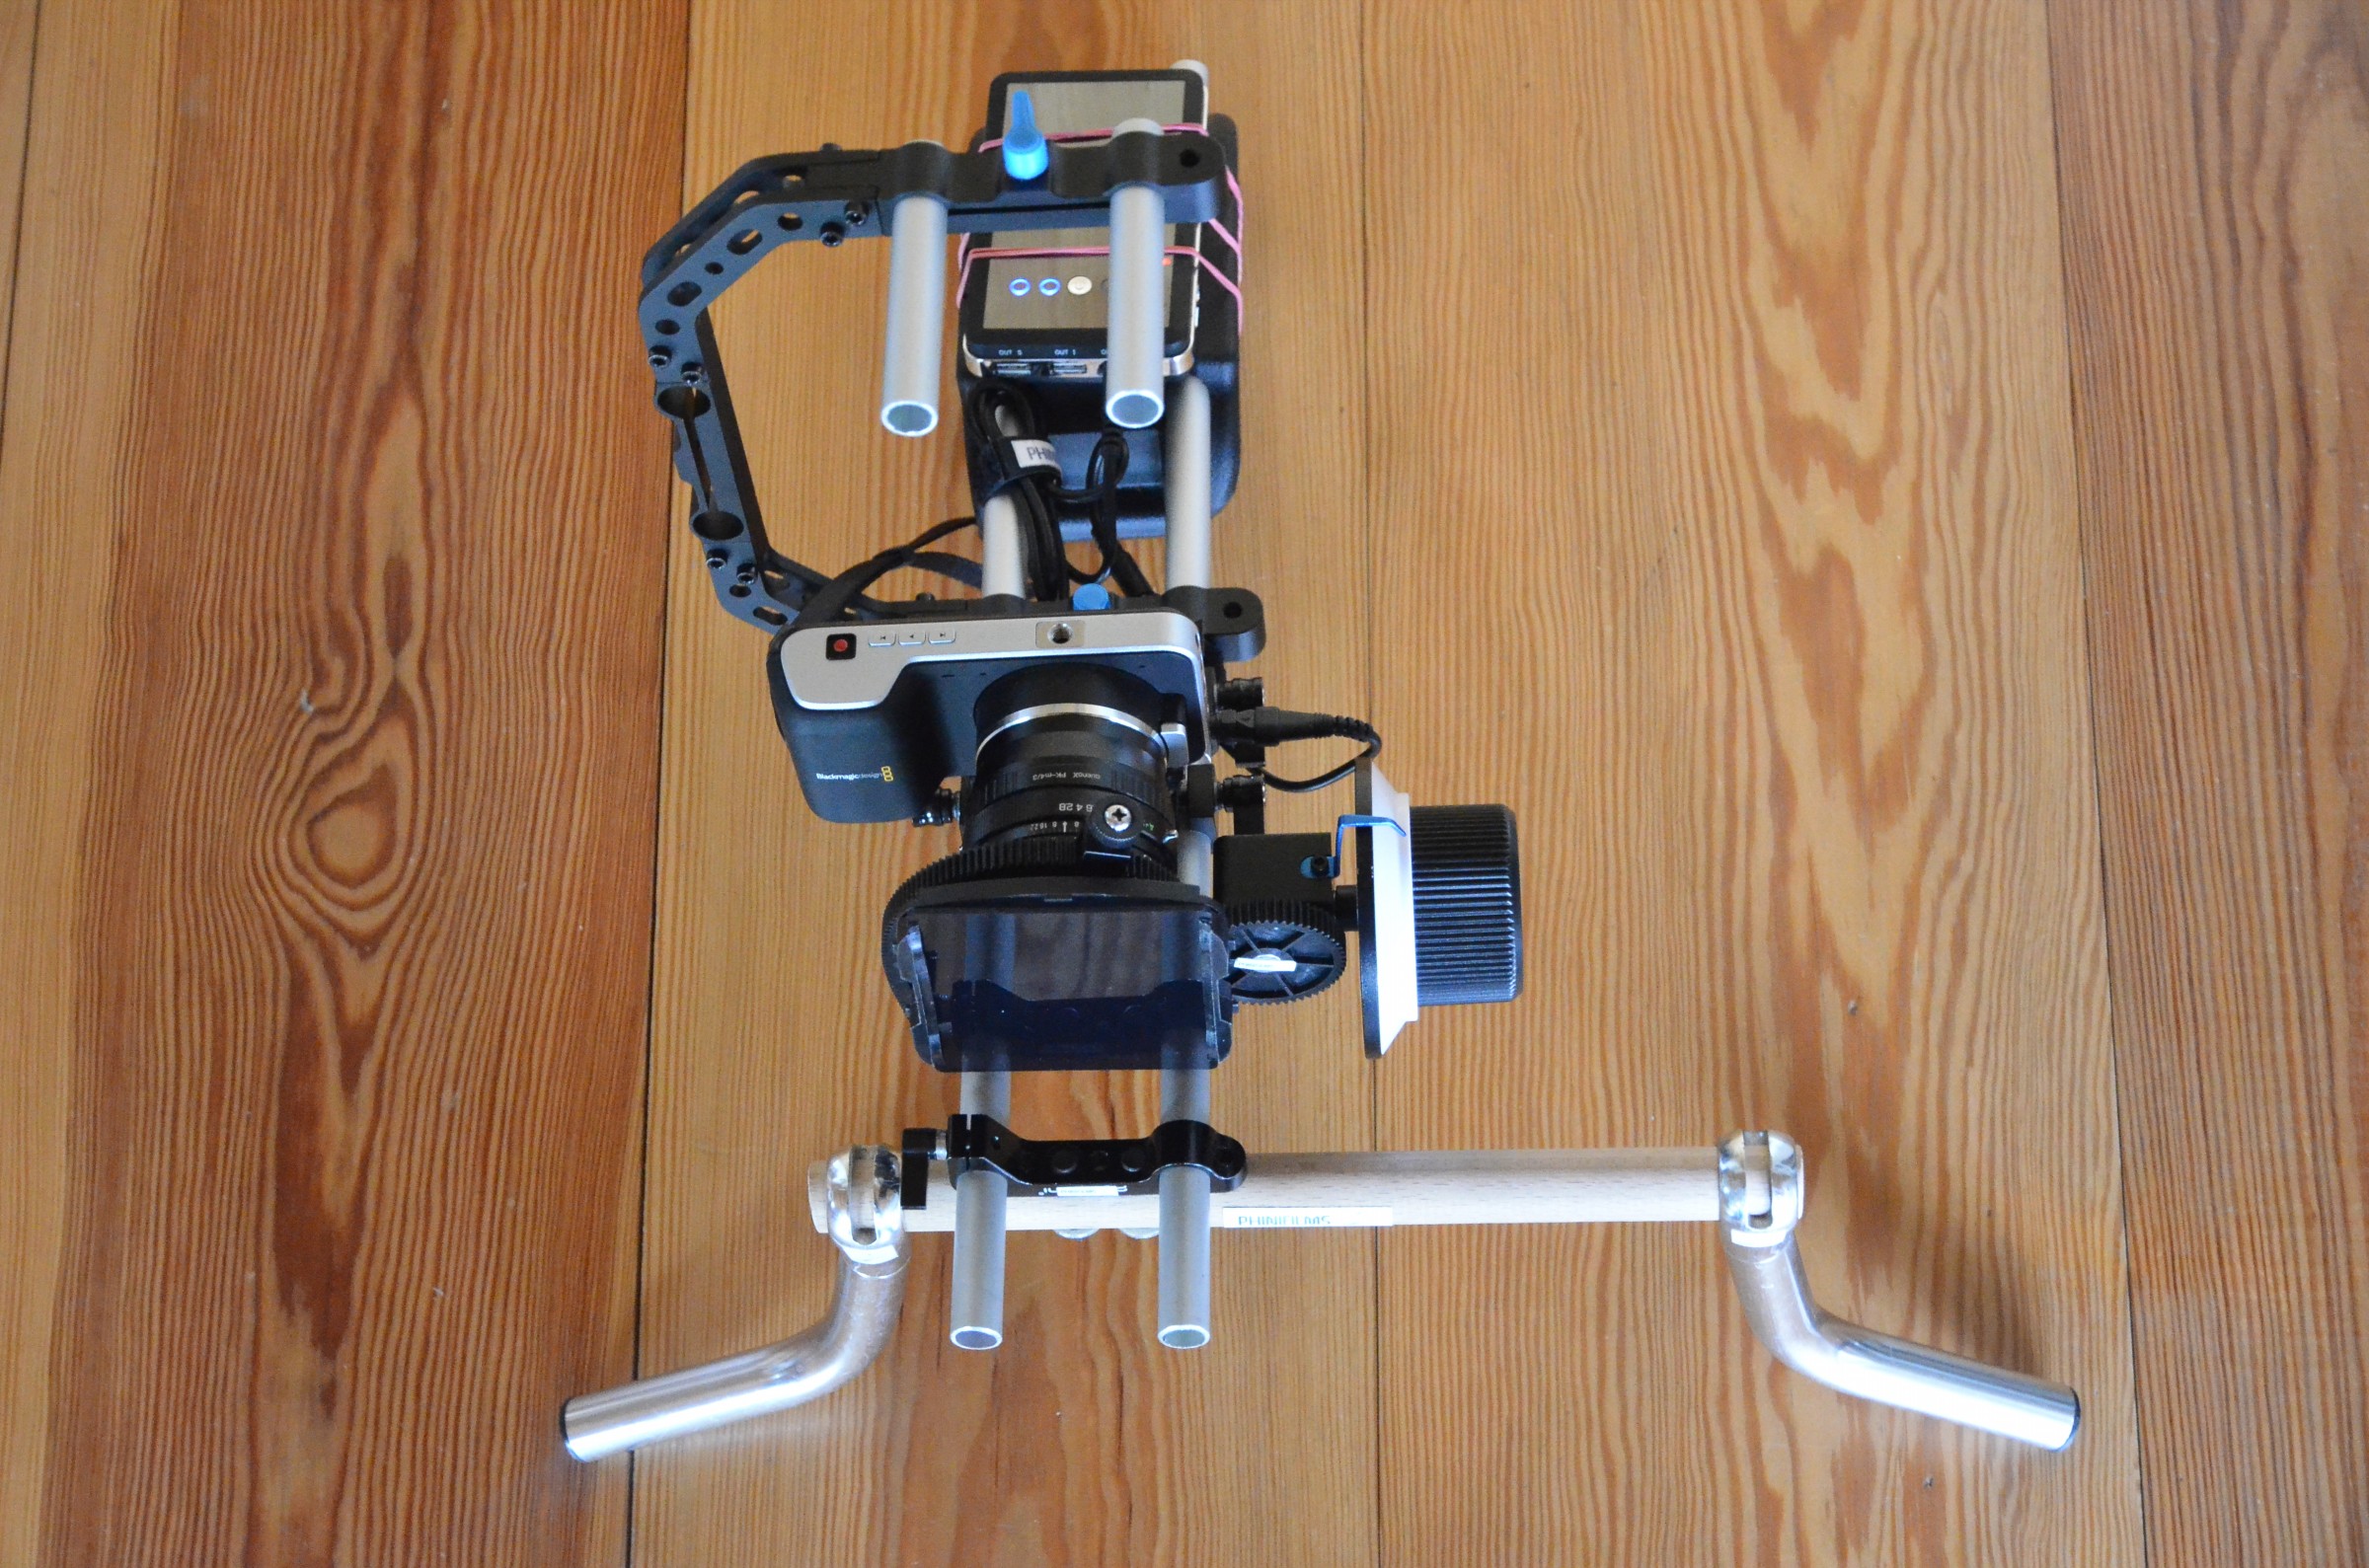
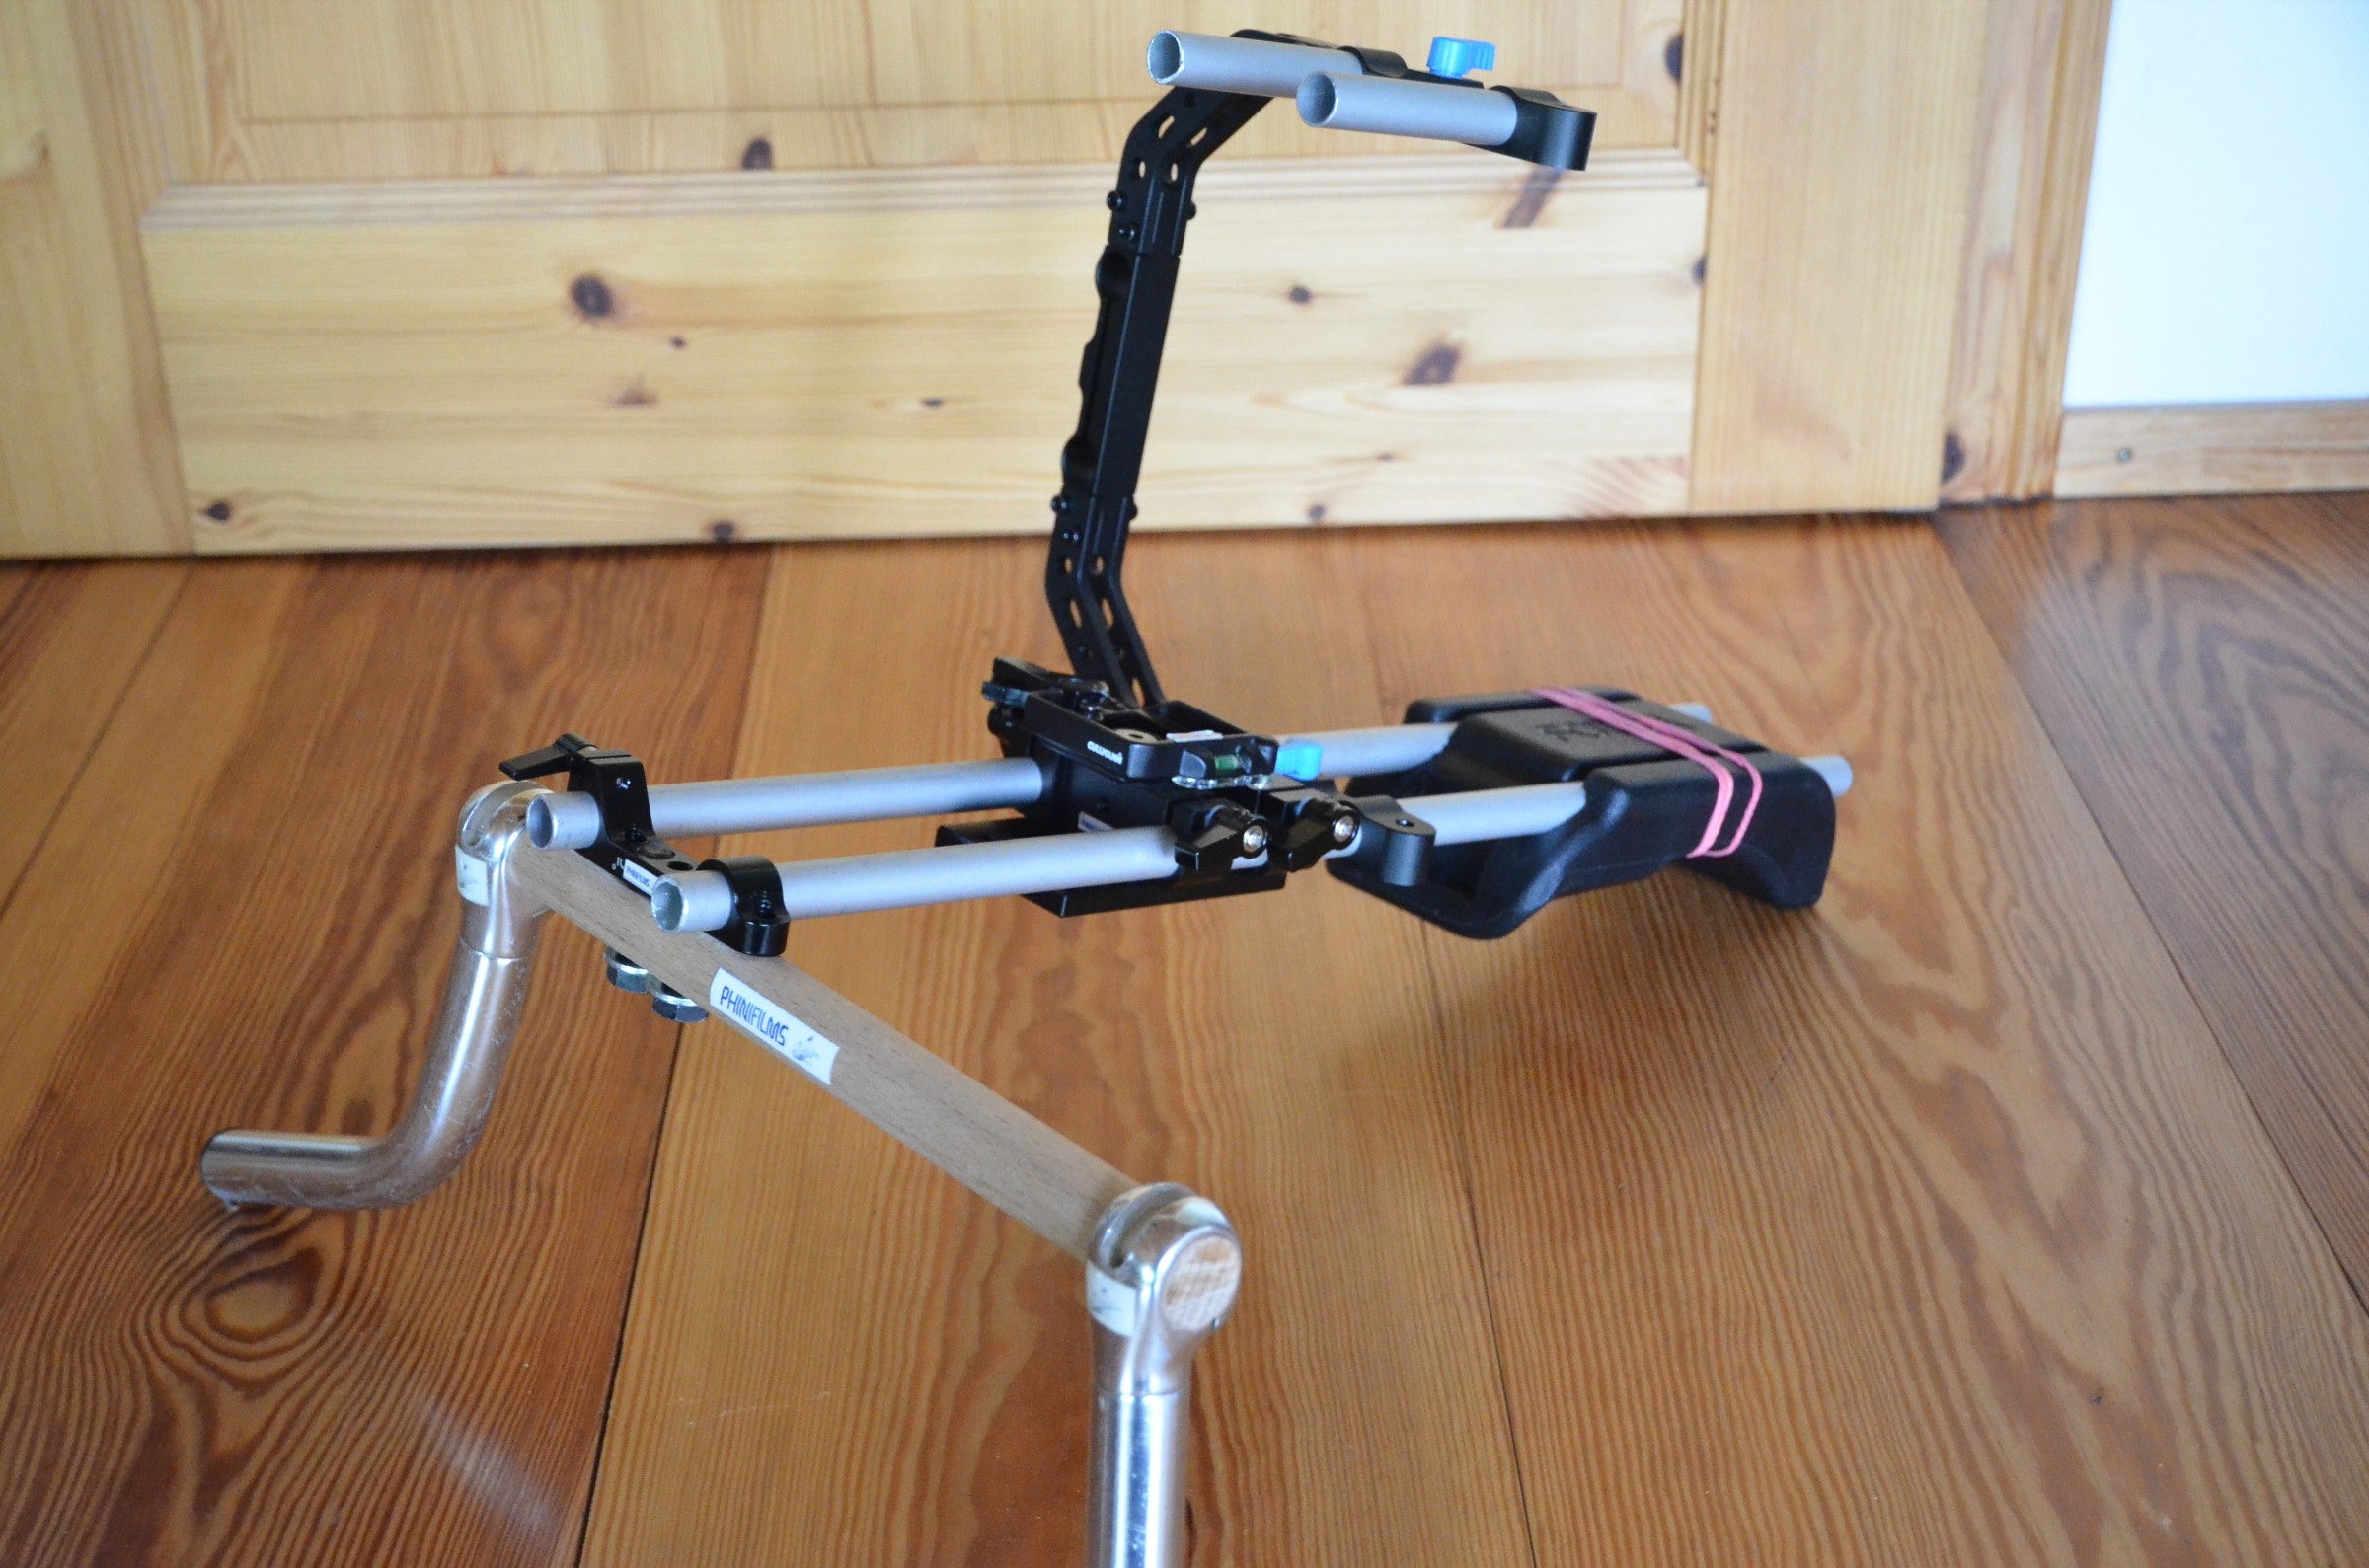
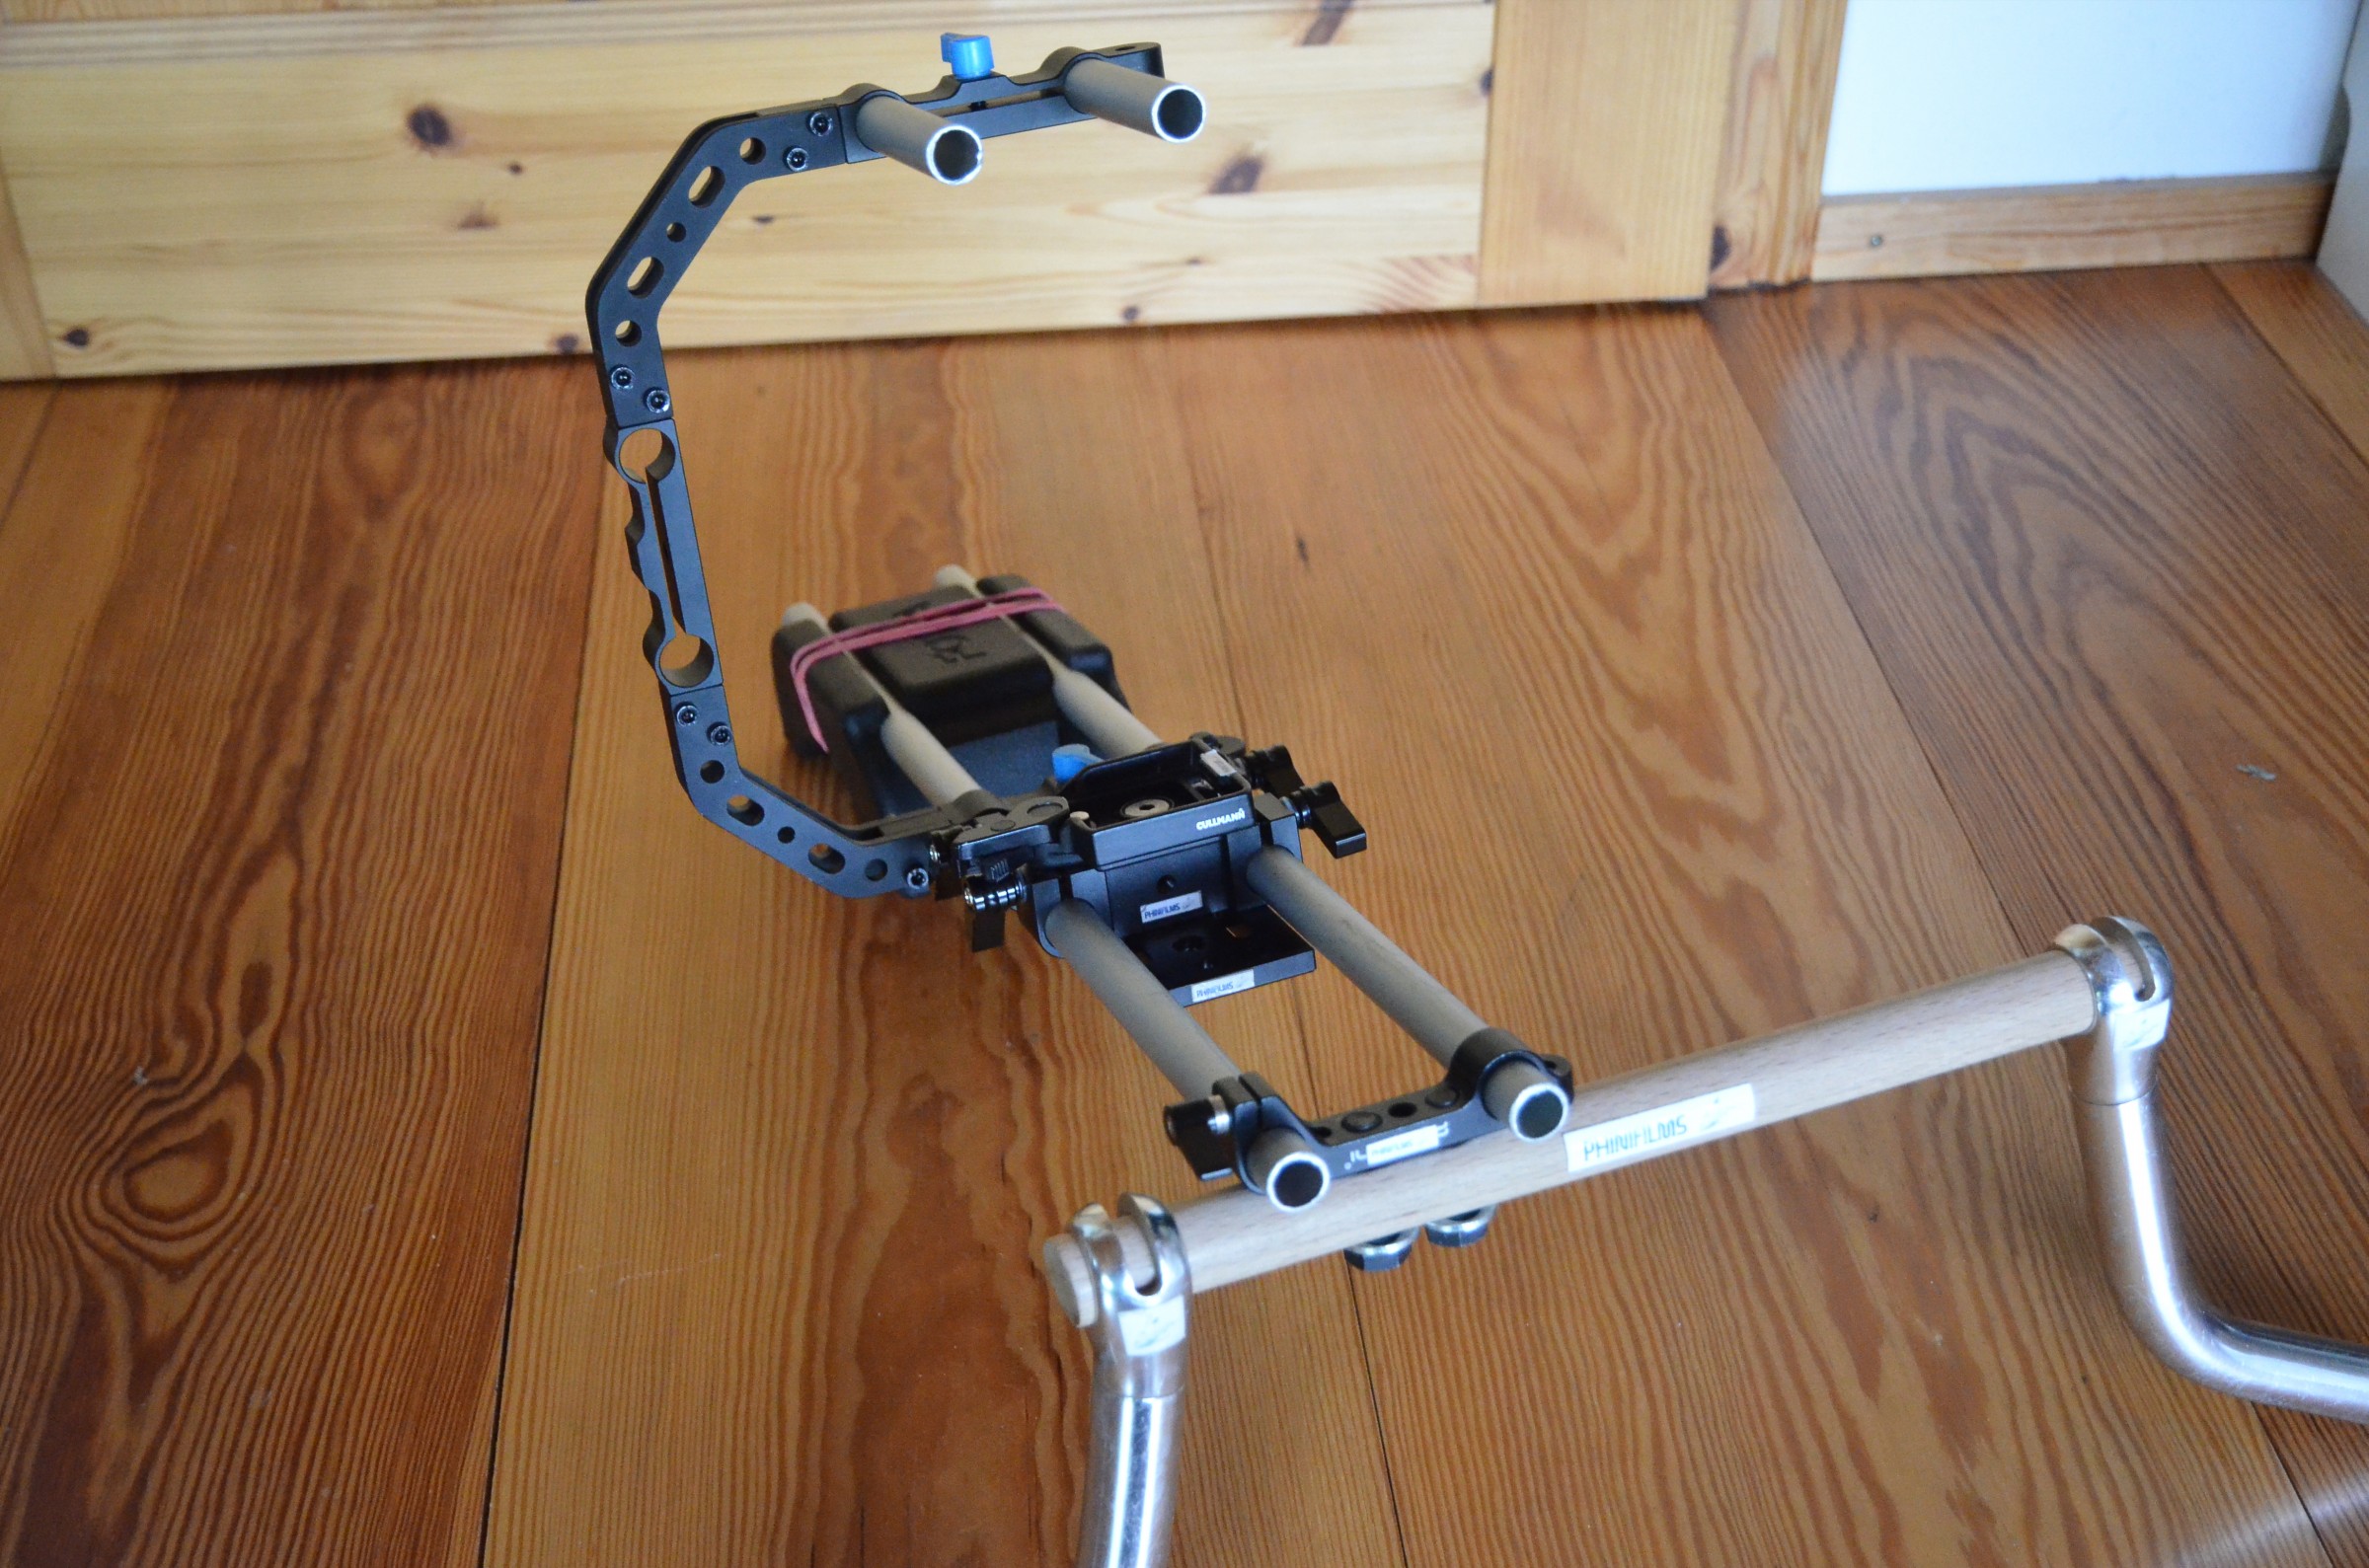
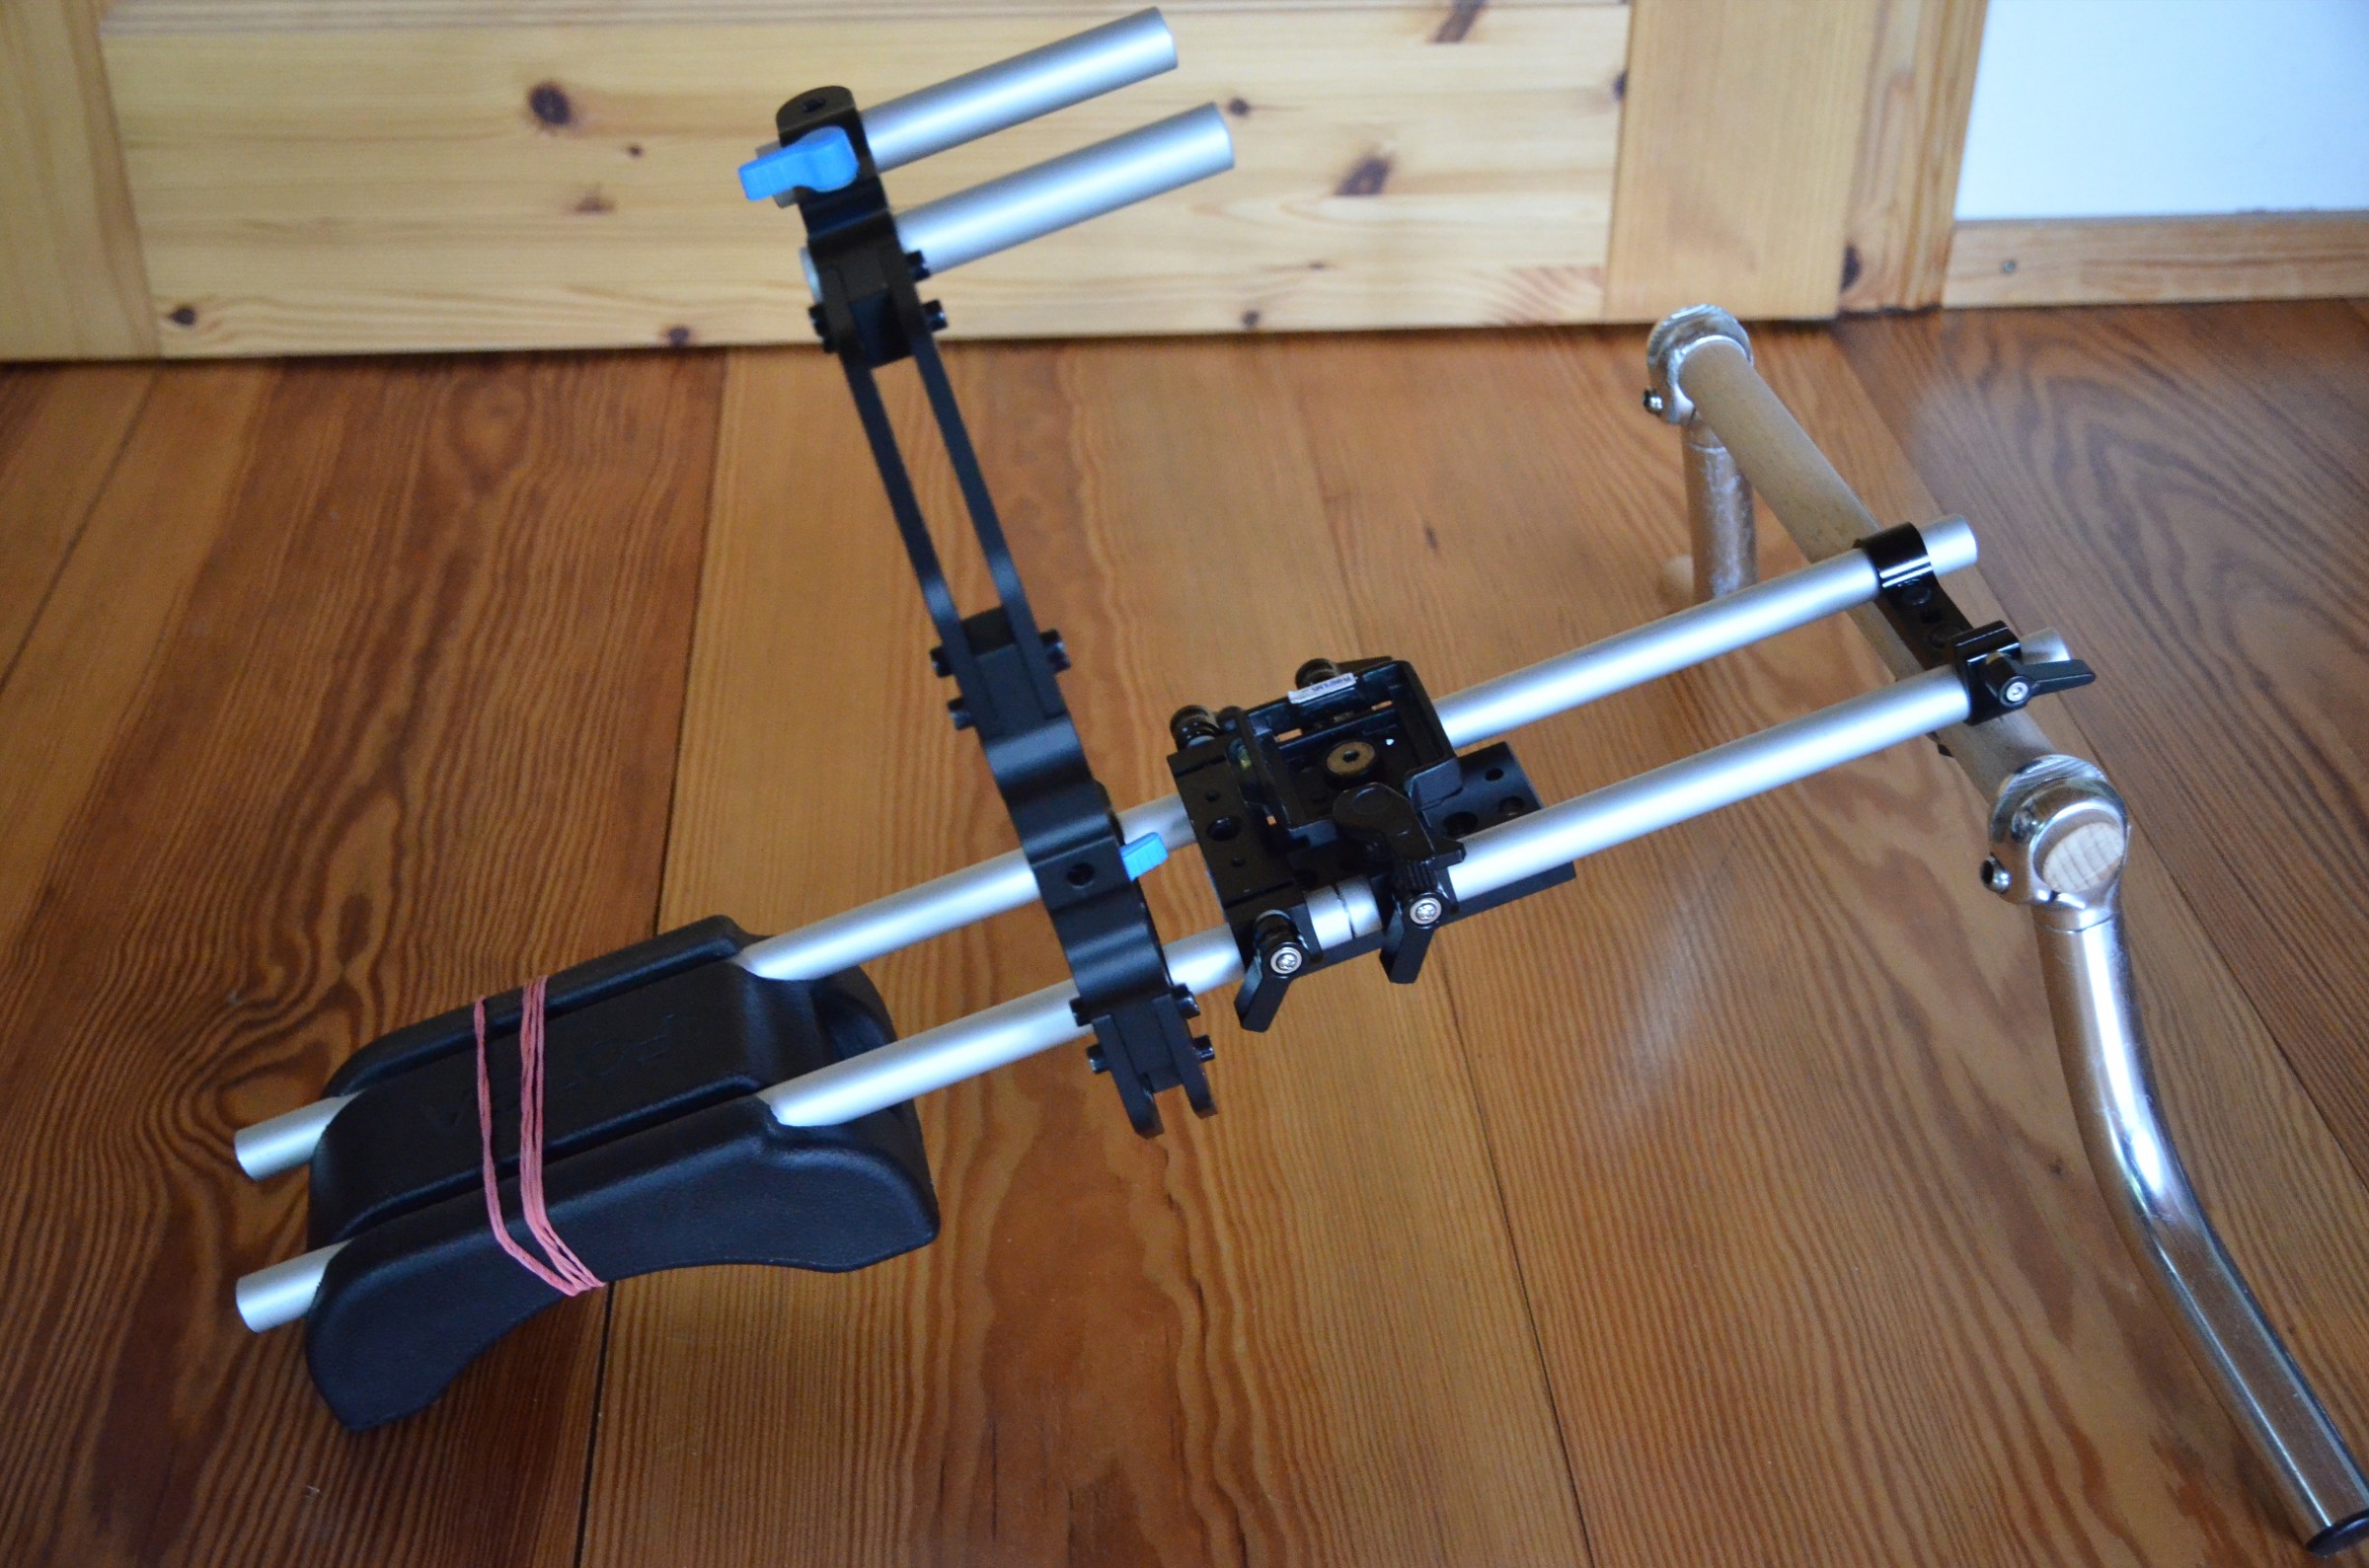
Shoulder Rig
A Rig made from different components, which works great and hasn't cost much. The rod clamps, the shoulder pad, the c-arm and the quick release system are bought online, the 15mm rods at the hardware store and the handles are self made.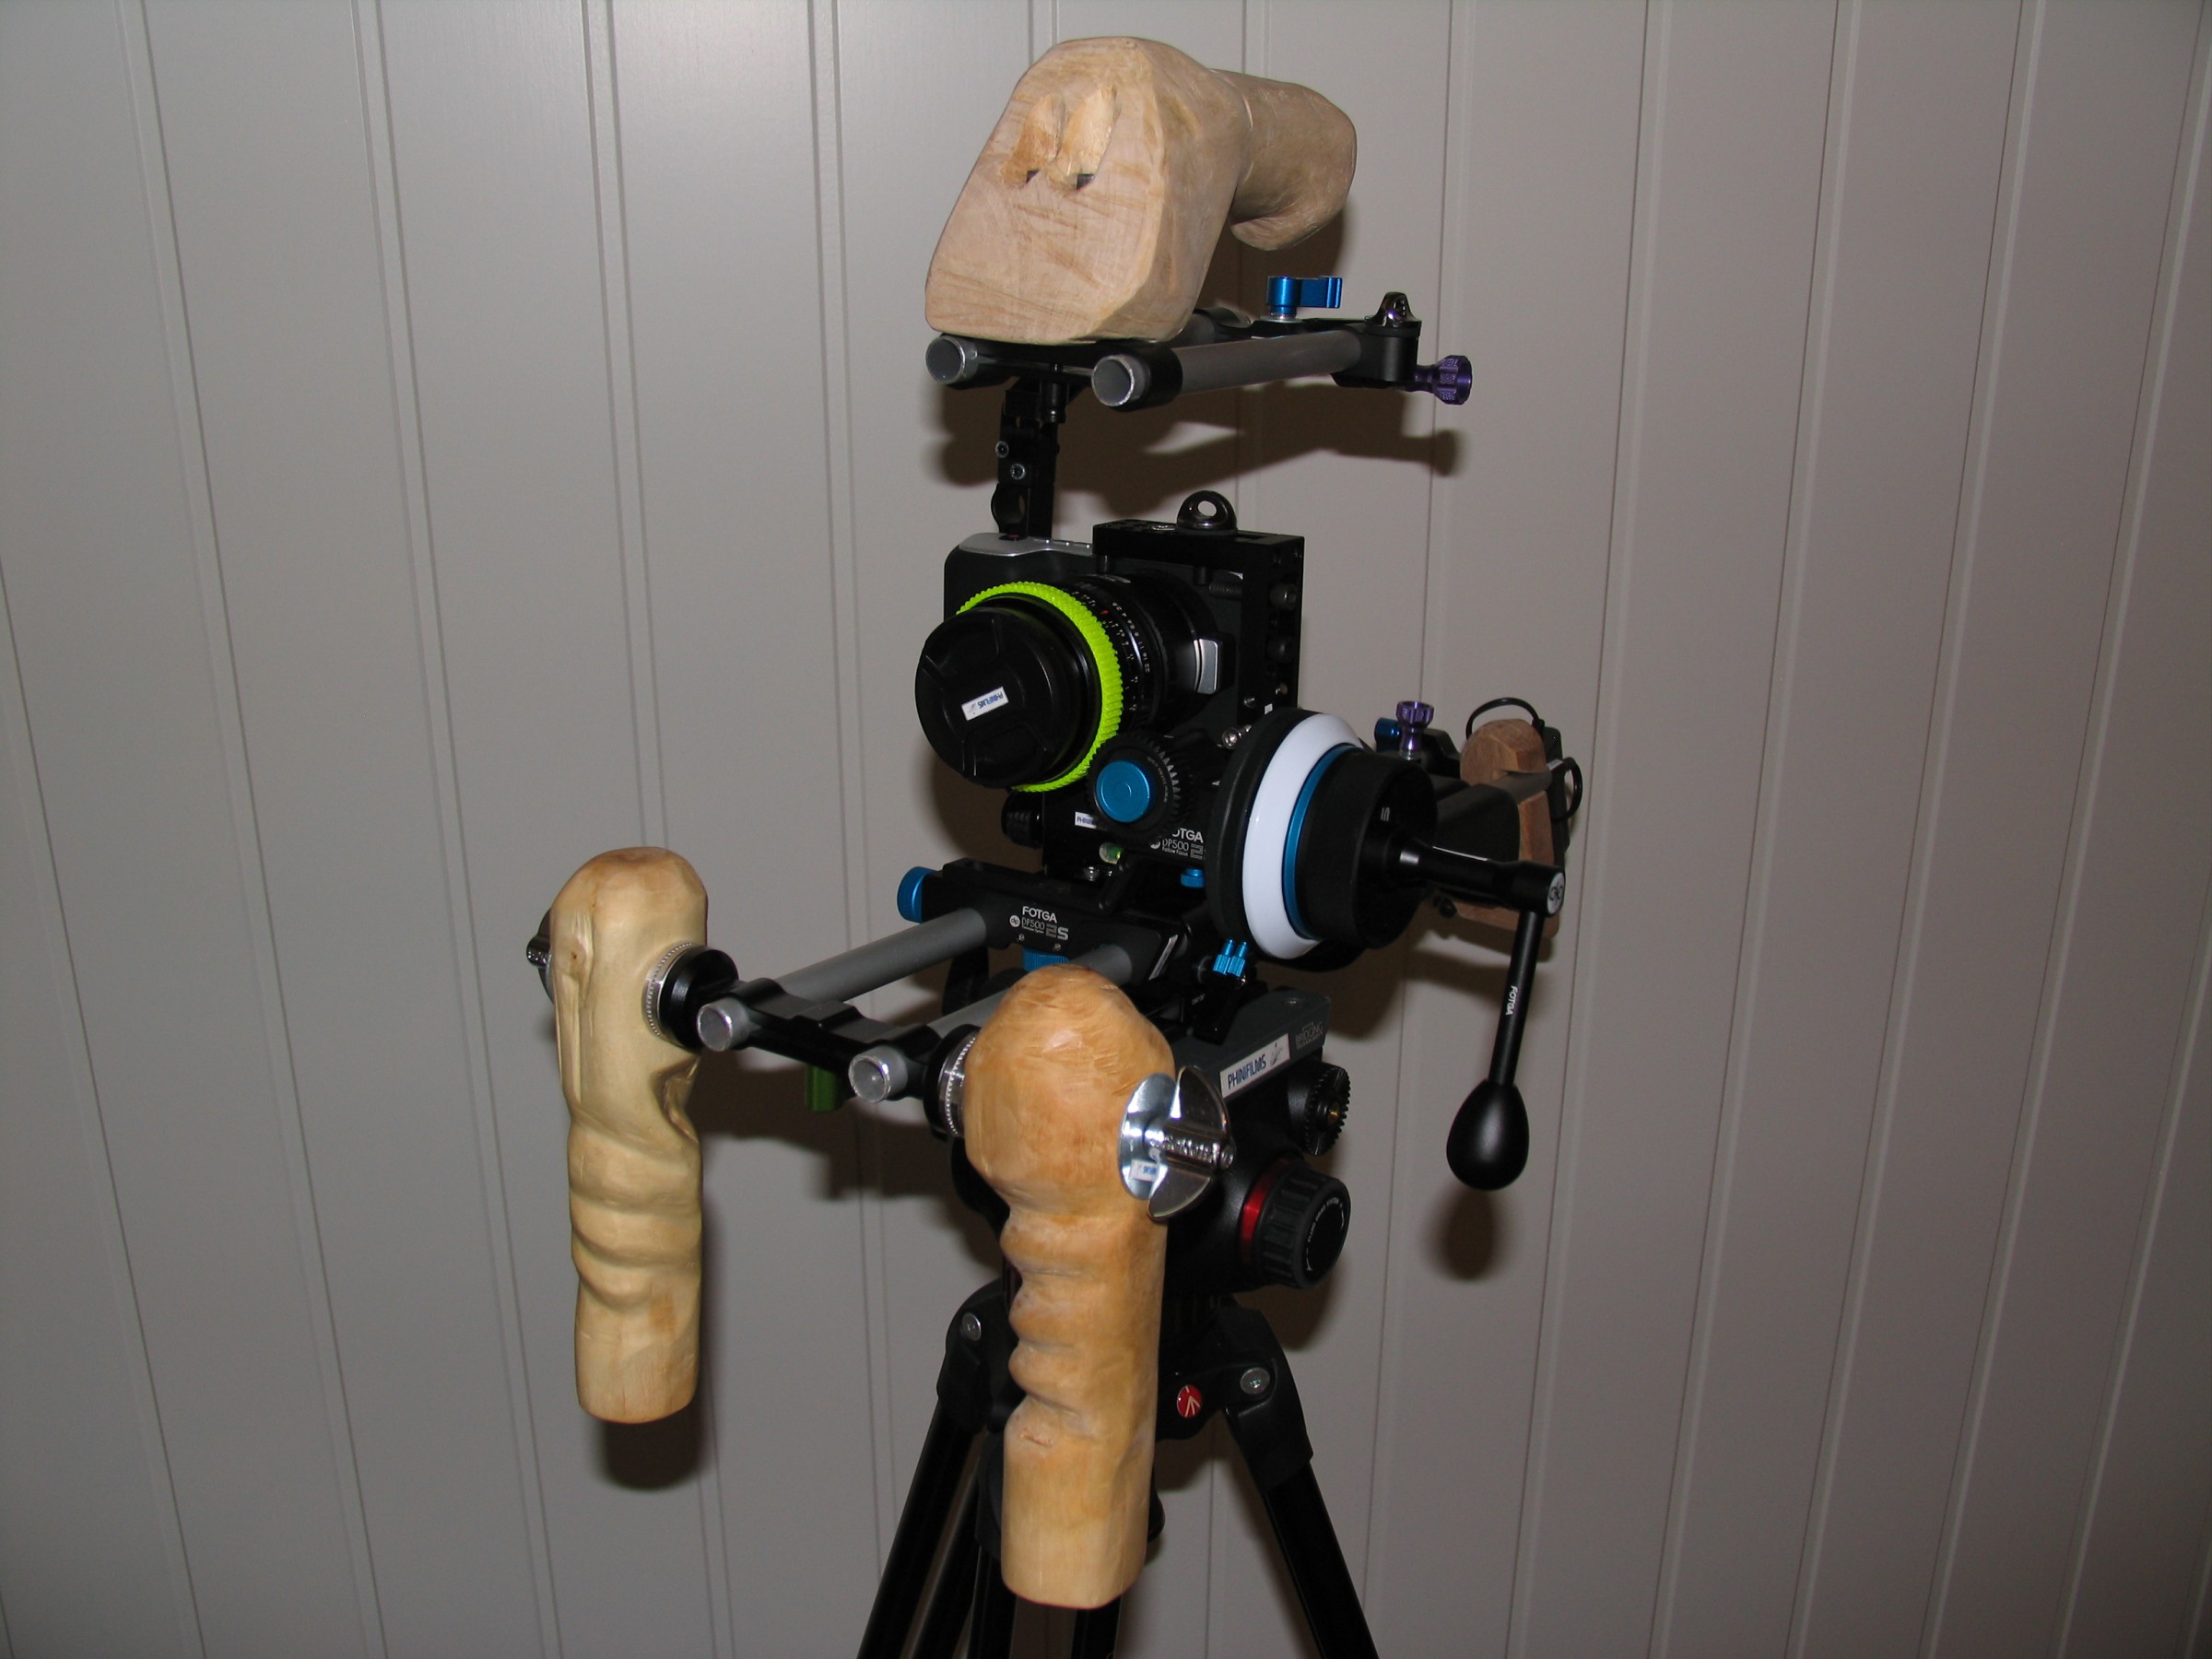


Earlier versions:

The following contains info about some of the parts:
Base Plate
The base of the rig, consisting of two dual rod clamps and one cheese plate from SmallRig.

Cage
A cage from SmallRig to protect the Pocket and make mounting it onto the rig more stable.
Shoulder pad
A simple foam shoulder pad from Fotga.
C-Arm
The c-arm as well comes from Fotga.
Quick Release System
As a QR-Sytem I curently use a combination of Arca-Swiss style plates and -clamps as well as the Manfrotto 323- and PL200-replica.More info on this coming soon…


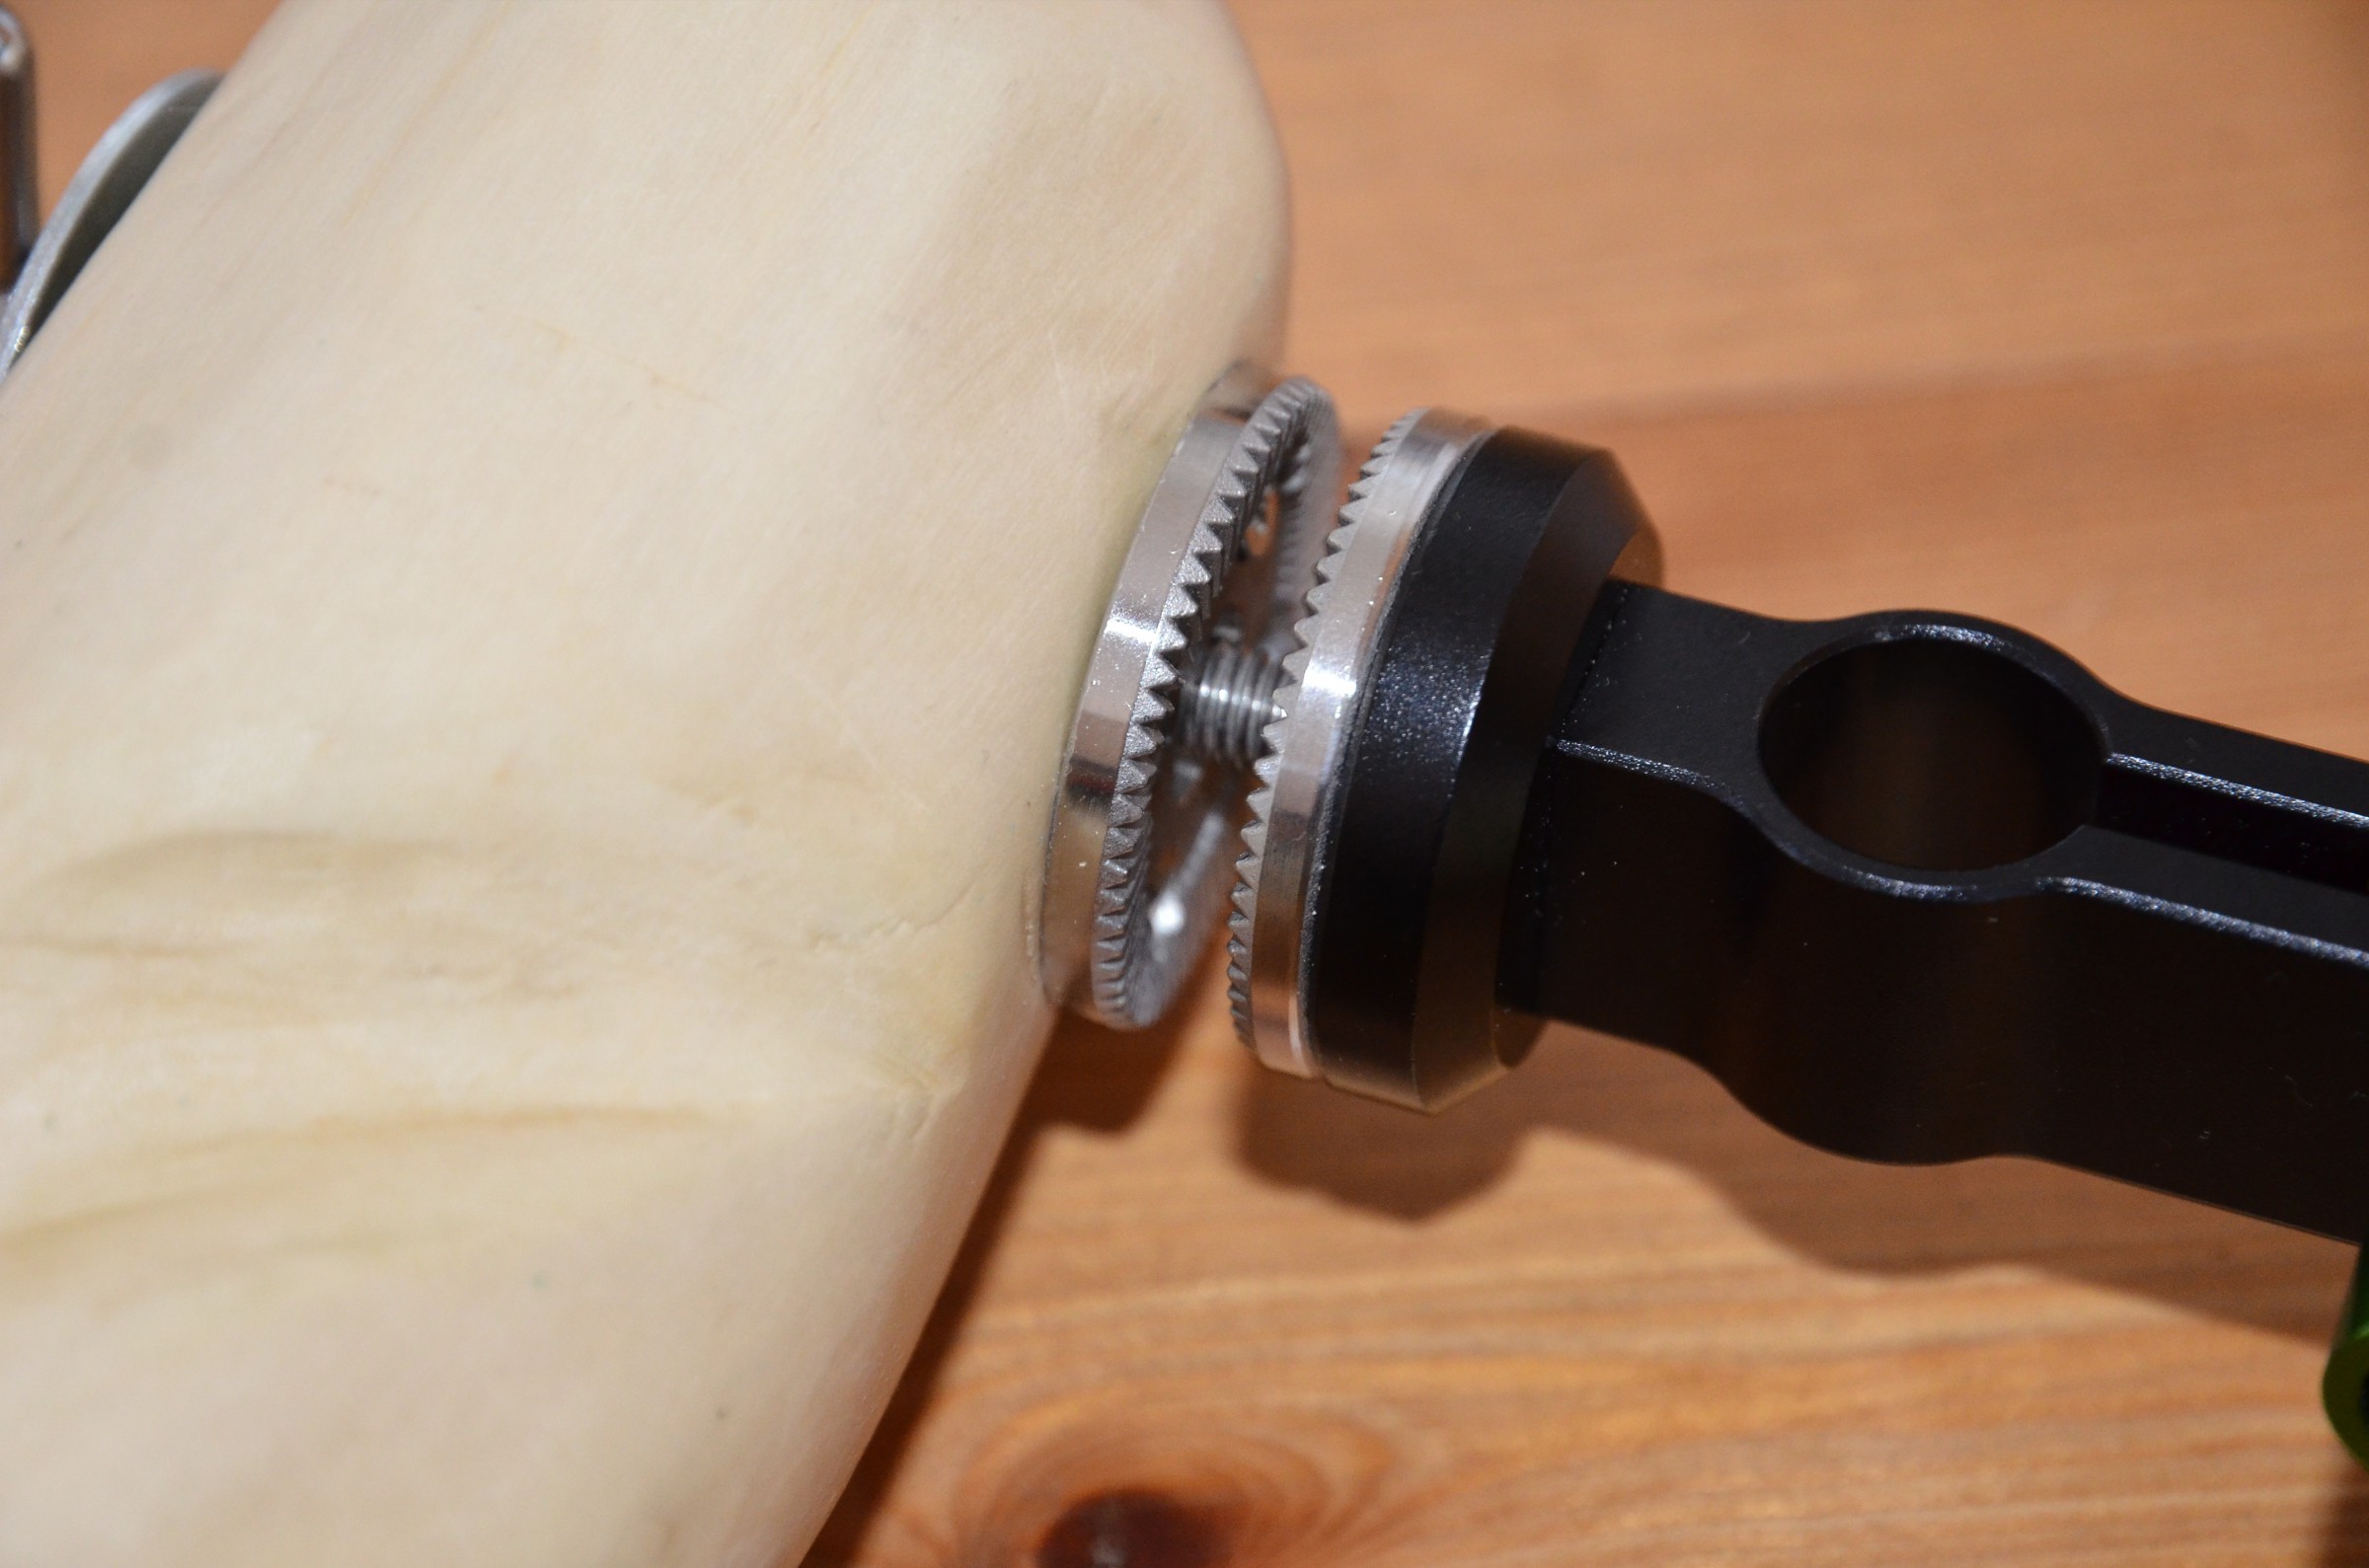
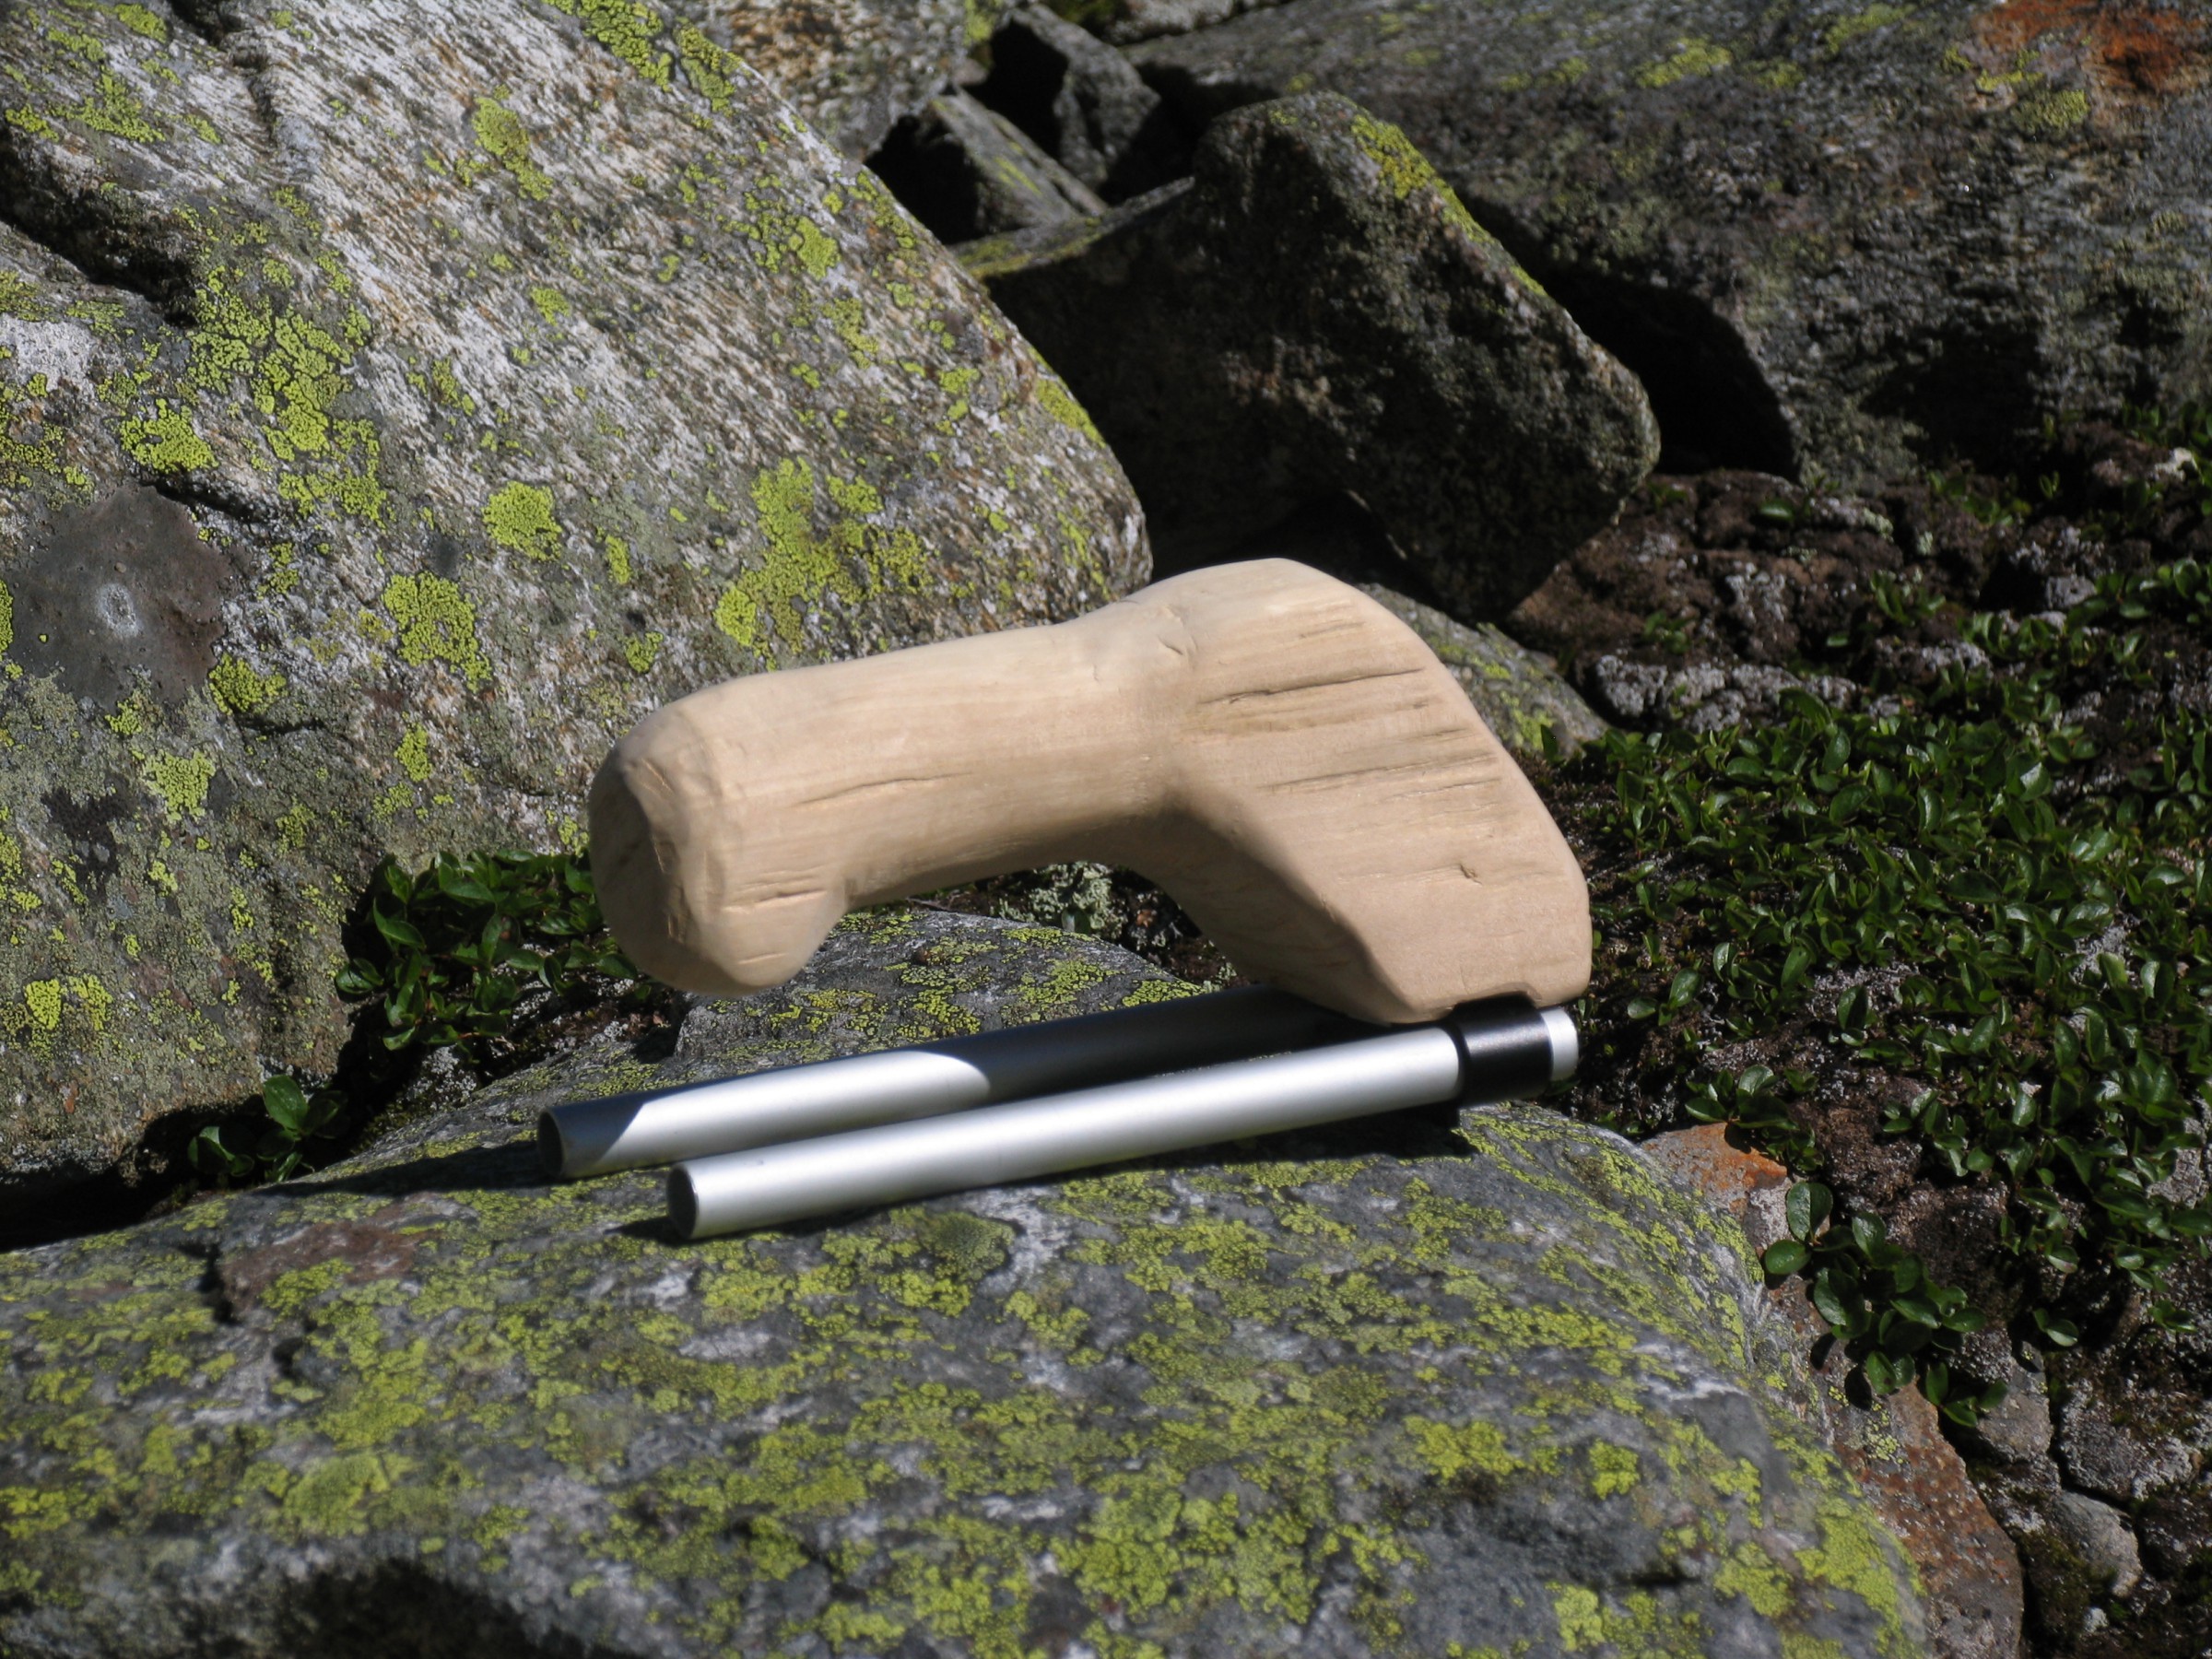
Rig Handles
Self-made wooden rig handles.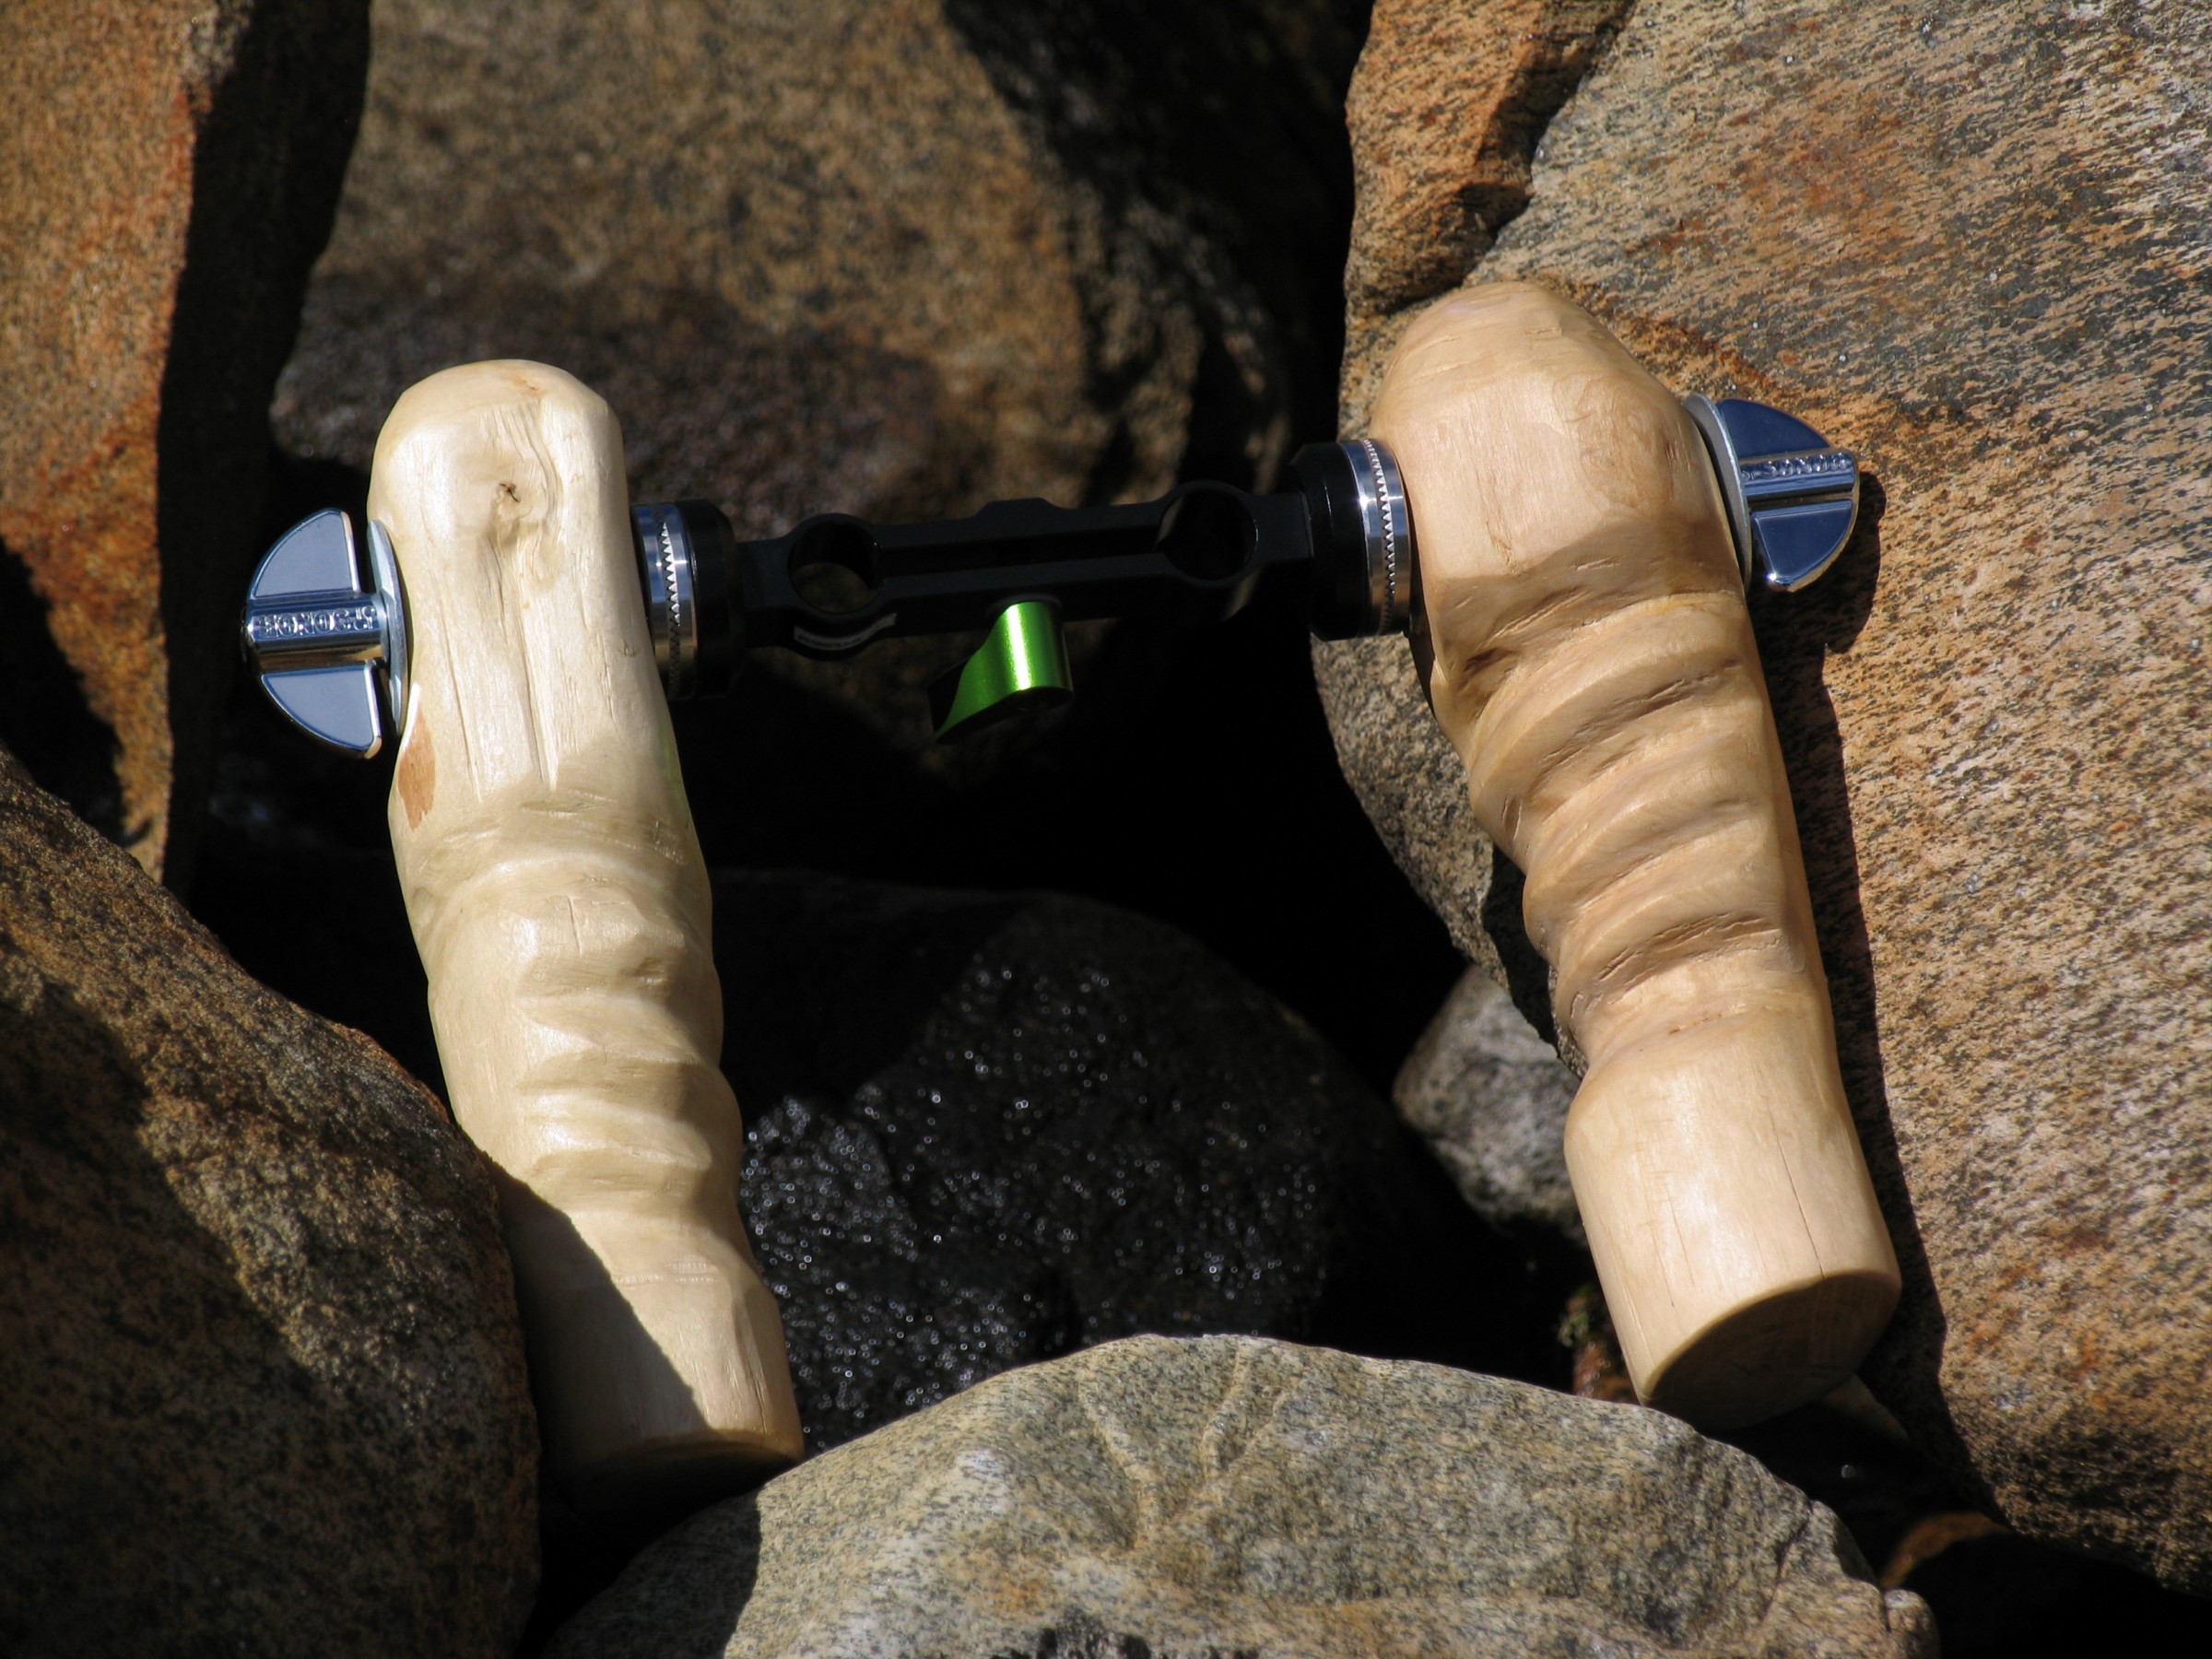


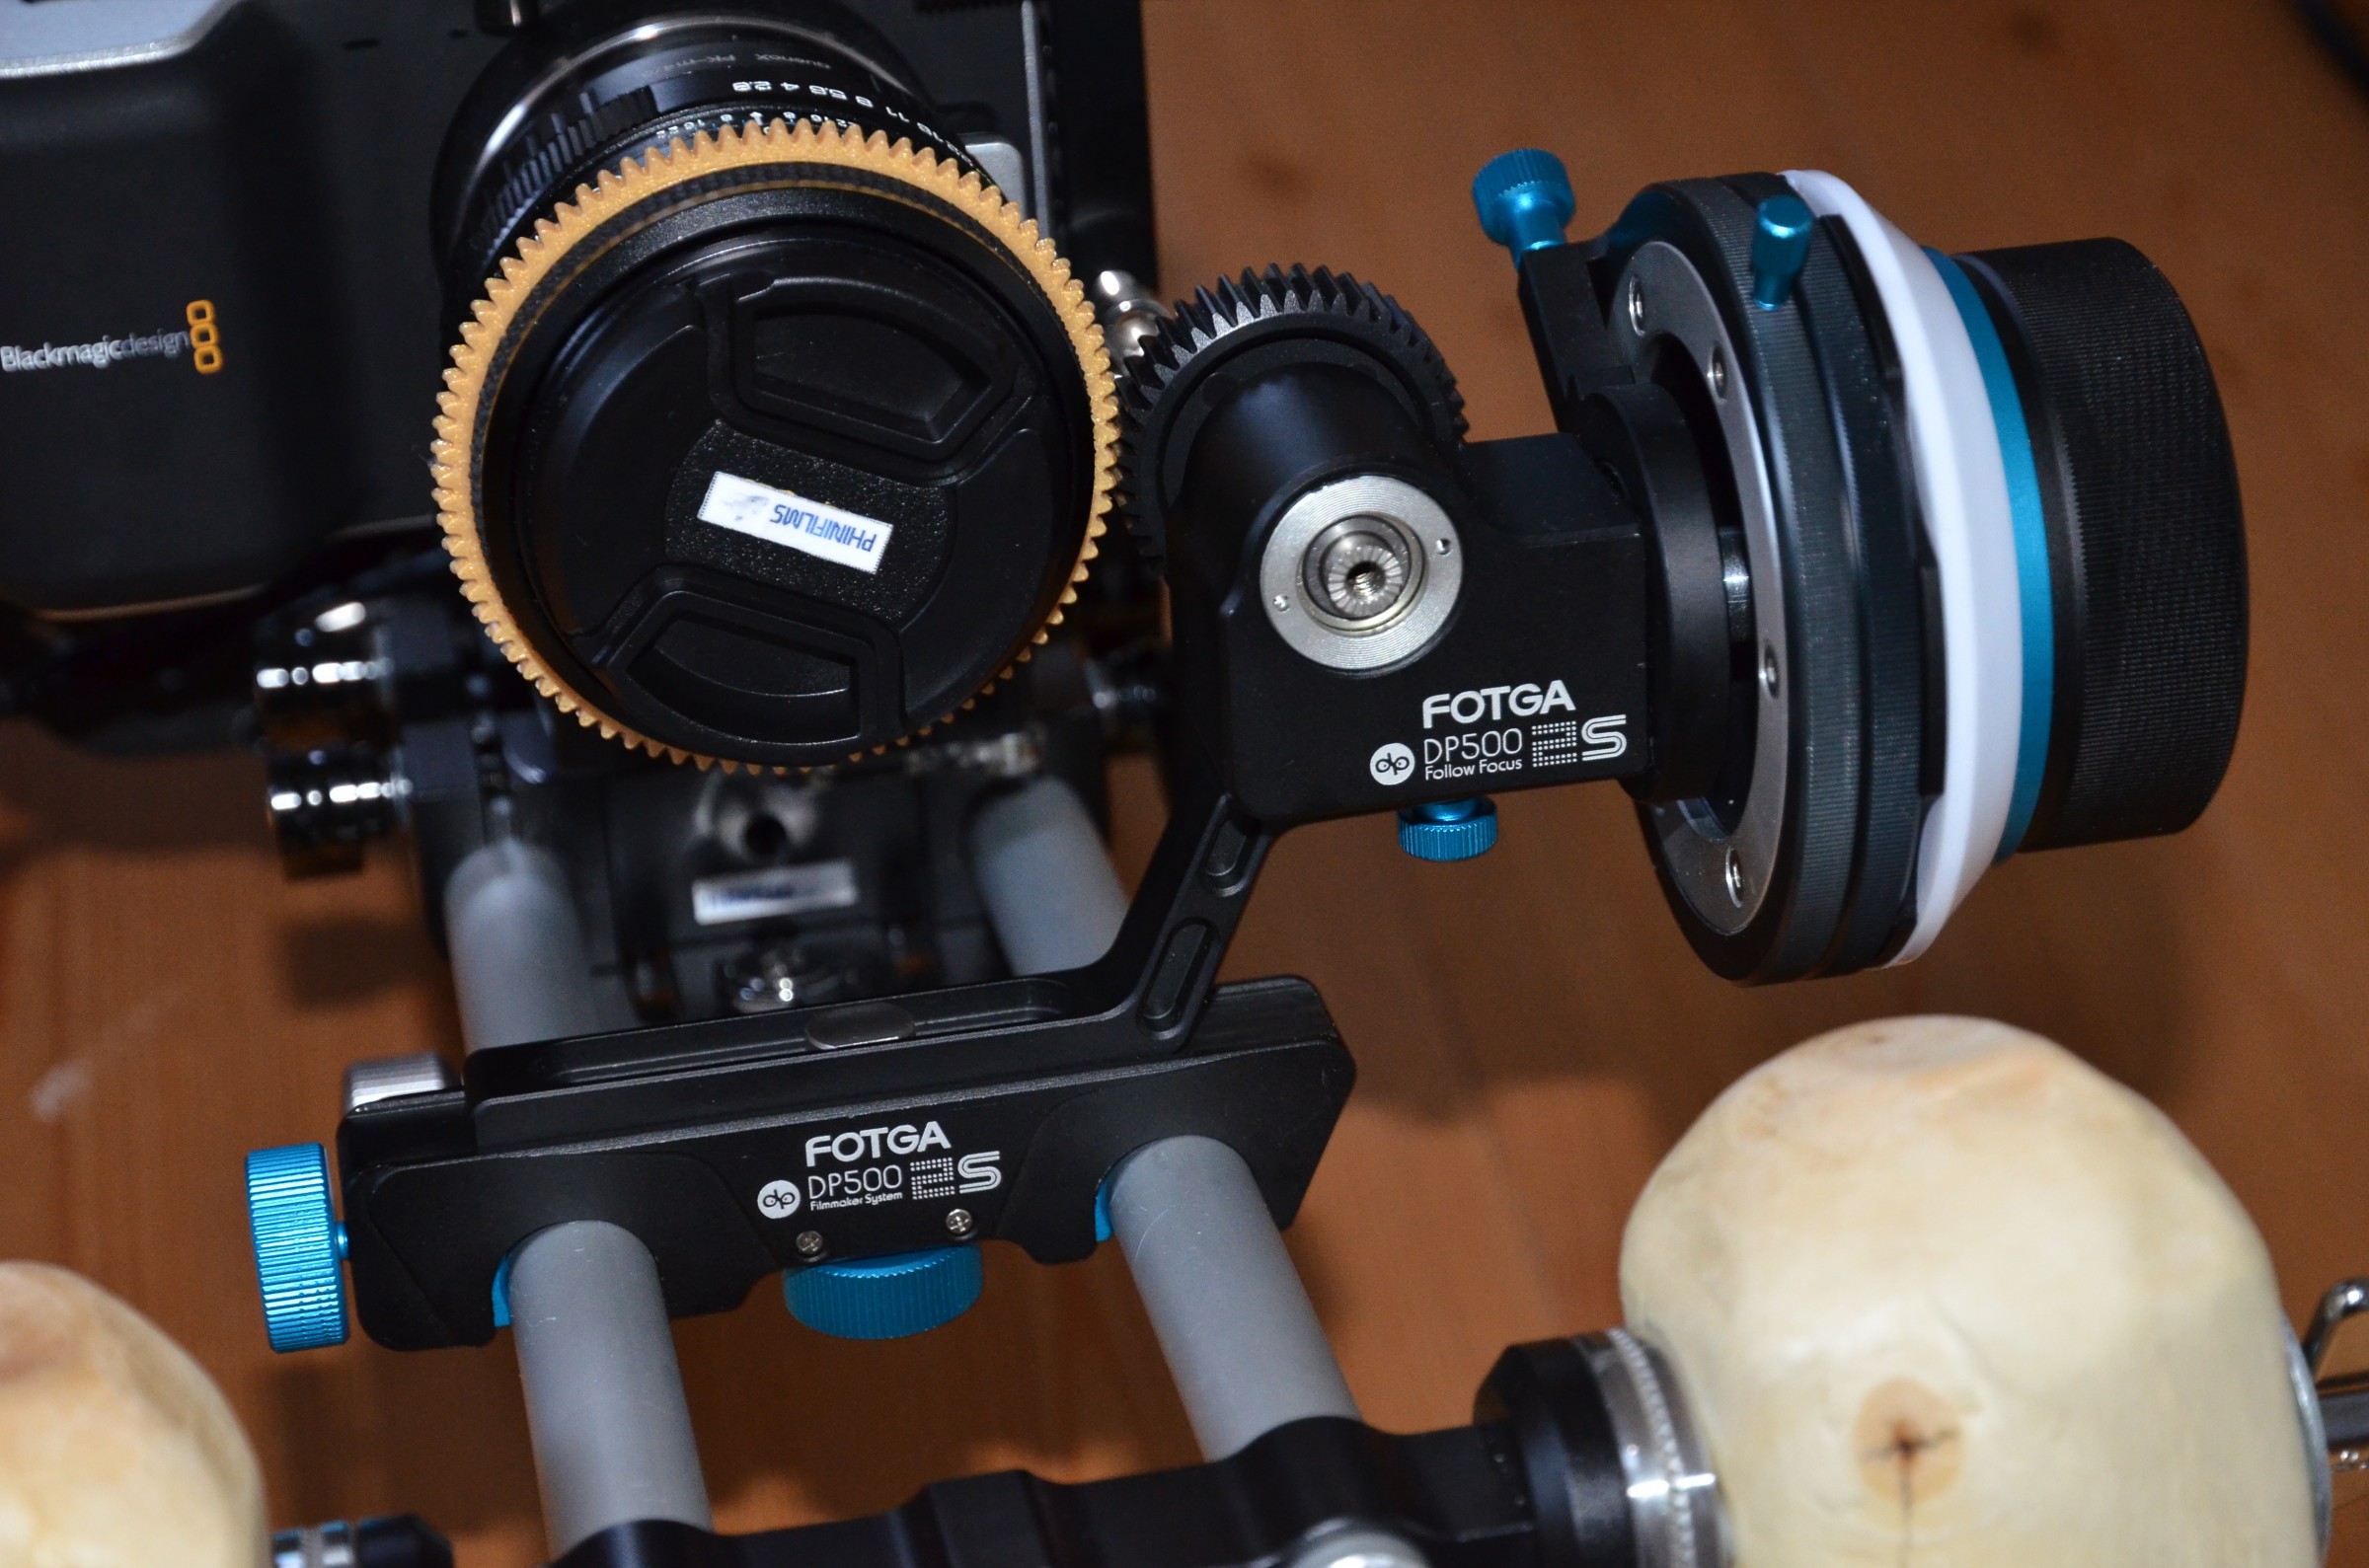
Follow Focus
The Fotga DP500IIS with A/B hard stops and an open Rod-Clamp for making it easy to mount onto the rig.


Power
After researching and testing for a long time I finally found a good solution for powering my BMPCC-Rig: Sony L-Series NP-F-batteries.For this I bought a battery plate with built-in 12V-booster an built a rig-mounting-plate for it.


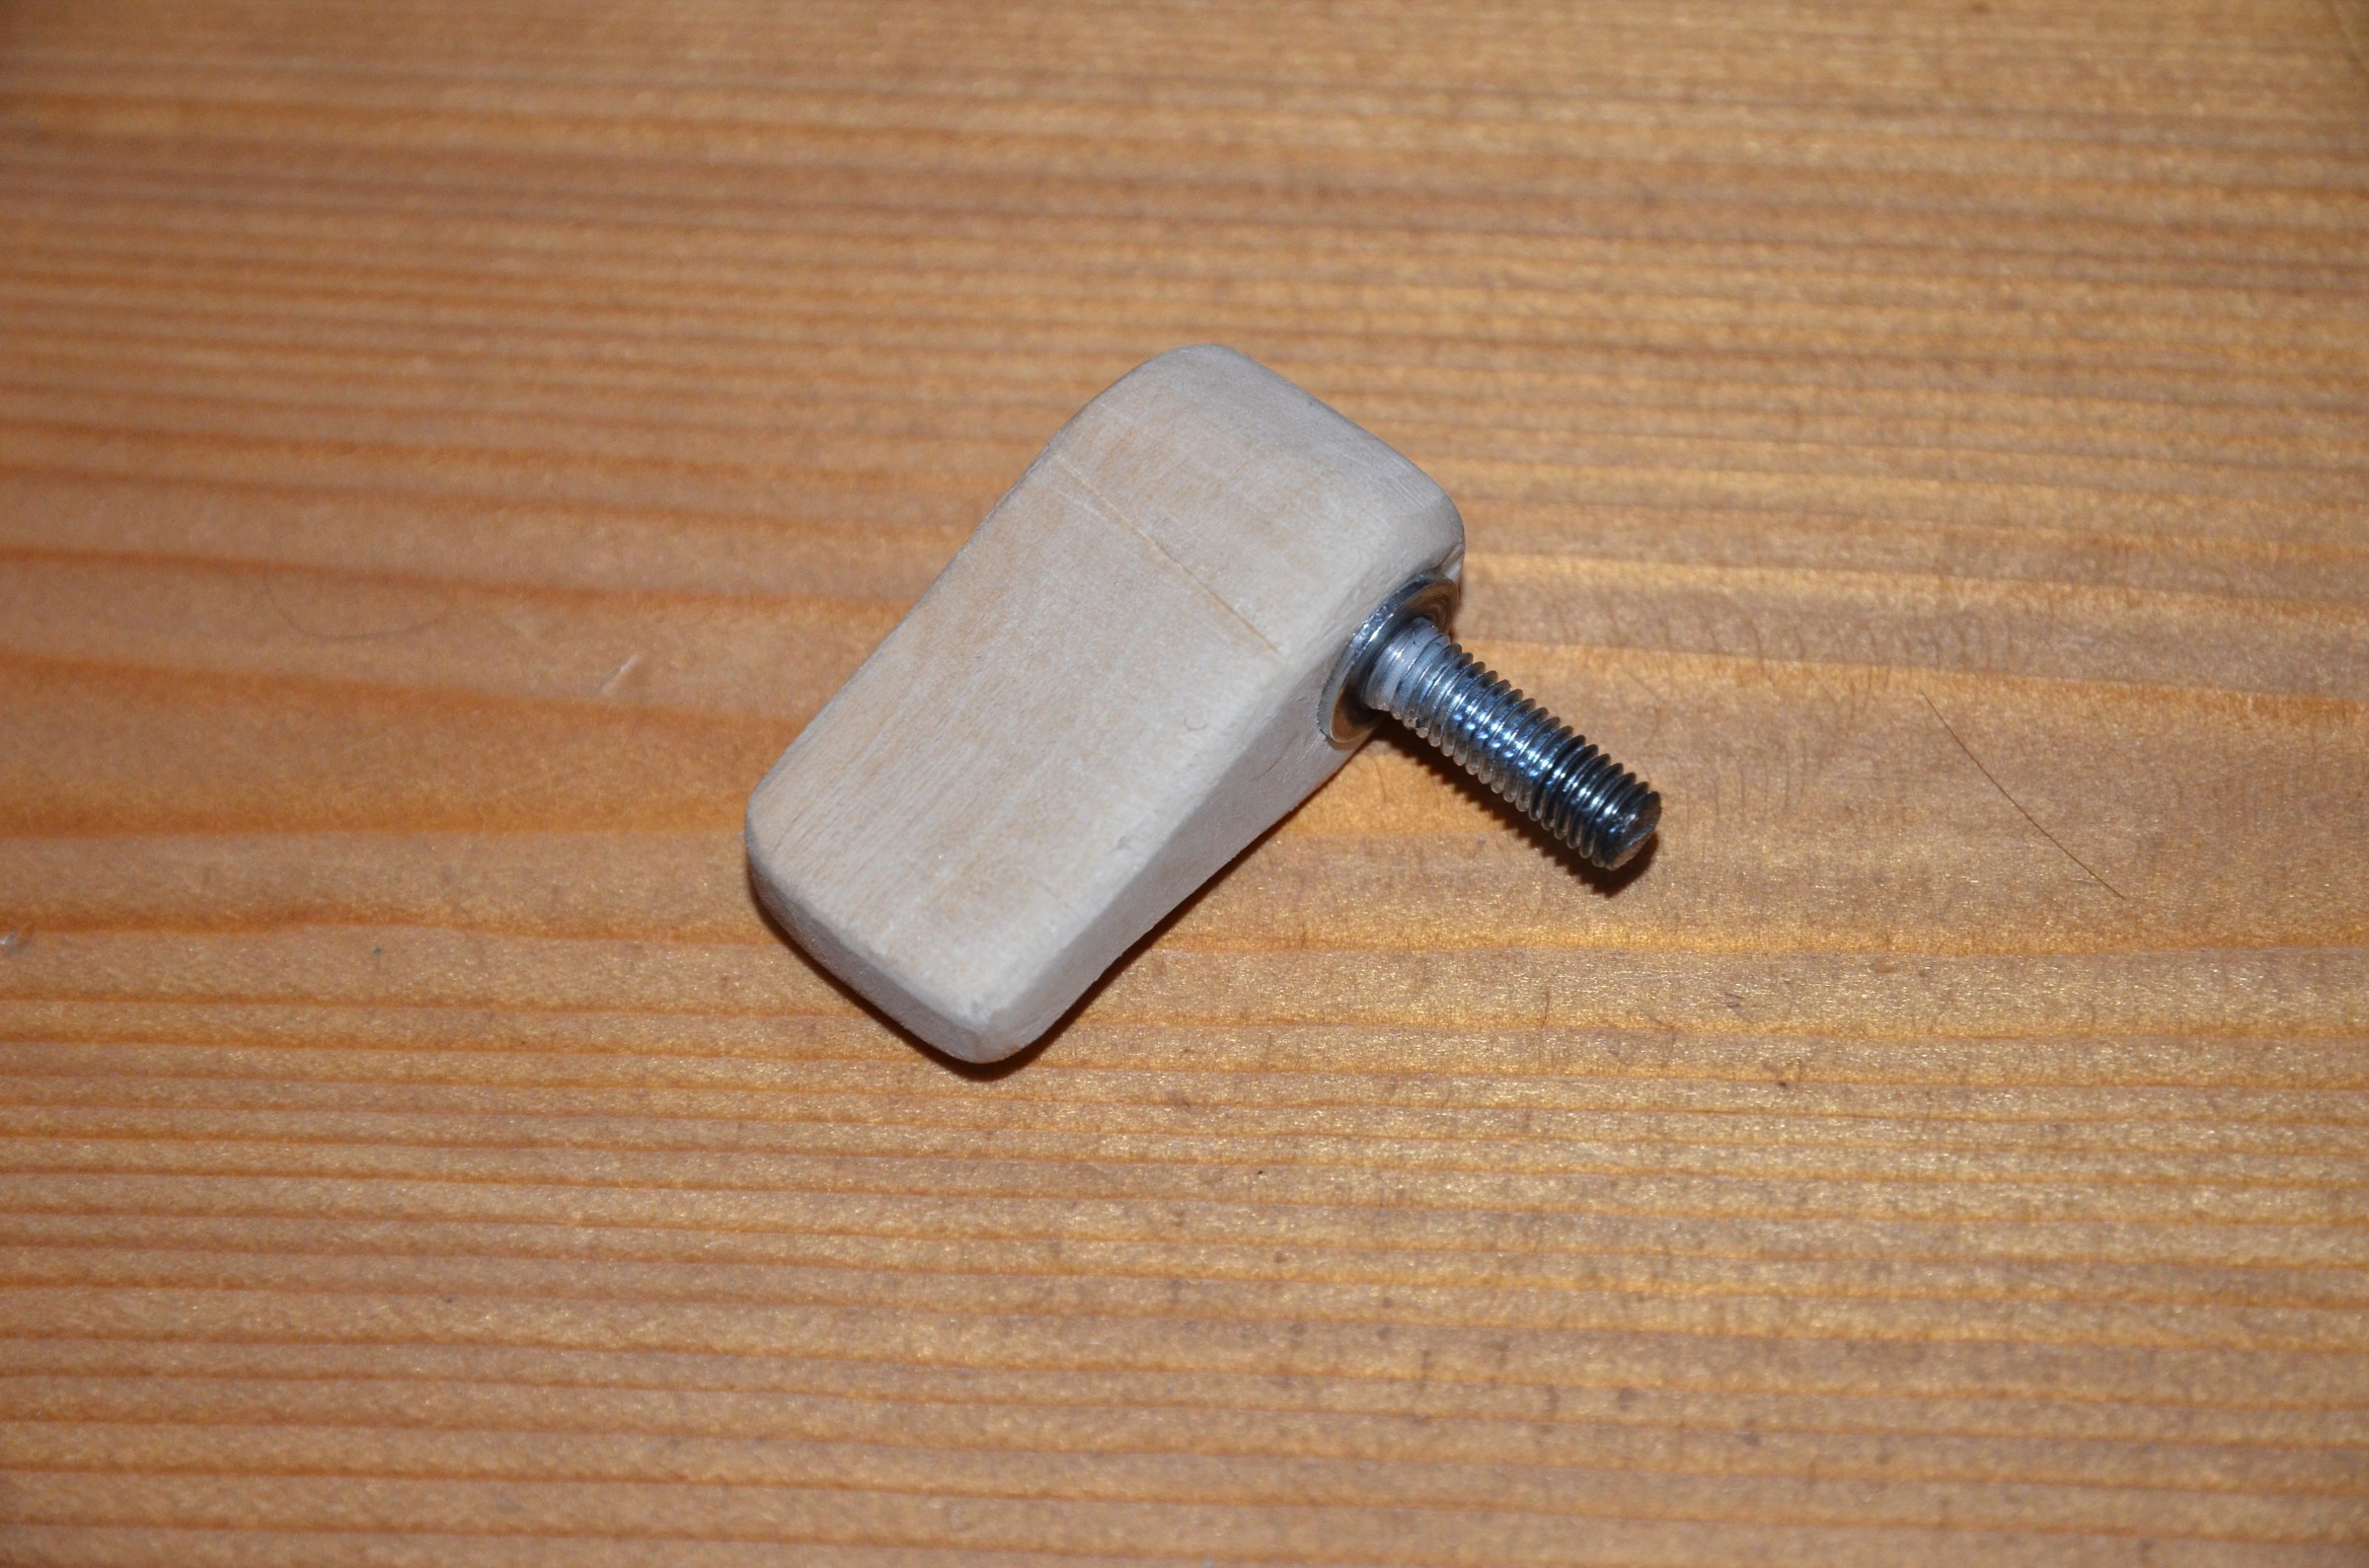
Rig-Accessories
Self-Made accessories for the rig: A double-rod-clamp consisting of a cheap single-clamp and a piece of wood; several self-made wing screws fro wood with a piece of threaded bar glued in.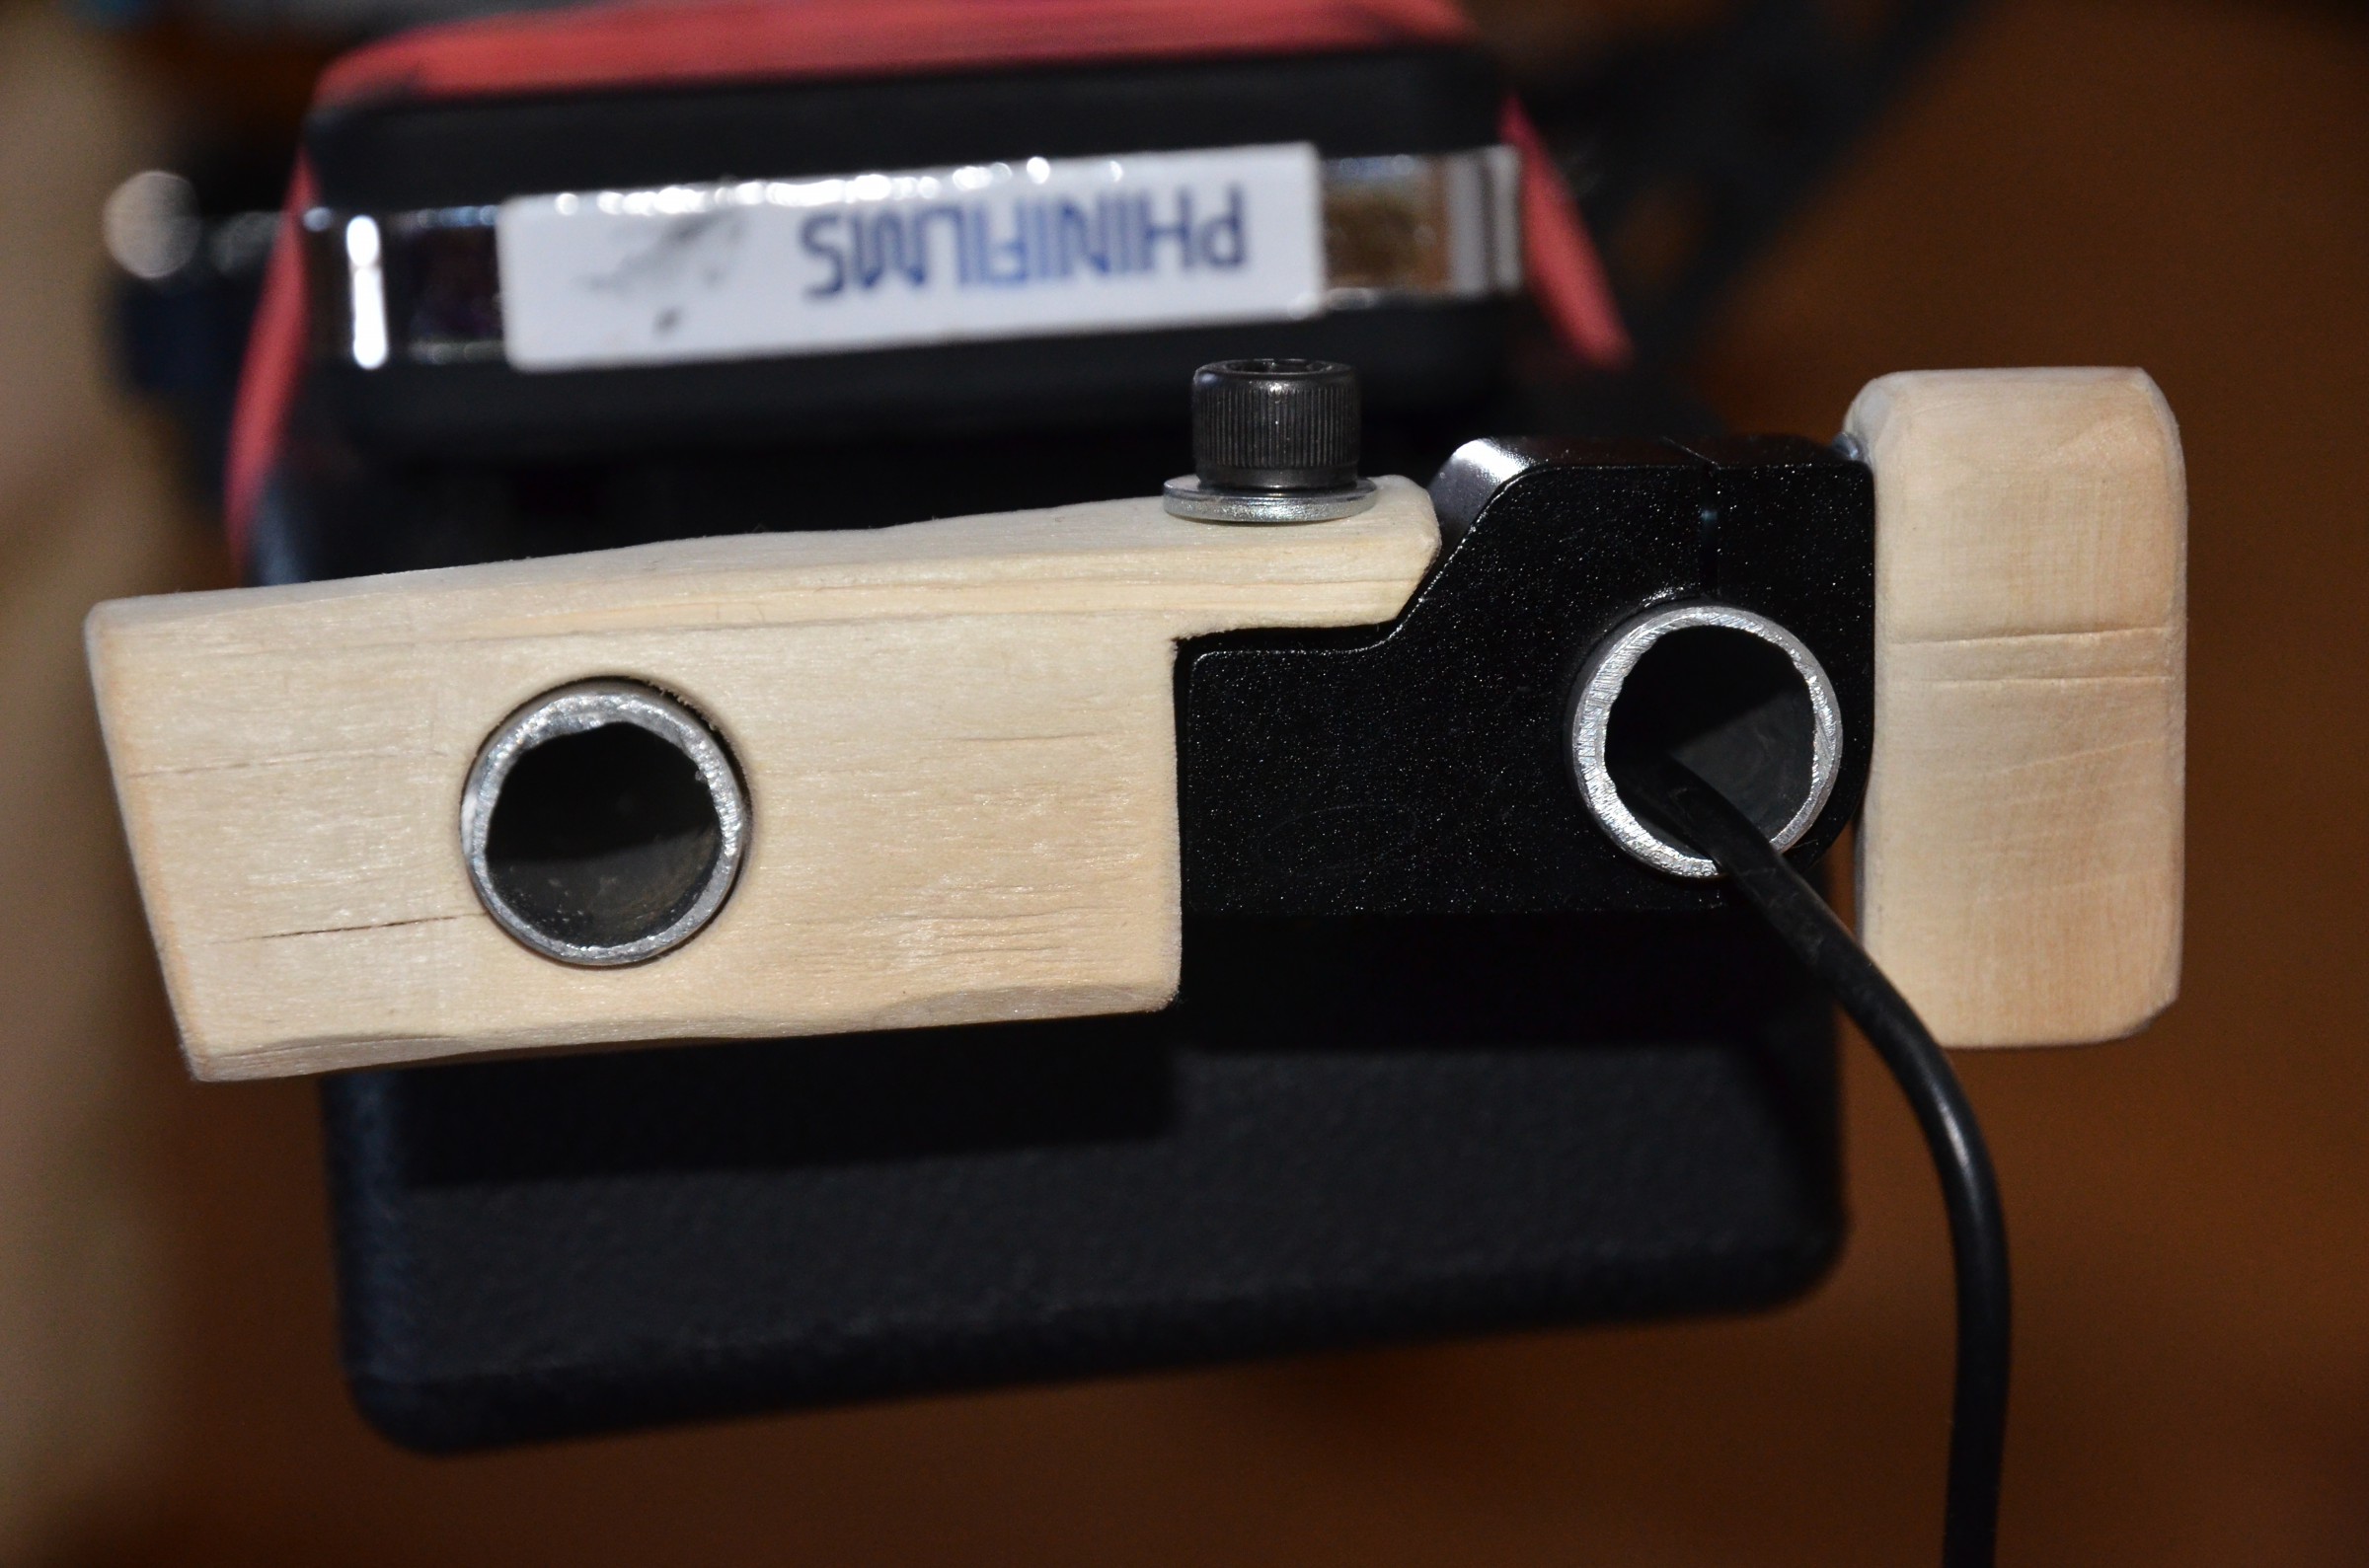
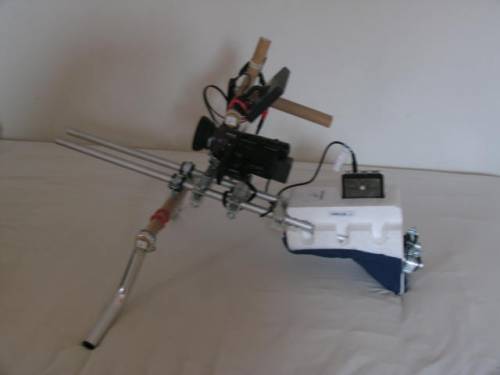
Old Rig
This early version of the shoulder rig doesn't exist anymore, it has been reconfigured (see above).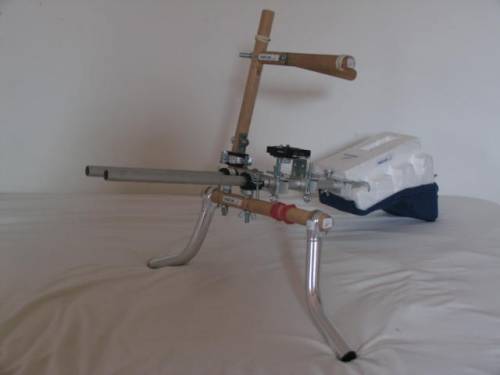

Handle grip
Due to the fact I now own a way more complex camera rig I rarely use the X-GRIP by Opteka anymore, but it's still good when size and weight of the used equipment matters, or when the rig already is in use.Tripods
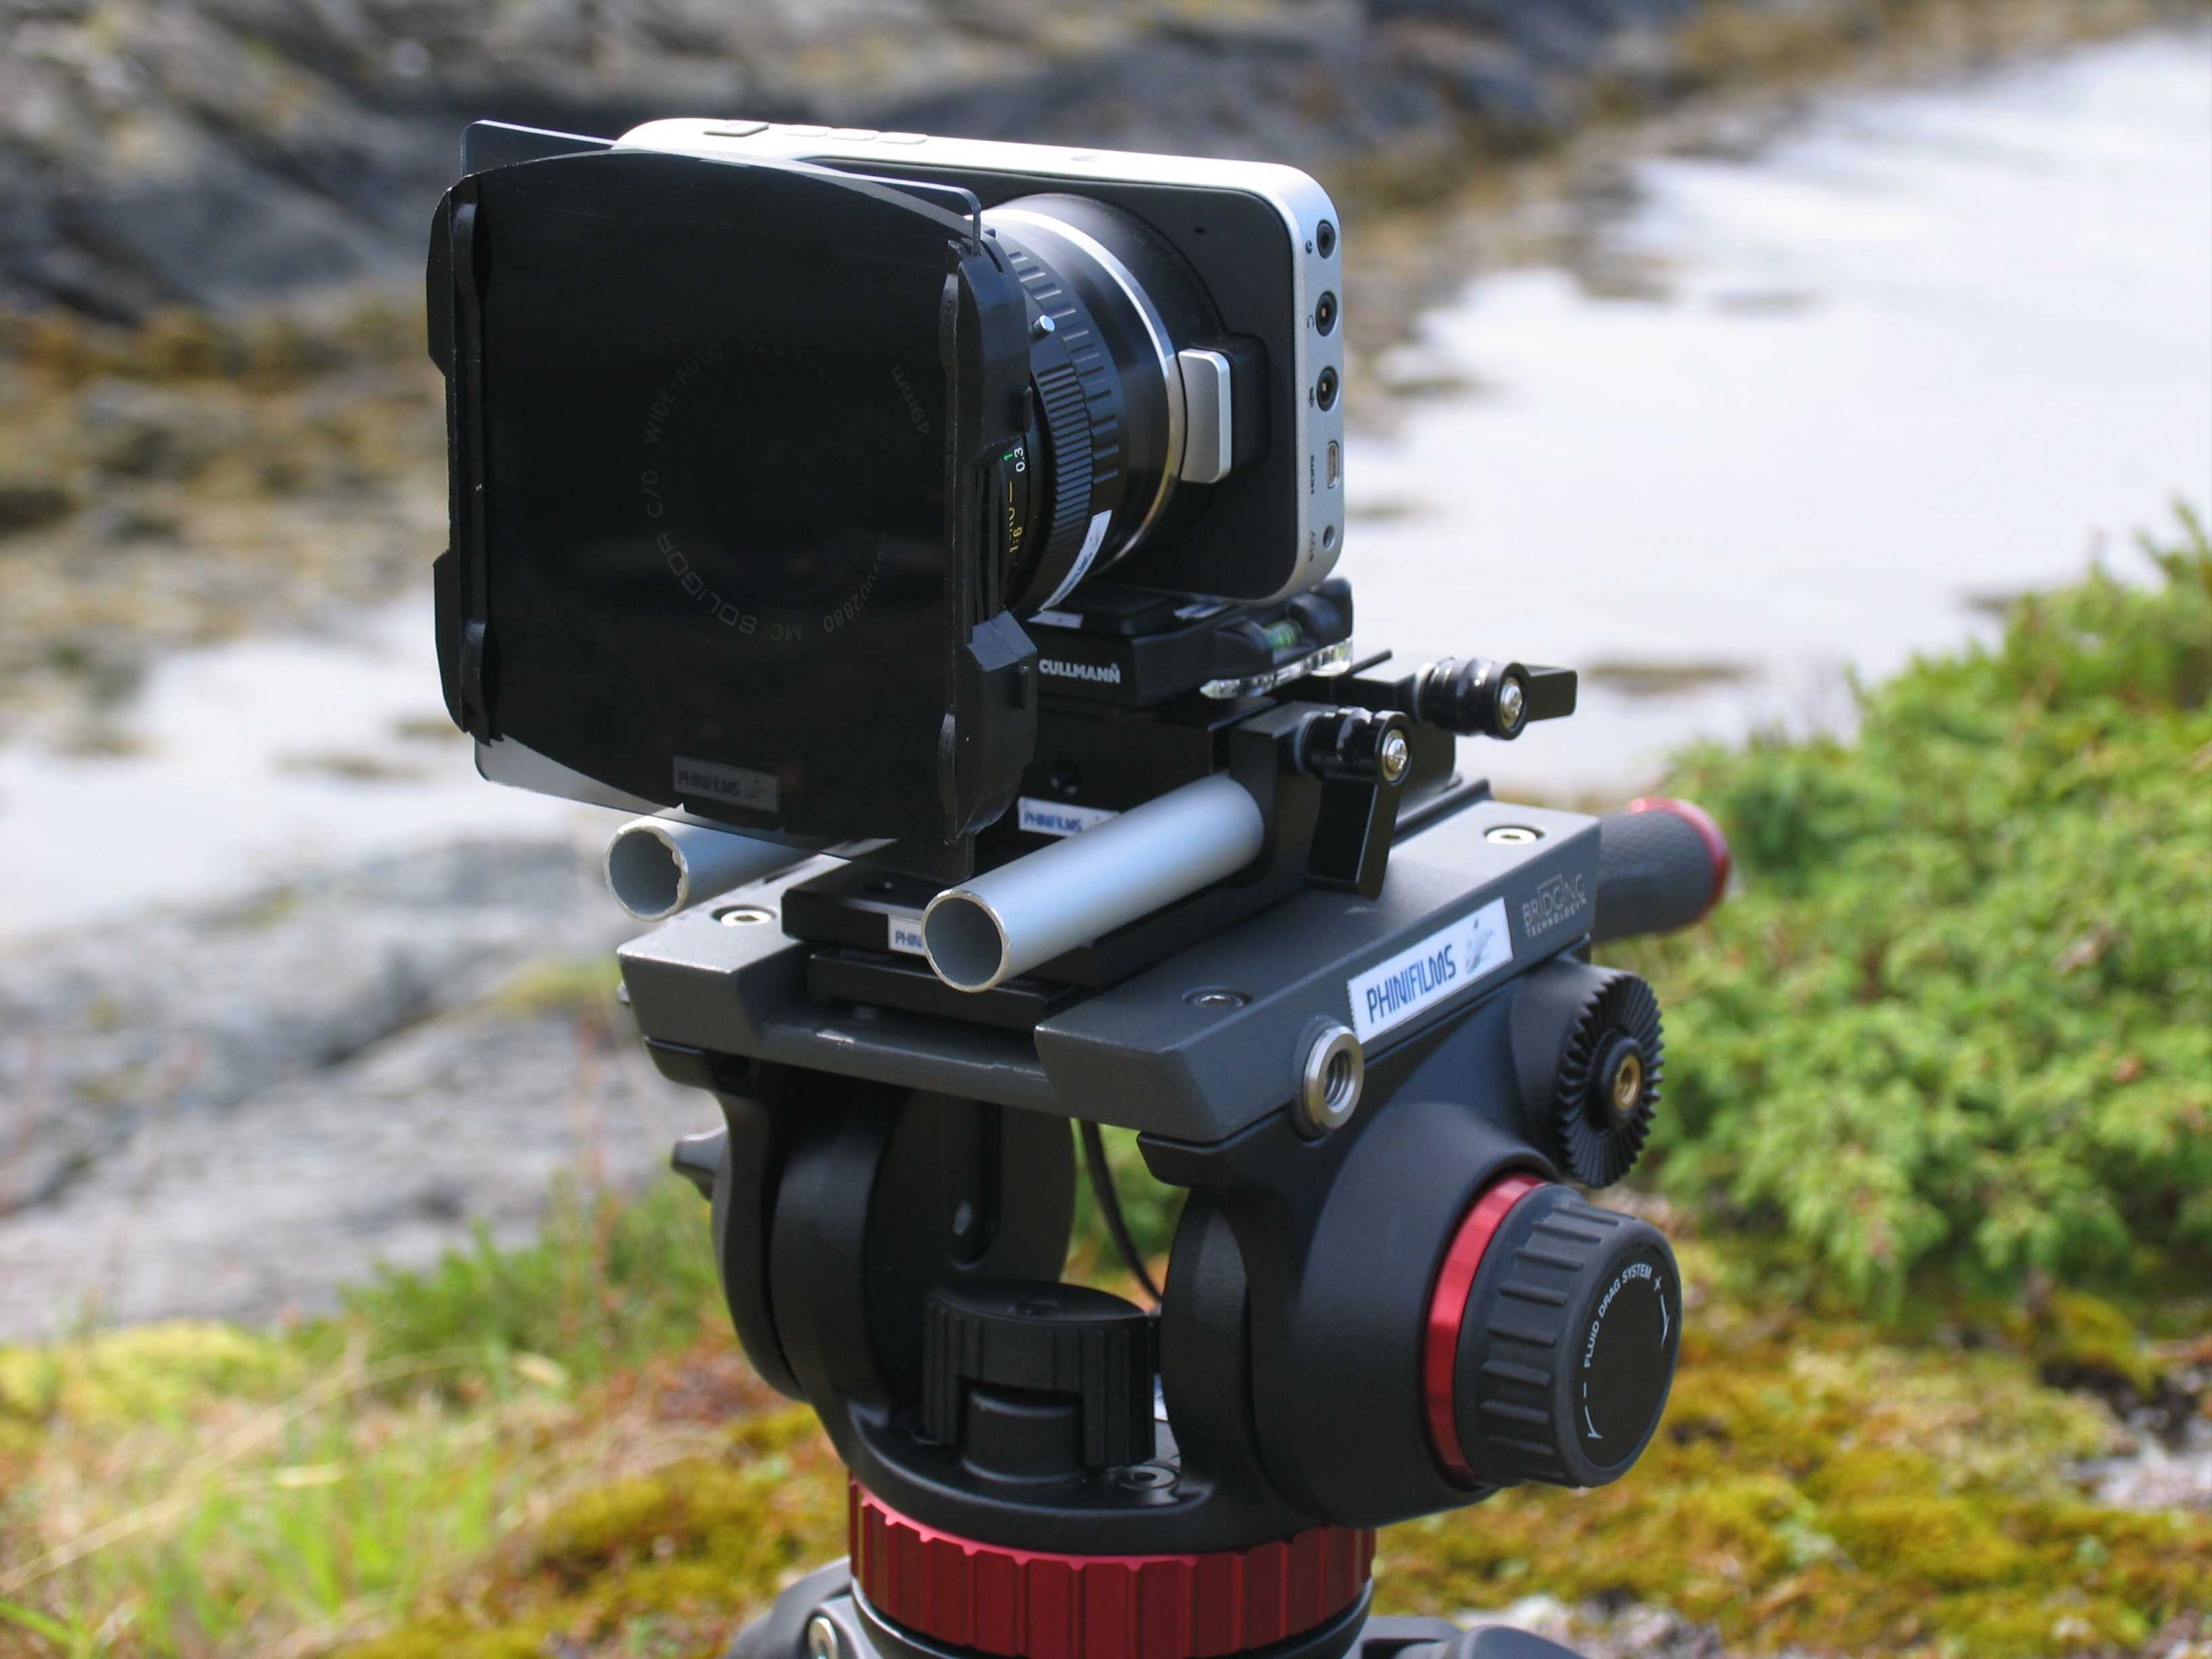
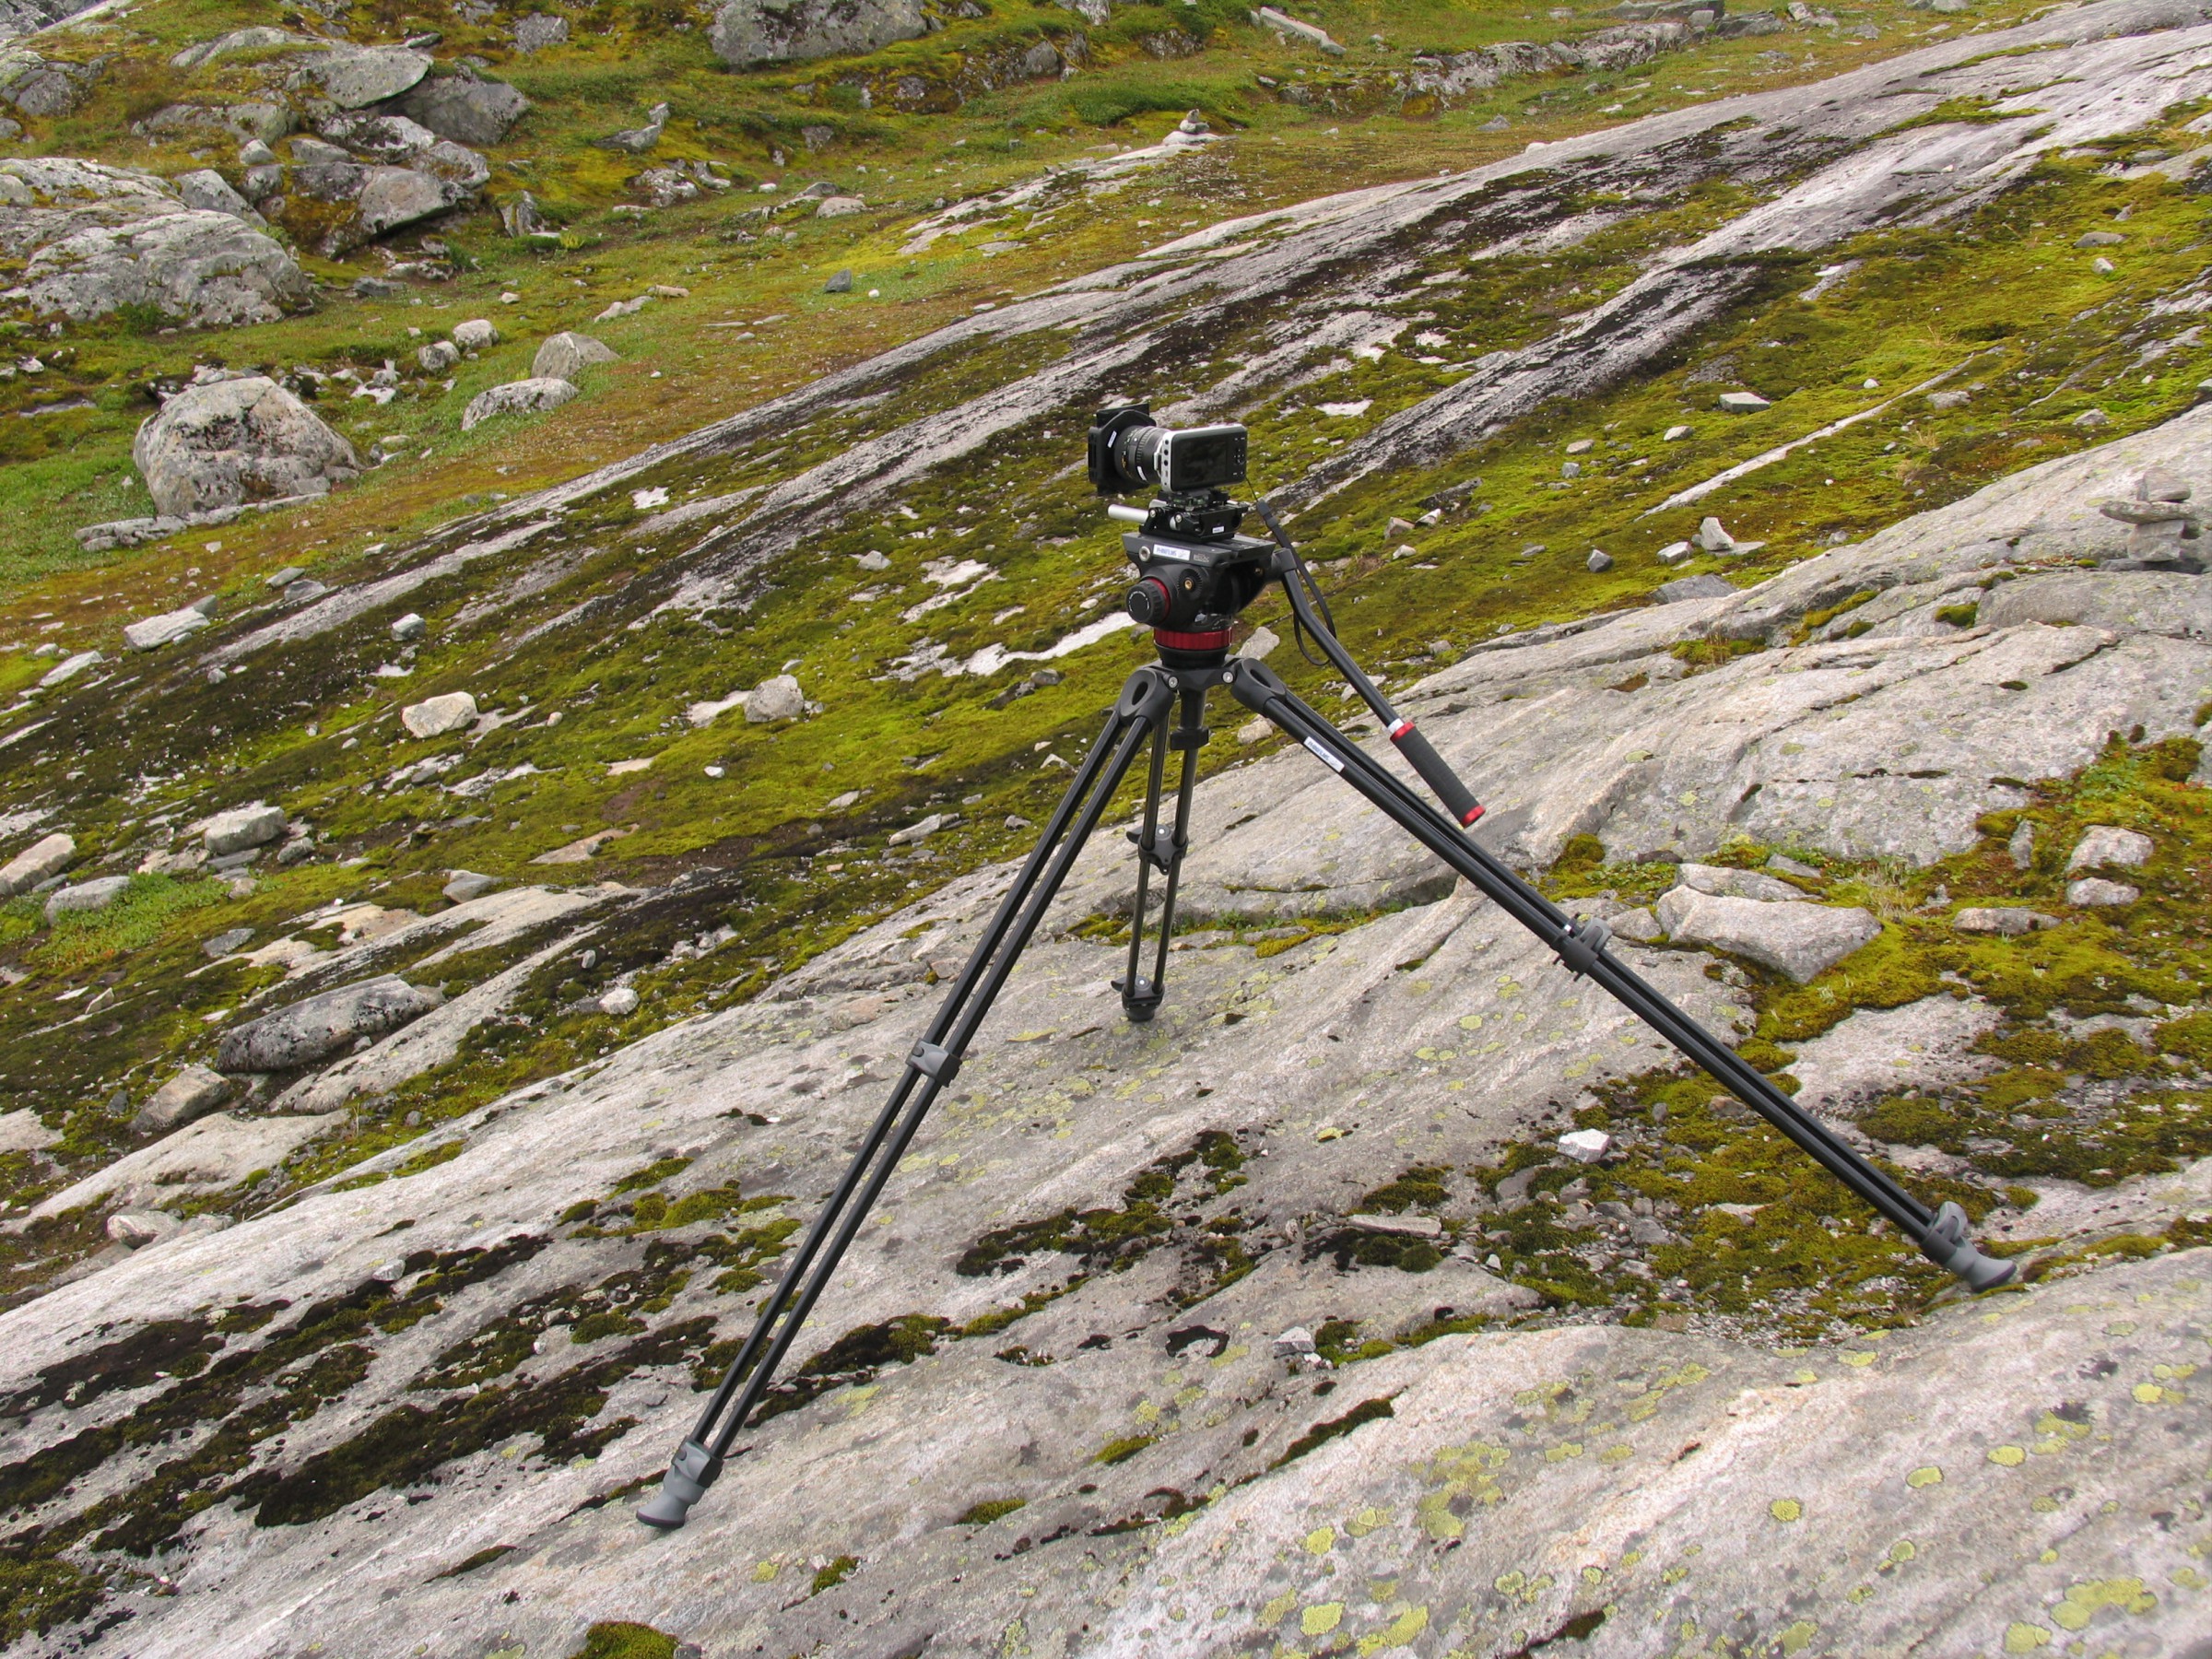
Some of the equipment I didn't built myself are my tripods.Manfrotto 502
My biggest, most stable, most expensive and simply best tripod is by Manfrotto; it consists of the tripod legs MVT502AM and the fluid head MVH502A.


Ultrapod II
The smallest one which has a small ball head can be mounted nearly everywhere with a strip of velcro.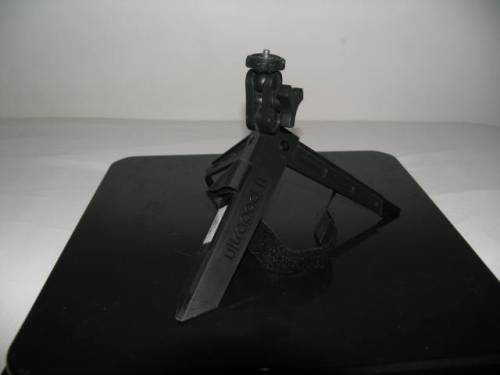
Cullmann Alpha 2500
The Cullmann Alpha 2500 is cheap, lightweight and very compact when broken down, but extended it reaches a valuable height. But it only has a fricton head what makes it difficult to impossible to get smooth pan and tilt shots. So this is a tripod for static shots.


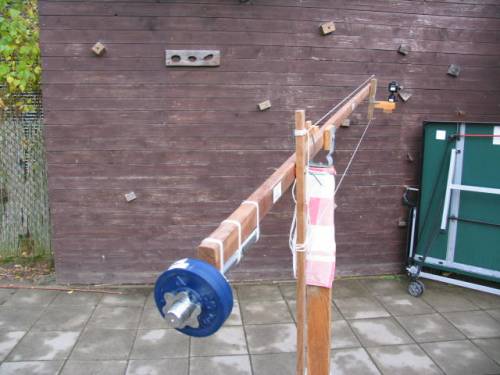
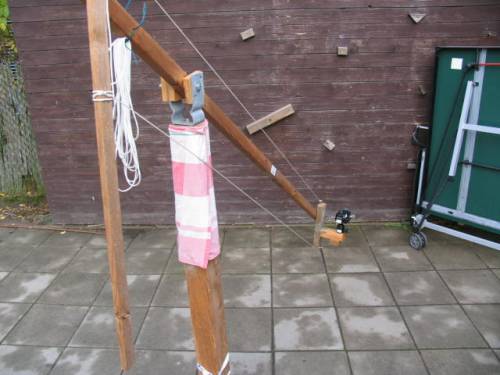
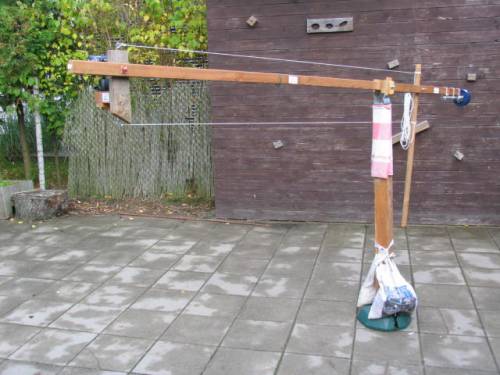
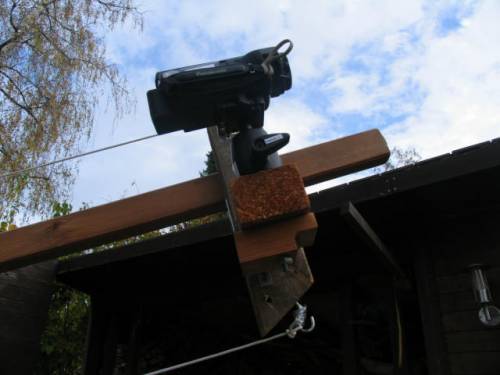
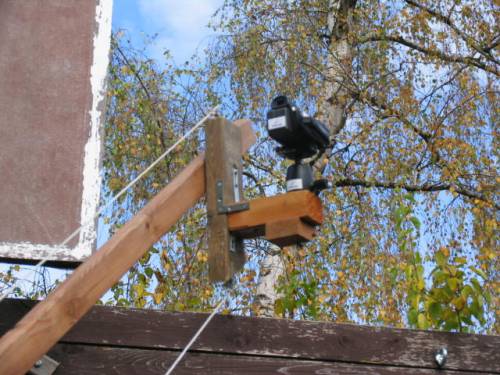
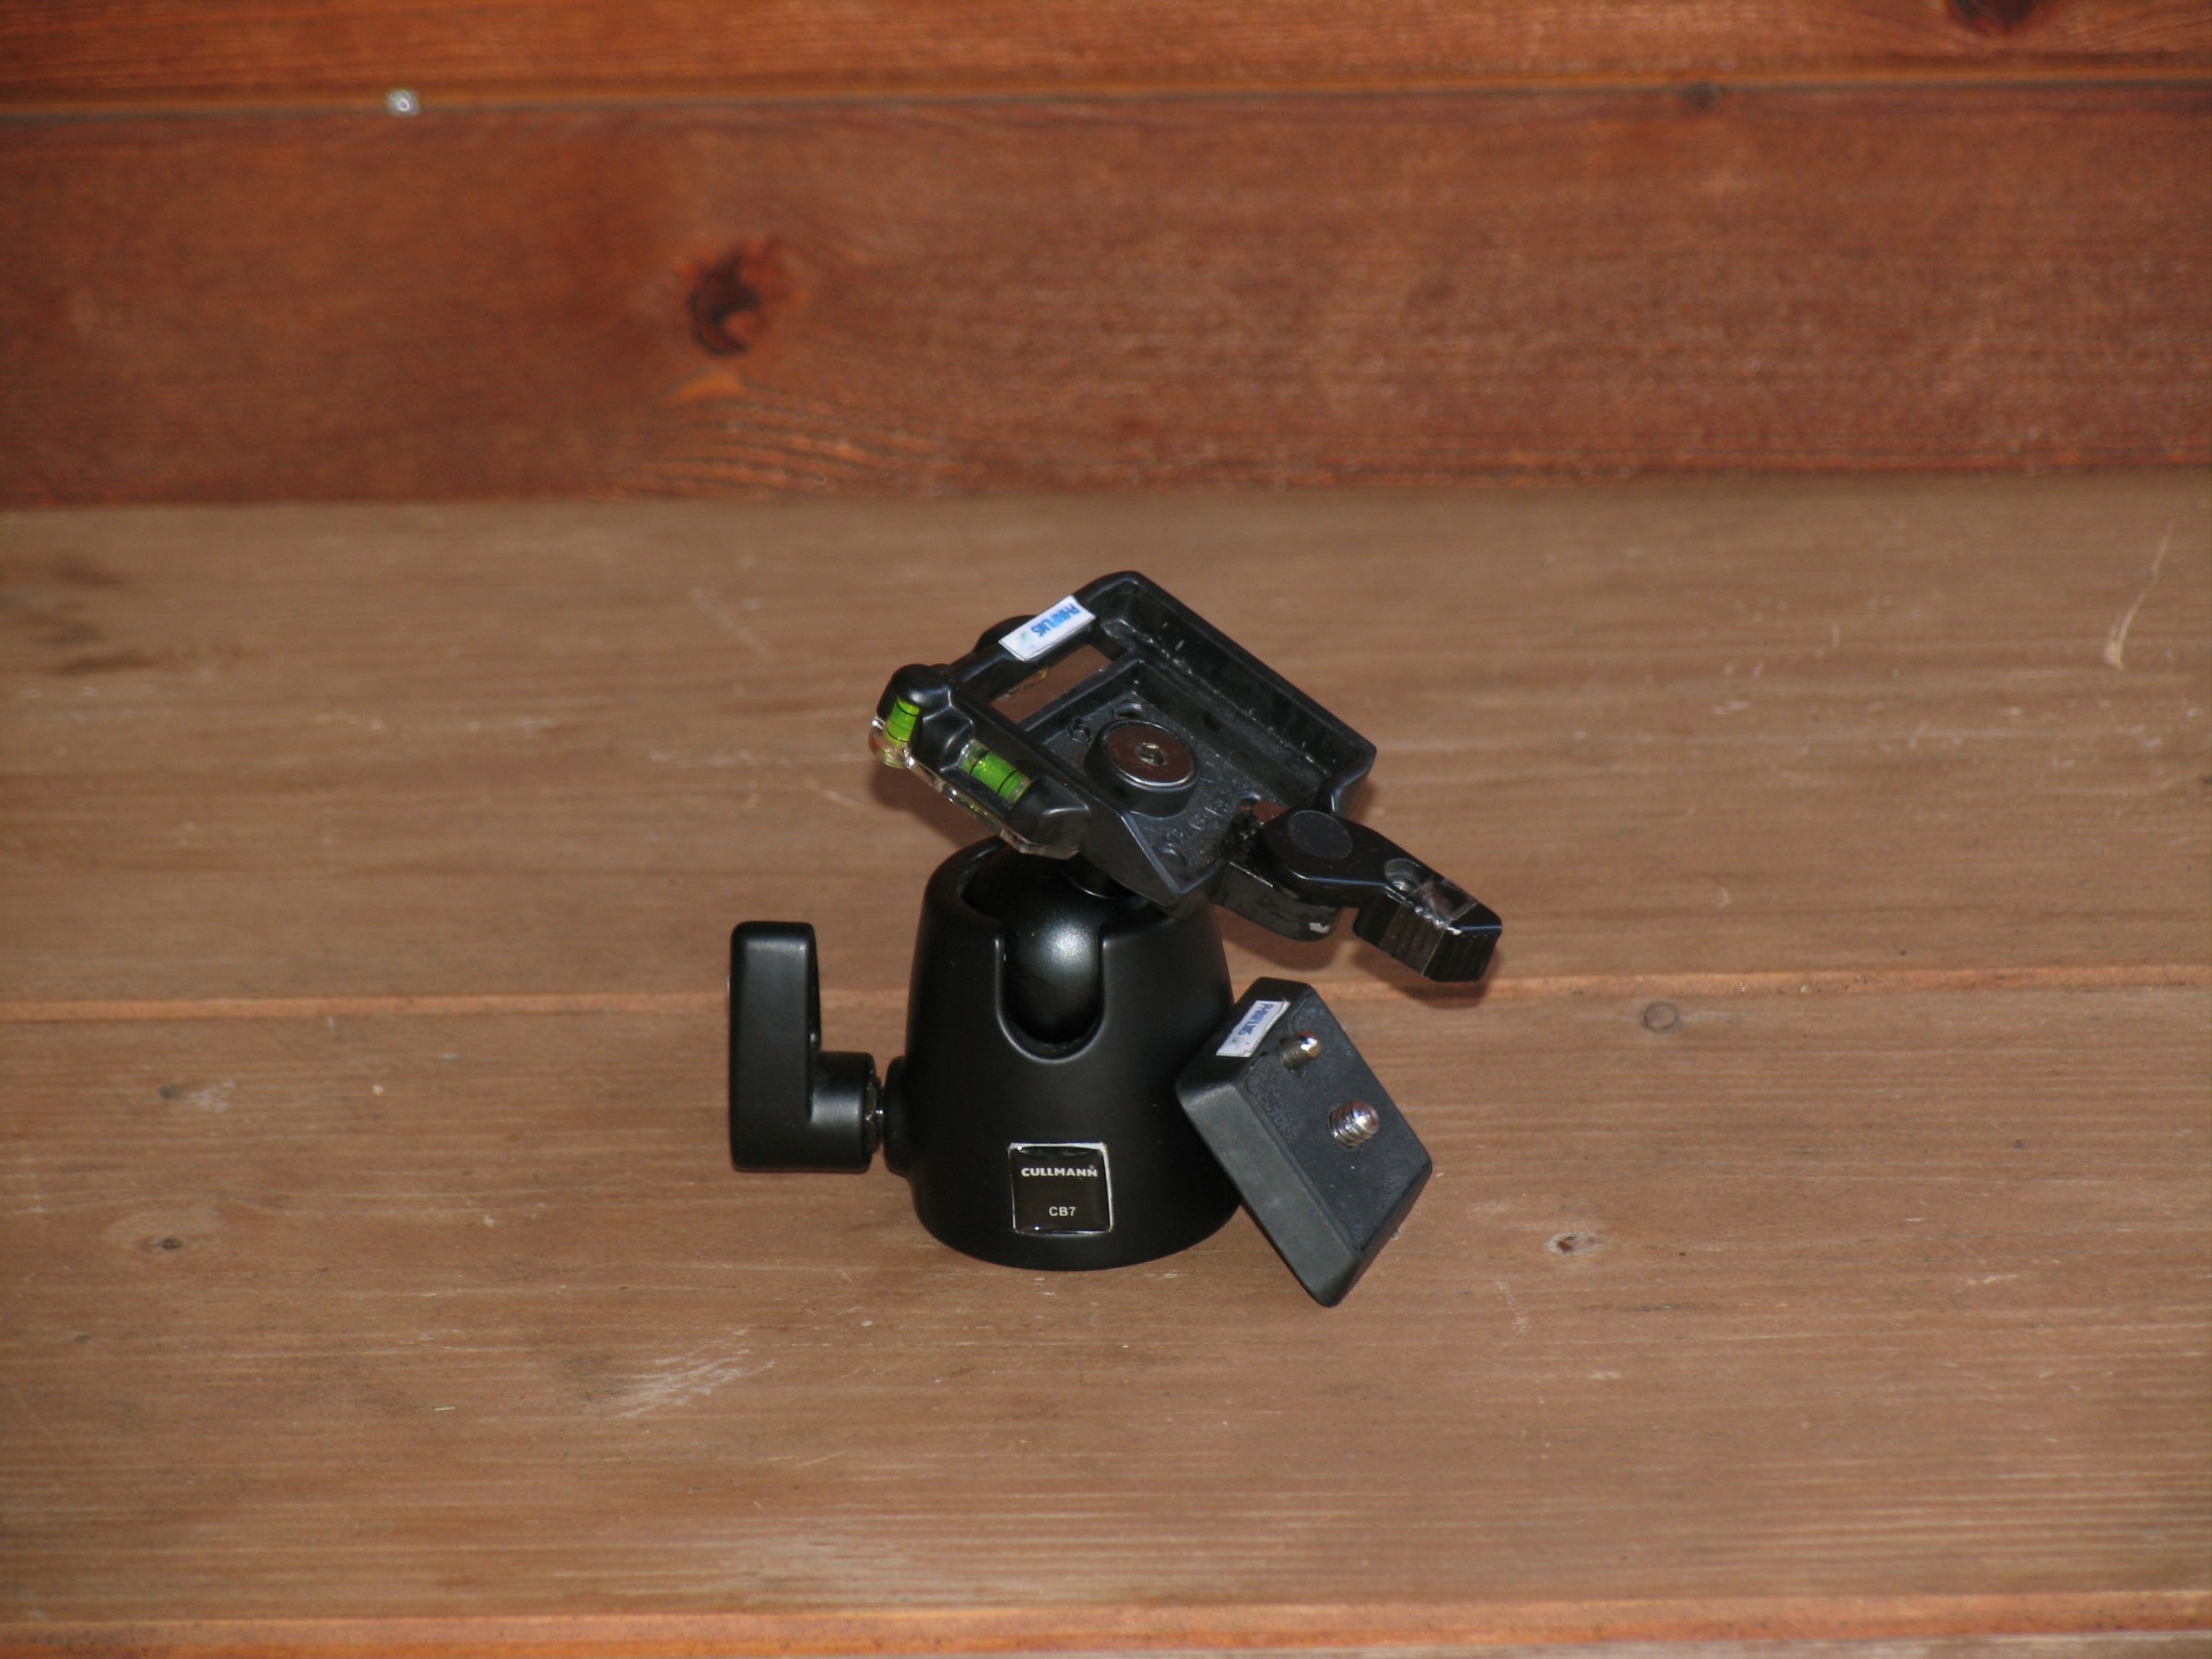
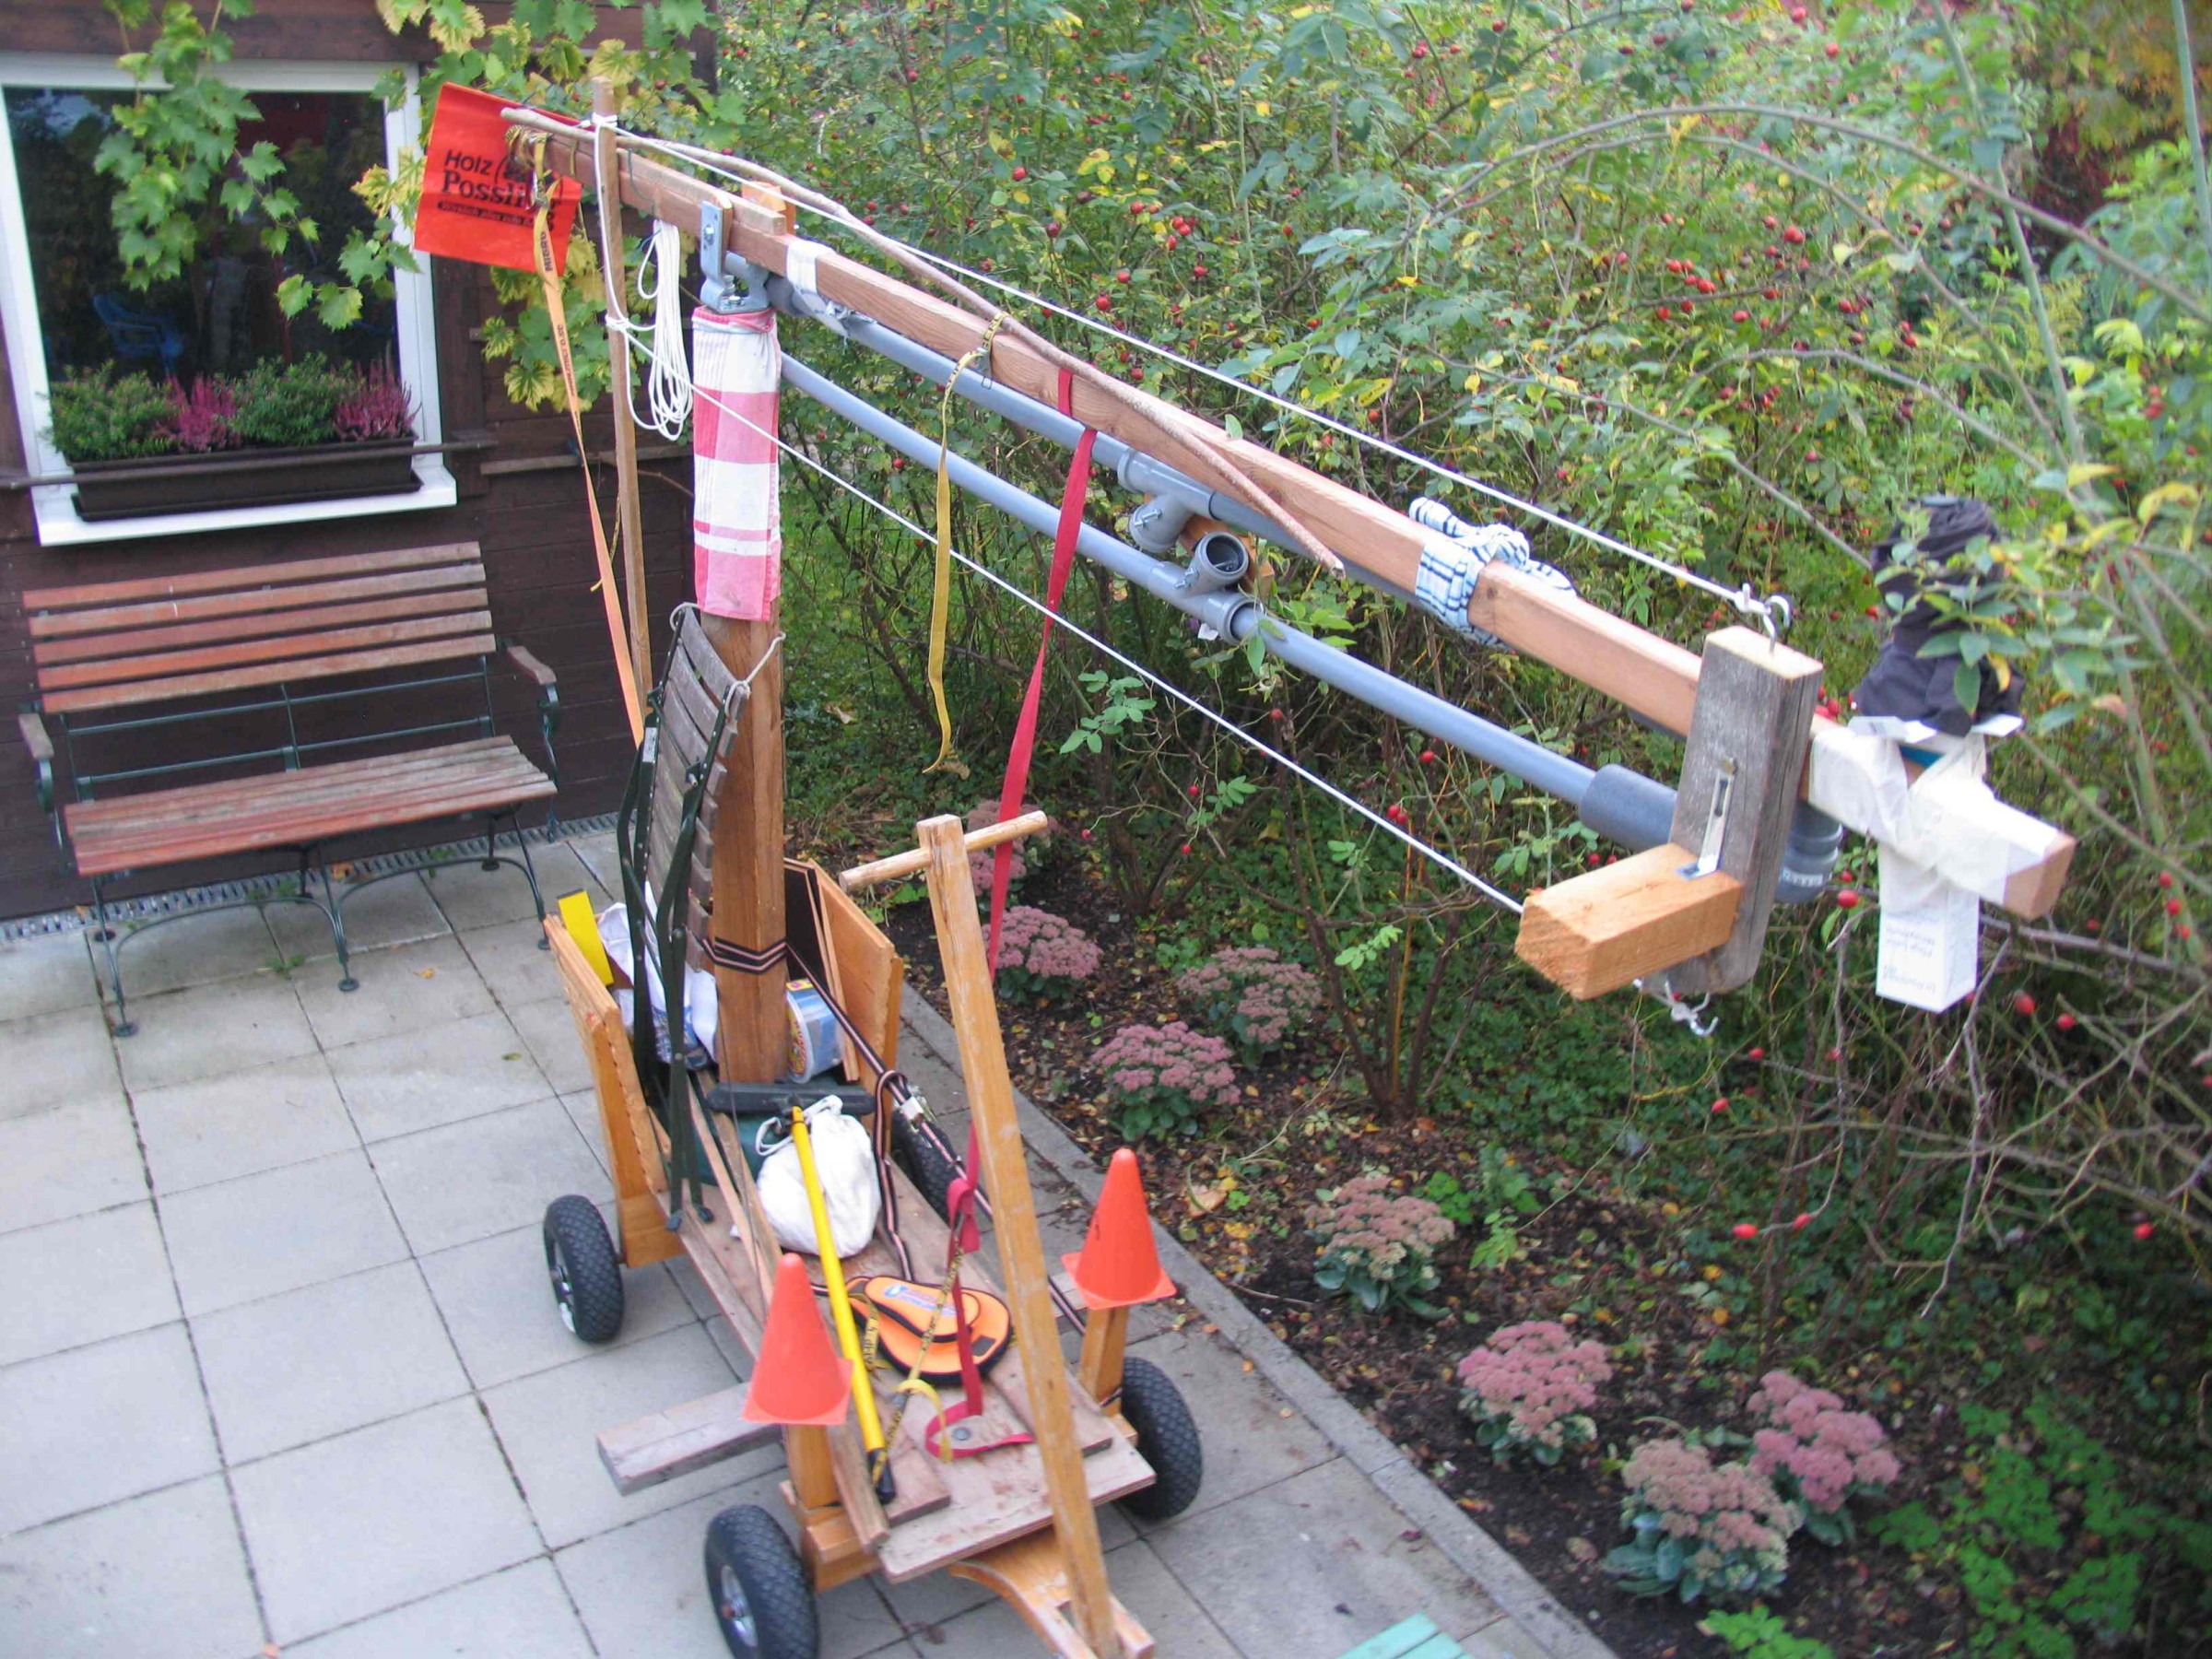
Jib
Out of a Christmas tree stand, one short and one long balk, three short bars, some screws and bands and an old barbell (previously a sack full of gravel) I built a jib, with which one can make pretty cool shots. I mounted a Cullmann CB7.1 ball head as camera mount which makes it easy to position an level the camera on the jib.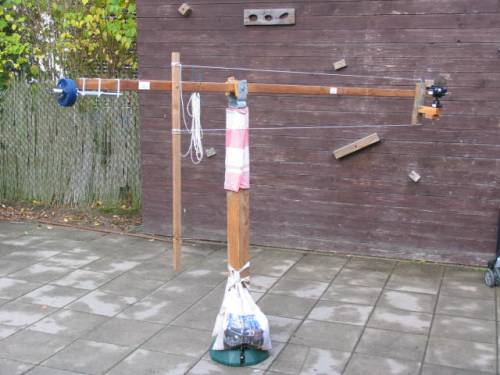


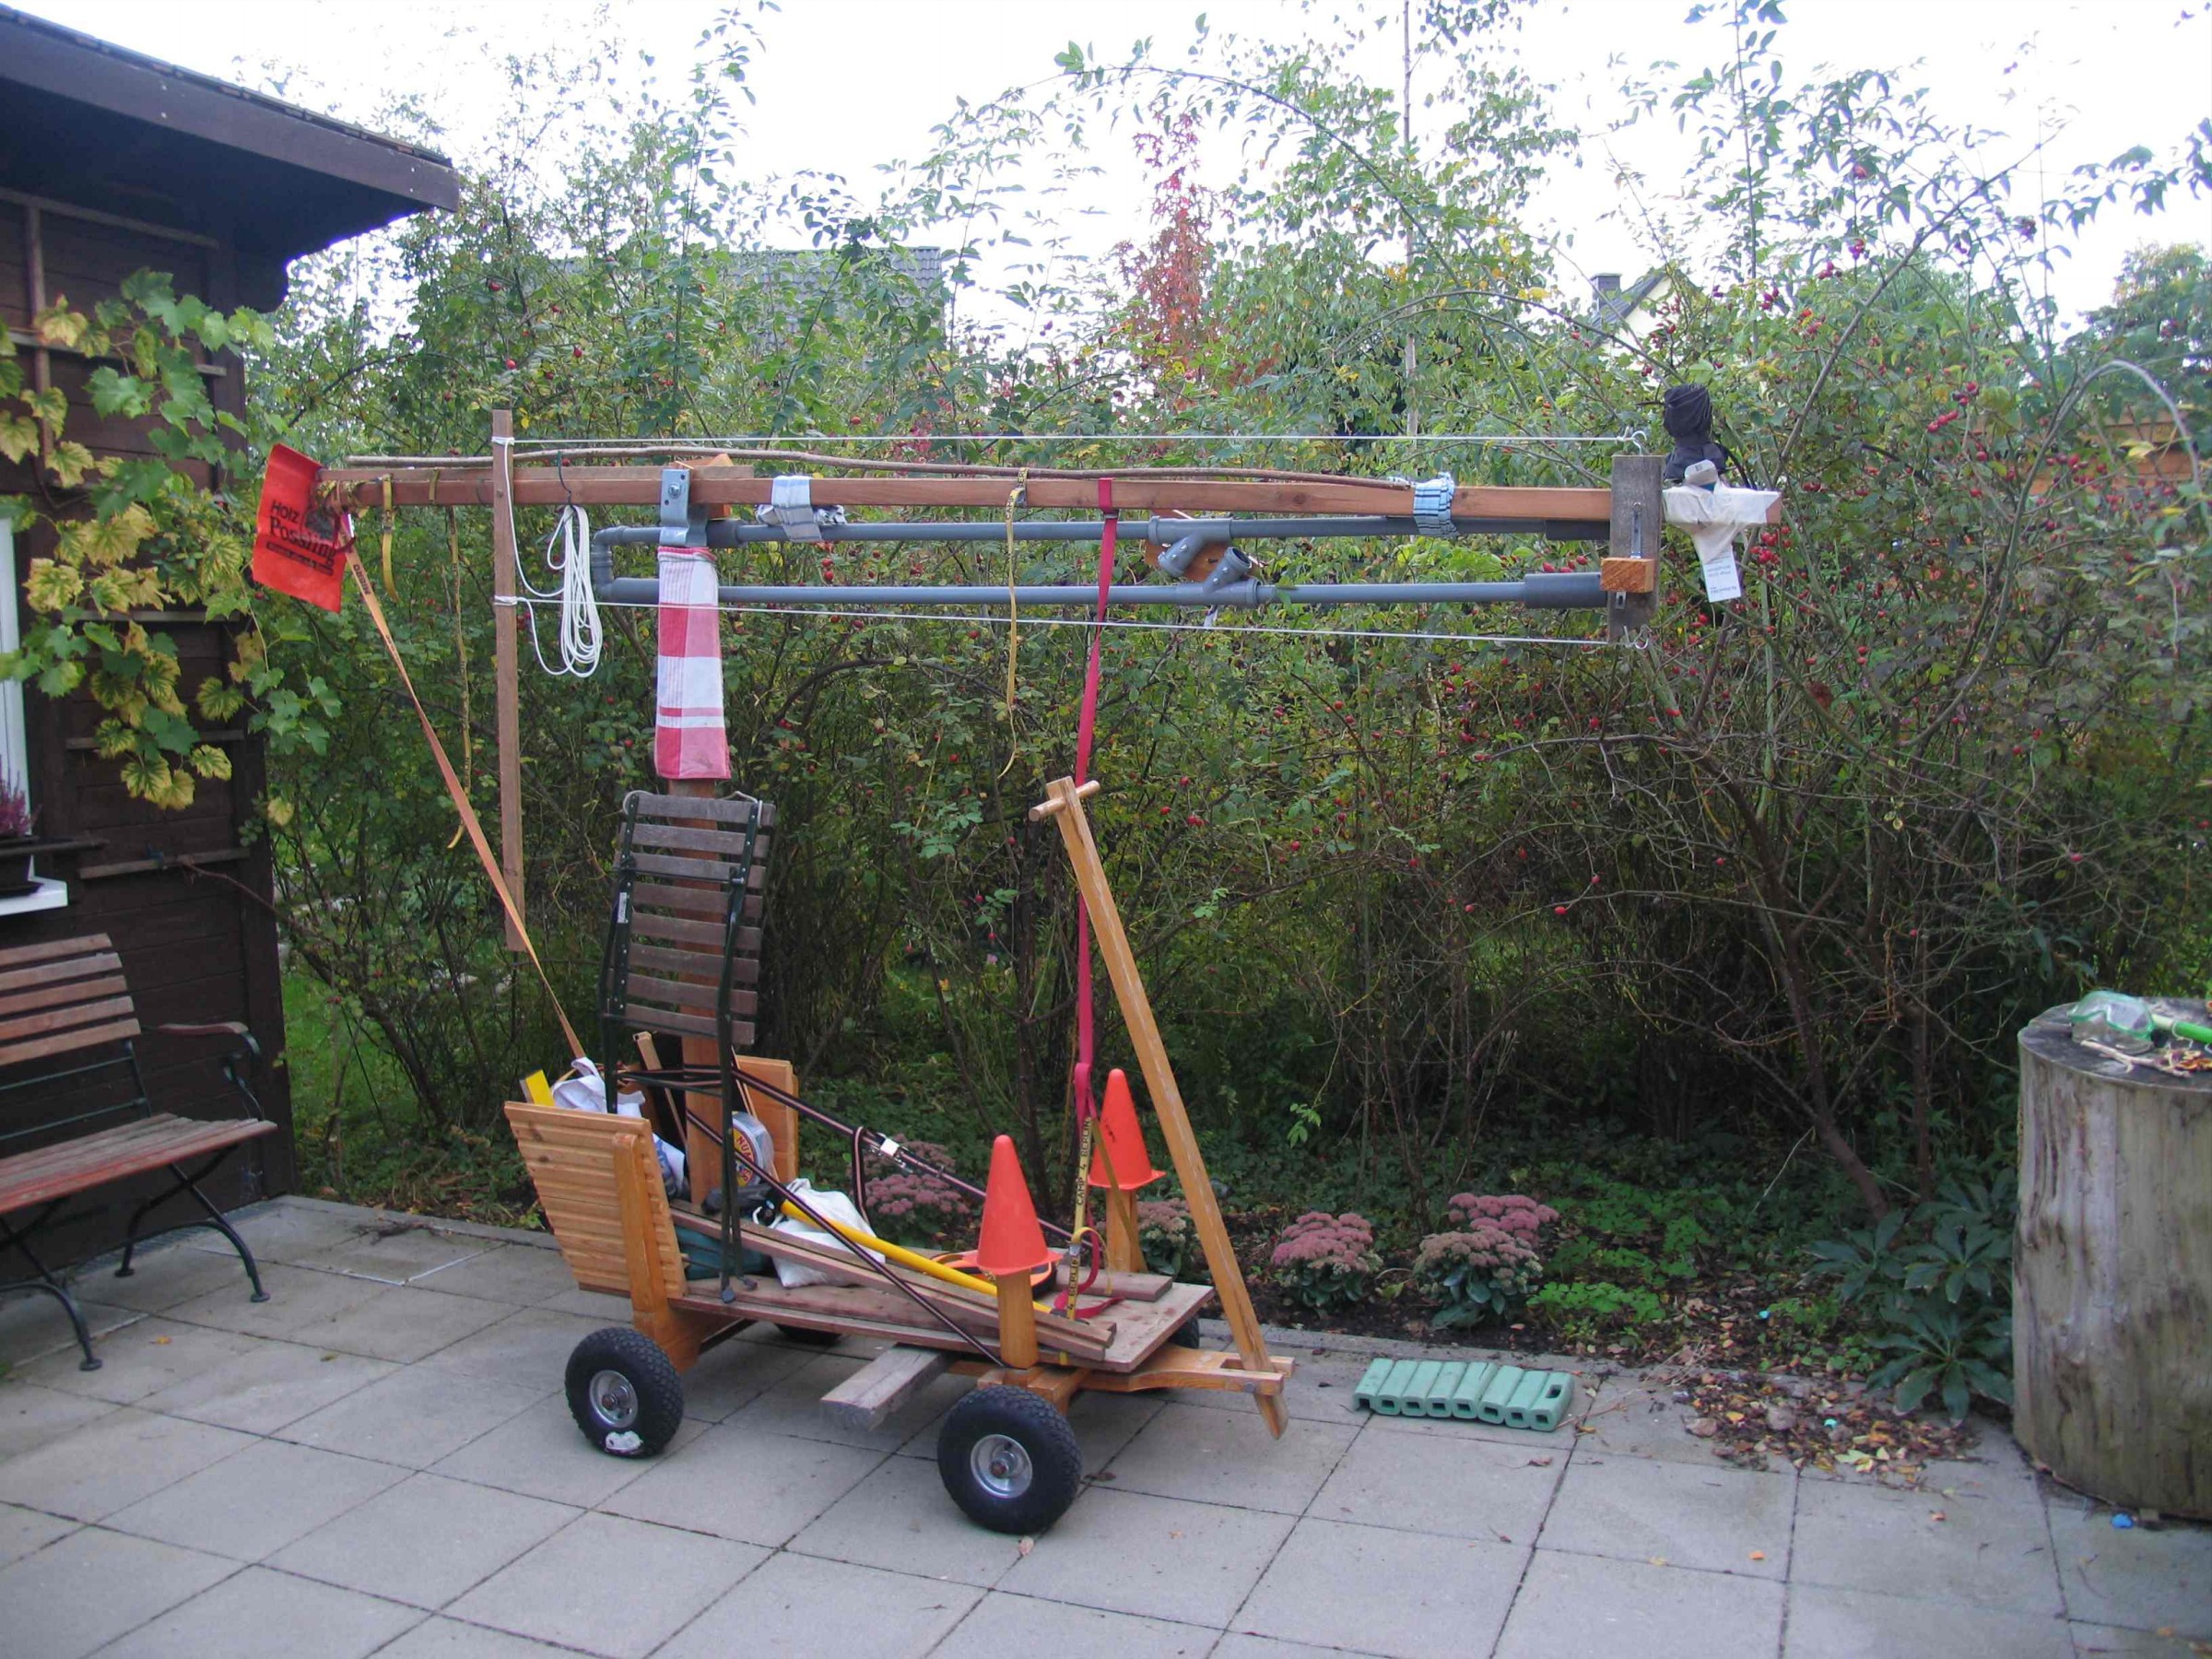
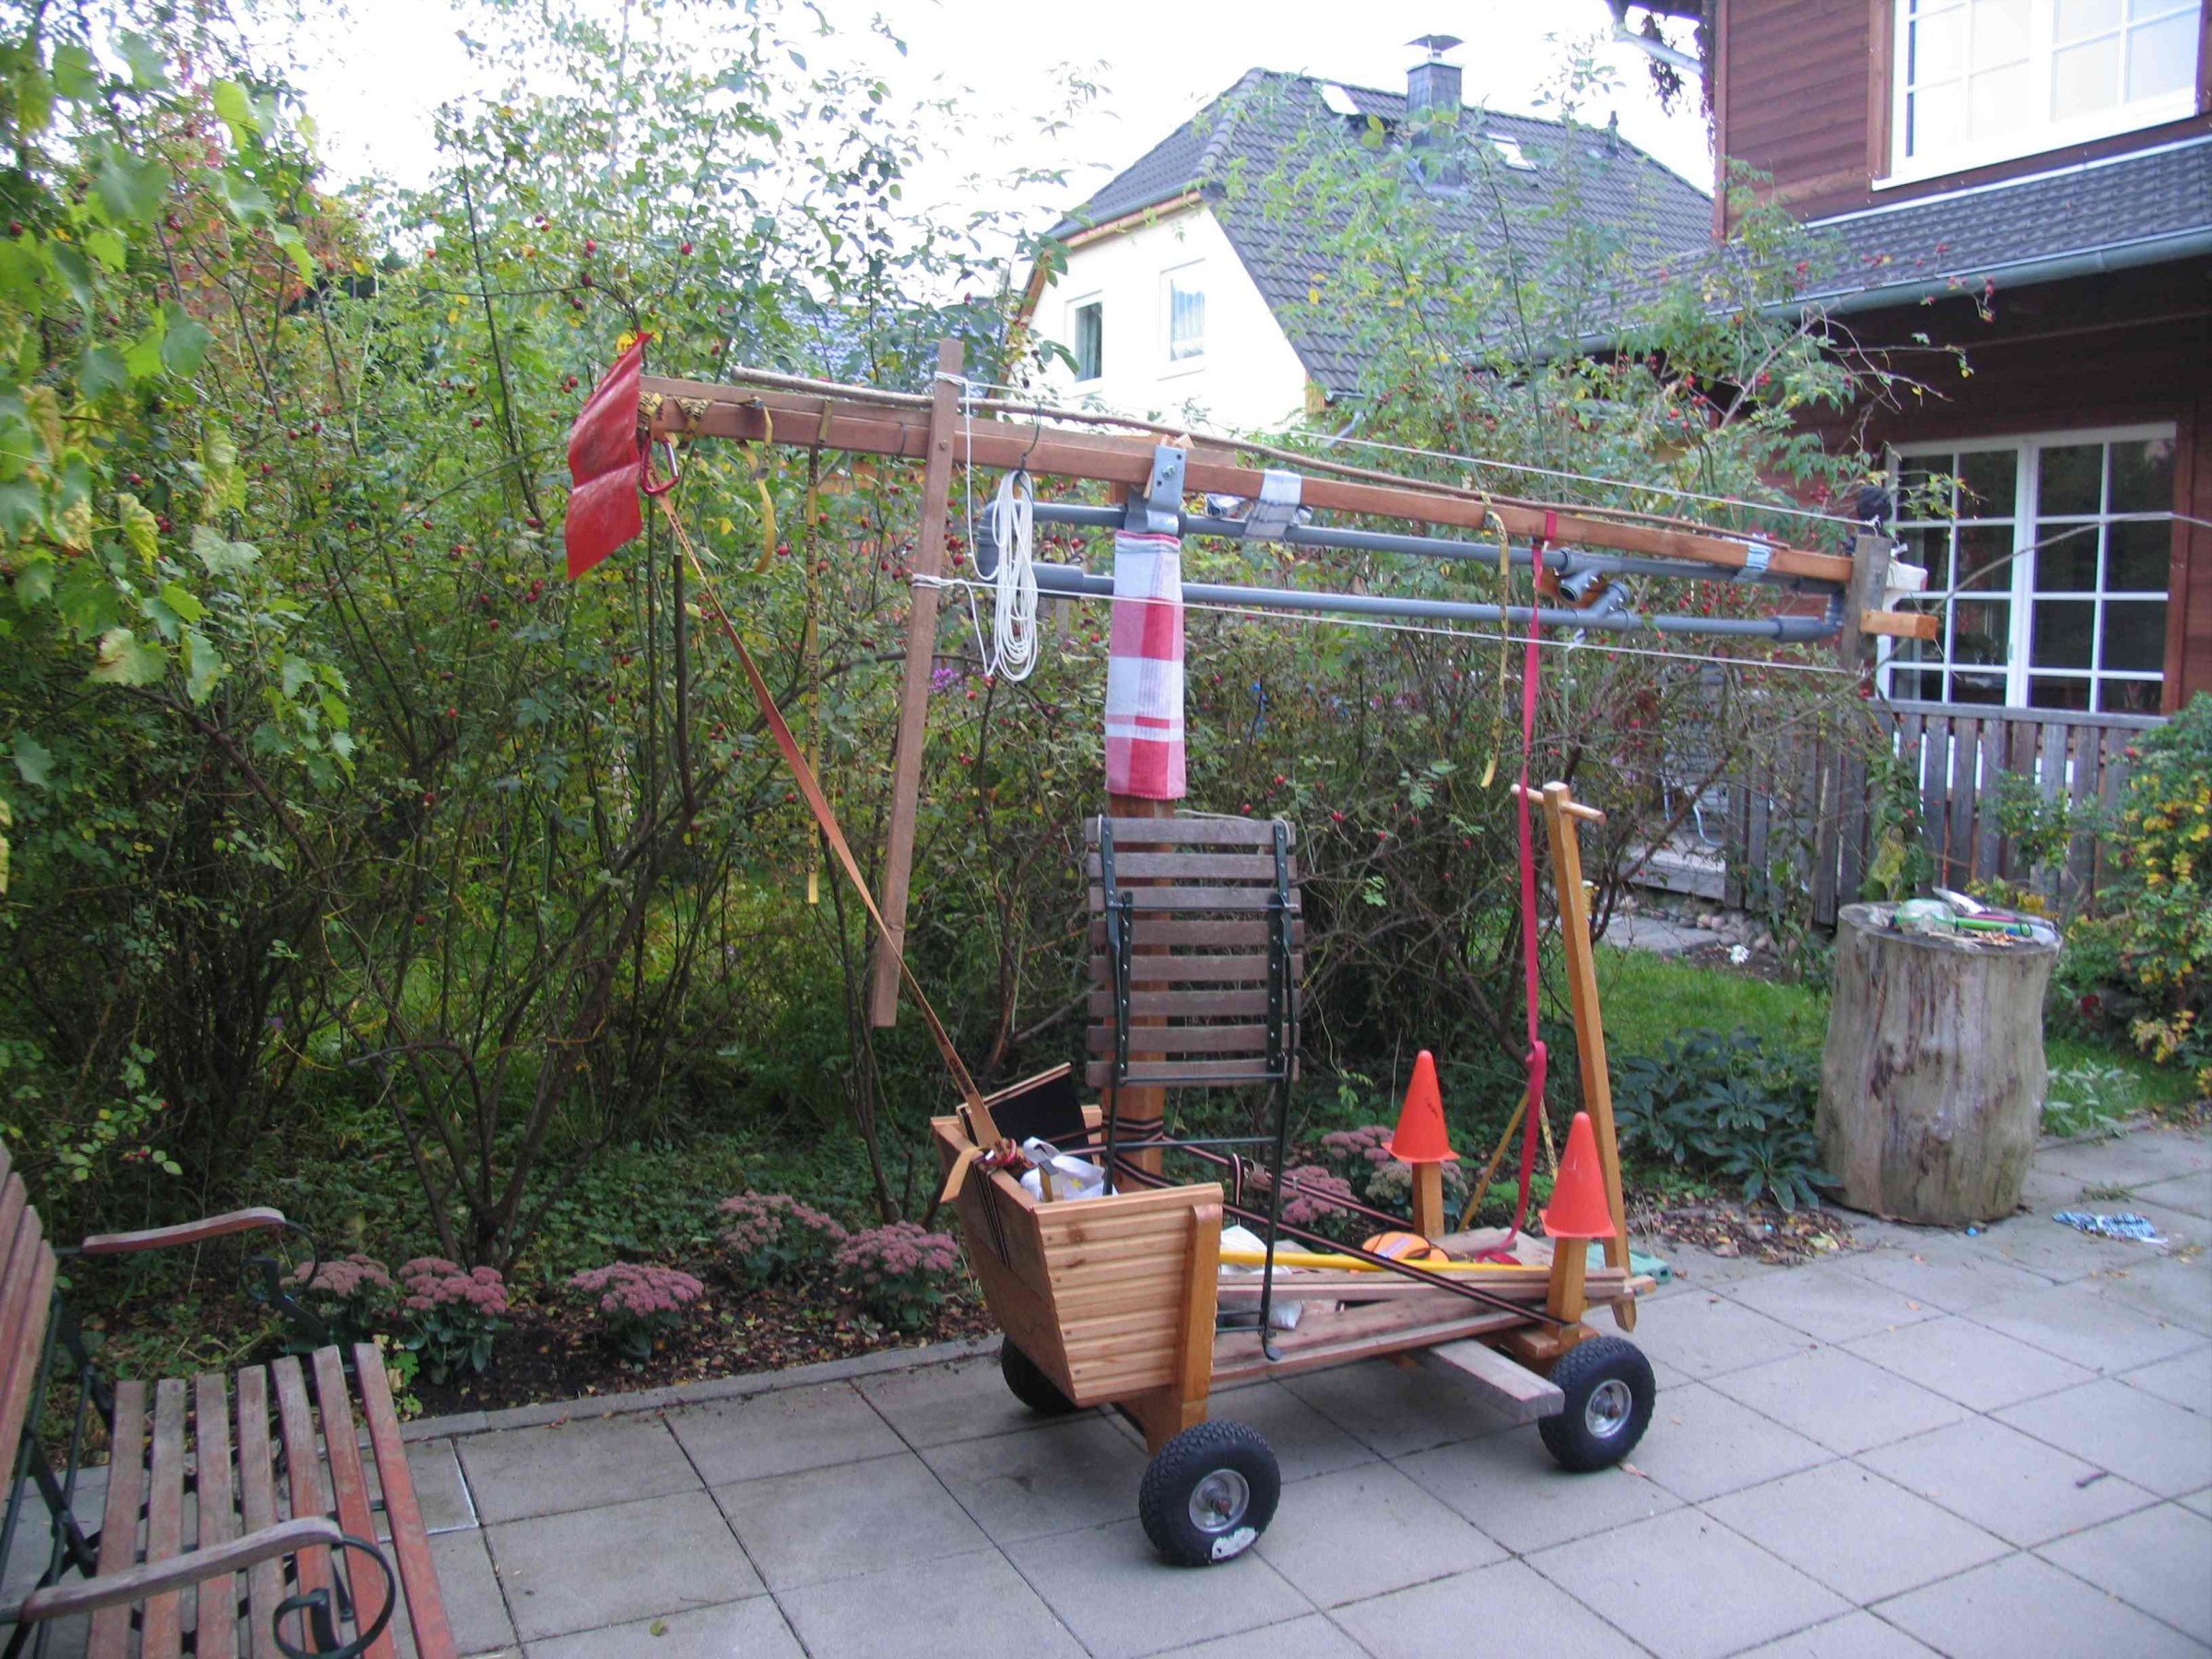

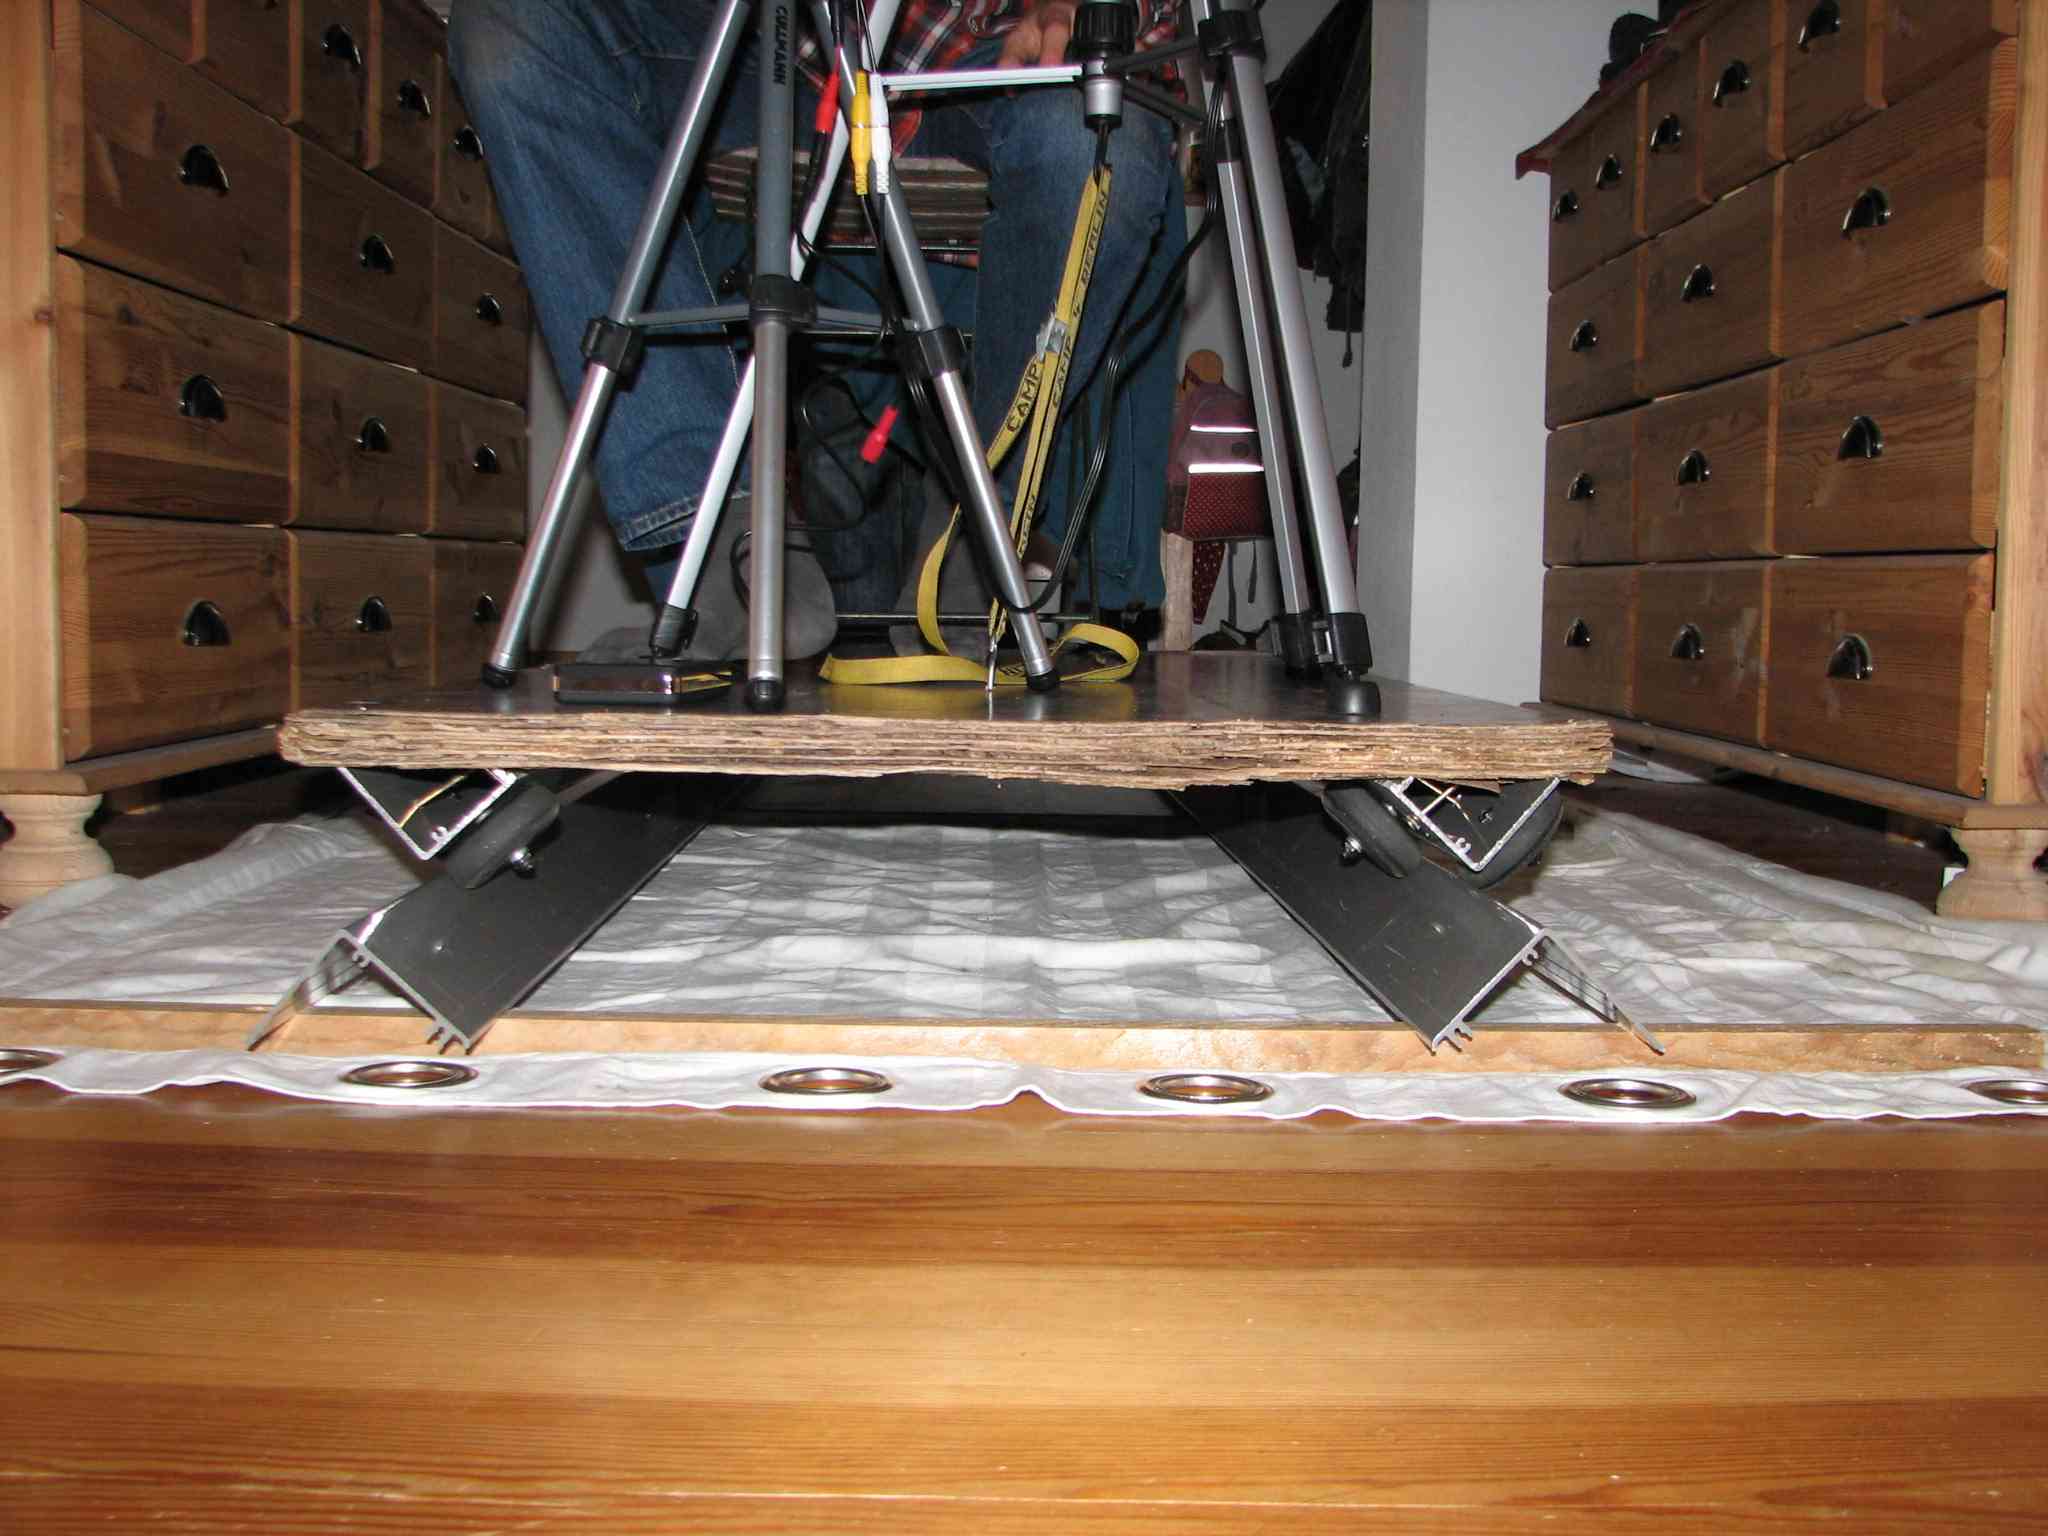
Dolly
The rail dolly was made out of an old pair of inline skaters (or rather the wheels of them), two halves of an aluminium profile, a big wooden plate and some screws, the tracks are also aluminium profiles. It is big enough to place both a tripod and a a chair for the camera operator on it.


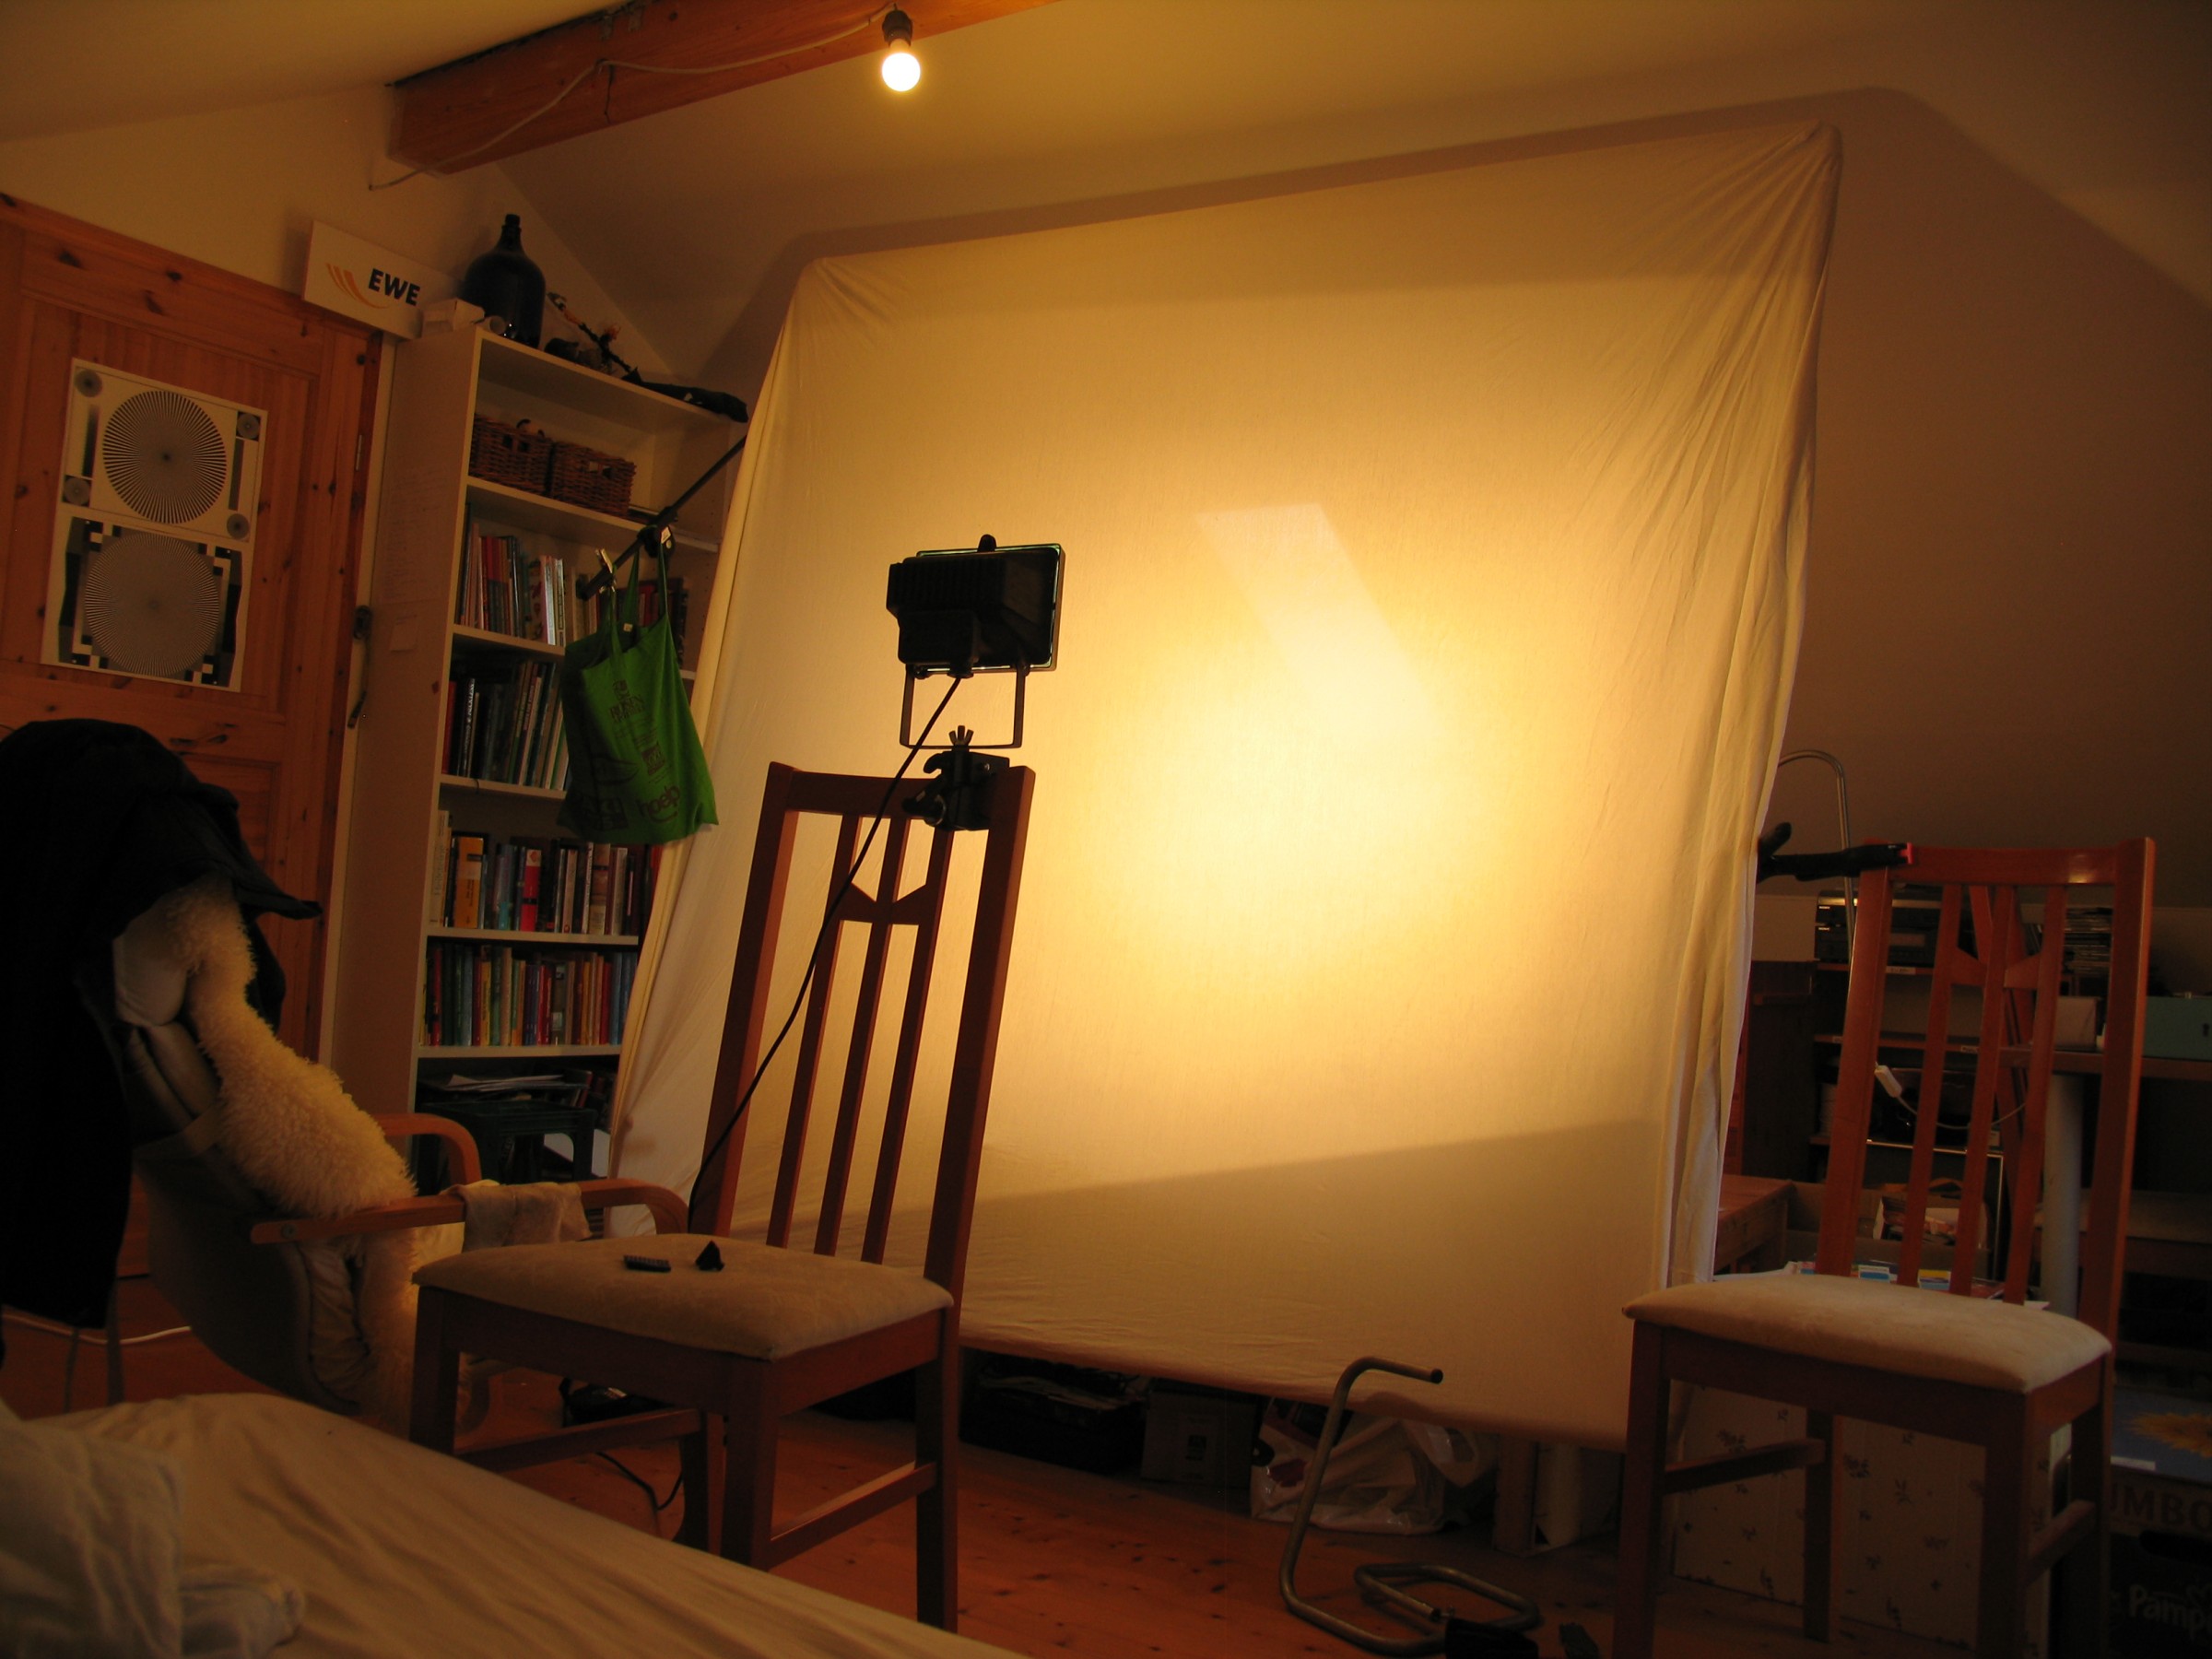
Lighting
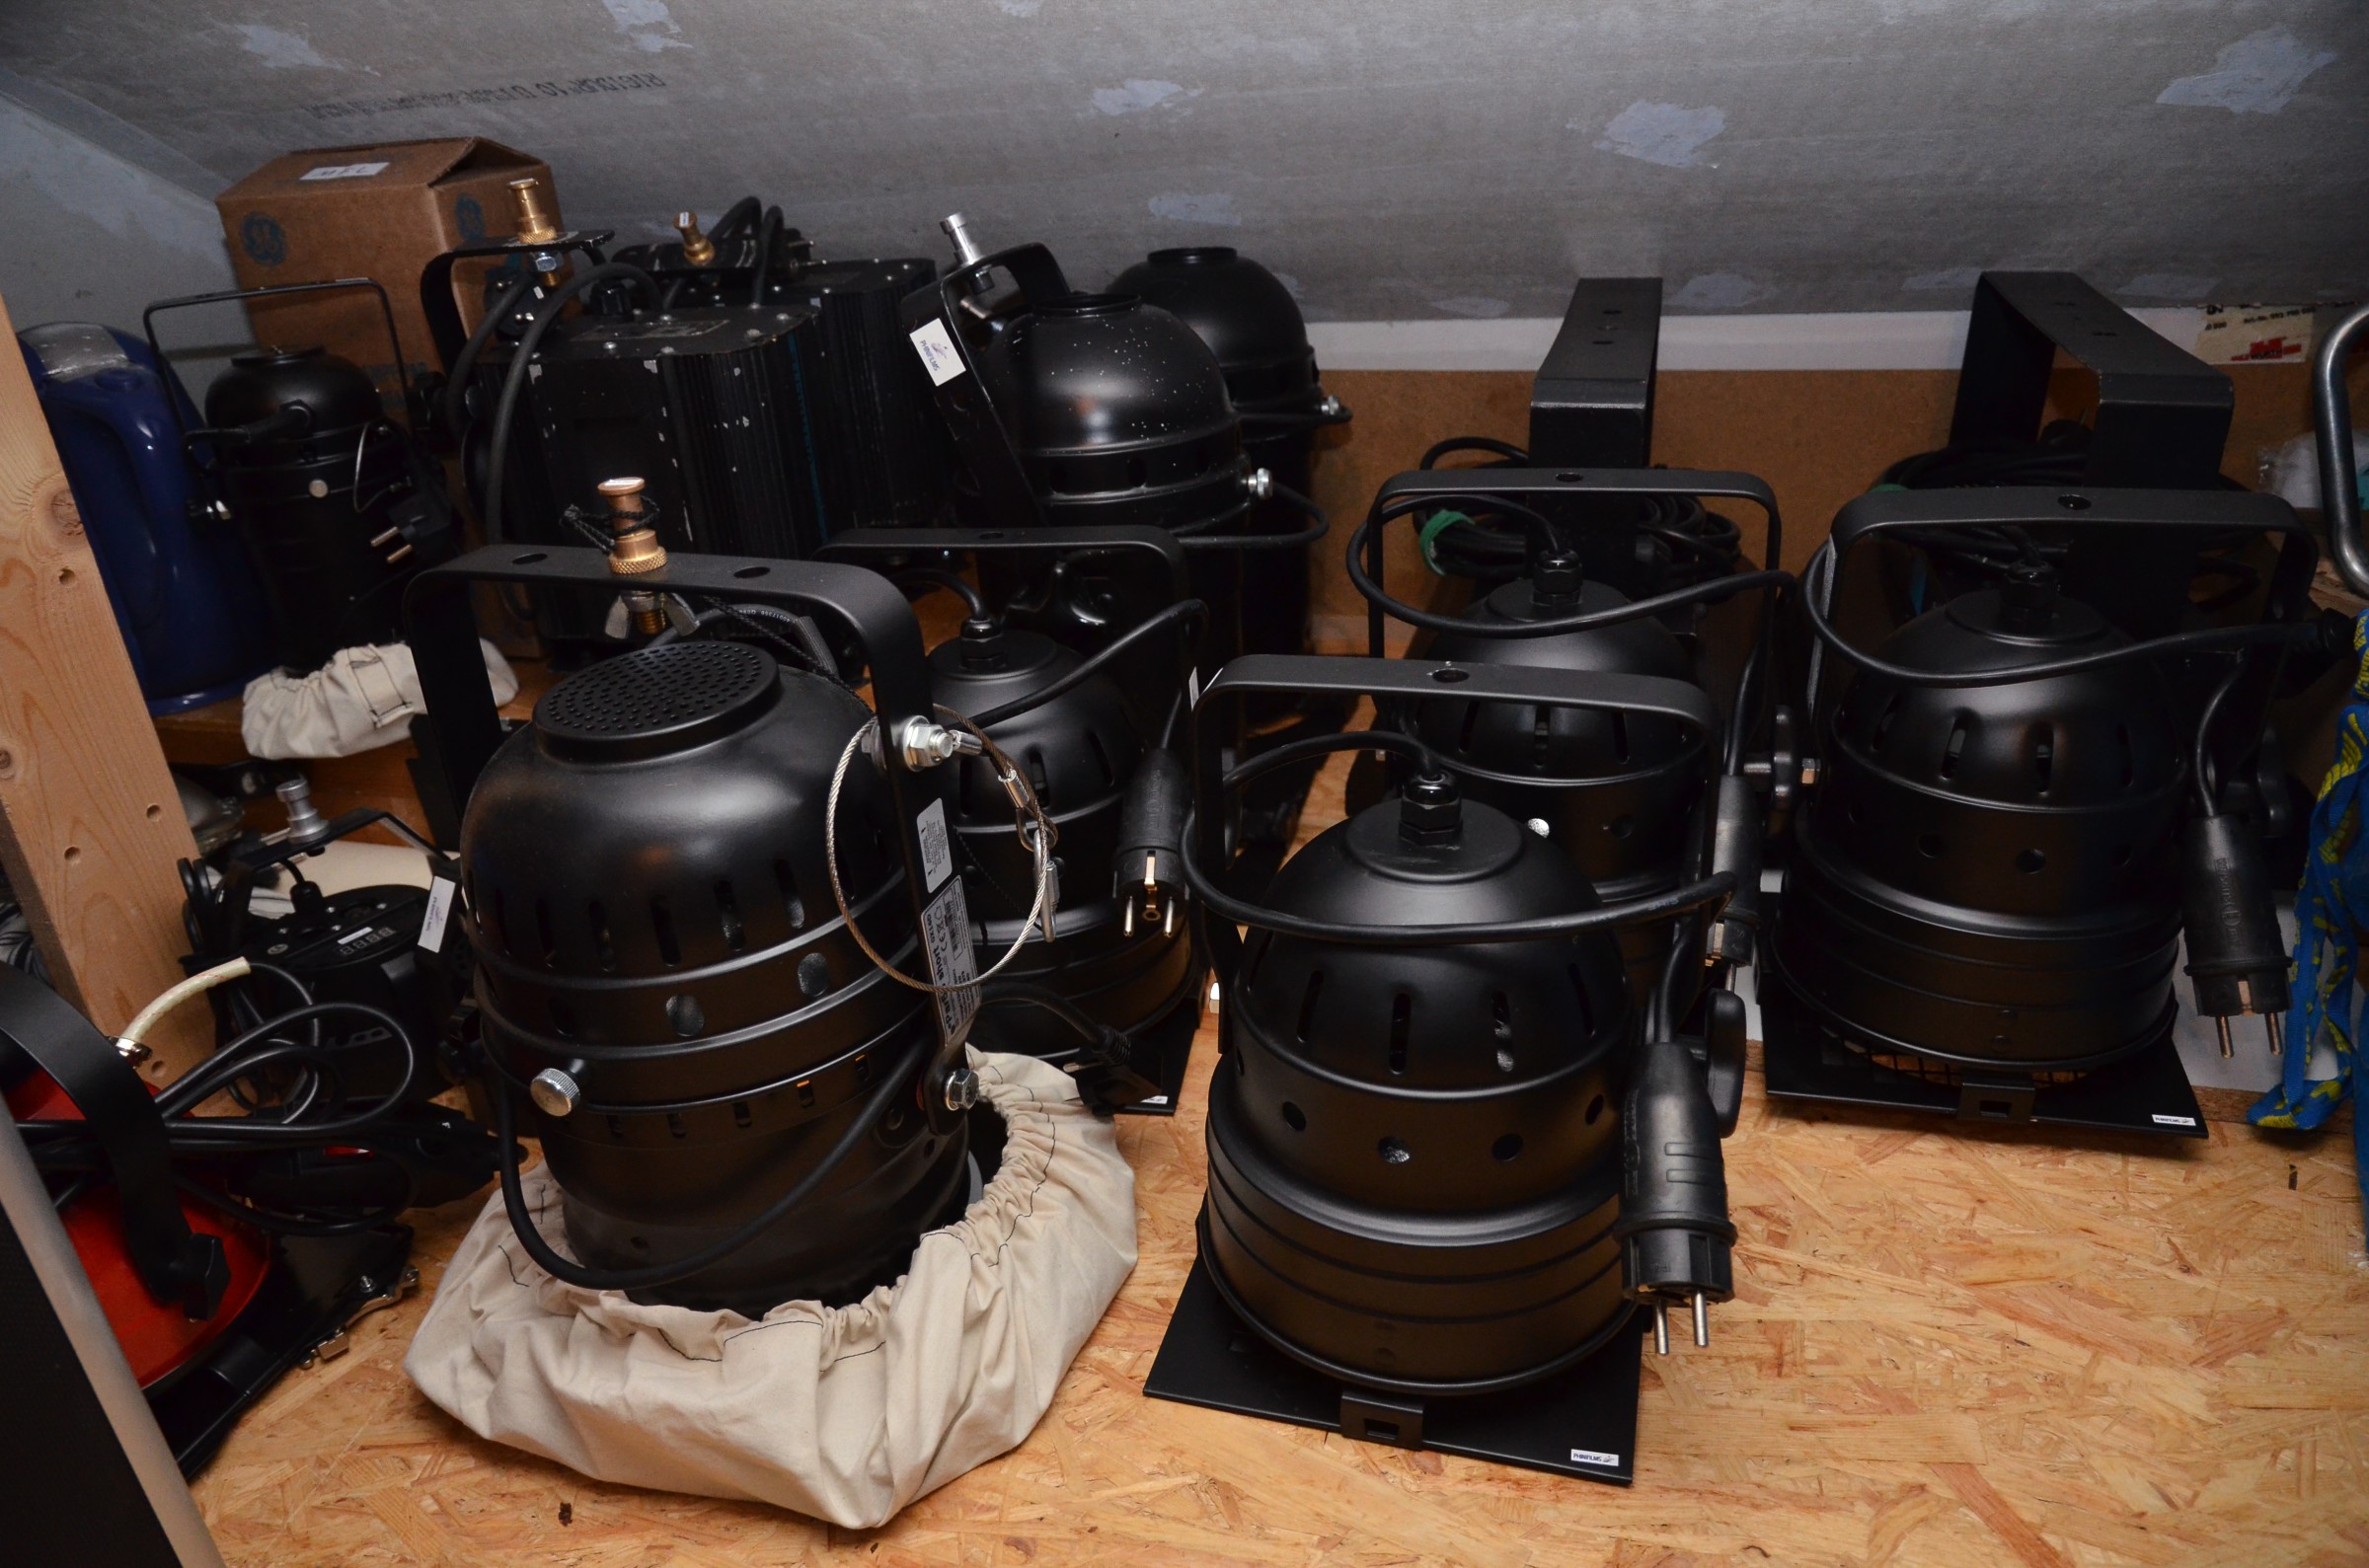
It's time to look after my lighting gear. In the near future I plan buying some lamps as well as some rigging equipment.Until now I own the following lamps:
- Four LF 1000 symmetrical 1kW Area lights from ADB
- TwoL.A.F. PF-6305 asymmetrical 500W Flood lights
- One Redhead 800W Open-Face-Light
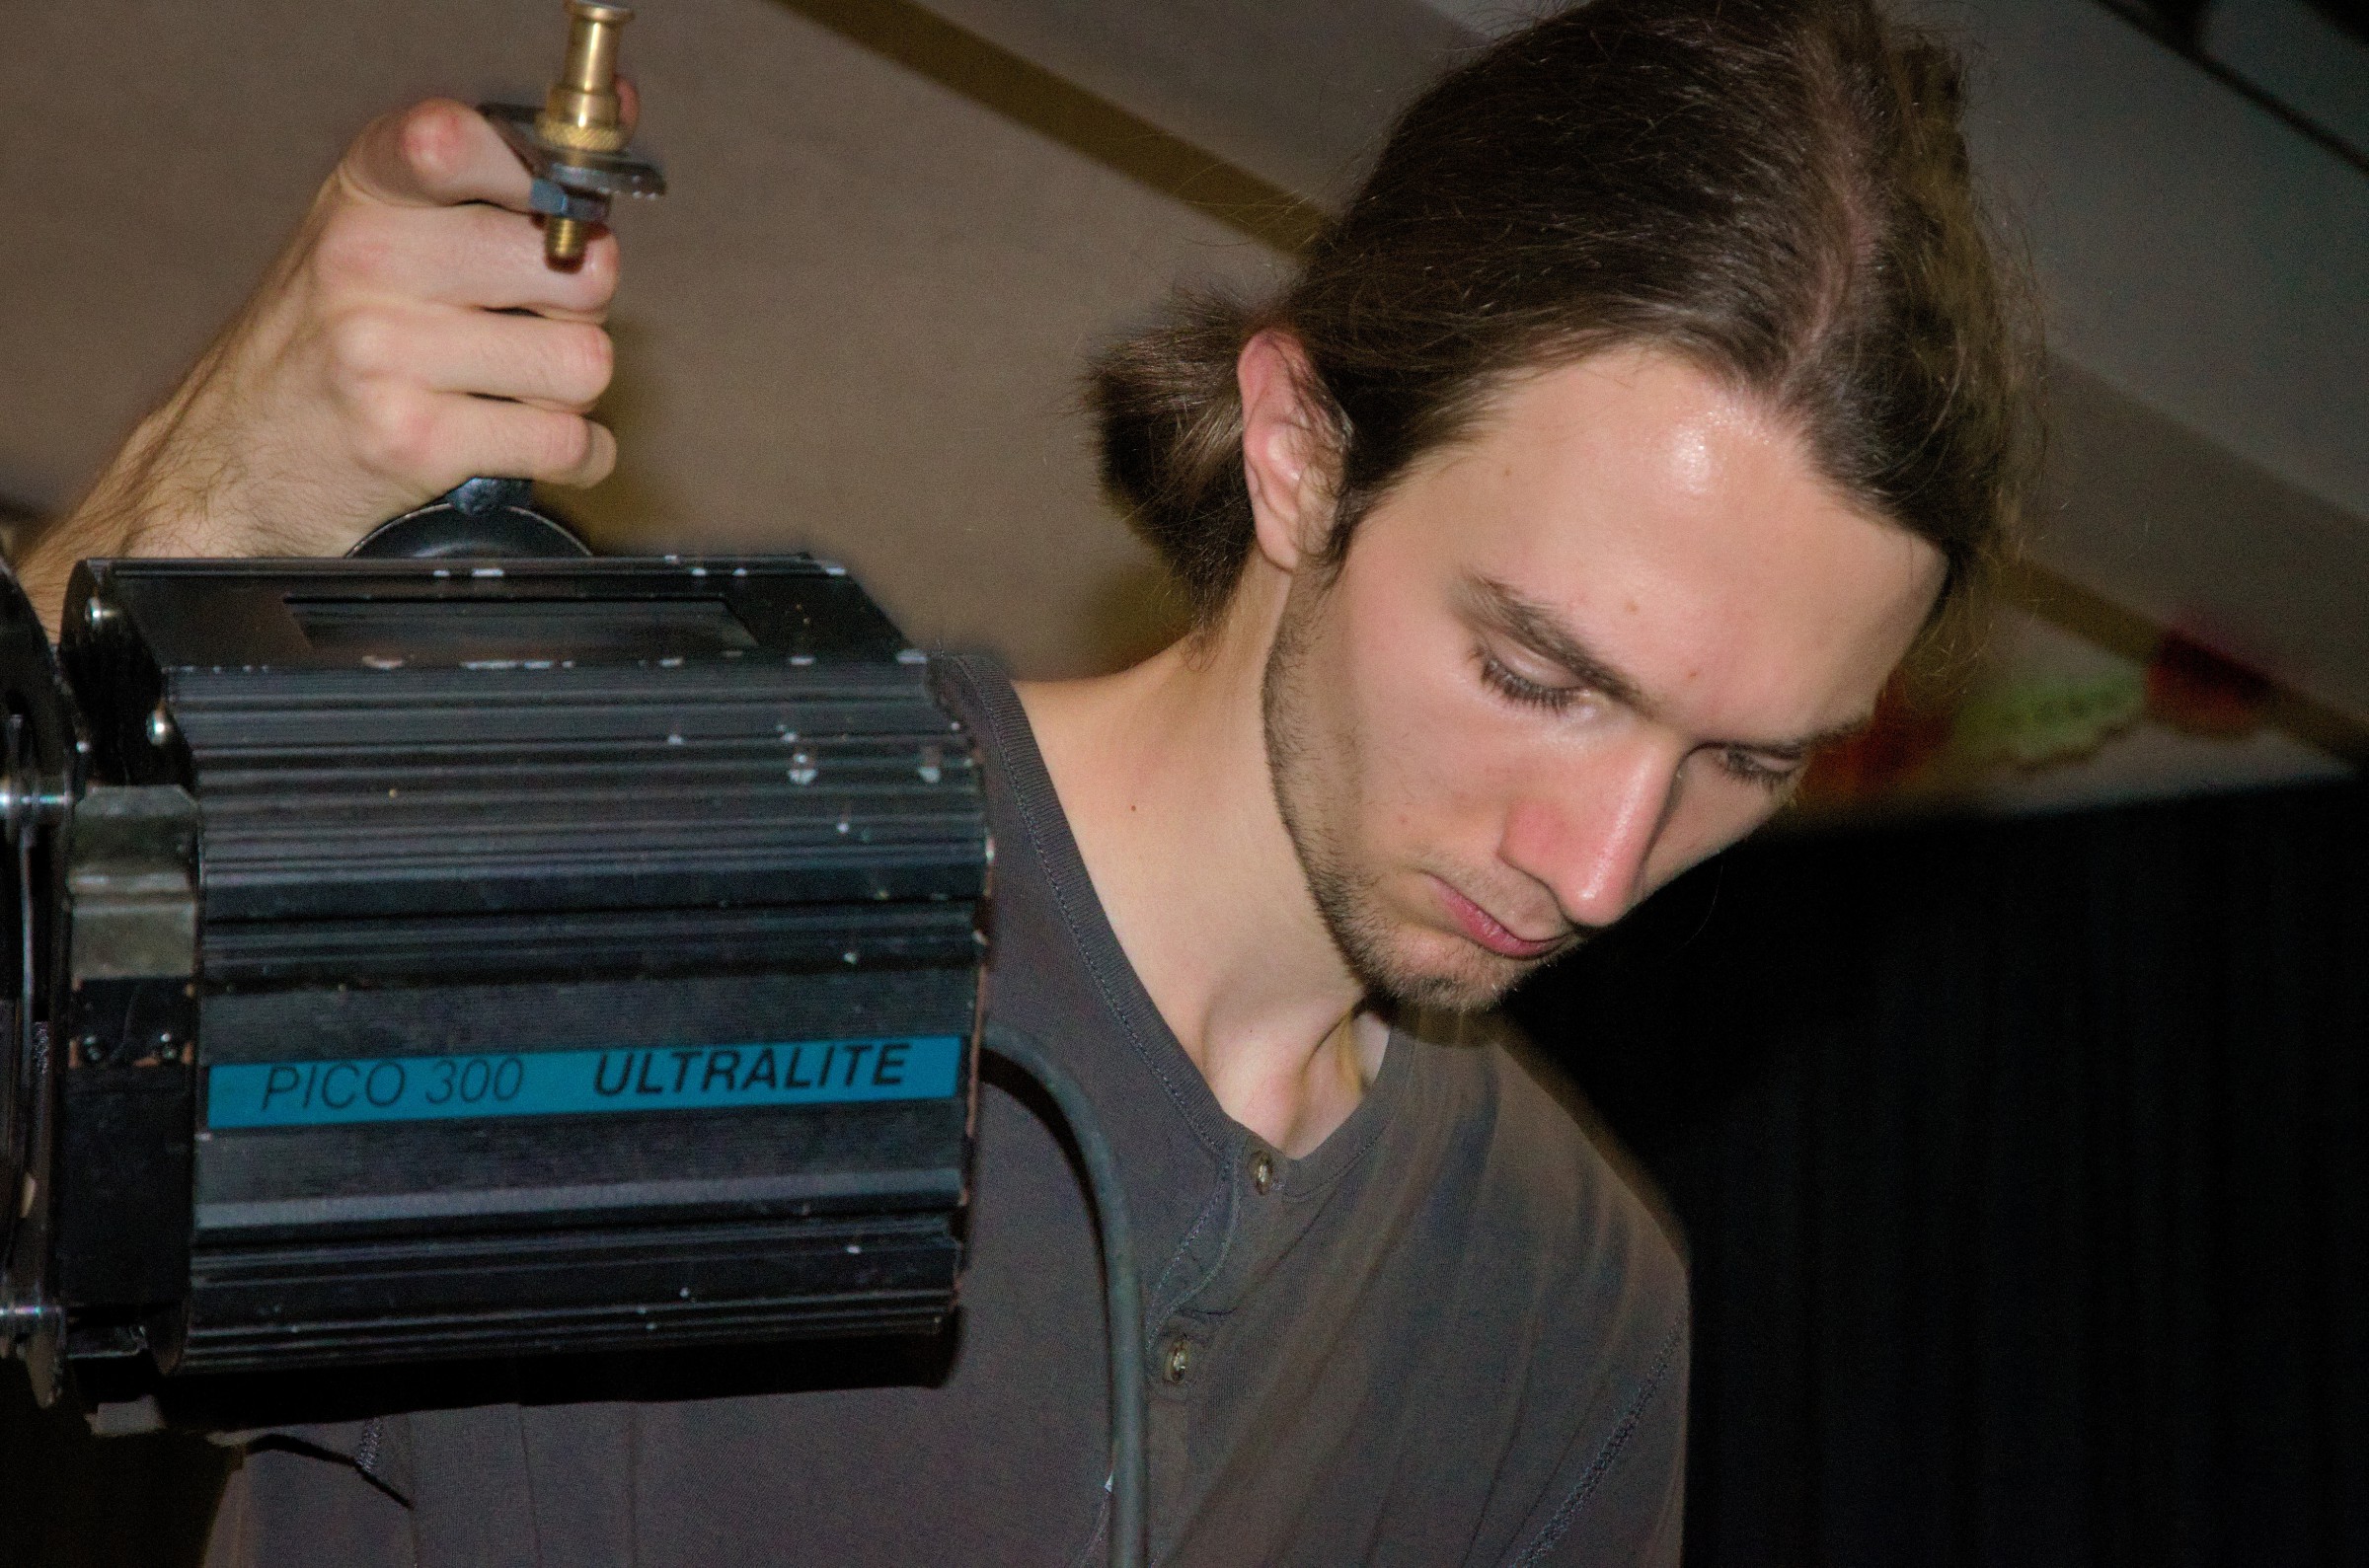
- Two Ultralite Pico 300 PC-Lens-Lights
- Several PAR 56 with 300W MFL and NSP bulbs
- Three PAR 30 with different 75W bulbs
- Two JB Systems iColor 4 RGBY-Flood-Lamps with 4x500W bulbs
- Multiple small RGB-LED-Lamps from China


And the rigging-equipment:

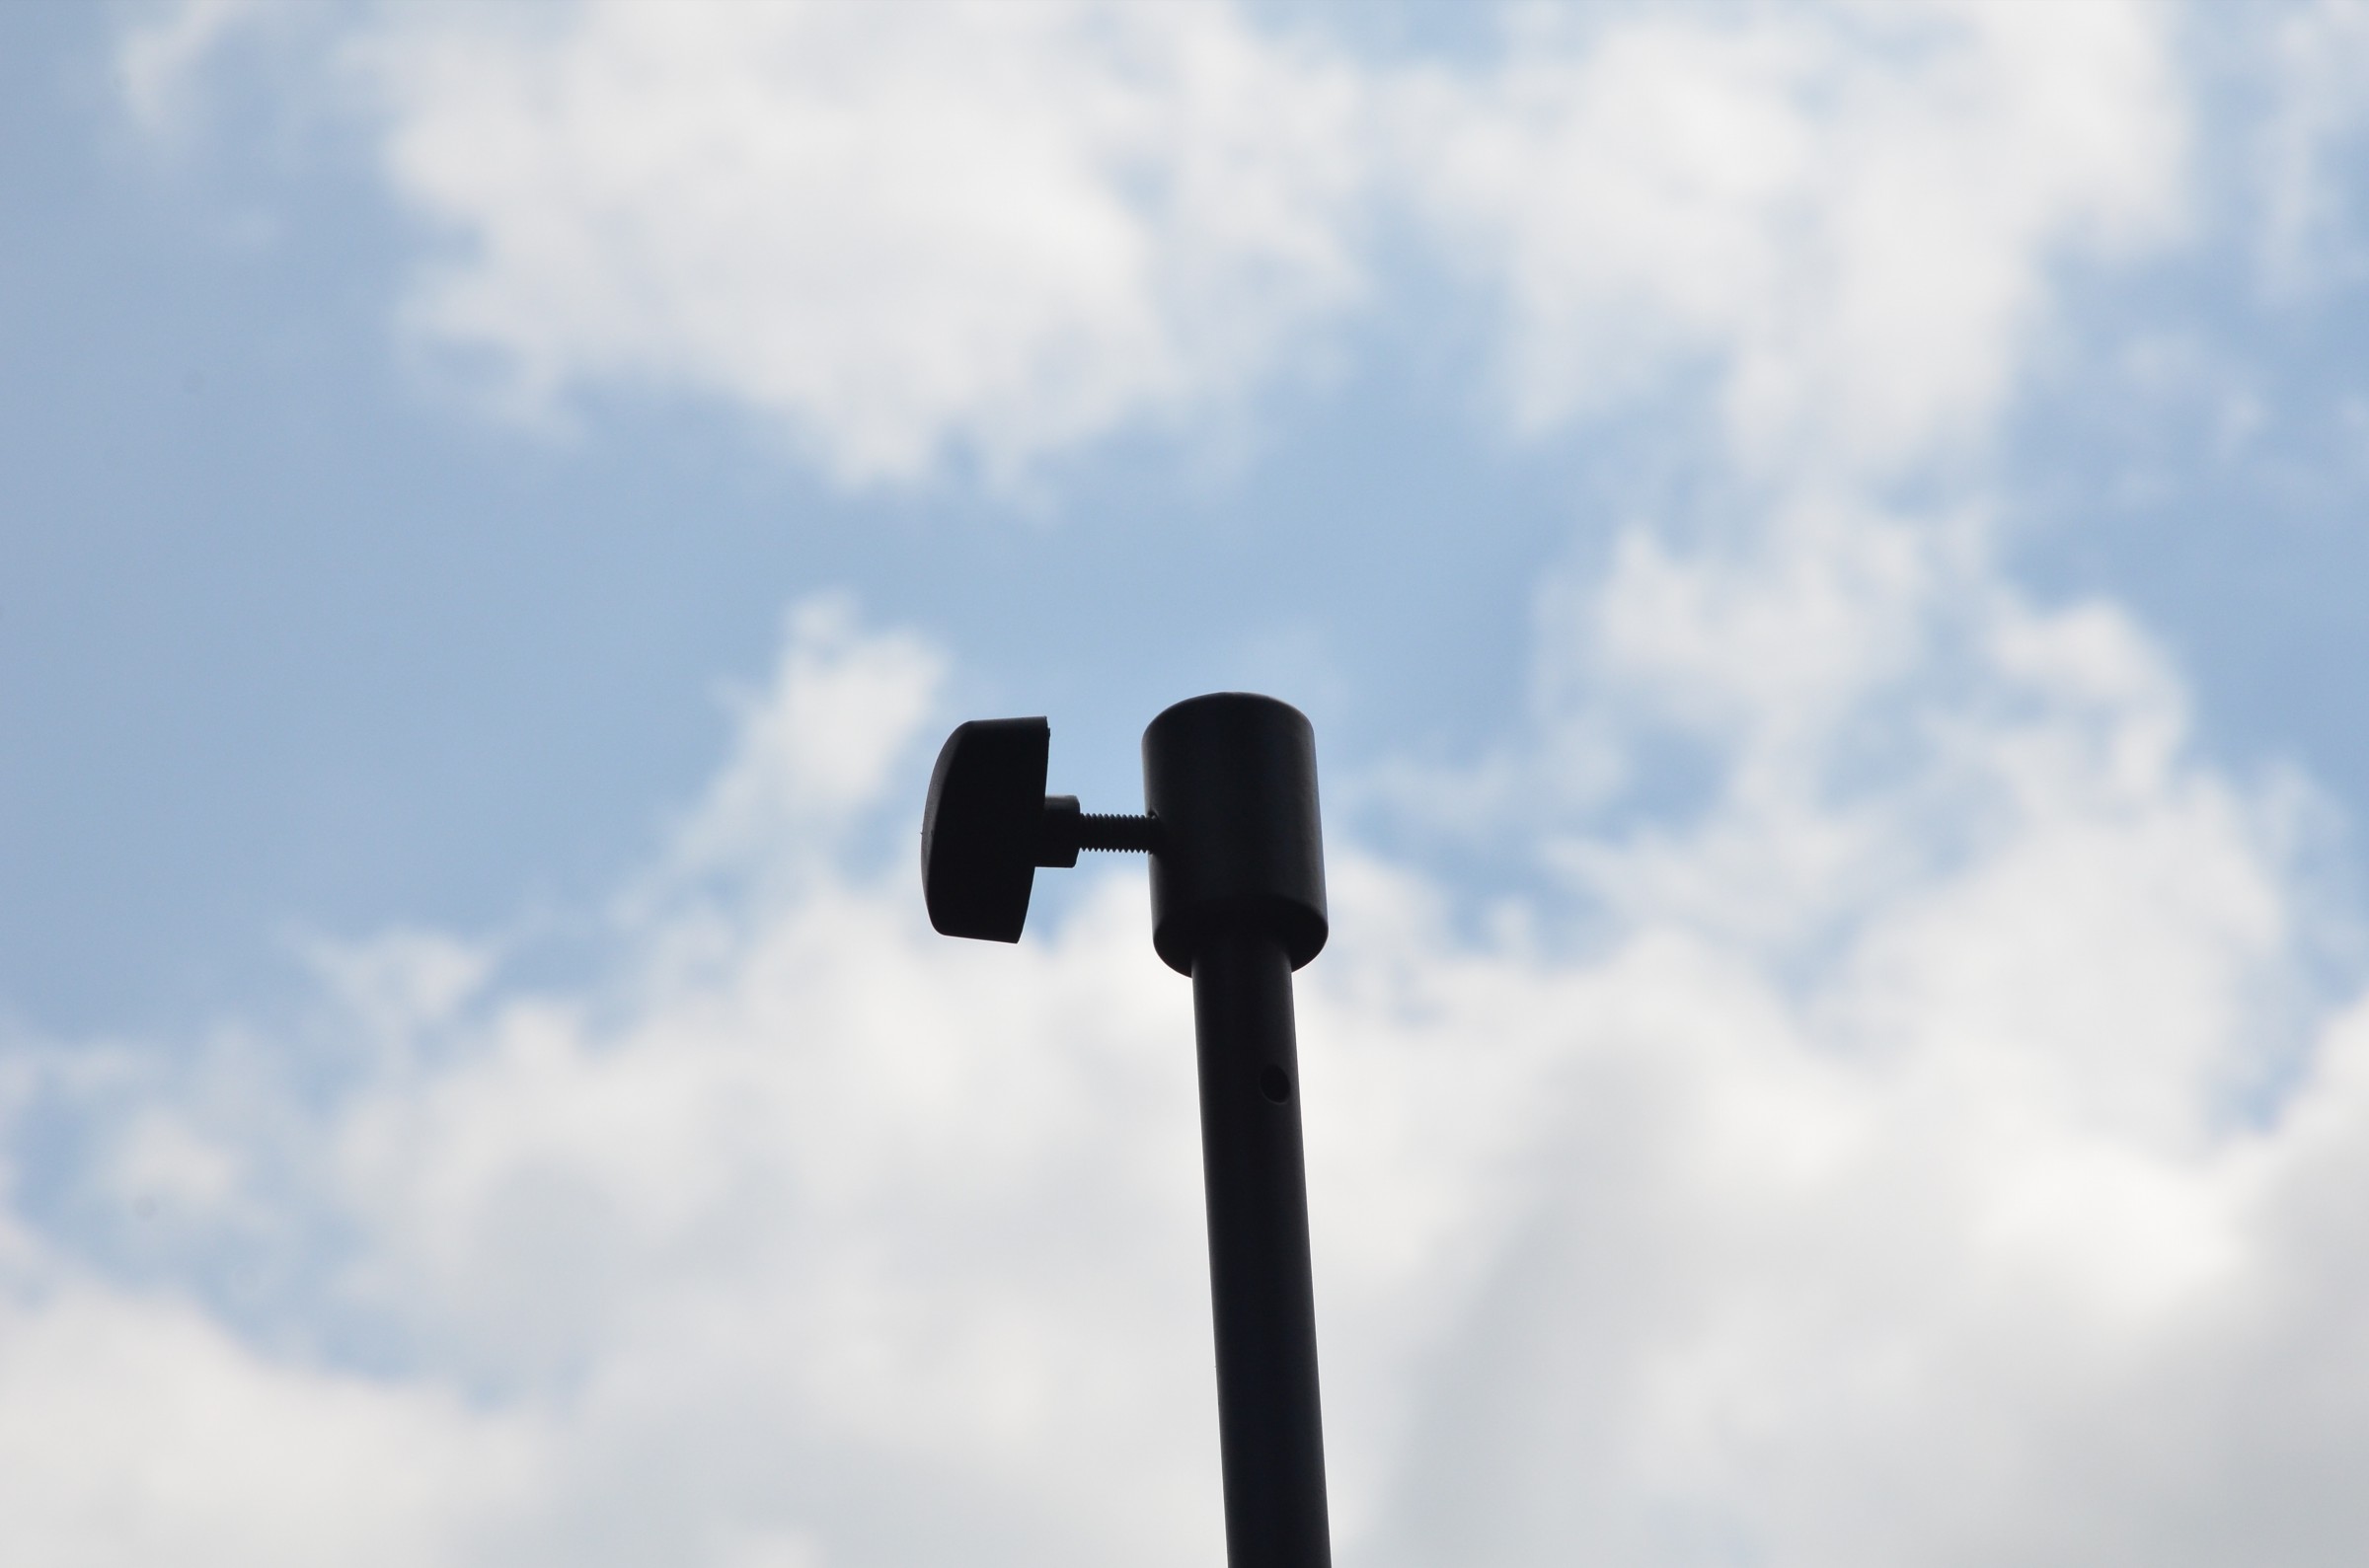
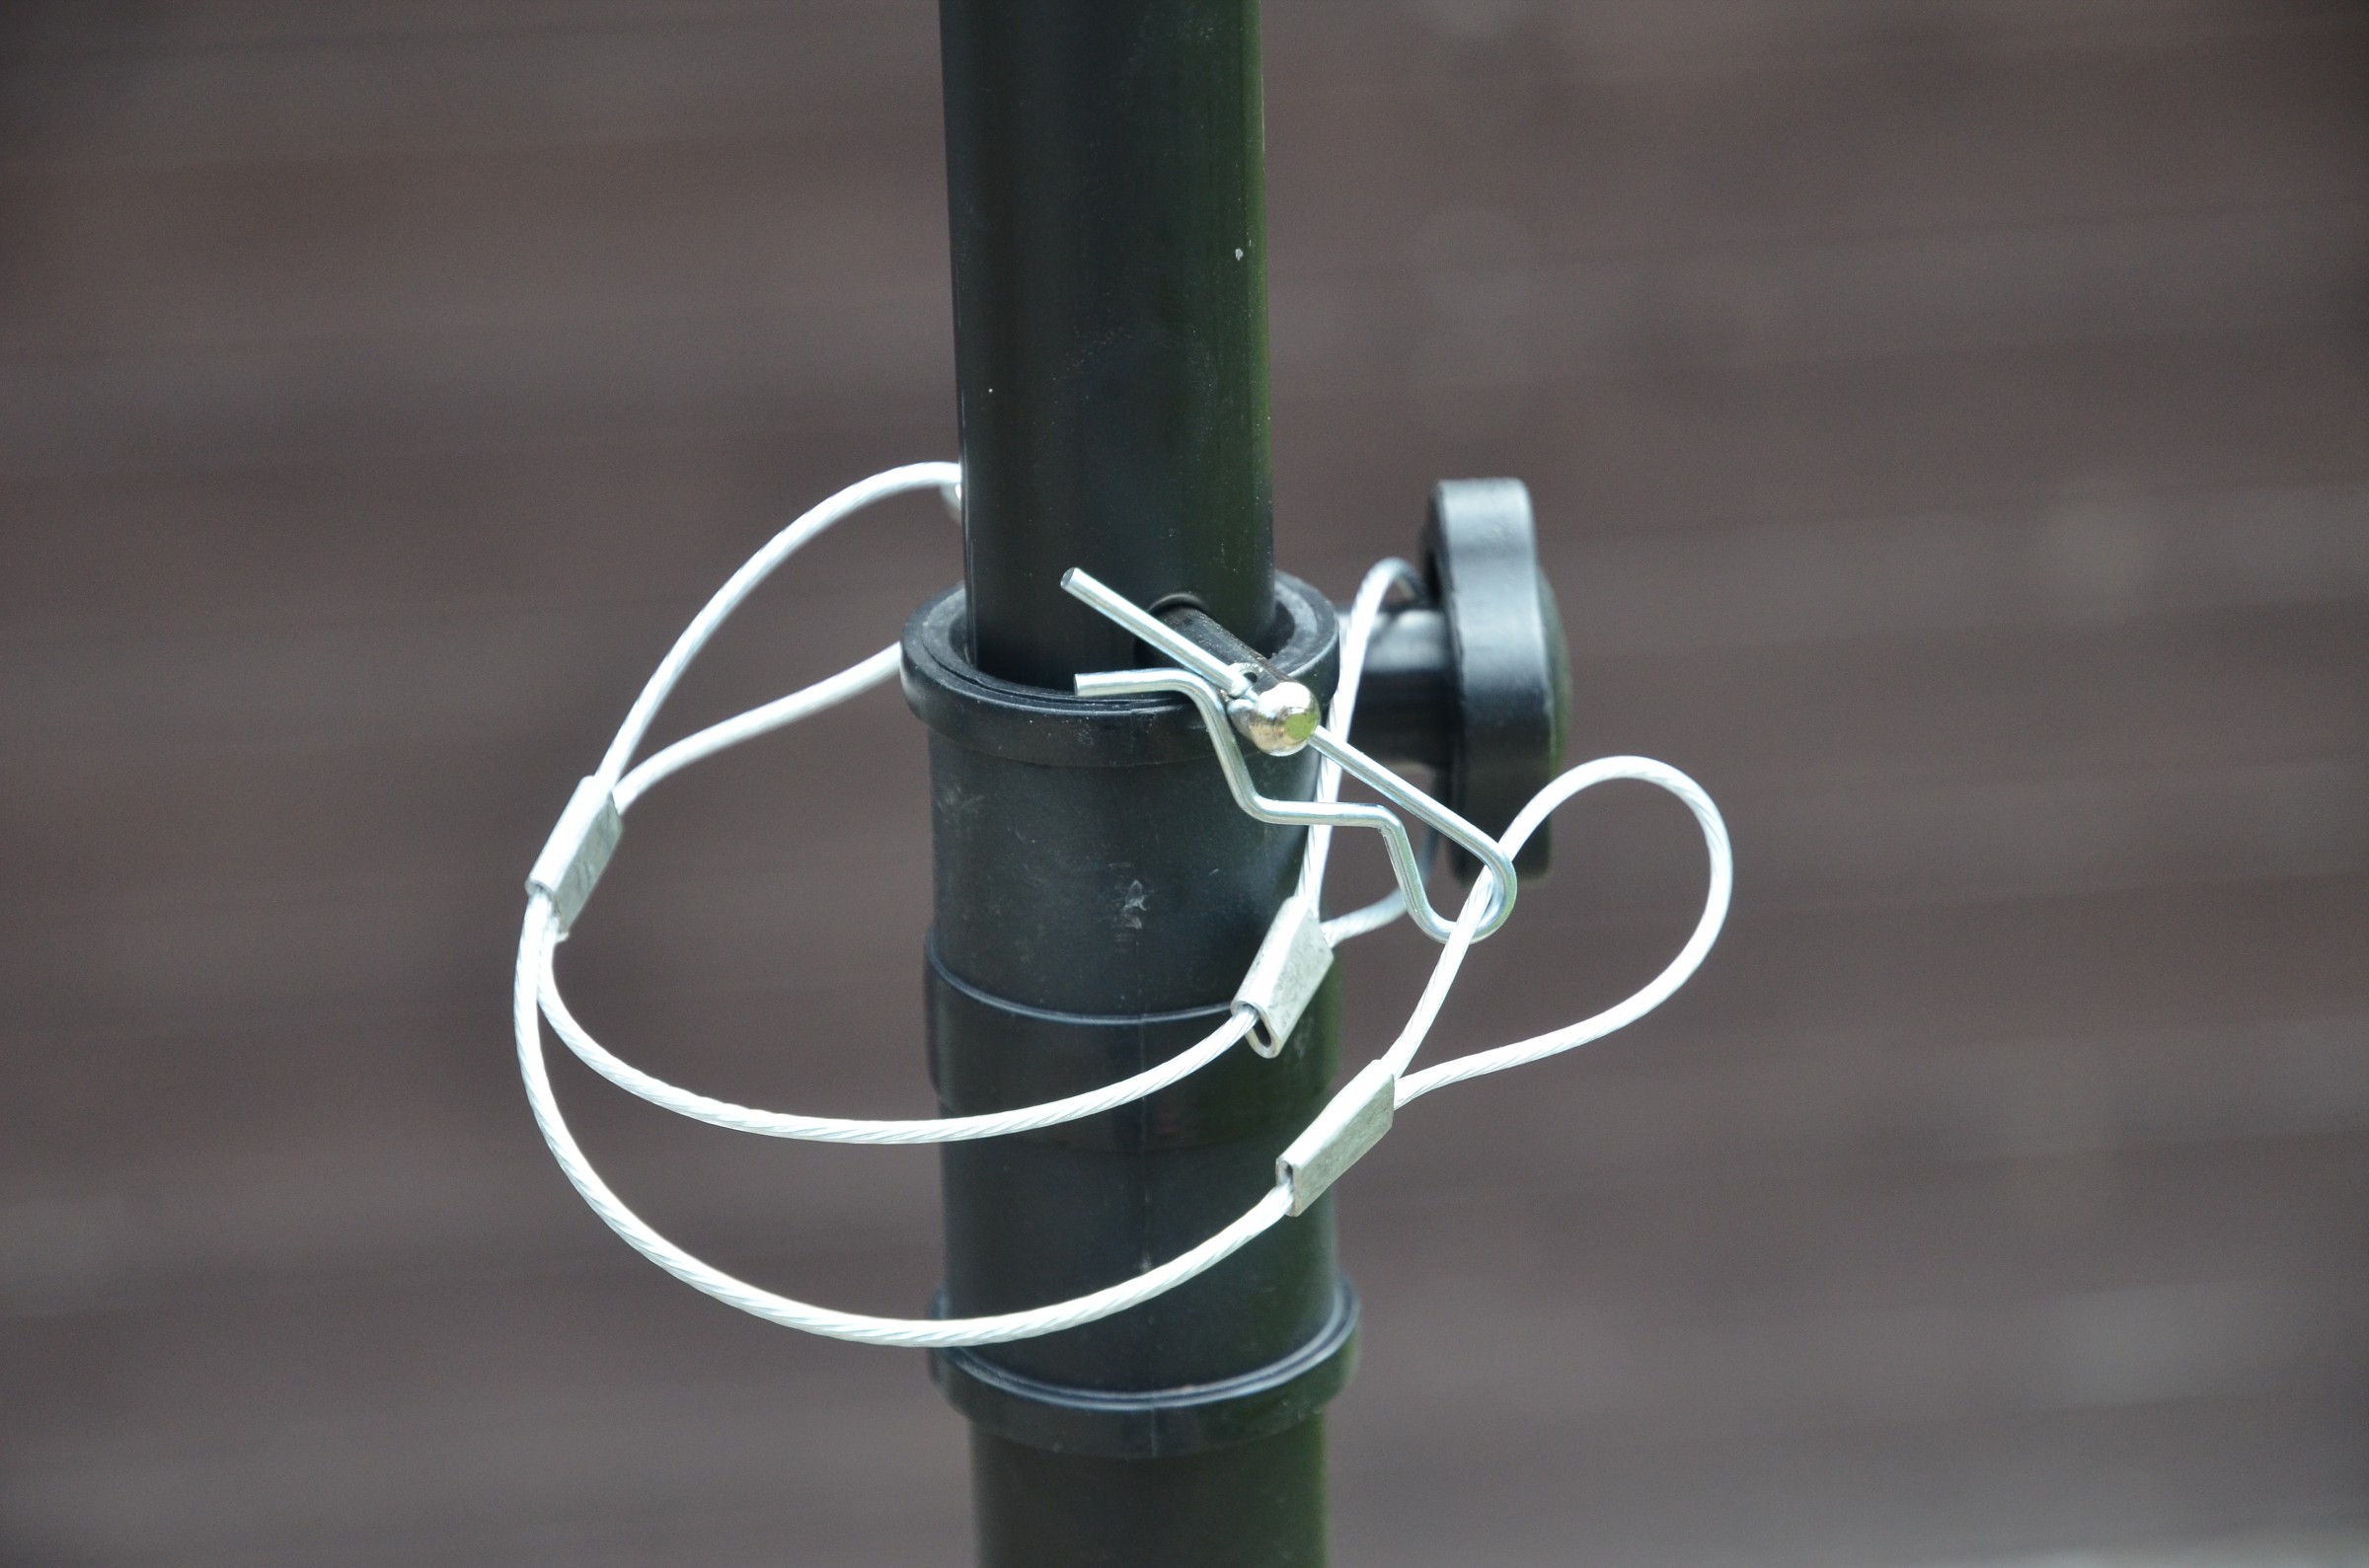
- Two Mic Stands
- Two Light Stands Millenium LST-250
- Two Light Stands lightmaXX LS-1
- Four Manfrotto Super-Clamps
- Two Manfrotto Rapid Adapters
- Several Studs from Manfrotto und Adam Hall
- Some sandbags (self-sewed)
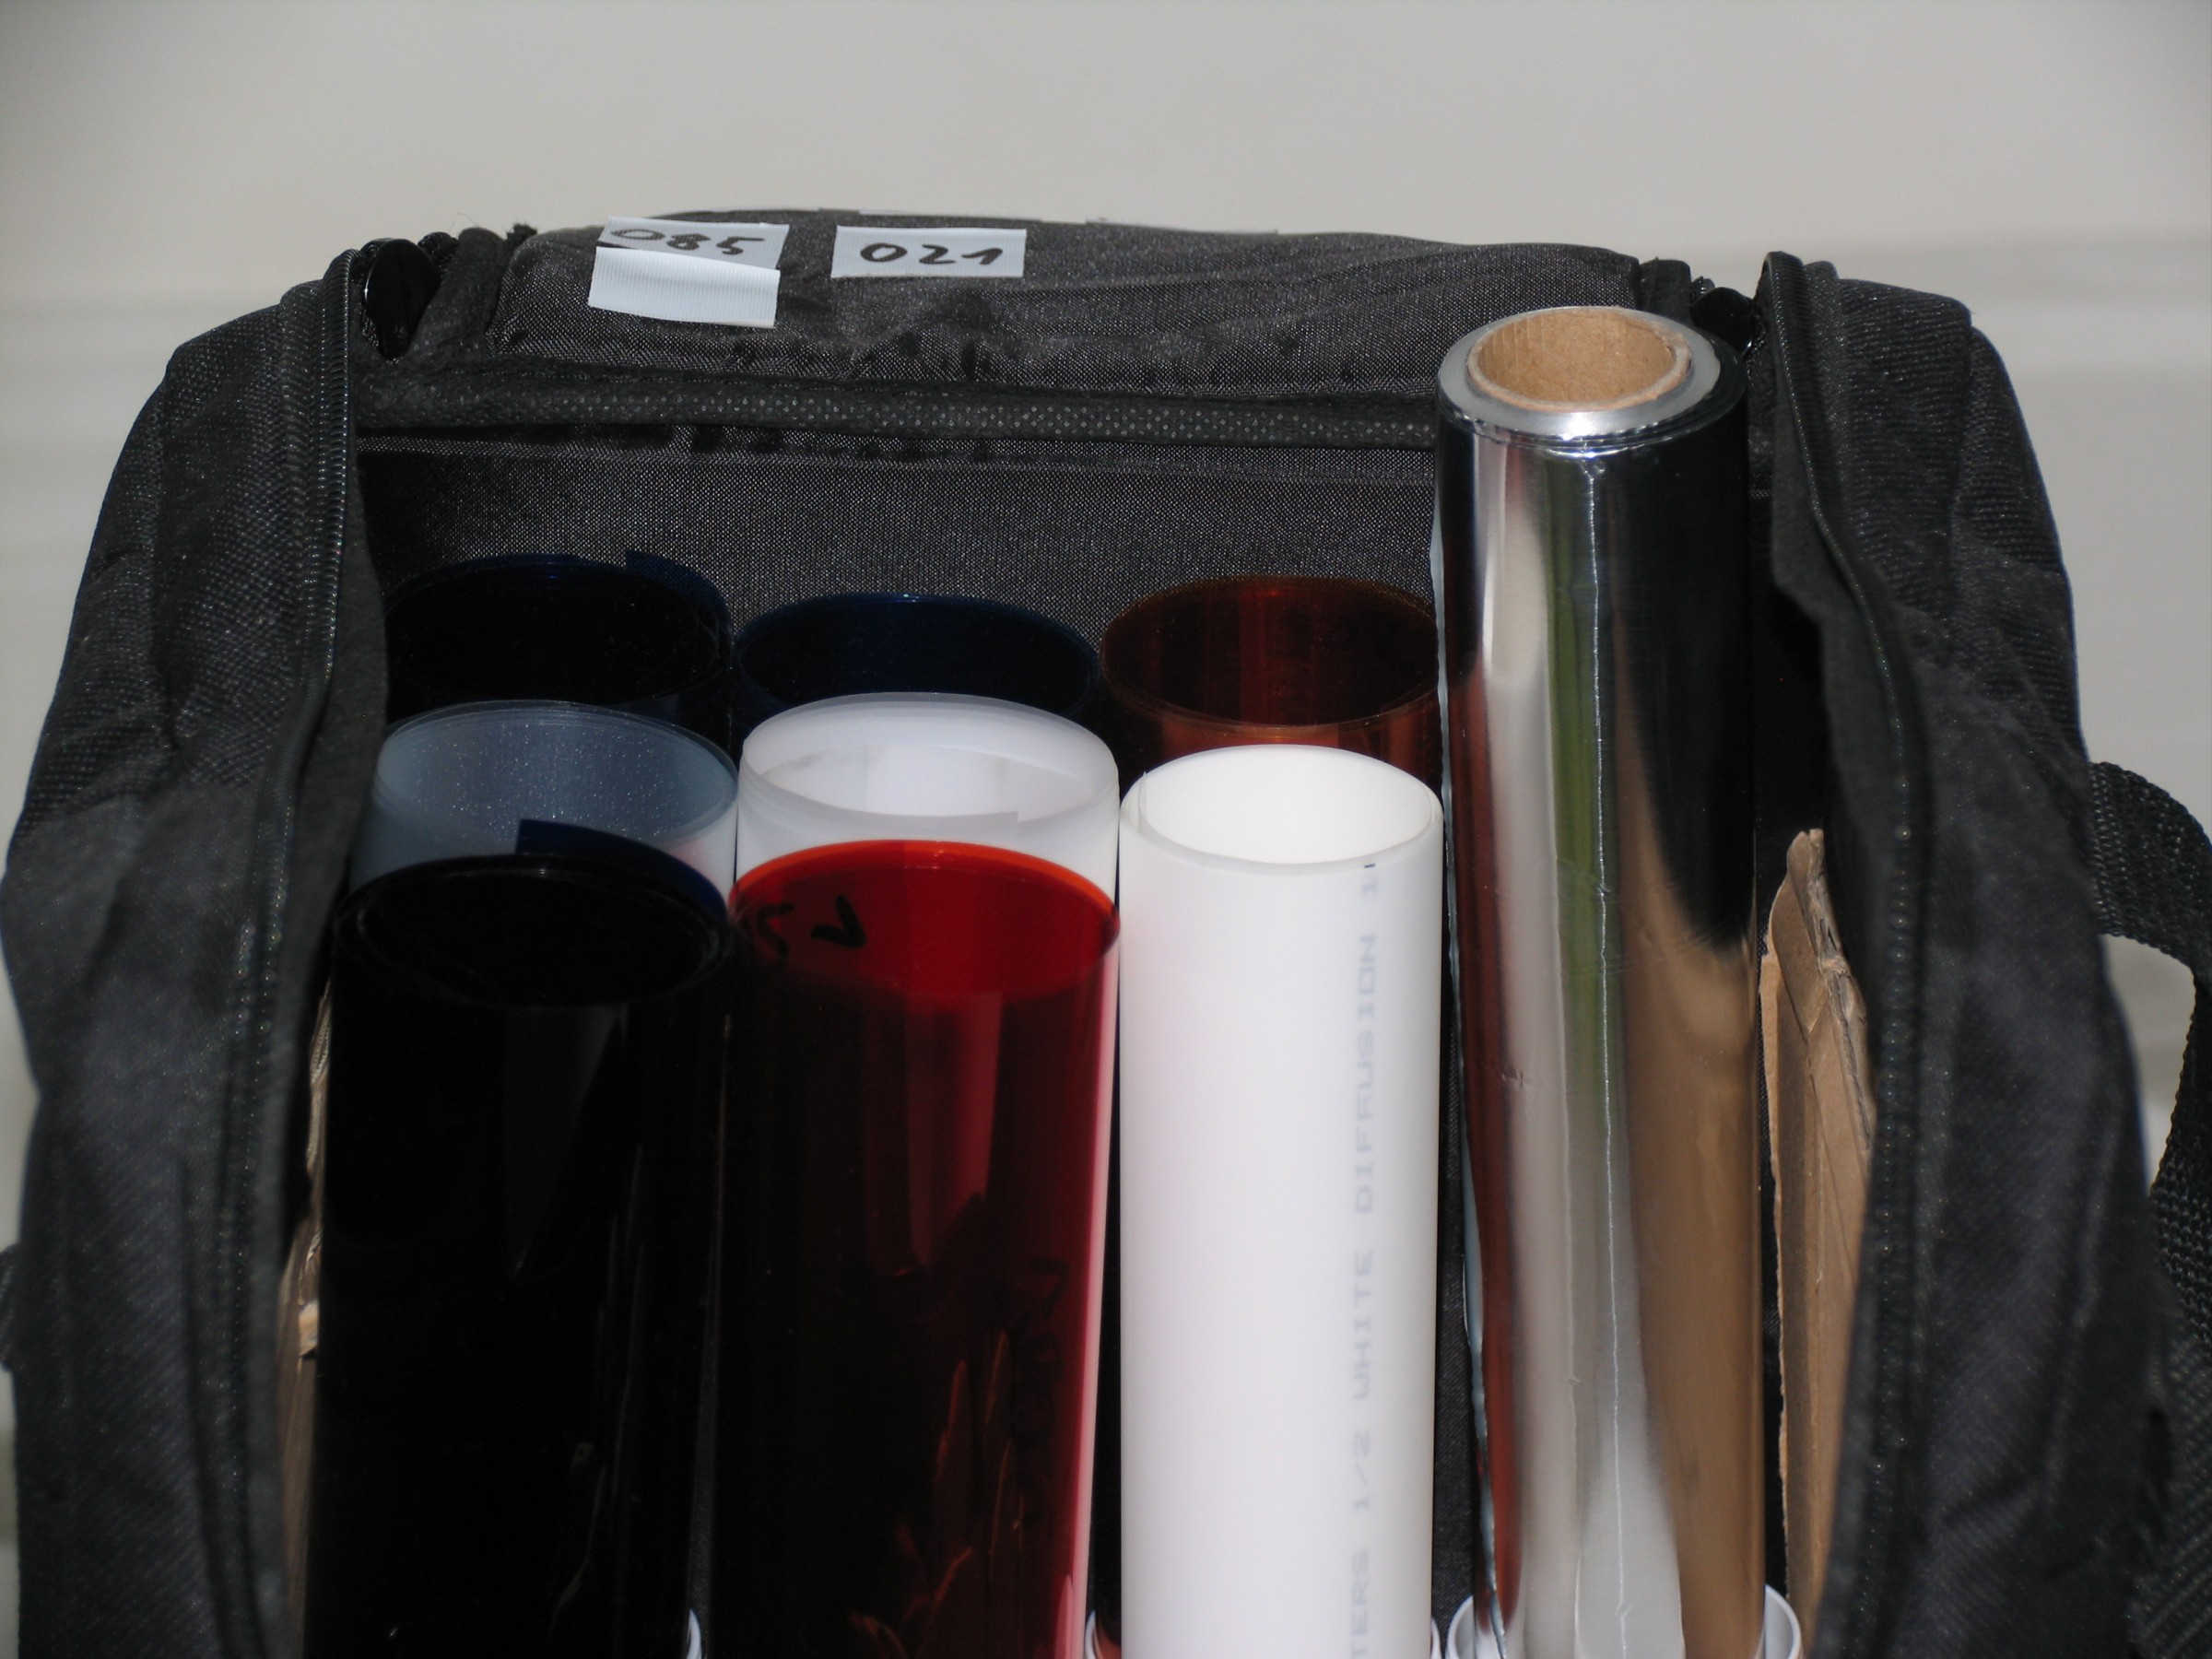
- Several Lee light gels:
 201 Full & 202 Half CTB (Color Temperature Blue) • 205 Half CTO (Color Temperature Orange) • 250 Half & 252 Eight White Diffusion • 253 Hampshire Frost • 021 Gold Amber • 164 Flame Red • 141 Bright Blue • 085 Deeper Blue • 058 Lavender • 048 Rose Purple • 213 White Flame Green • 738 Jas Green • 100 Spring Yellow
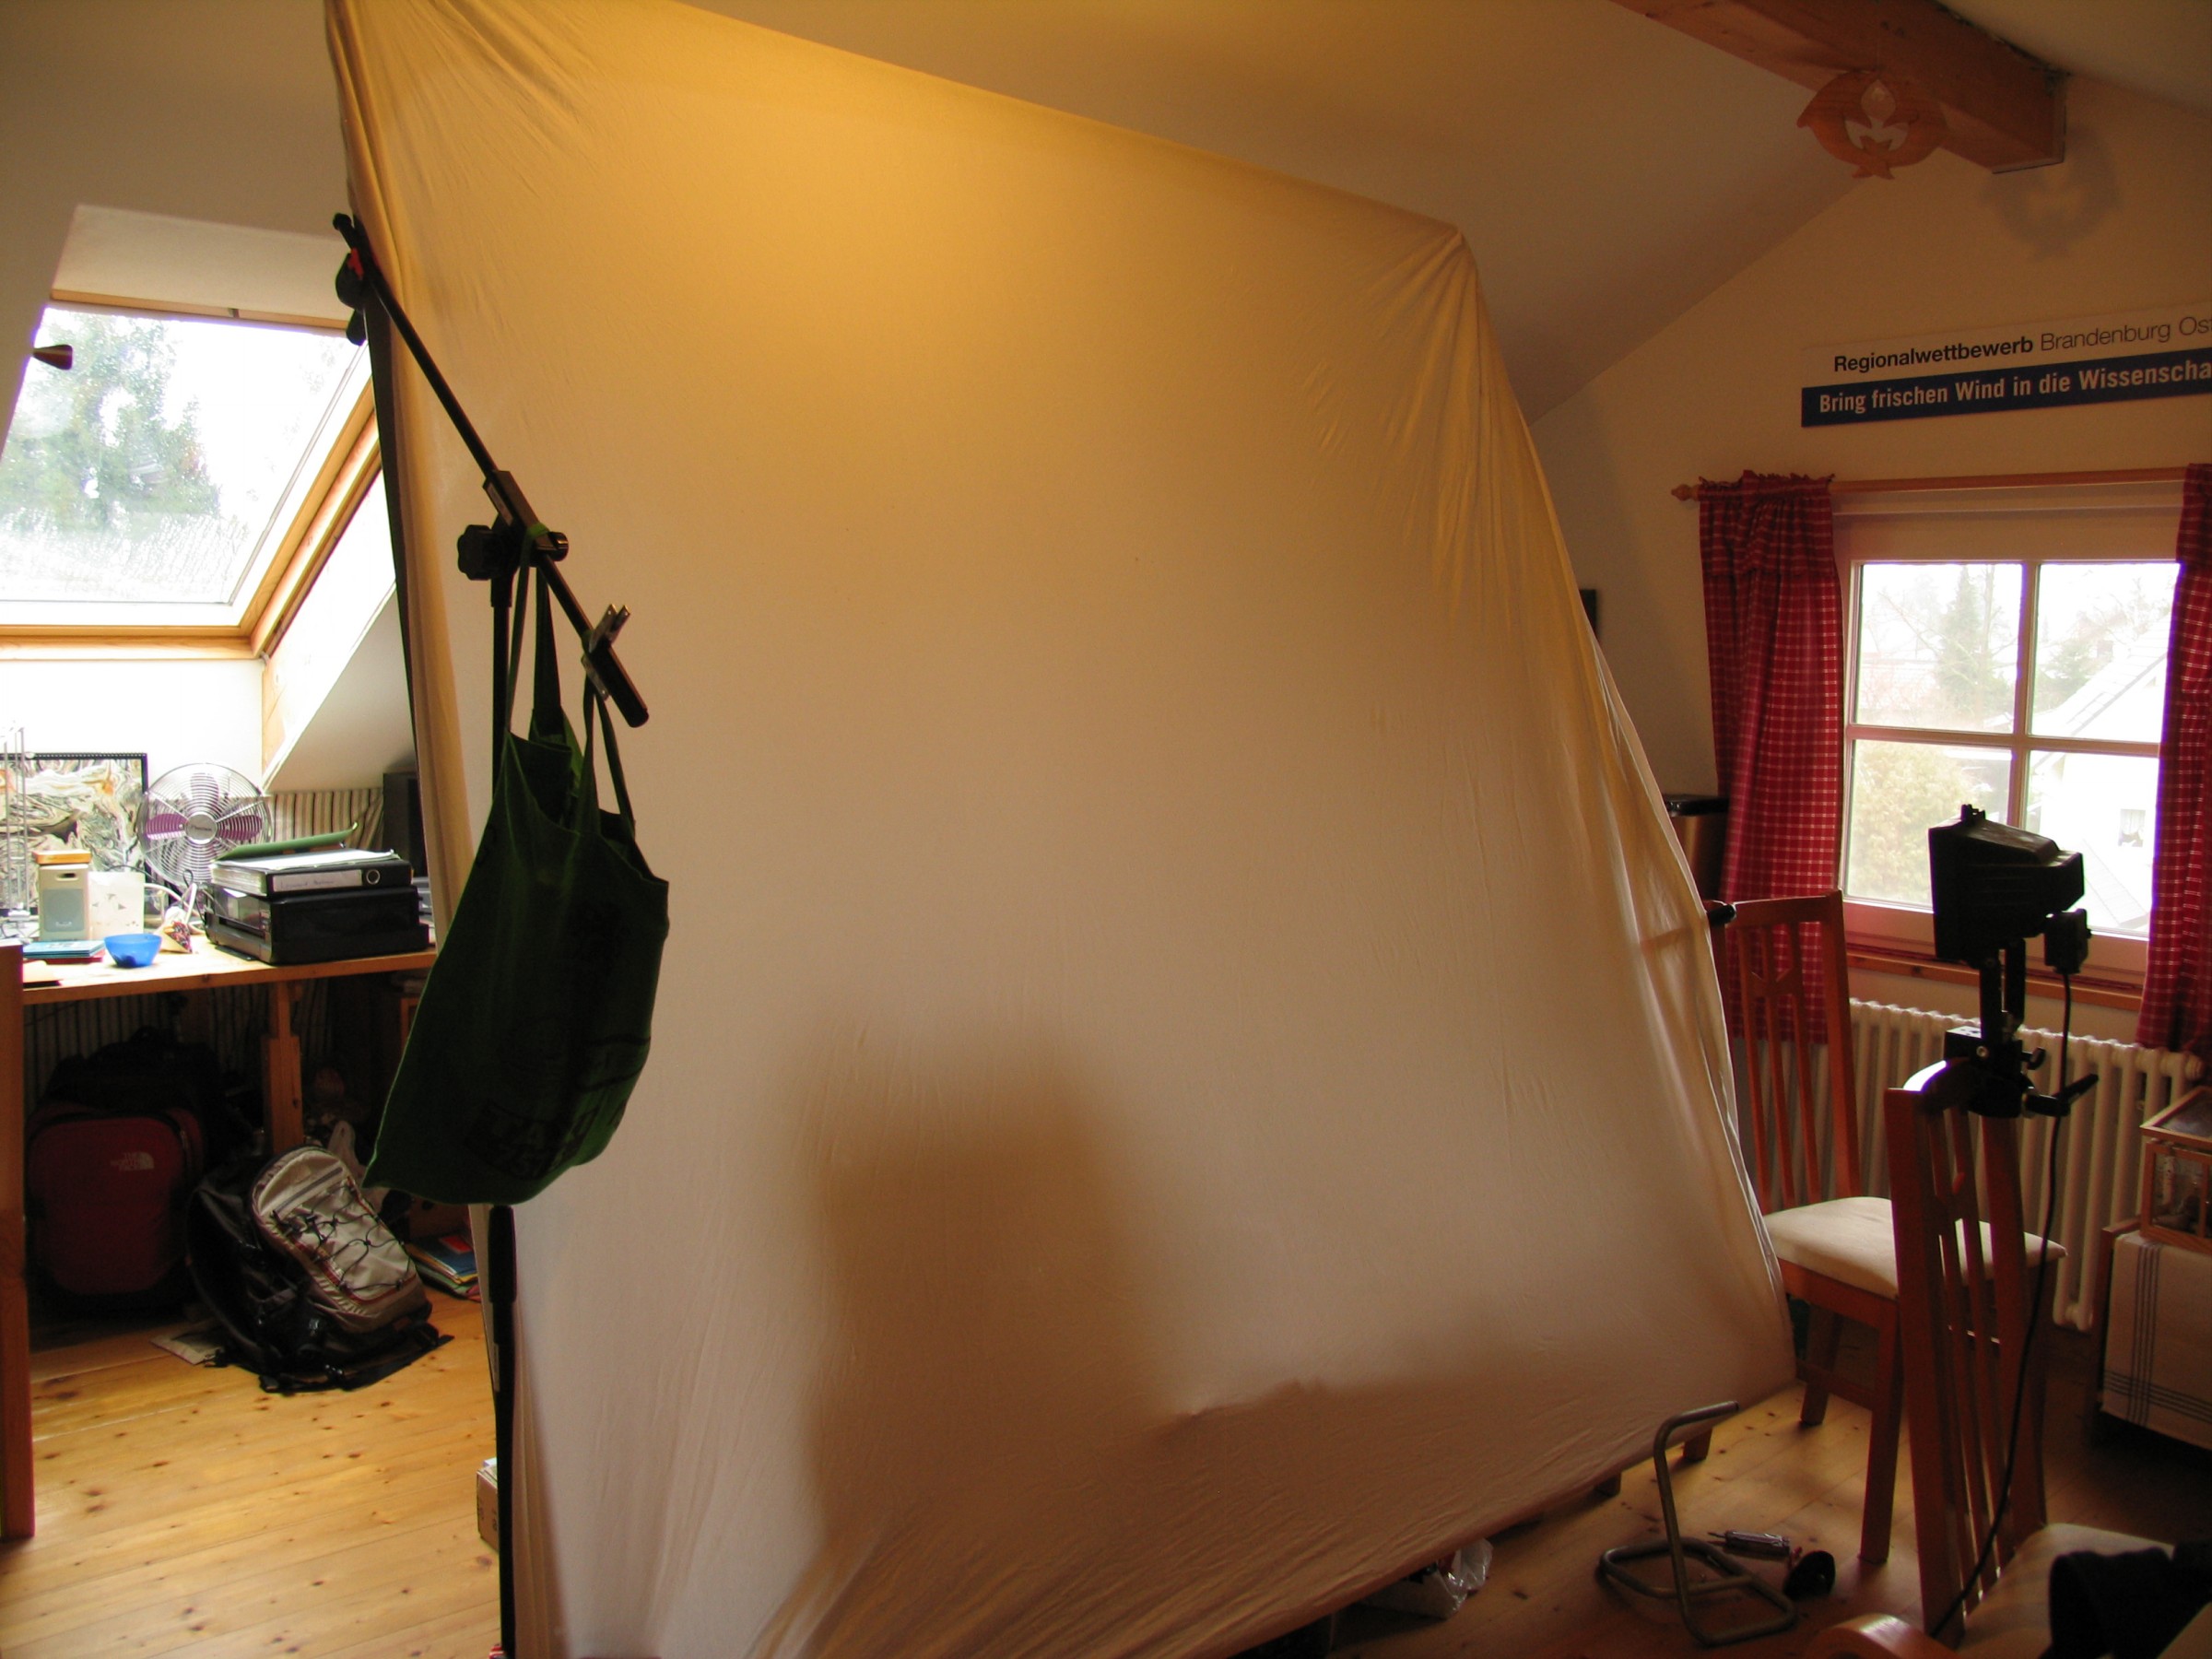
 - A DIY 2x2m frame from PVC-pipes [lining: bed sheet (diffusion)]
- A DIY 1x1m frame from wooden bars [lining: Molton (flag)]
- Black molton for flags and negative fill
- Styrofoam boards as reflectors
- A roll of black wrap


Audio
Microphone
My microphone is a VideoMic by Røde. It has a stereo audio jack (3.5mm) and is mountable via an accesory shoe. To use this mic a nine-volt batterie is required (or a rechargeable battery).
additional pictures coming soon…
Audio Recorder
When it is not reasonable to plug the microphone directly into the camera, or I need some good sound without a lot of work, I record the sound with an H1 Handy Recorder by Zoom. Besides a microphone input and a headphone jack it also has a built-in stereo mic. It records onto a micro SD card.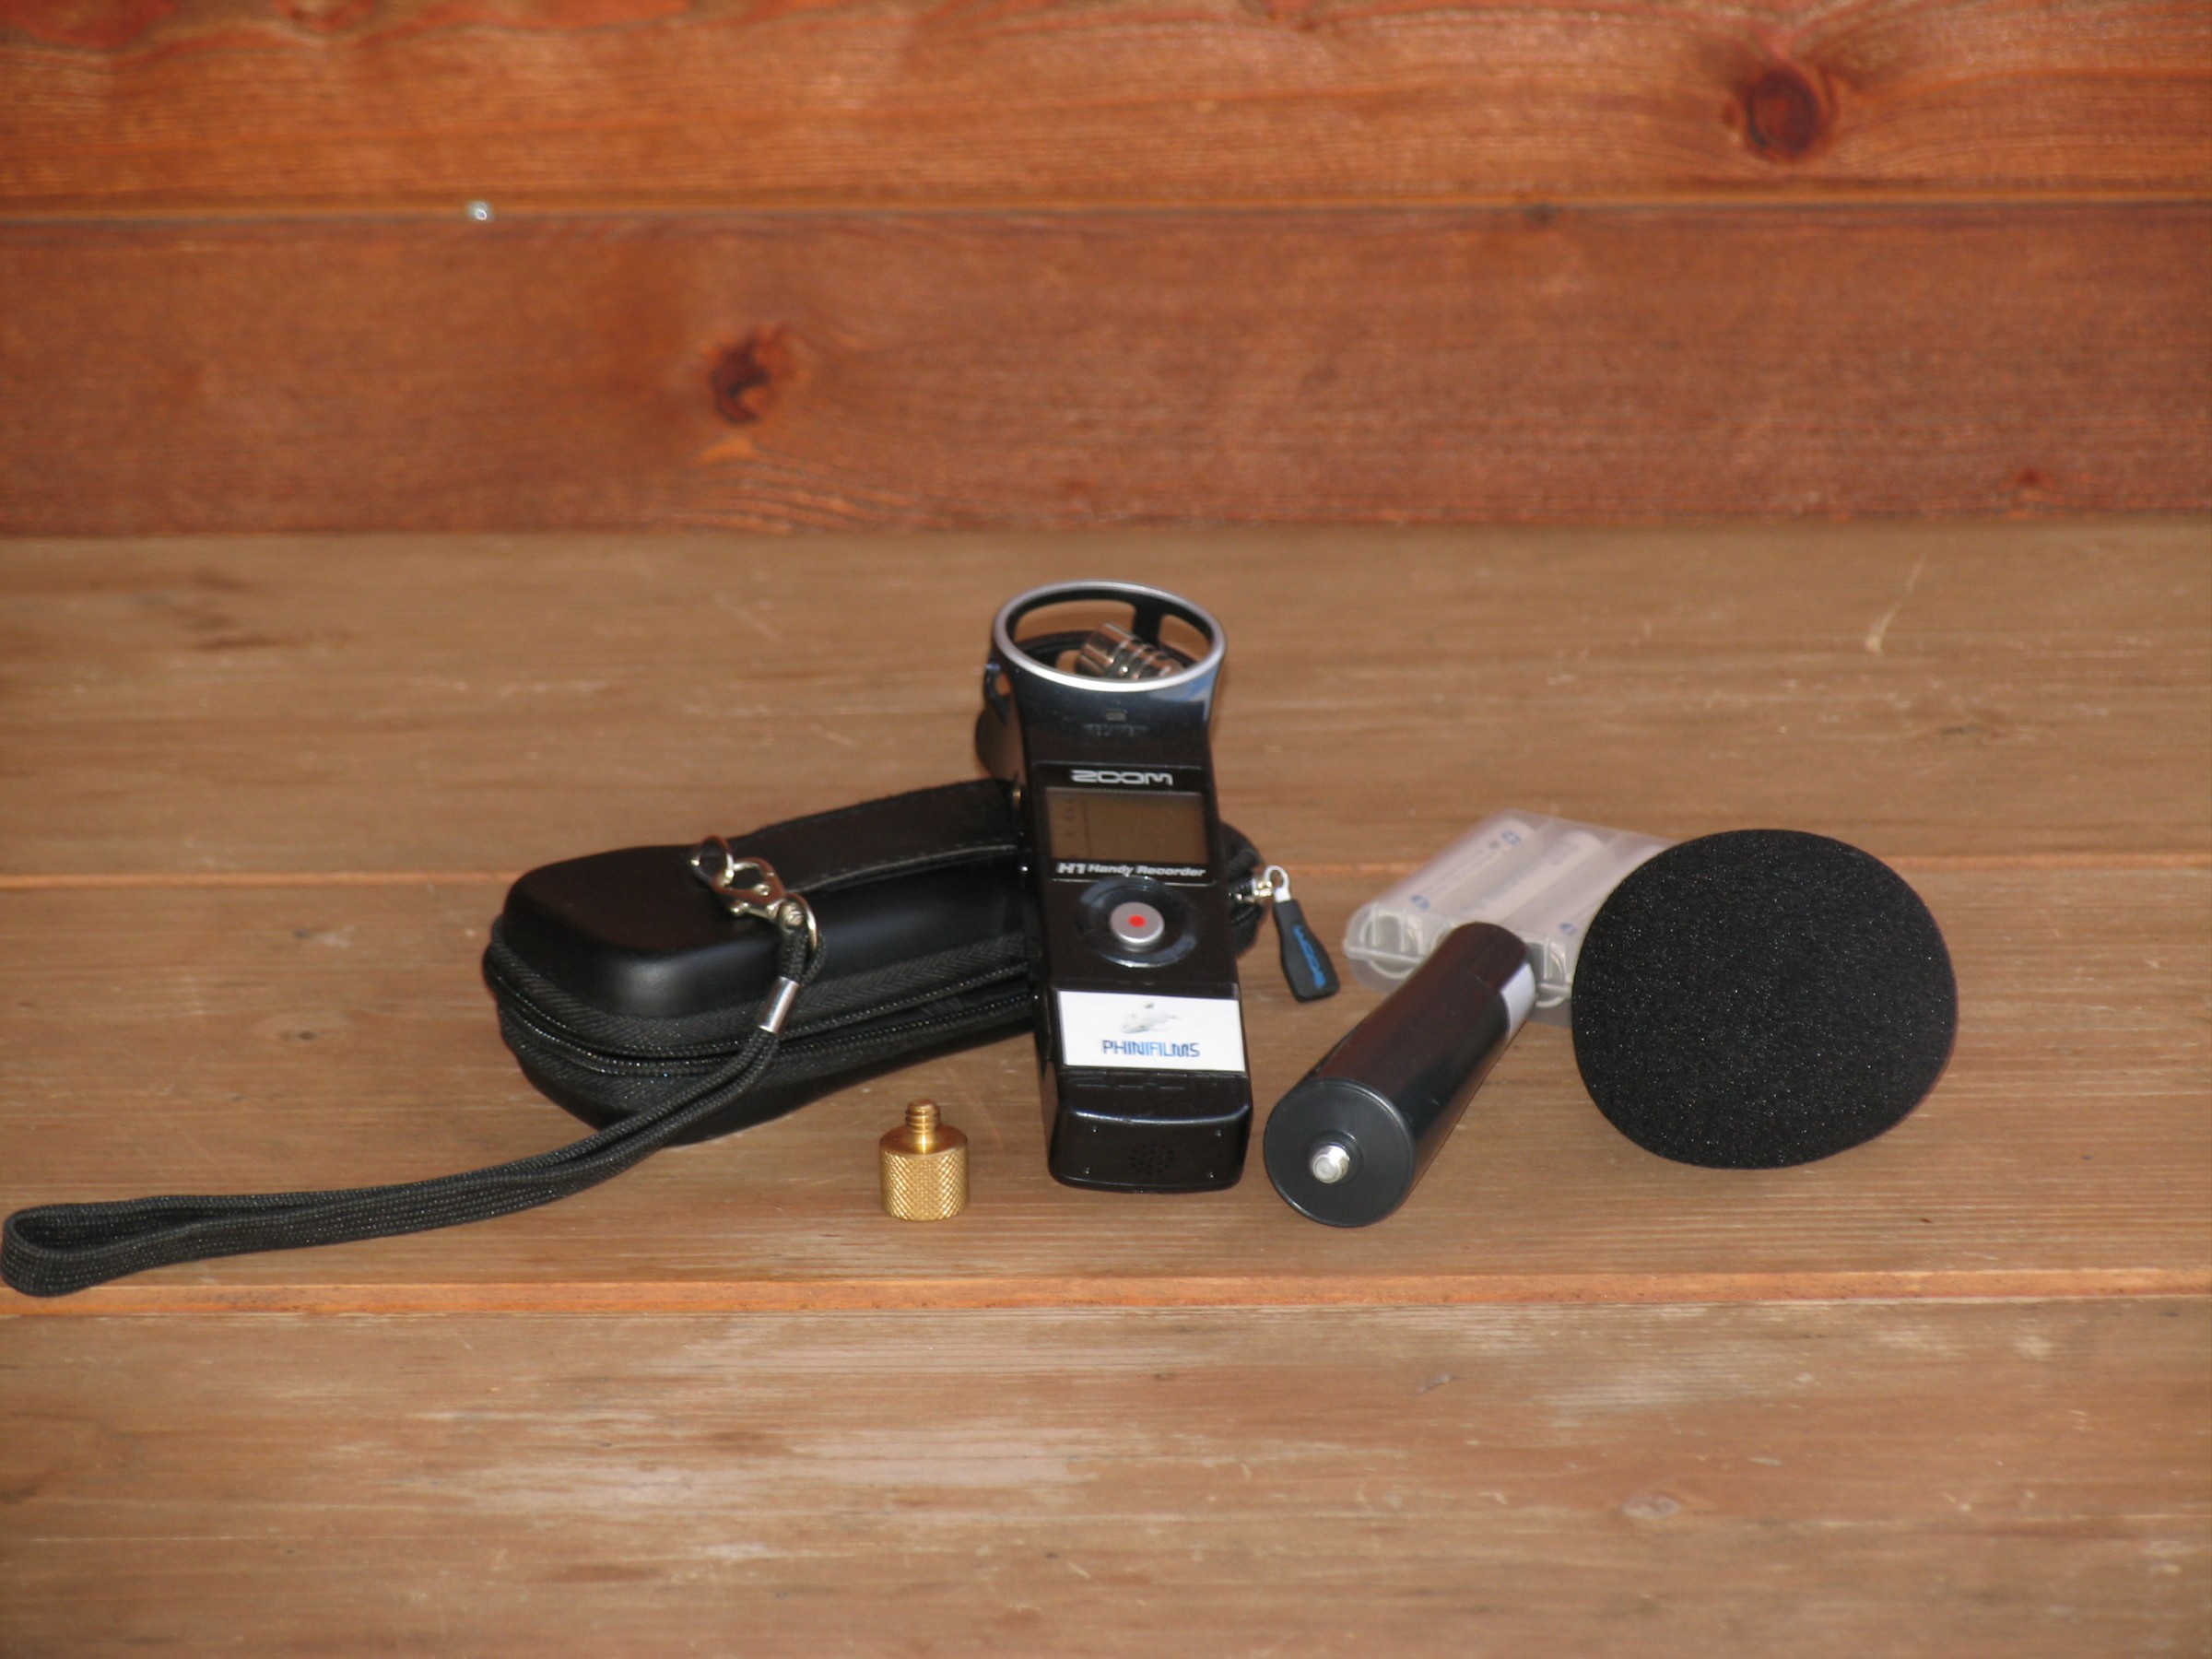
Mixer
For Live-Mixing at events and concerts I have a live mixer, a FX 2222 from Behringer. It has 8 Mono-Channels with XLR-(Mic-) and Line-Inputs, Insert, Gain-Control, Compressor and semi-parametric 4Band-EQ as well as 4 Stereo Line-Channels with +4/-10db switch and 4Band-EQ. Also, every channel has 3 AUX-Lines, one of which goes to the built-in effects-processor. All channels can be muted over a big button with indicator-LED and are each routable to Main and SubGroup. Apart from the channel fader, there is also a Pan-Poti per channel.A headphone-output can be regulated with a Poti, and the per-channel Solo is switchable to PFL.


Speakers
Tha loudspeakers of my PA are two Fame audio Challenger 15A active Speakers.


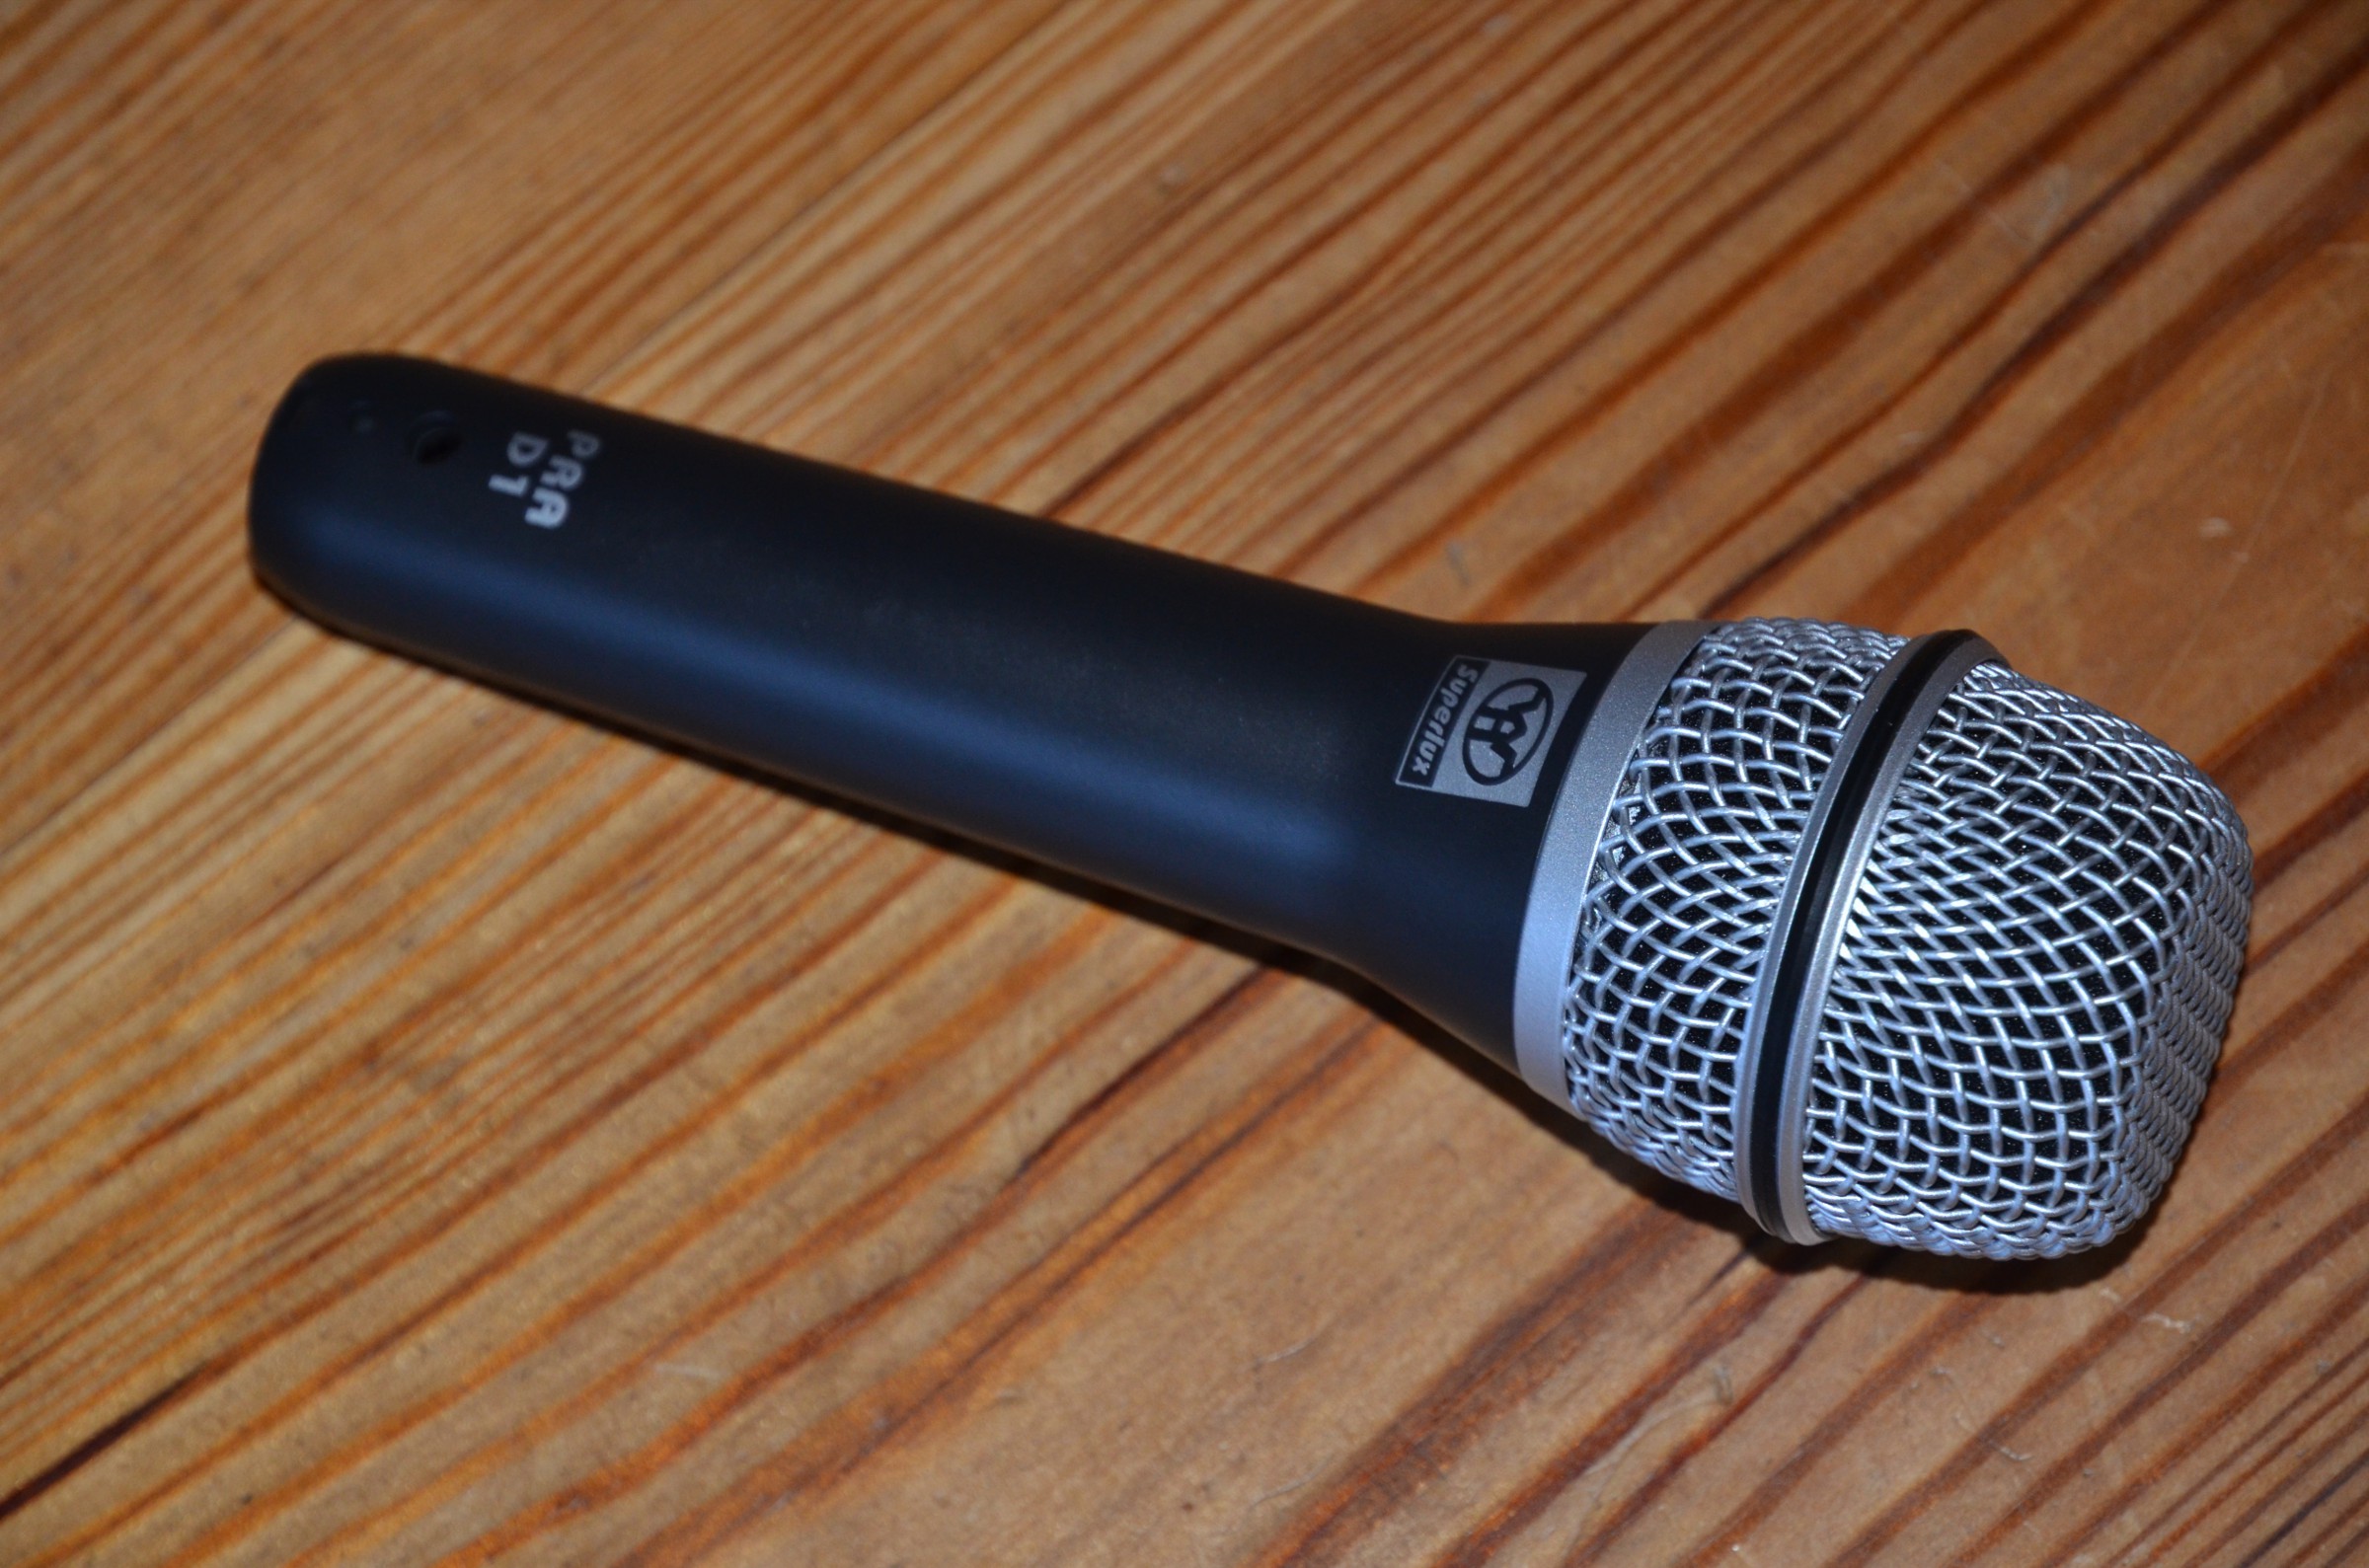
Microphones
For studio and concert recordings as well as live-events, of course you need some microphones. Until now, I own the following, that all have a very good quality for a very low price::- Two the t.bone EM722 small-diaphragm condenser mics
- A Superlux PRA D1 dynamic vocal mic
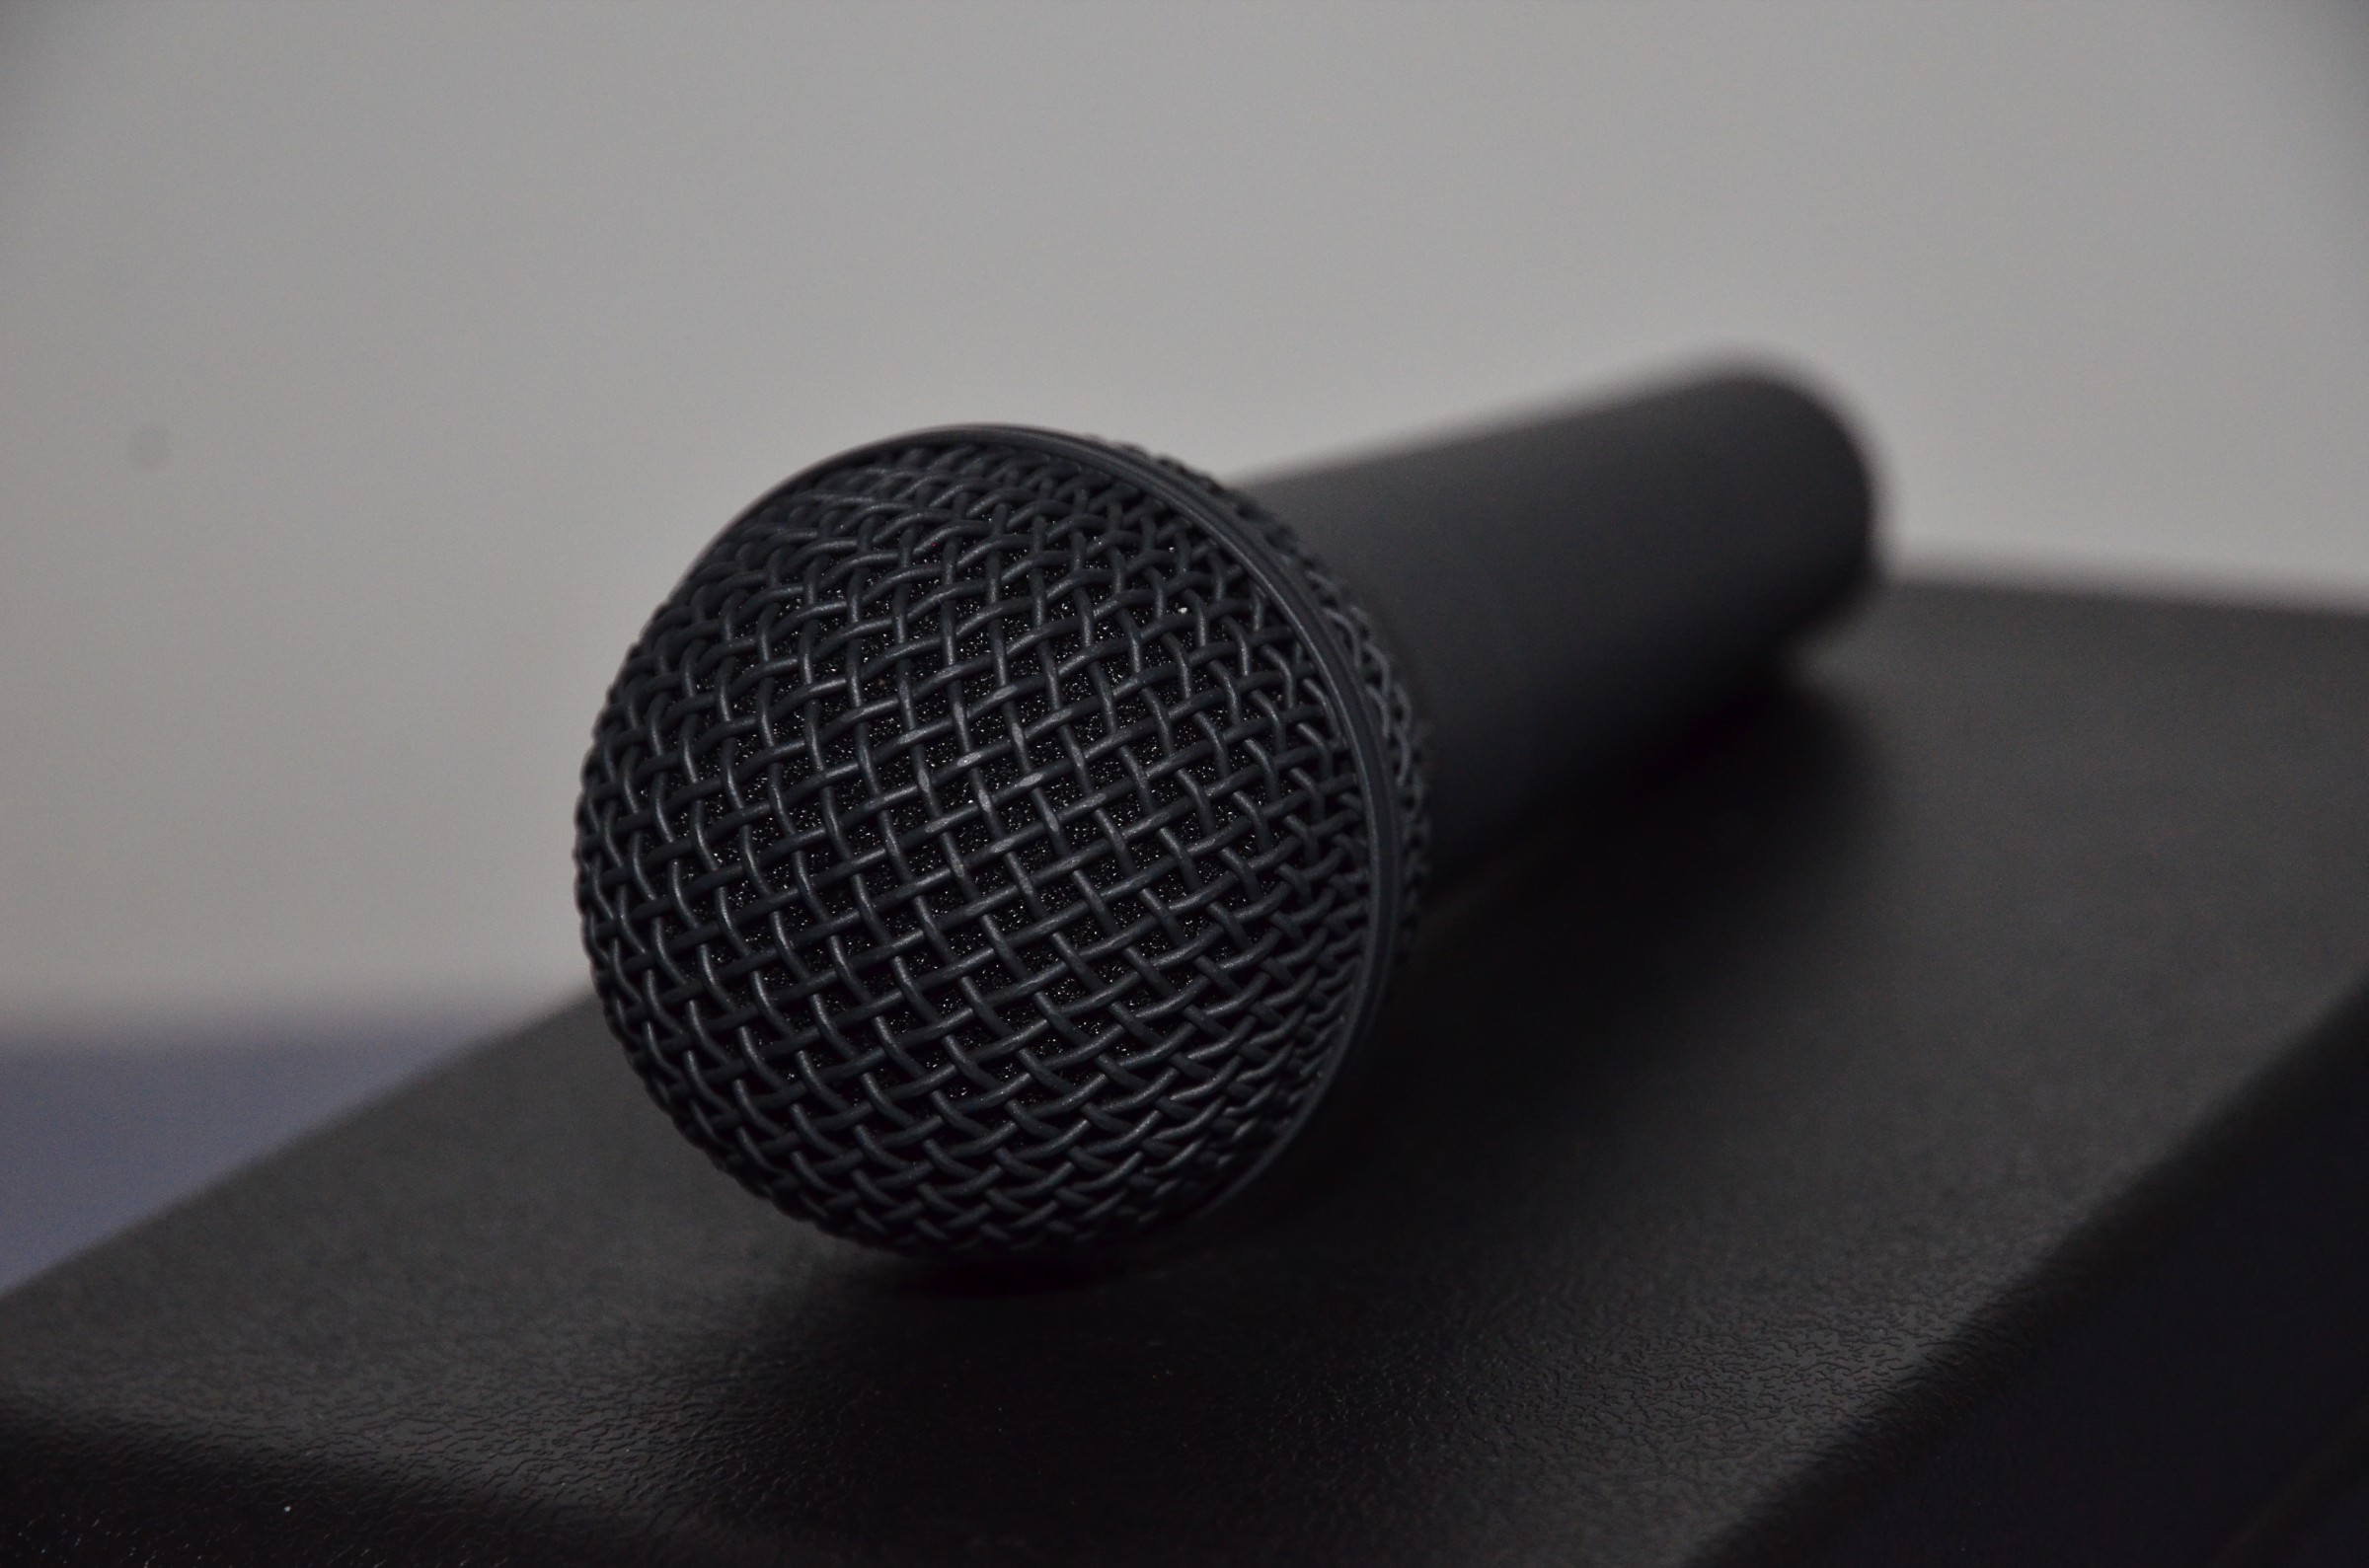
- A Behringer XM8500 dynamic vocal mic


Kopfhörer
I have several pairs of headphones, all for a different purpose:- Superlux HD-681 B – ear-surrounding, open headphones for studio use
- Superlux HD-662 F – ear-surrounding, closed headphones for live use
- Songful S1 – closed In-Ears for In-Ear-Monitoring


Audio-Rack
It is nice to have all sound devices for concerts and events in one place, so I built myself a Rack-Box. It holds all my 19-Inch audio devices.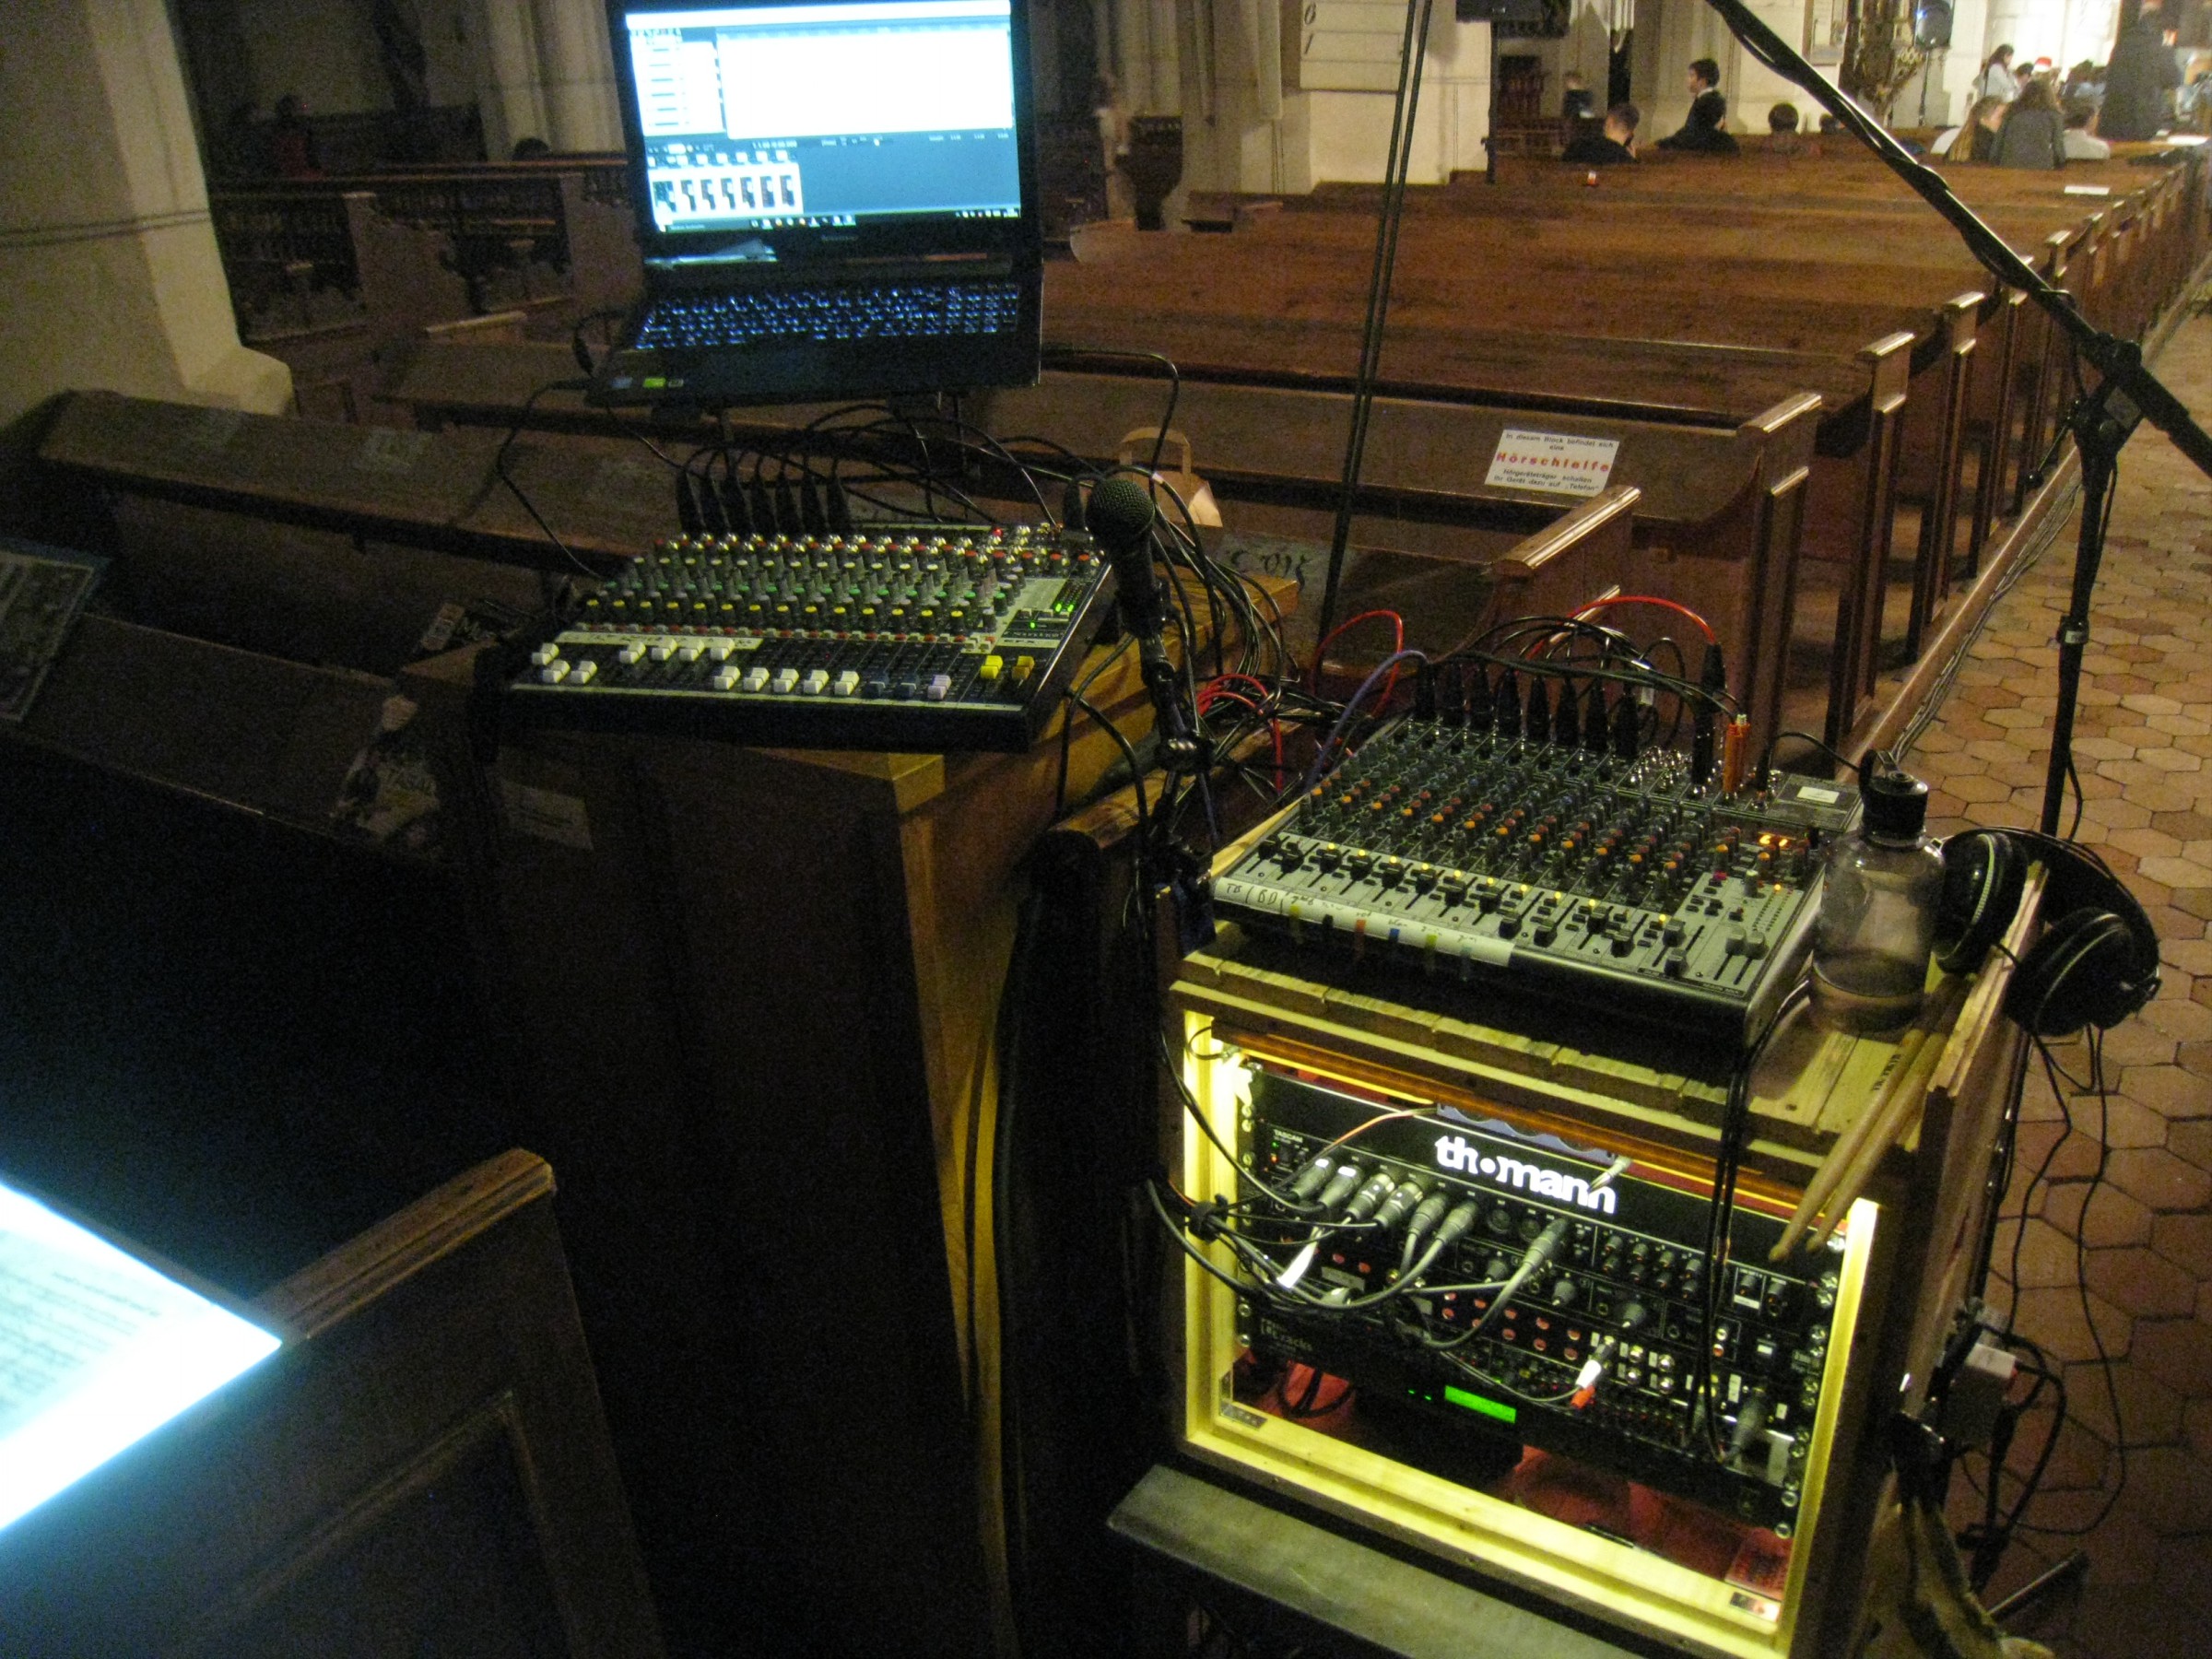


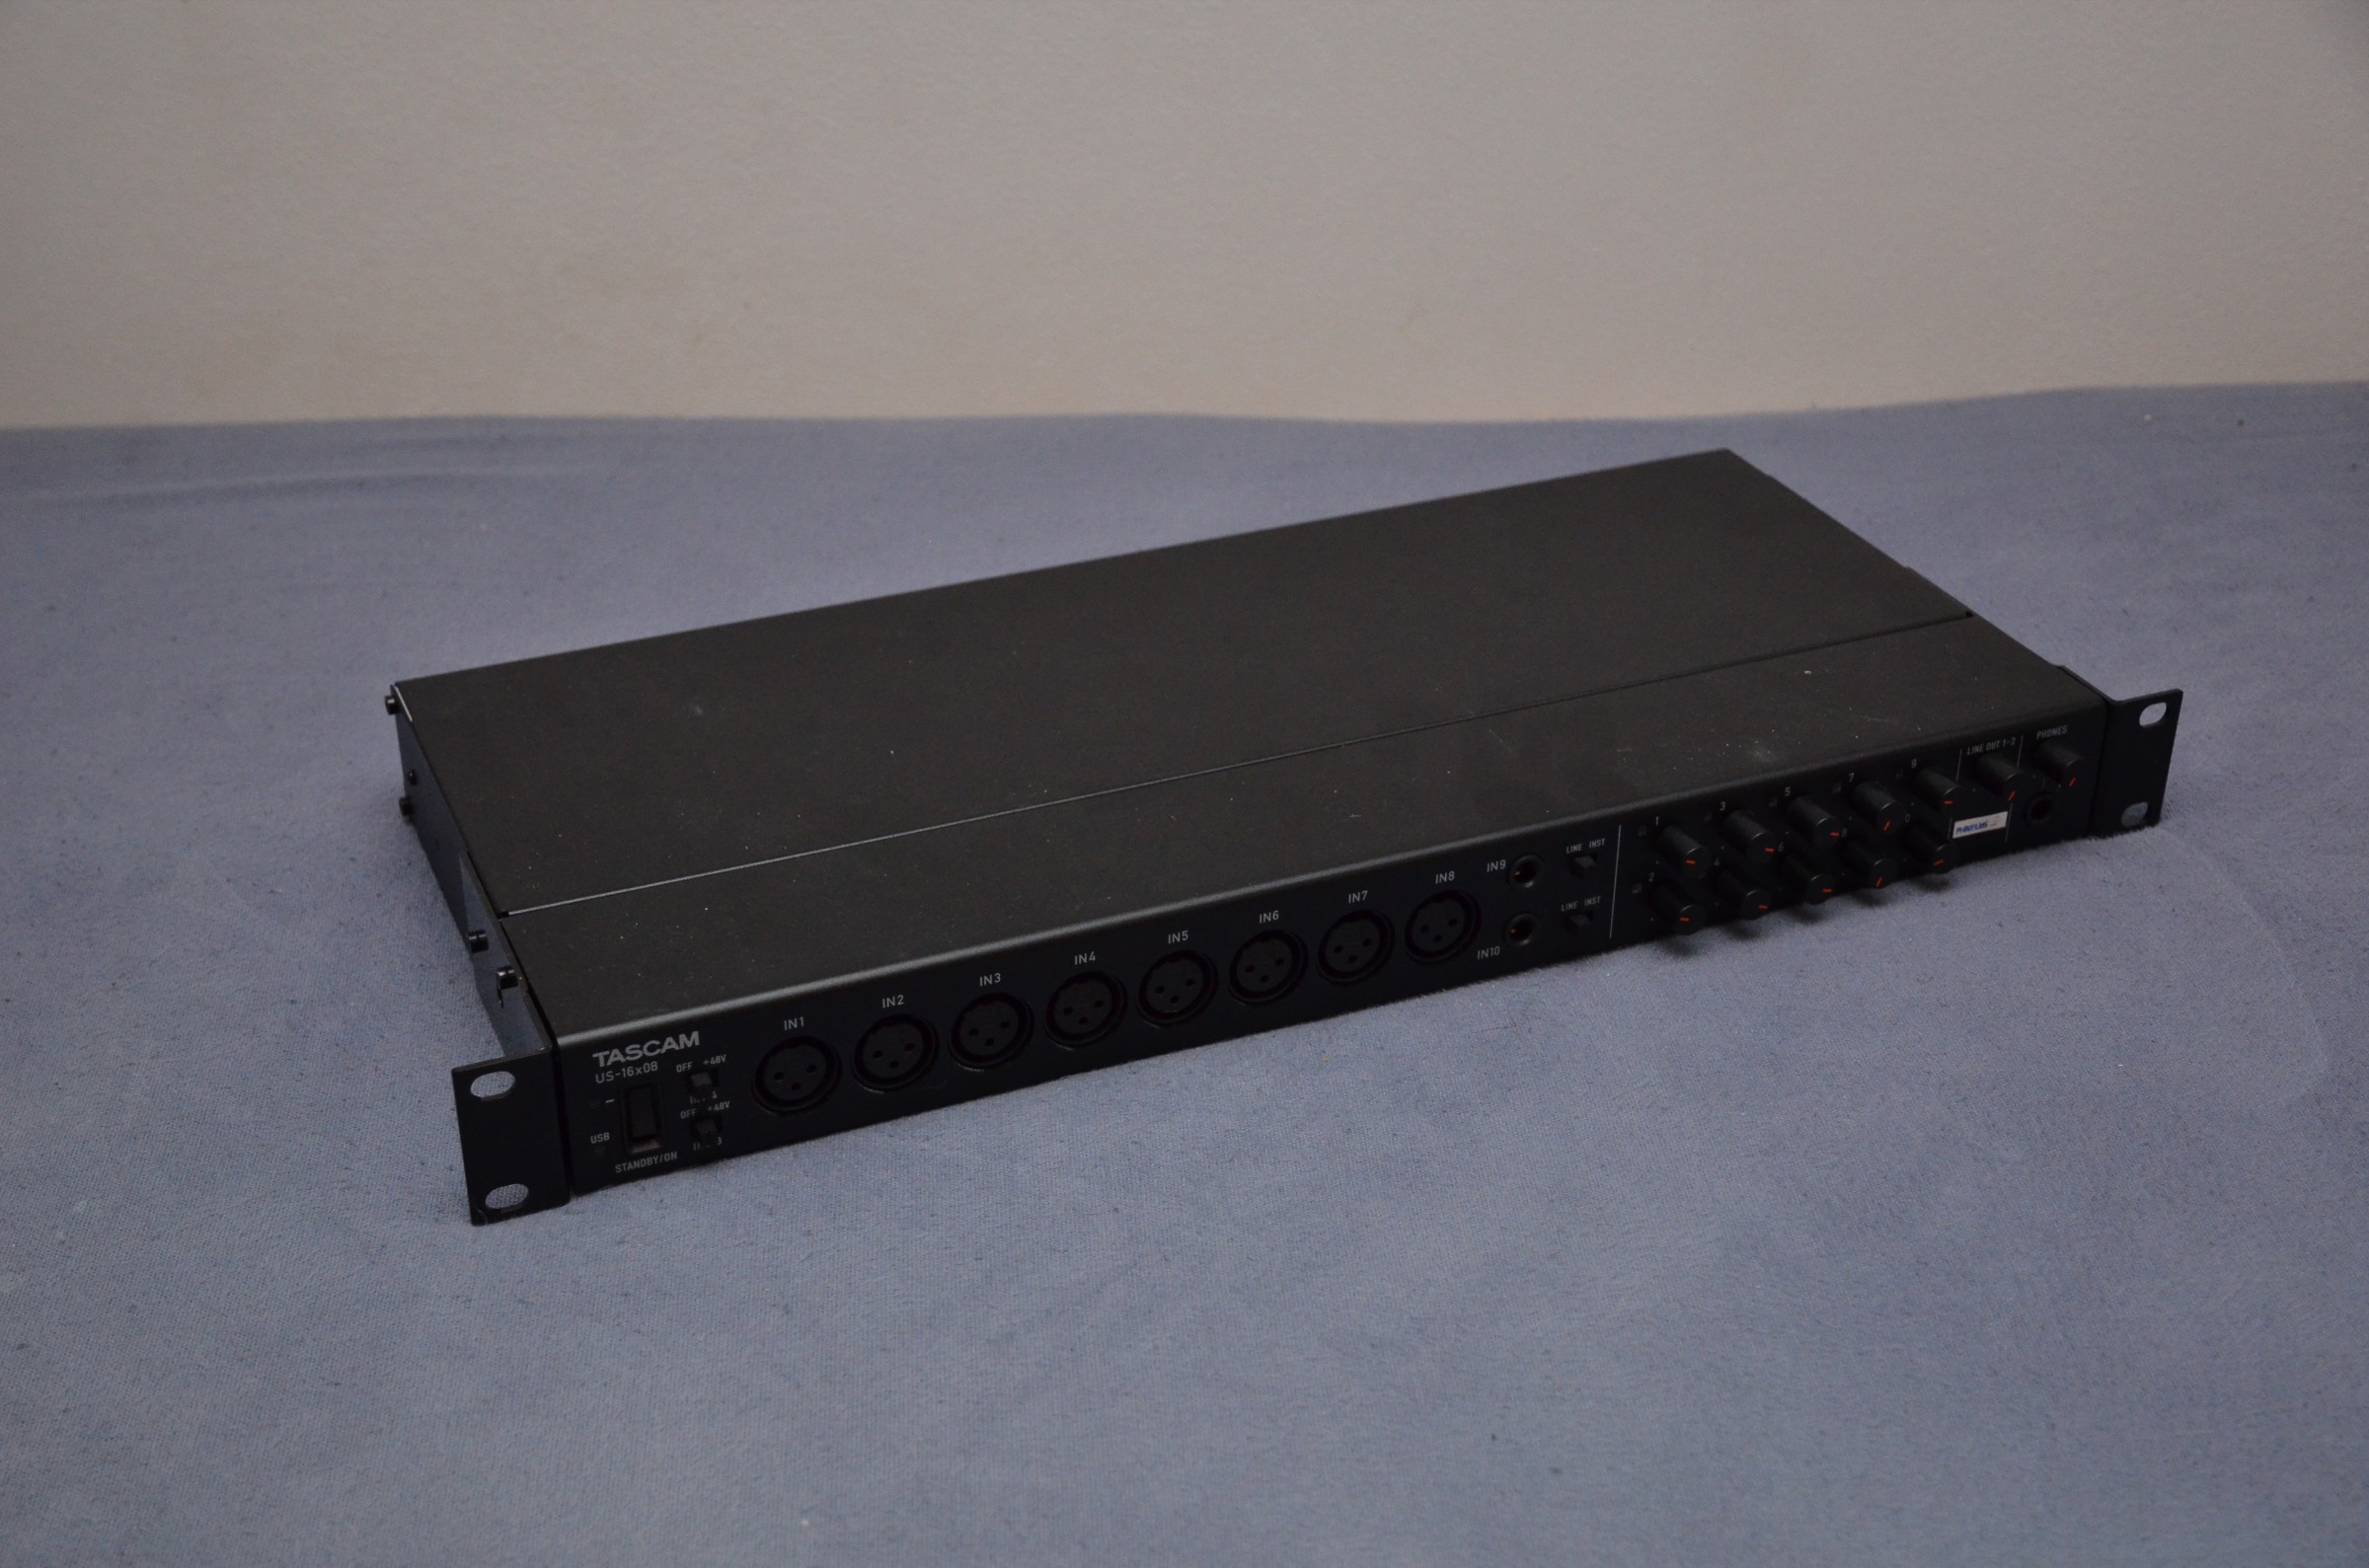
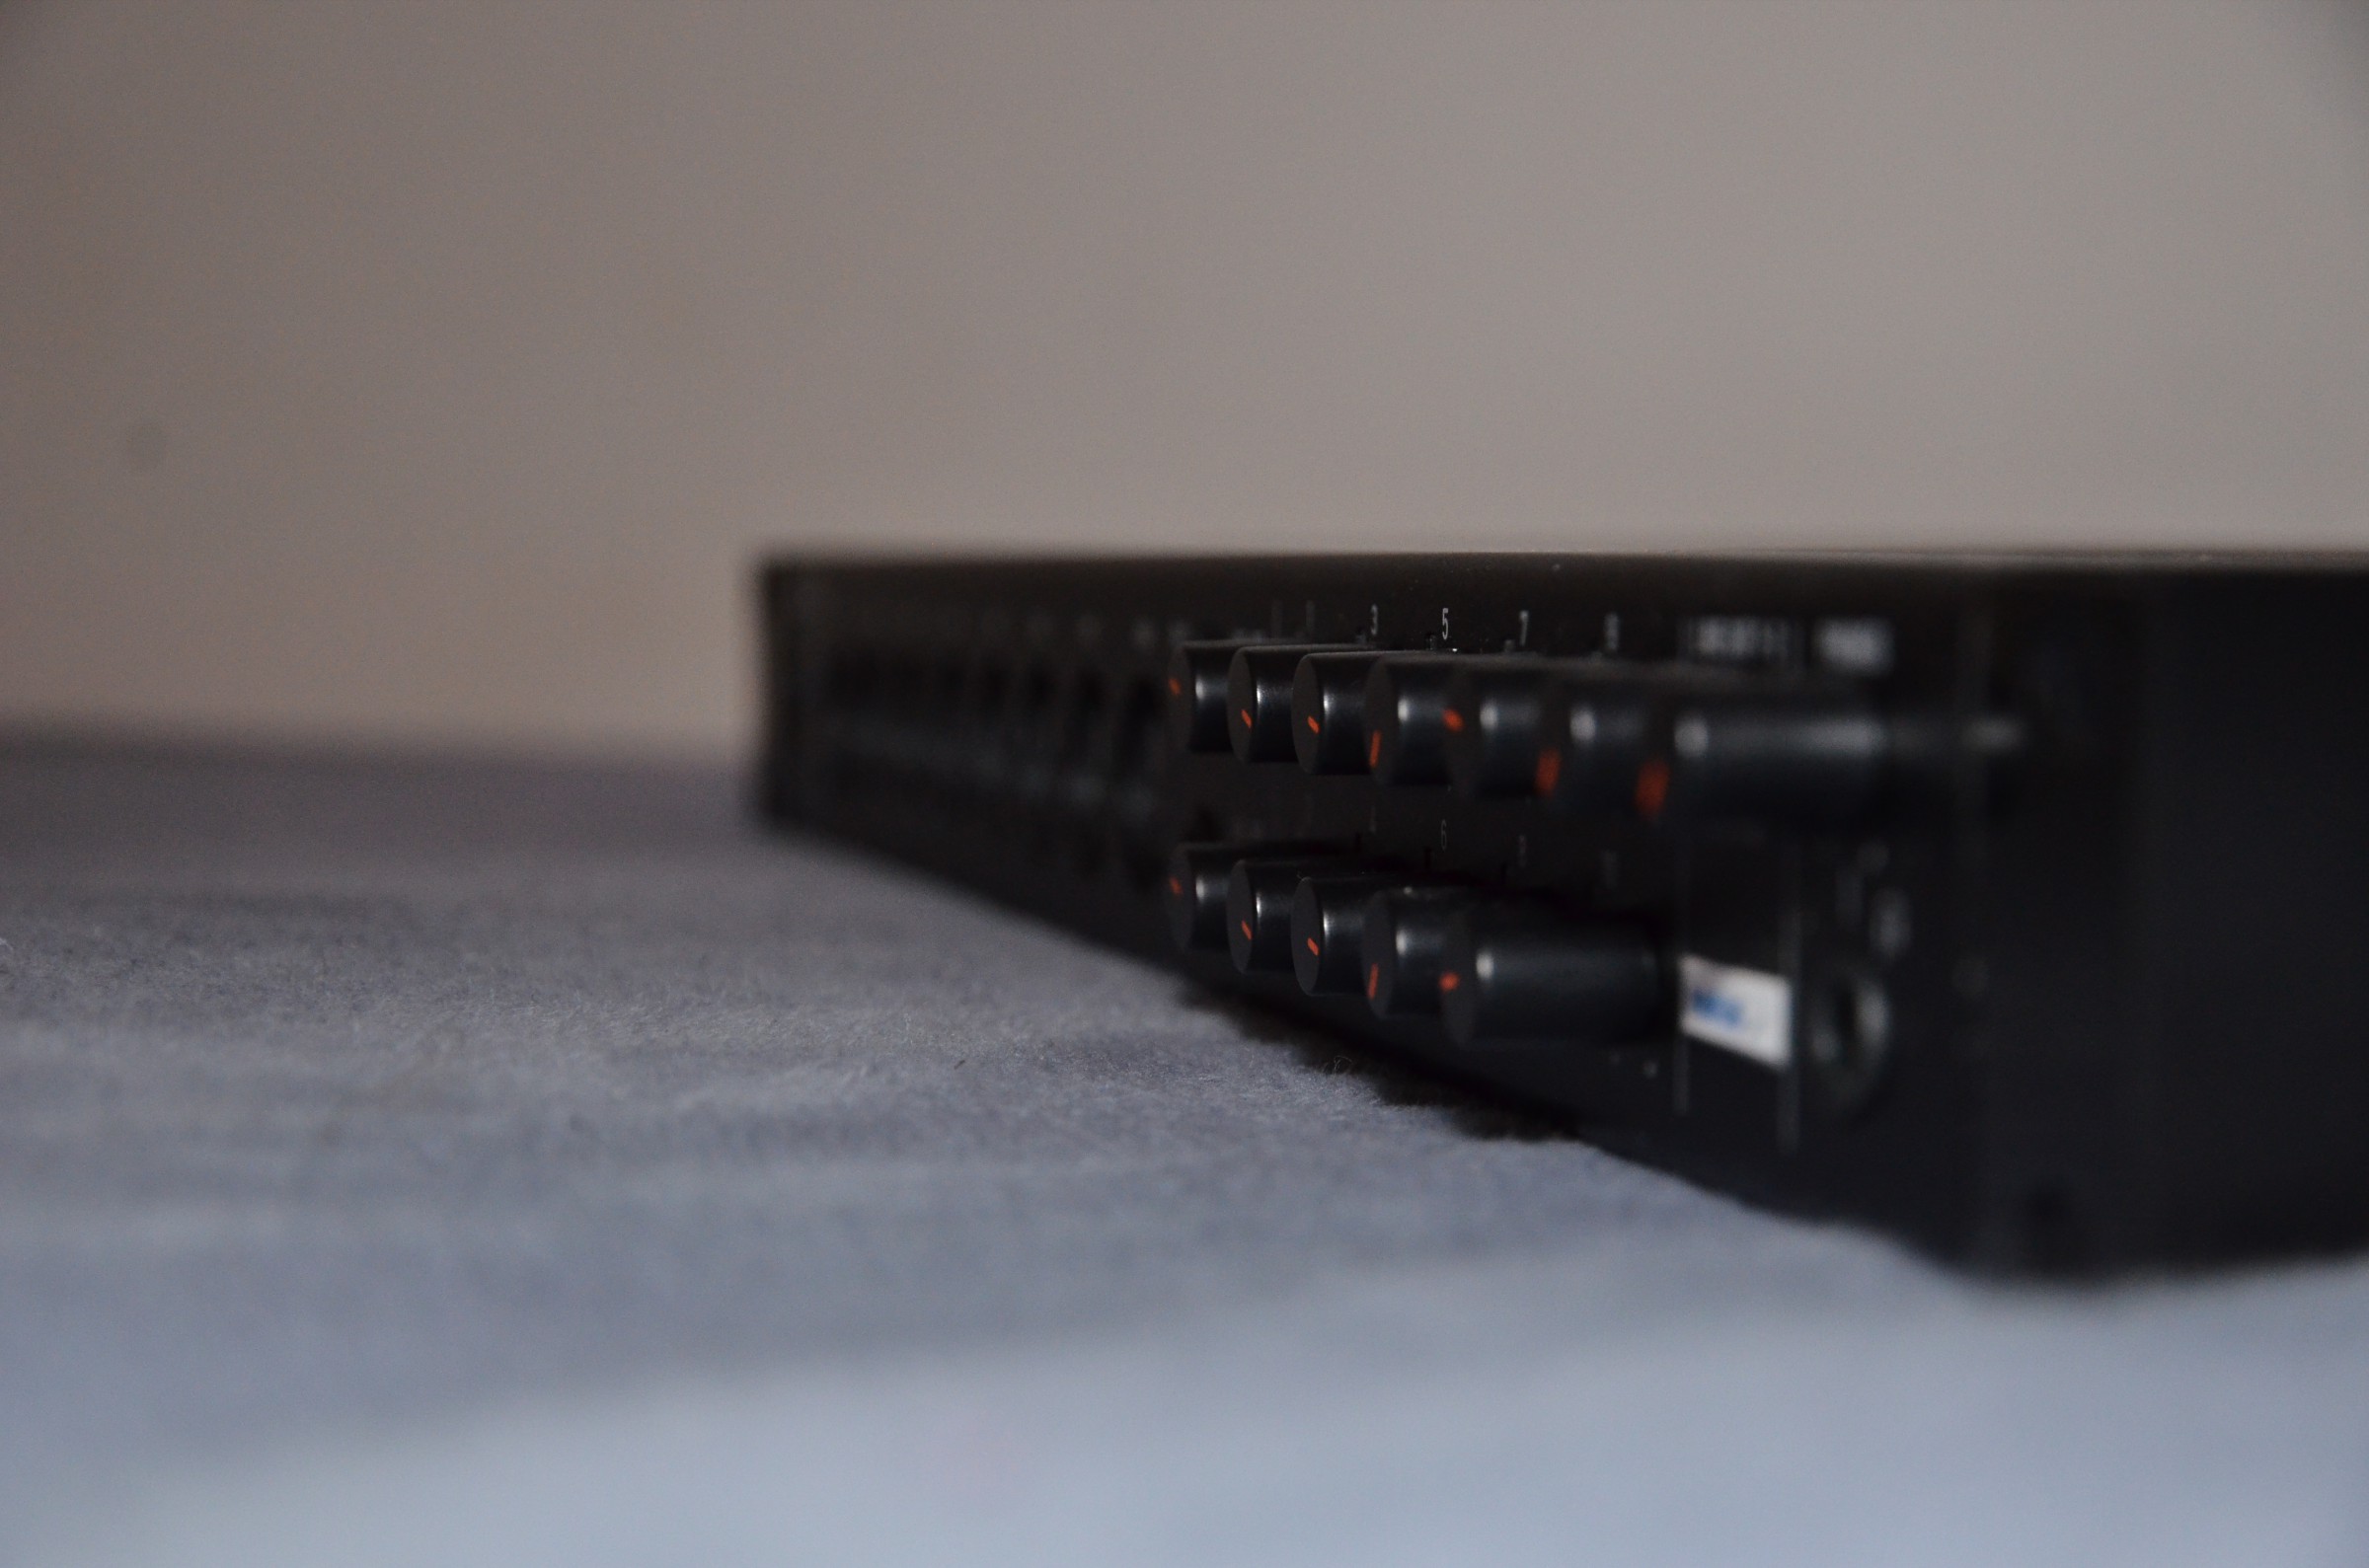
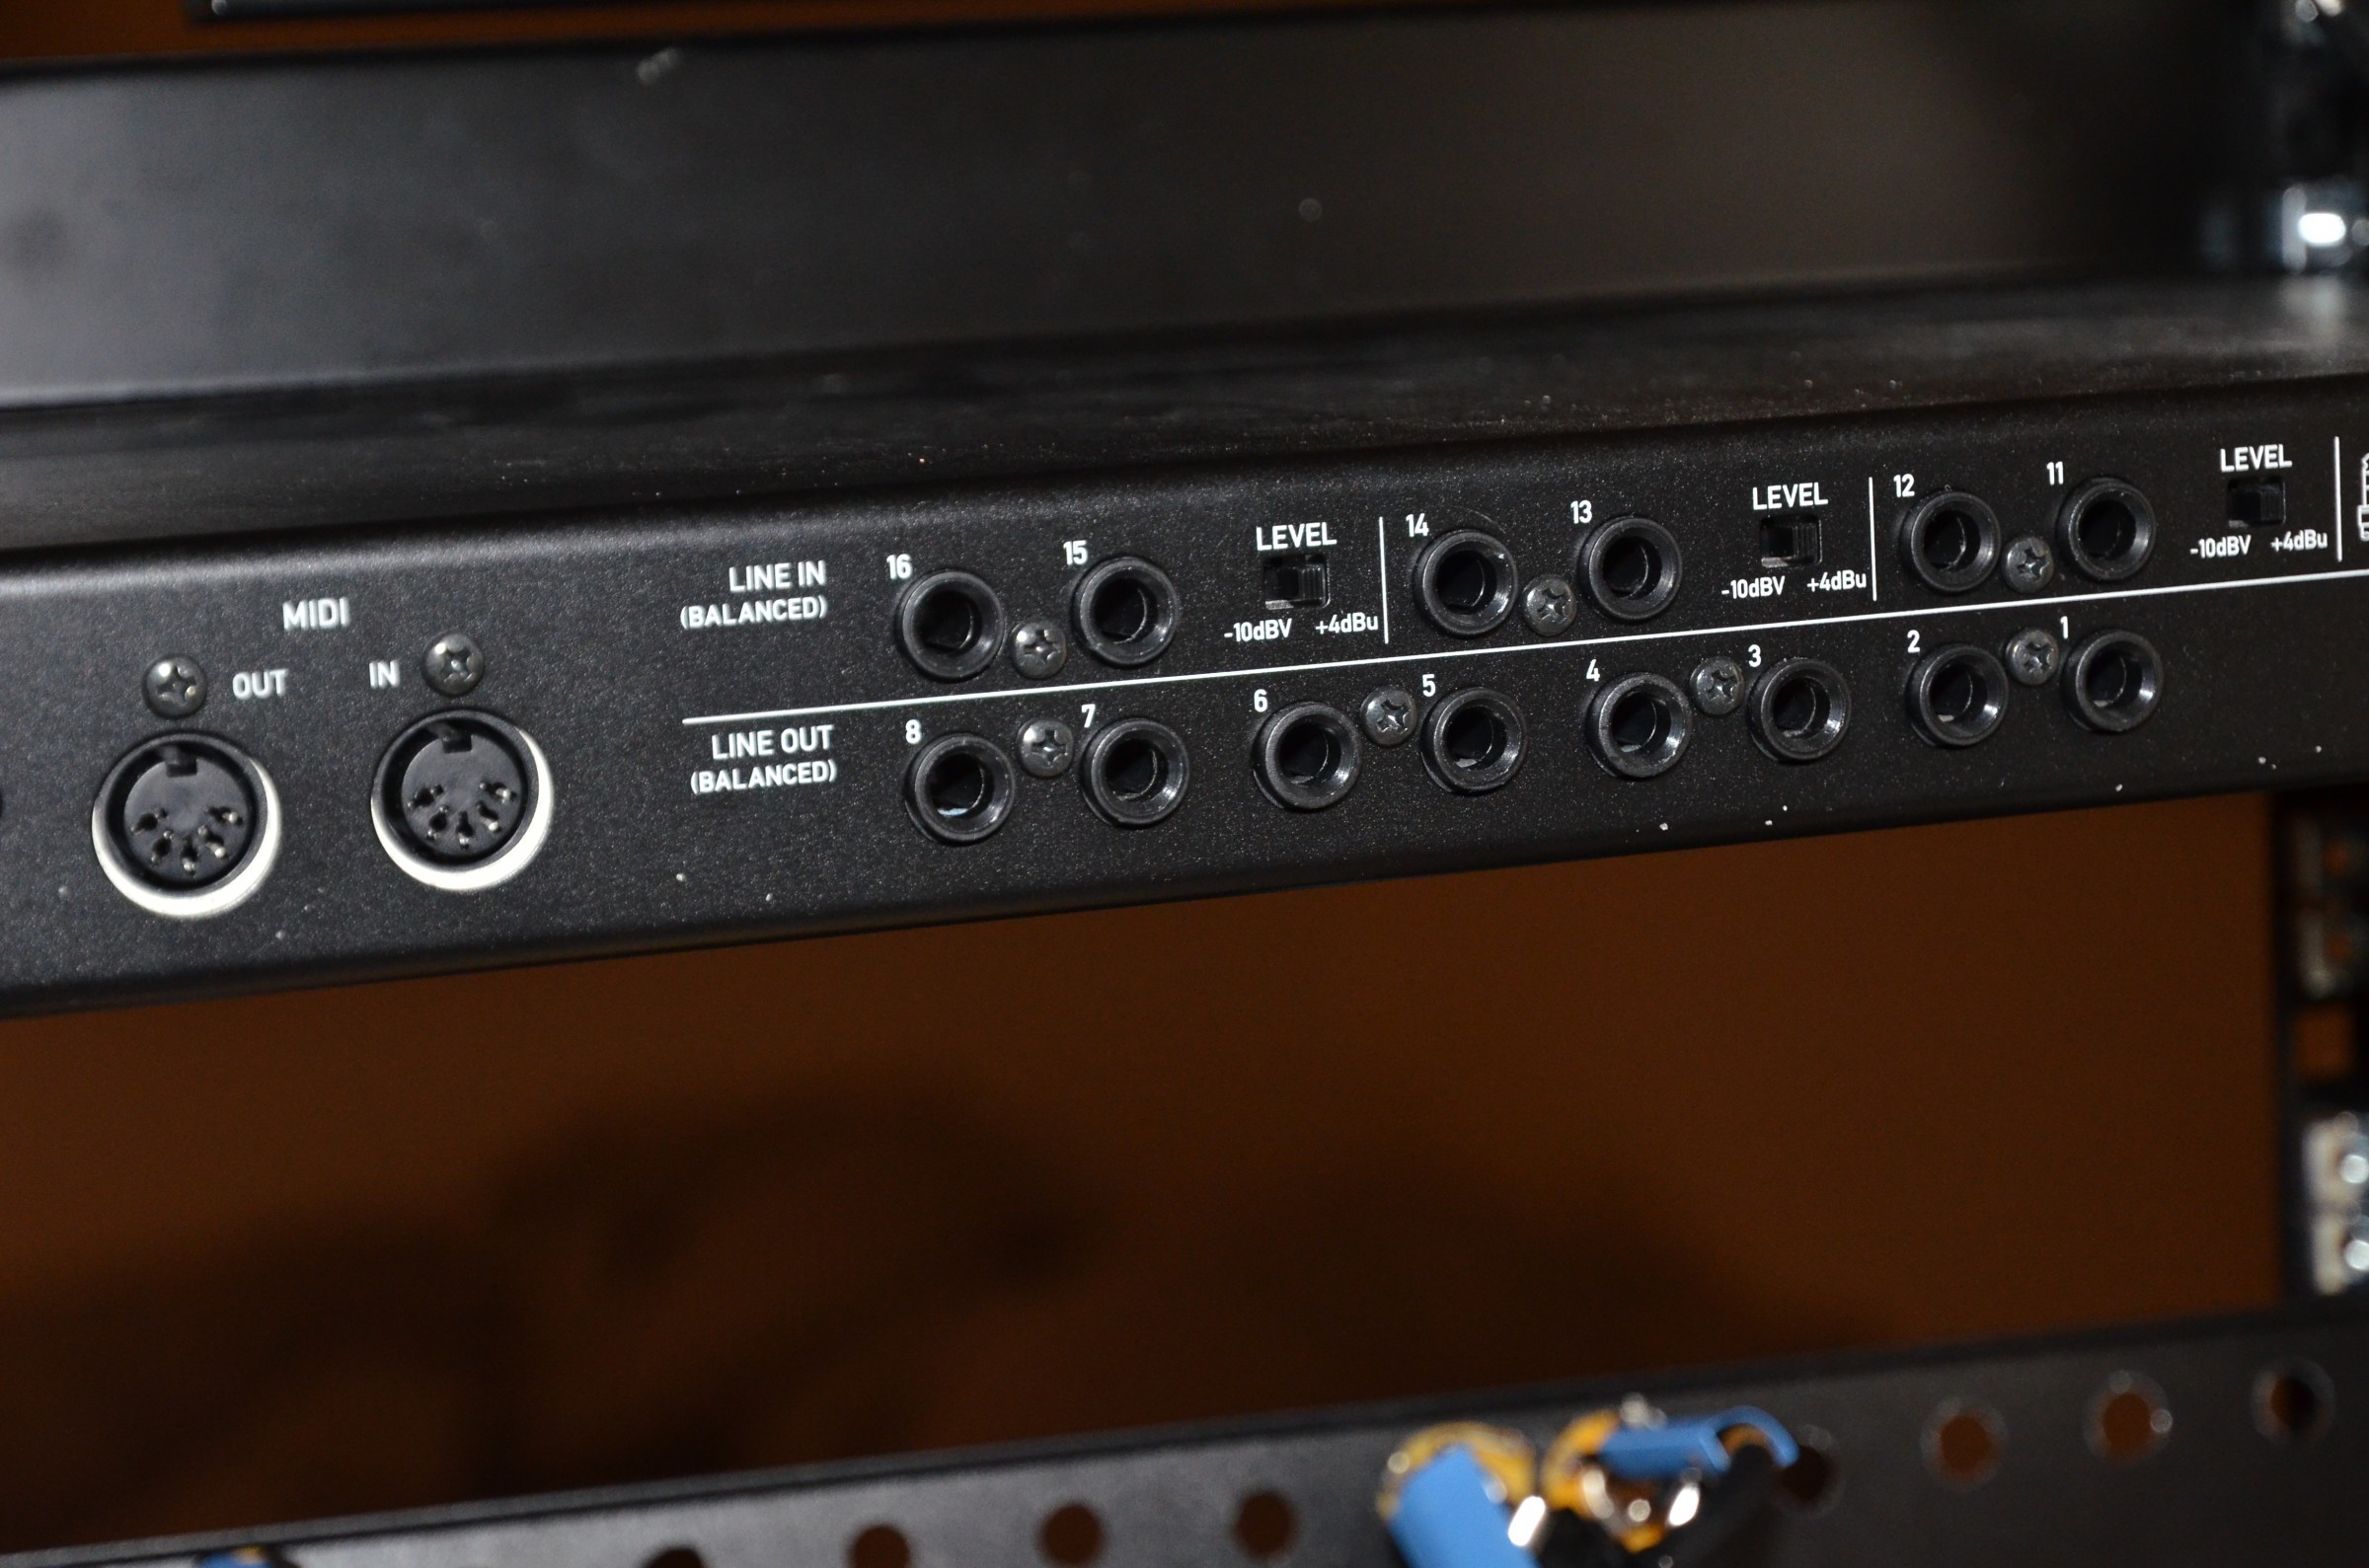
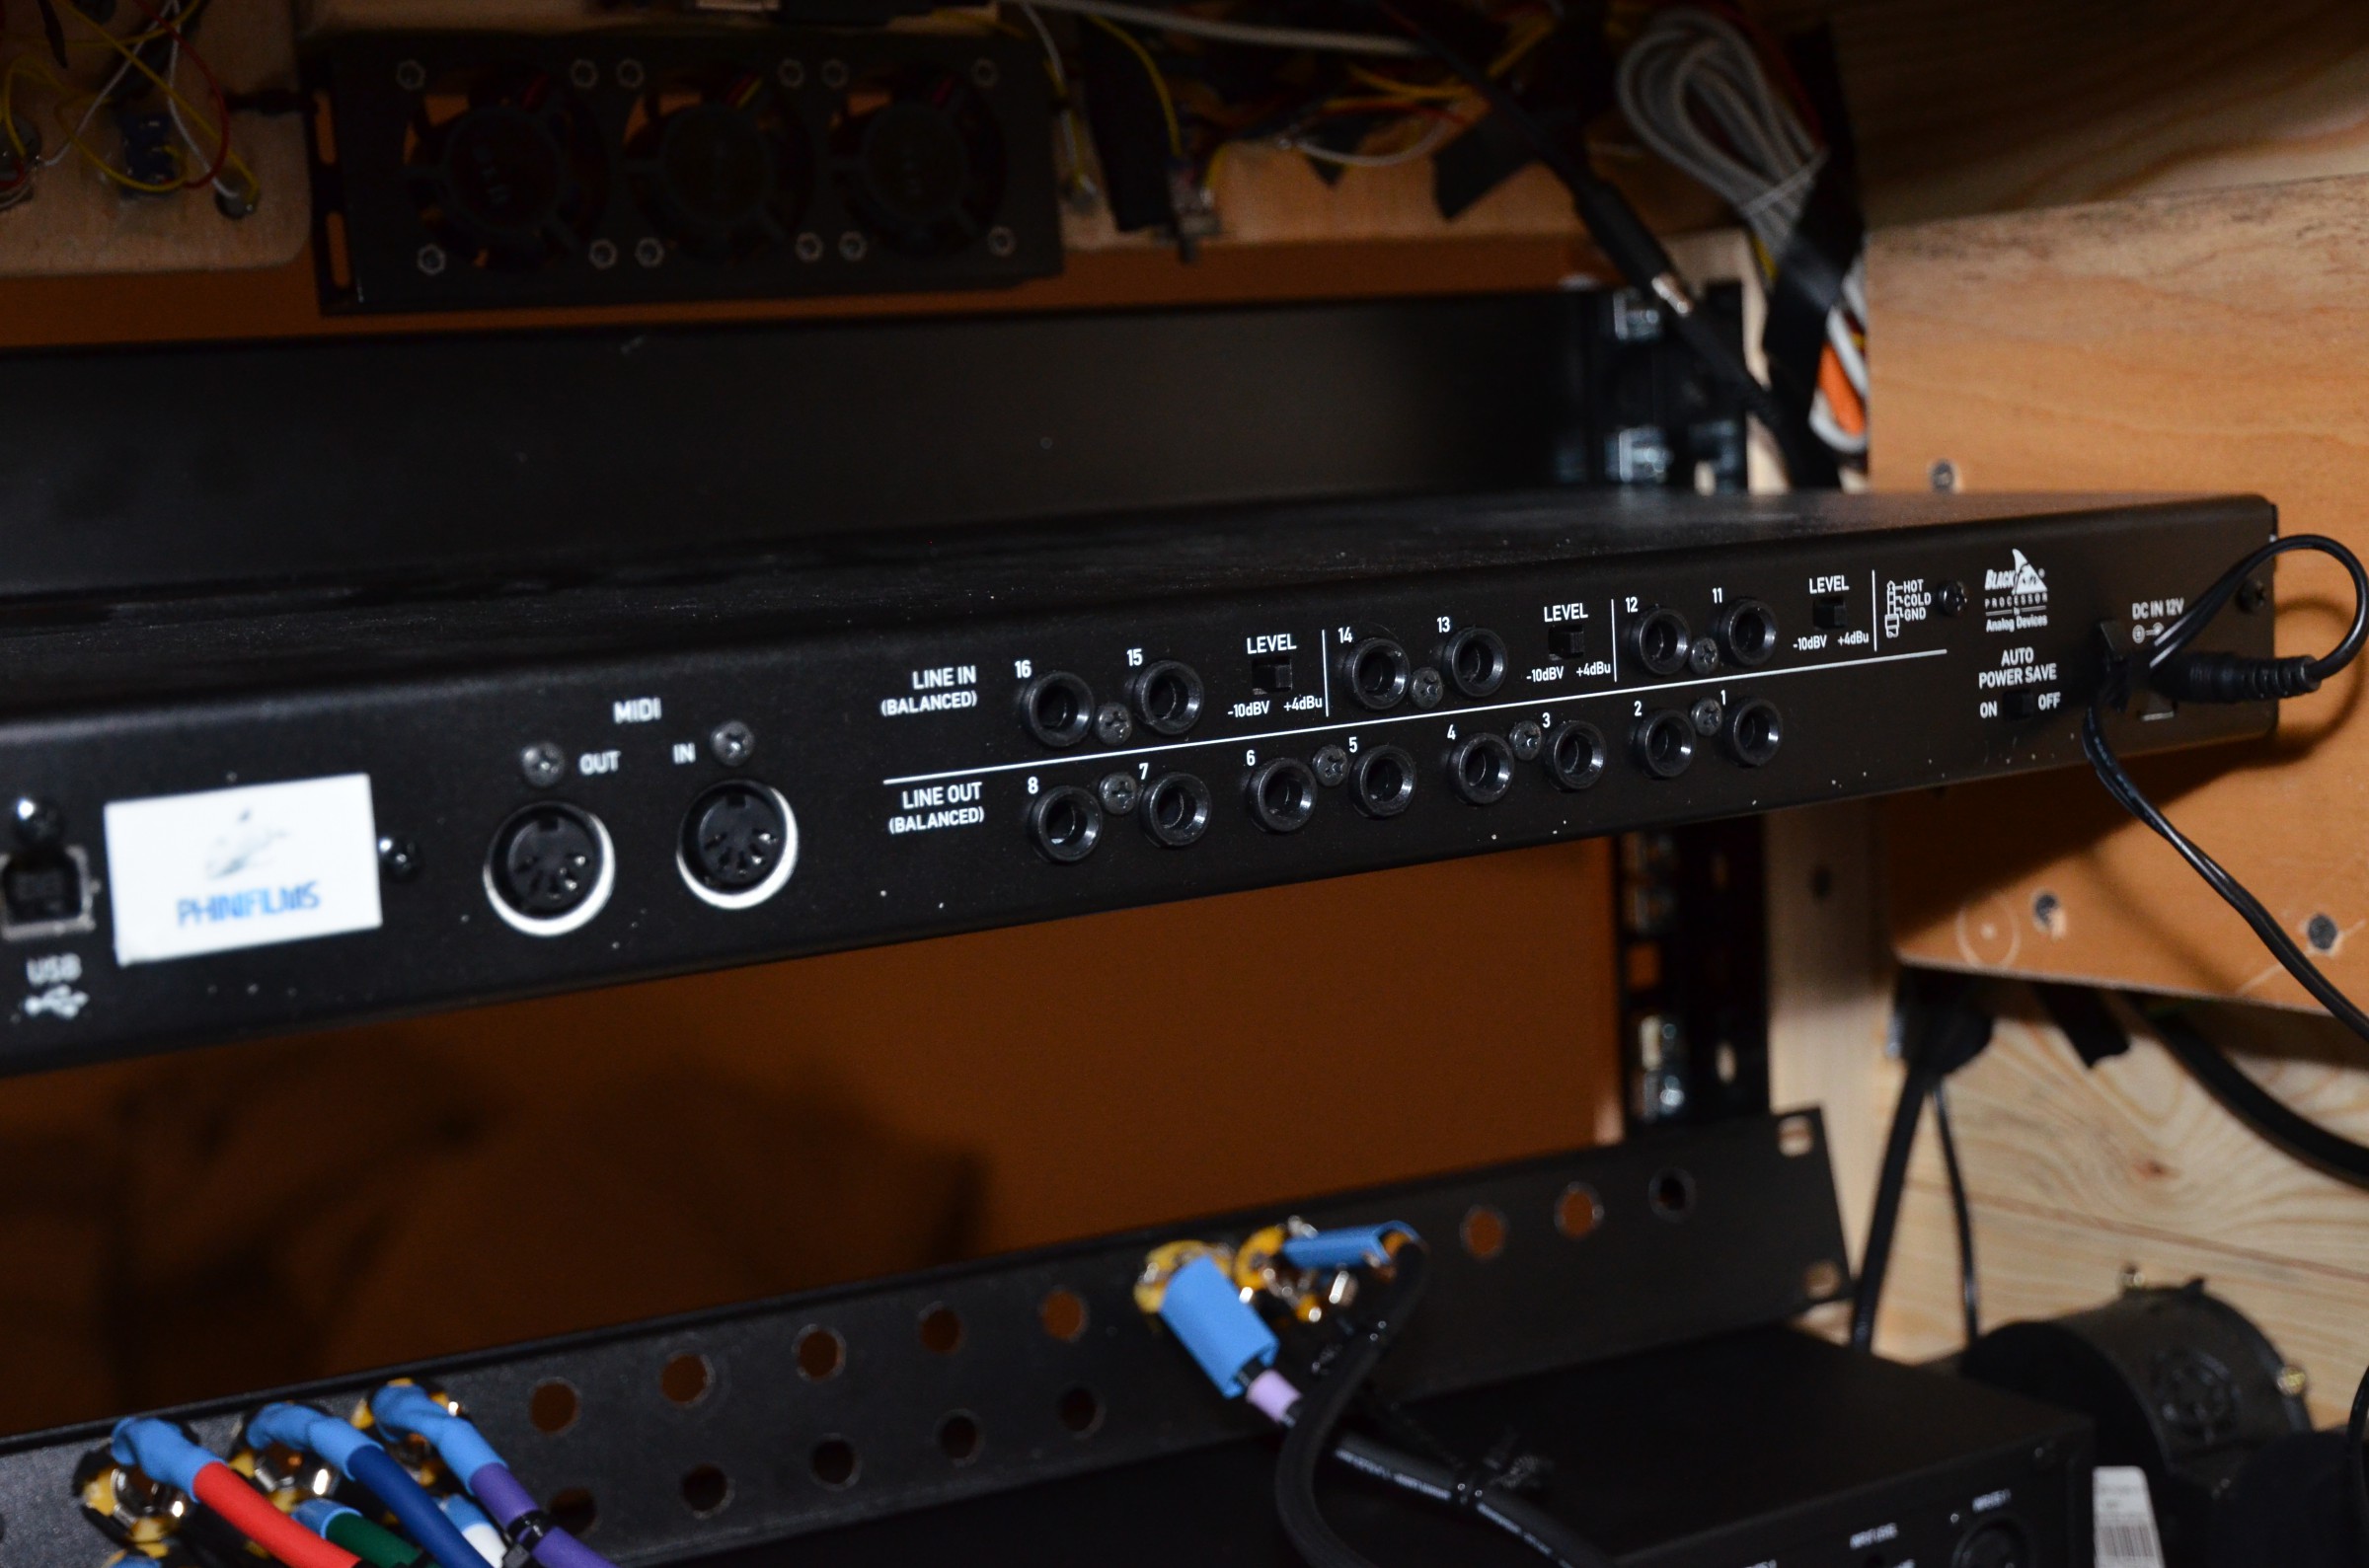
Interface
For more complex concert recordings or muti-channel studio recordings I have the US-16×08 from Tascam. An audio interface with USB 2.0, 8 adjustable mic inputs with grouped phantom power, 8 line inputs (two of them adjustable) and 8 line outputs.Images coming soon…
Microphones
For the same studio and concert recordings you need, of course, some mics. Until now I own two the t.bone EM722 small membrane condenser mics, which deliver a very good quality for a low price.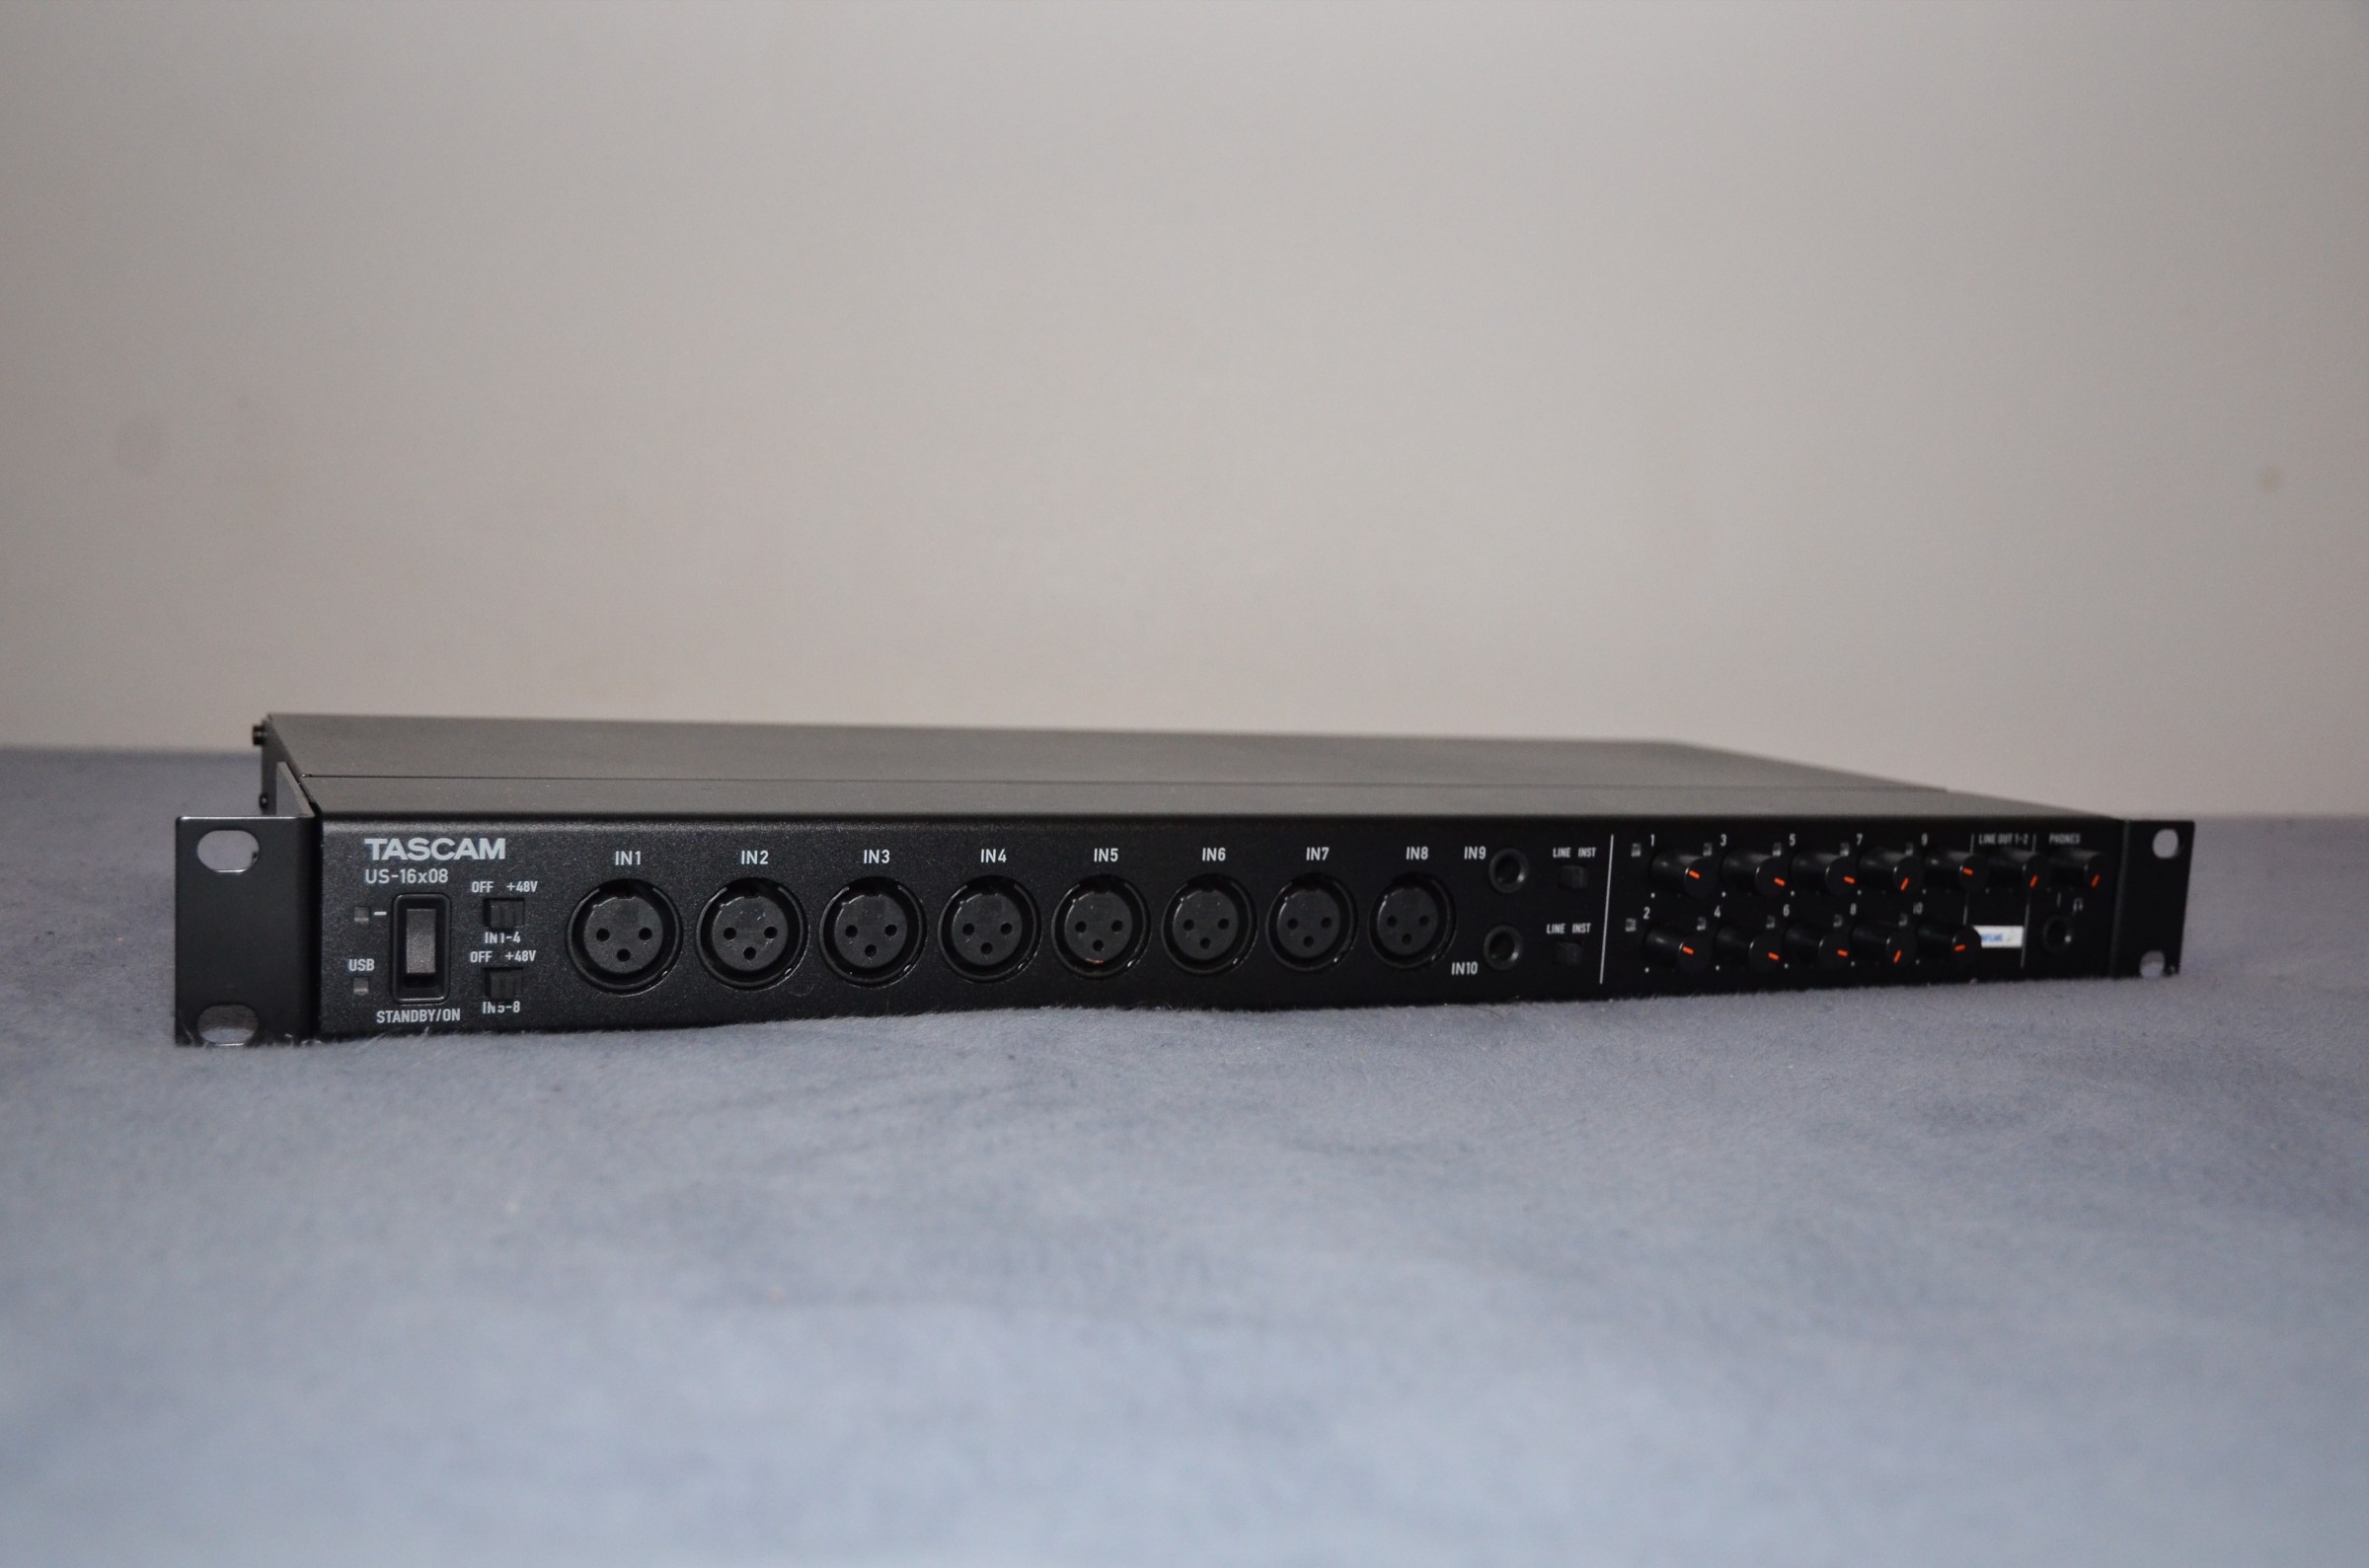


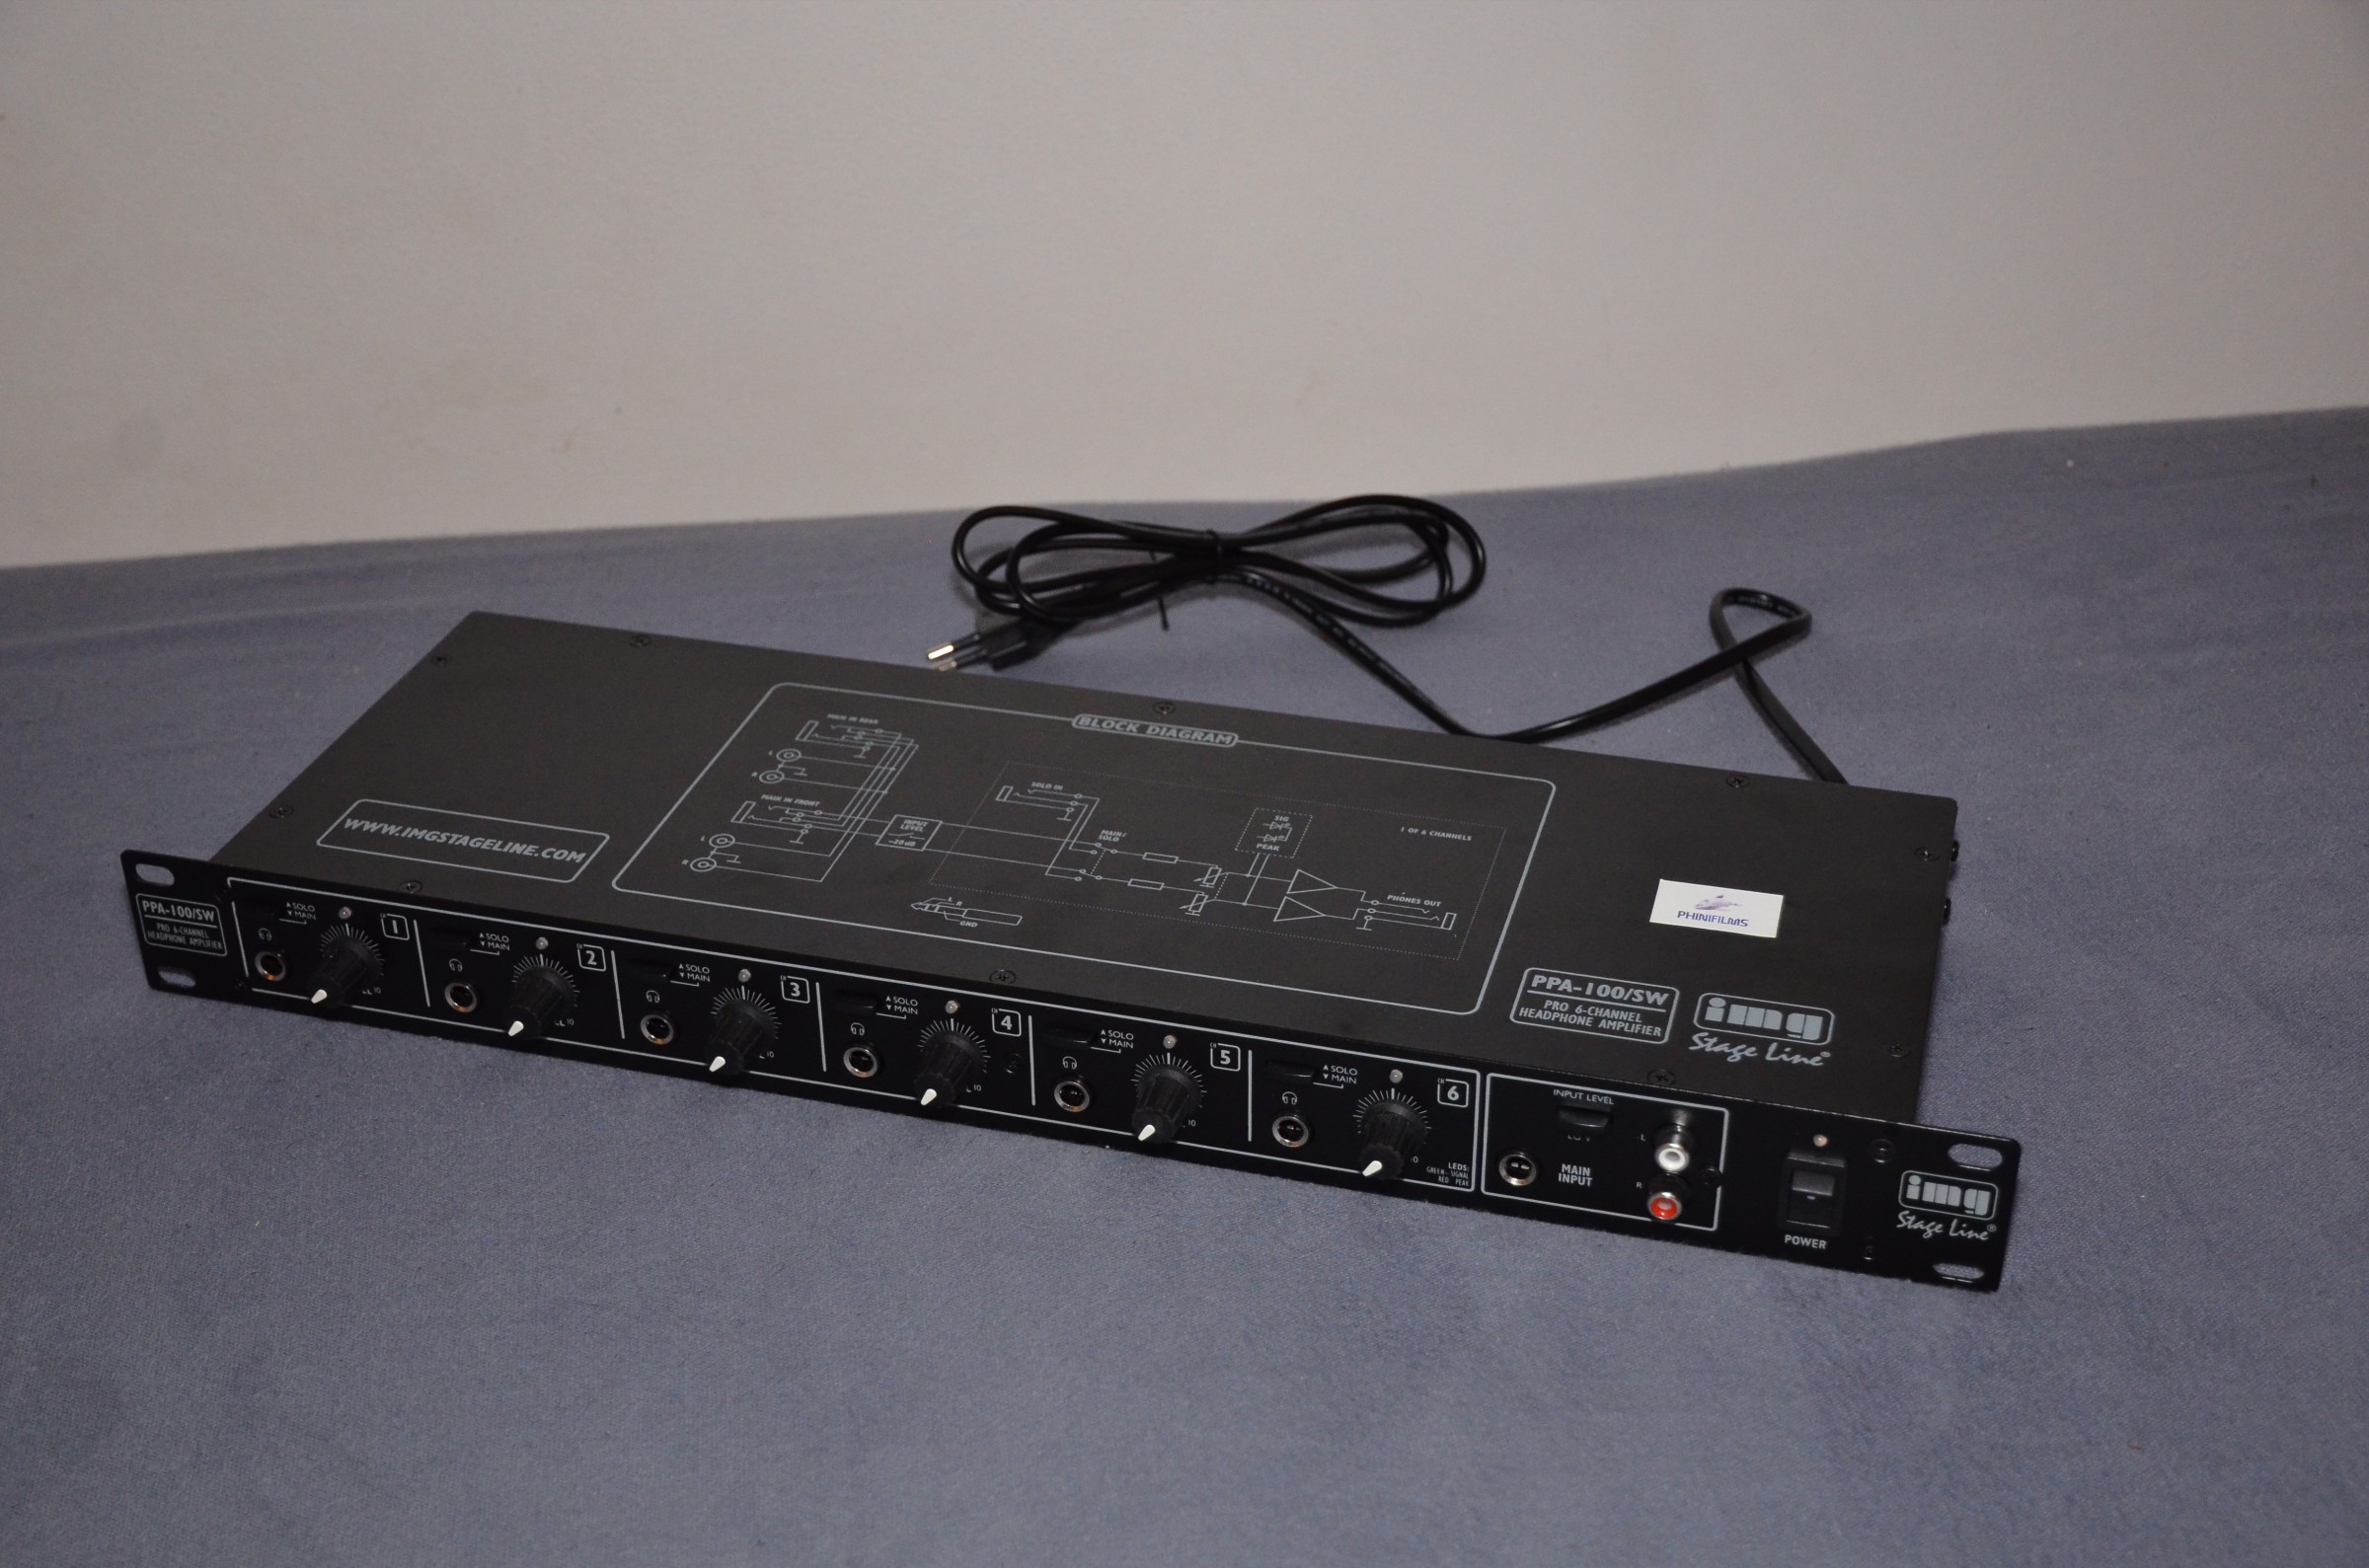
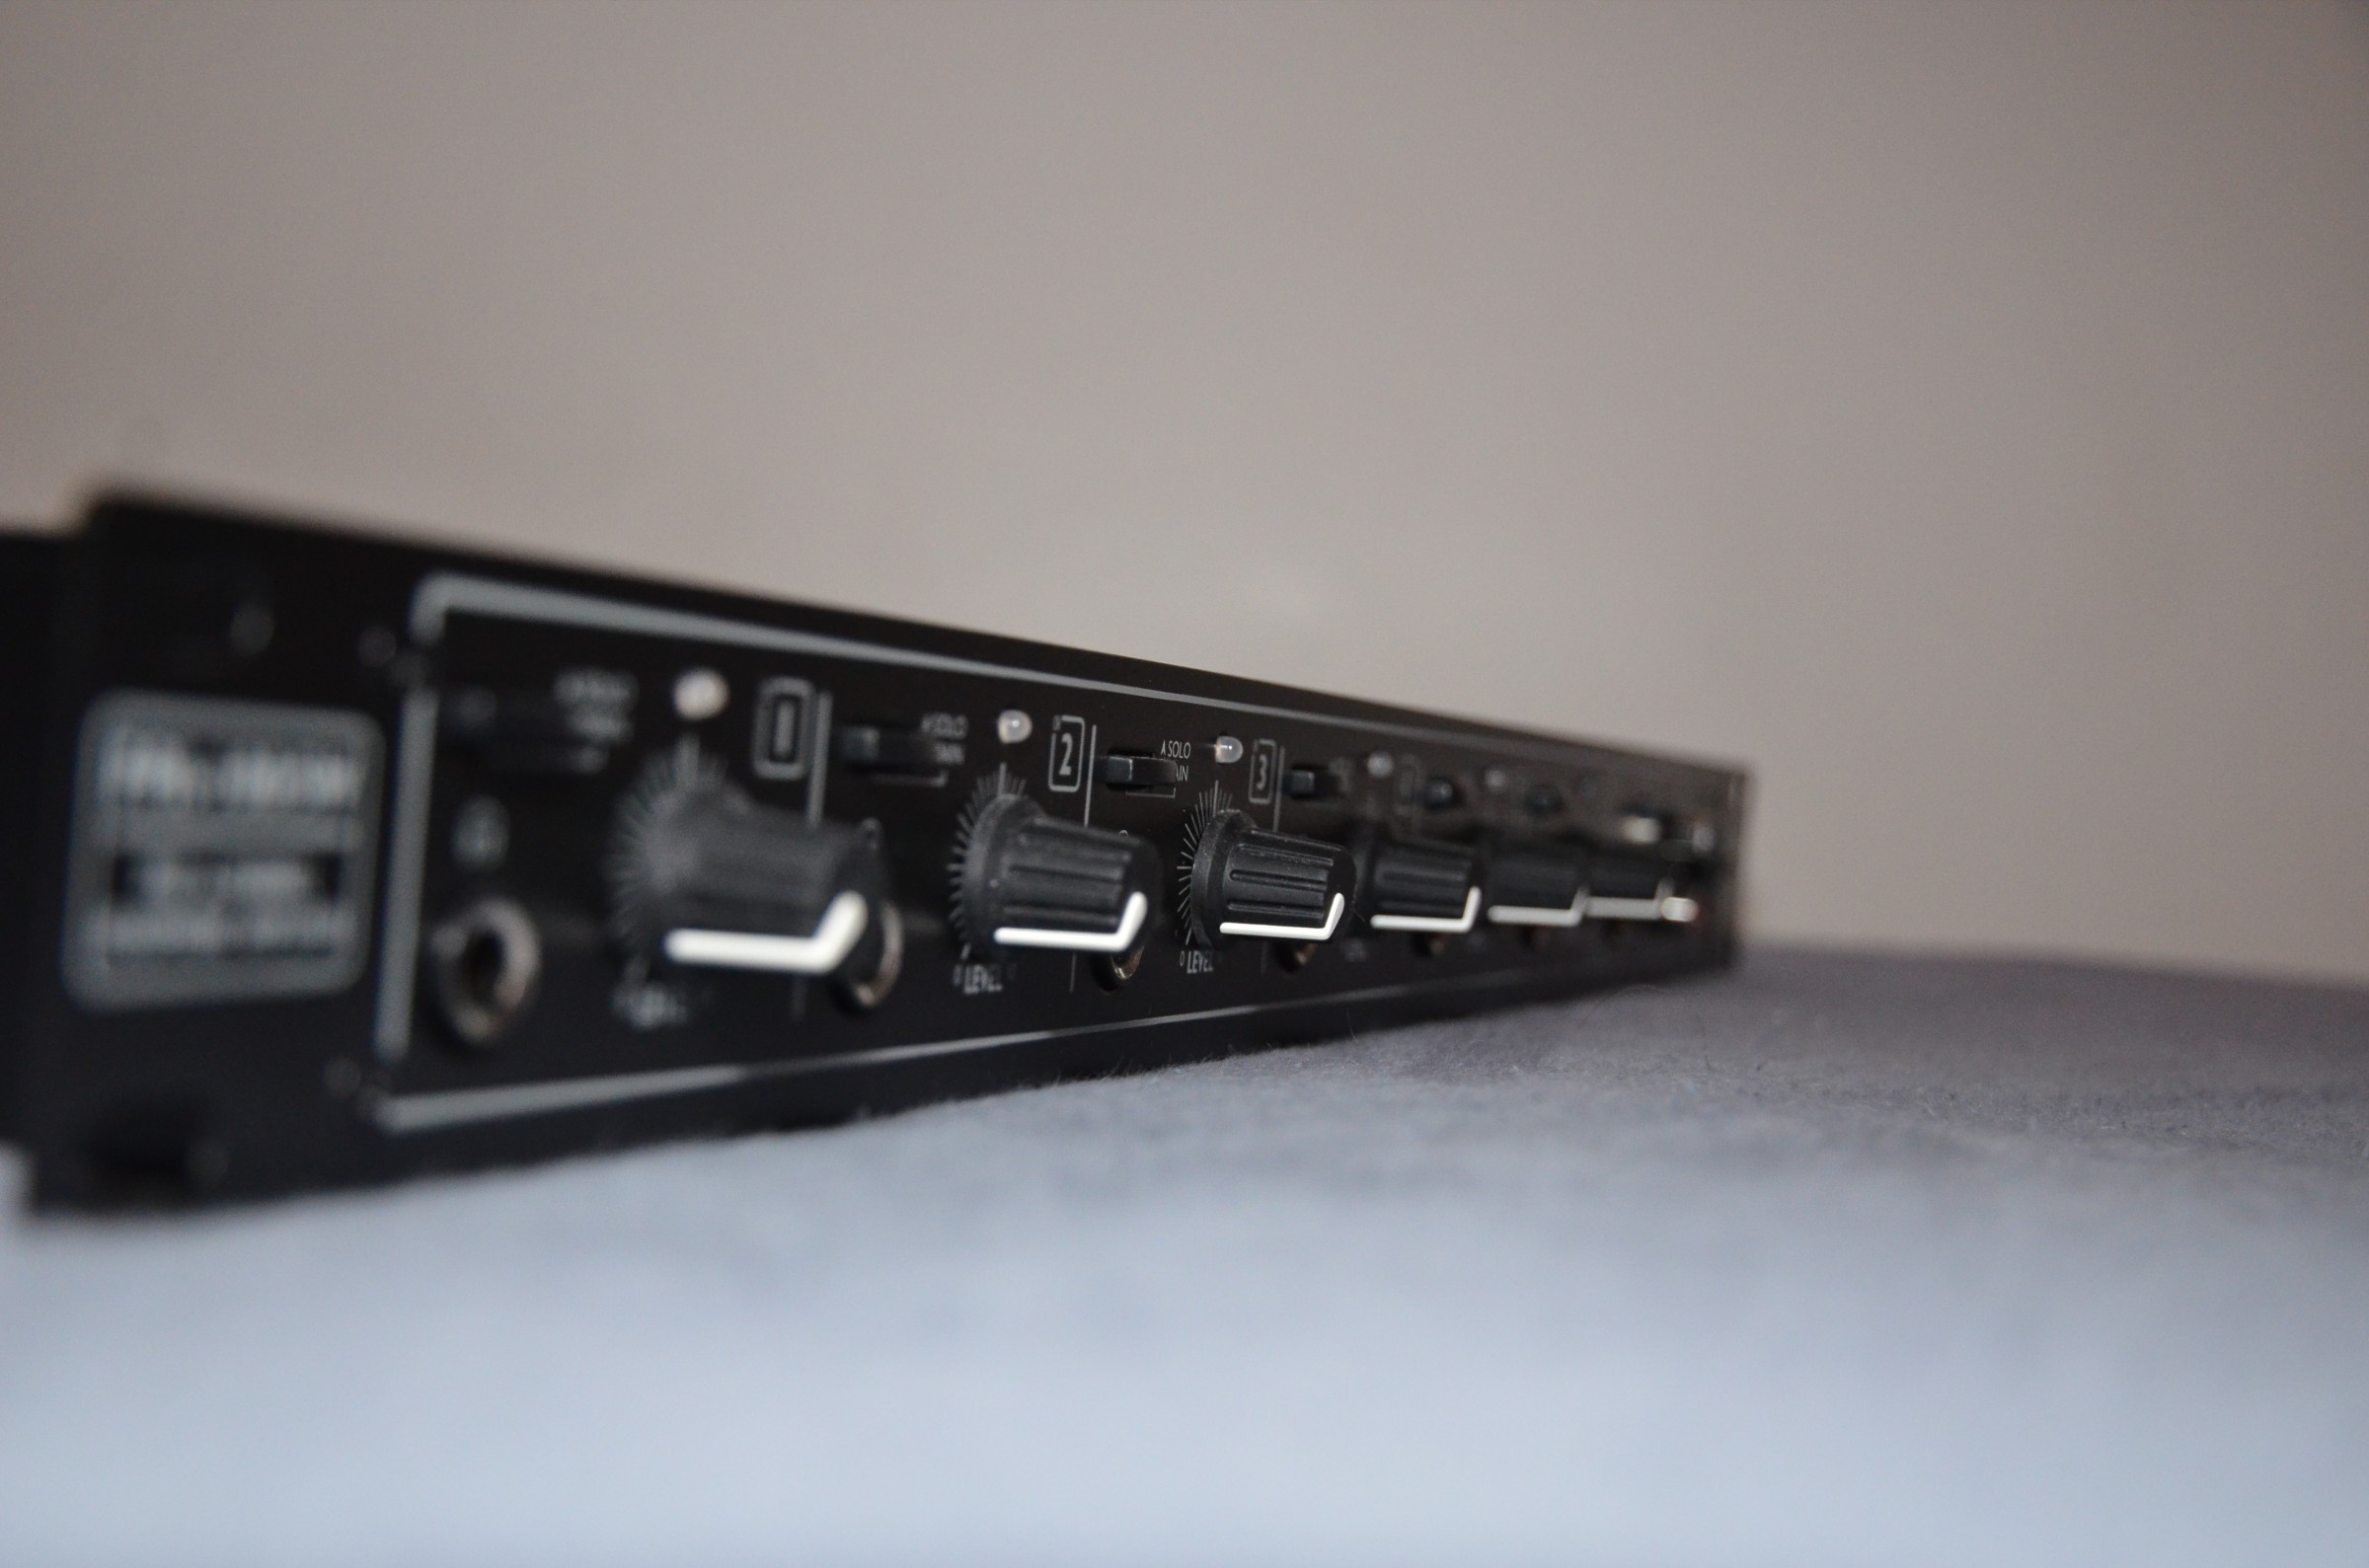
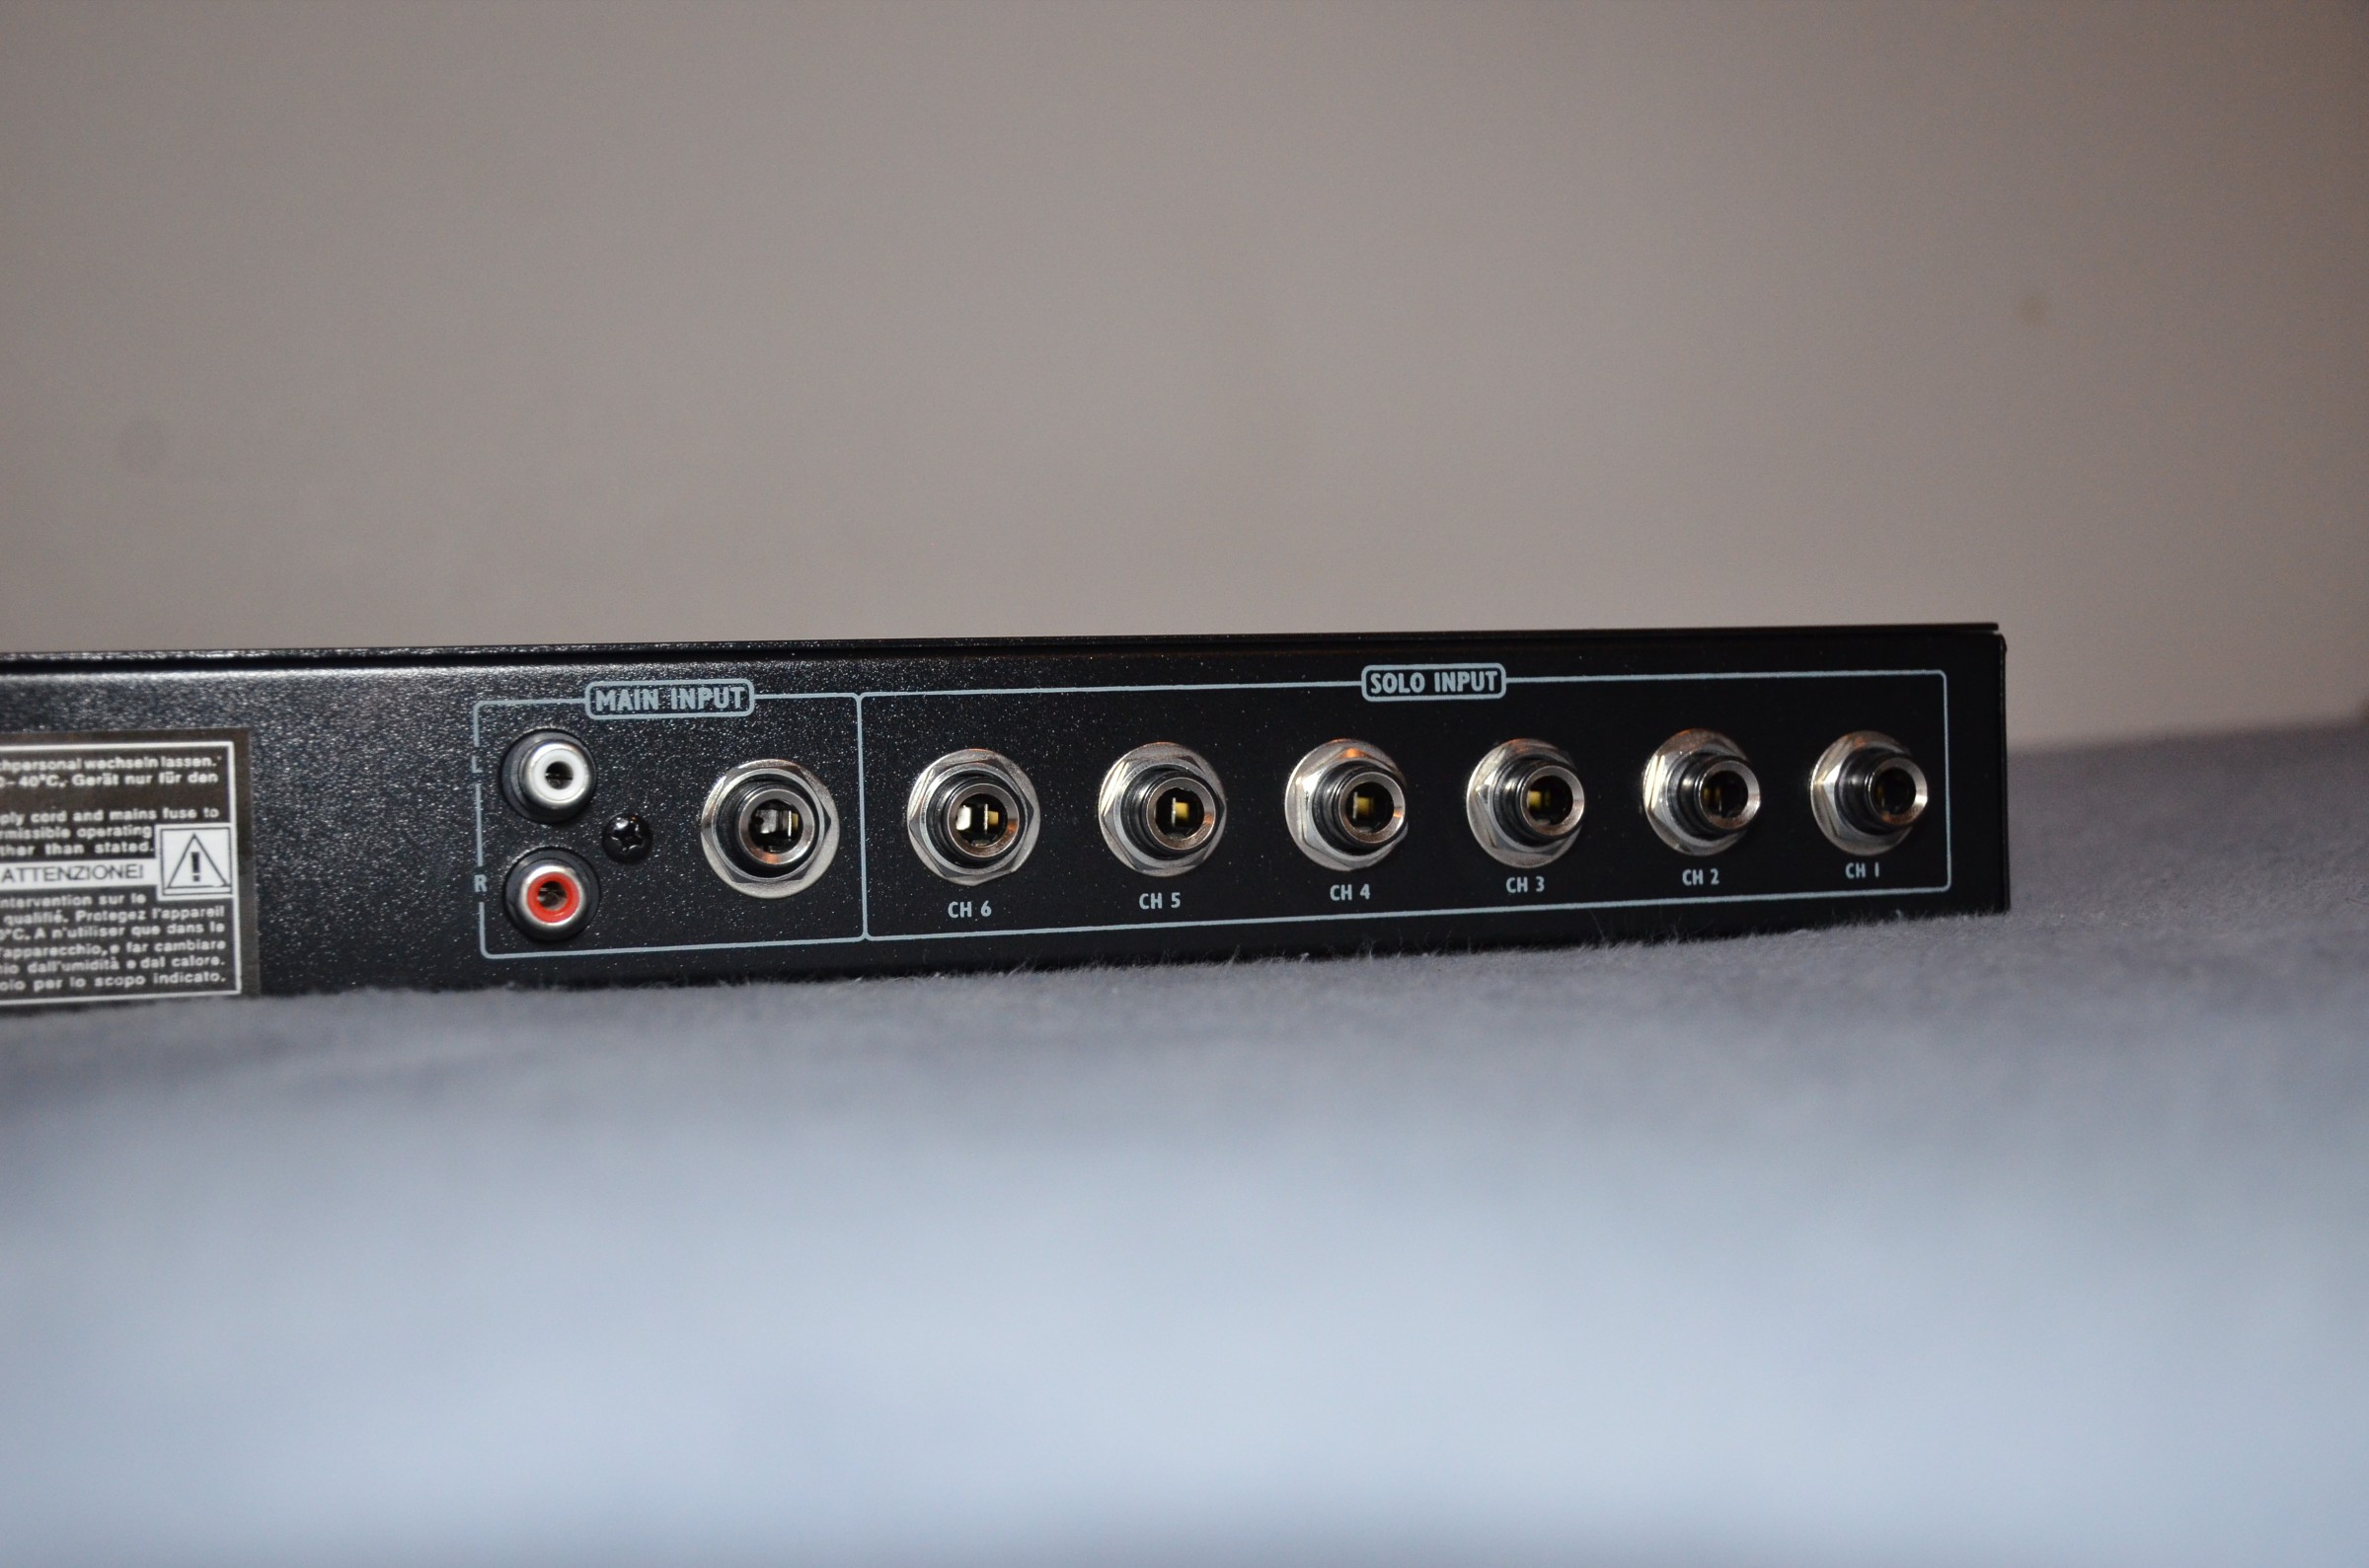
Headphone Amplifier
A 6-channel headphone amplifier from img StageLine, the PPA-100/SW. Individual loudnes control as well as switching between Main- and Solo-Input per channel.
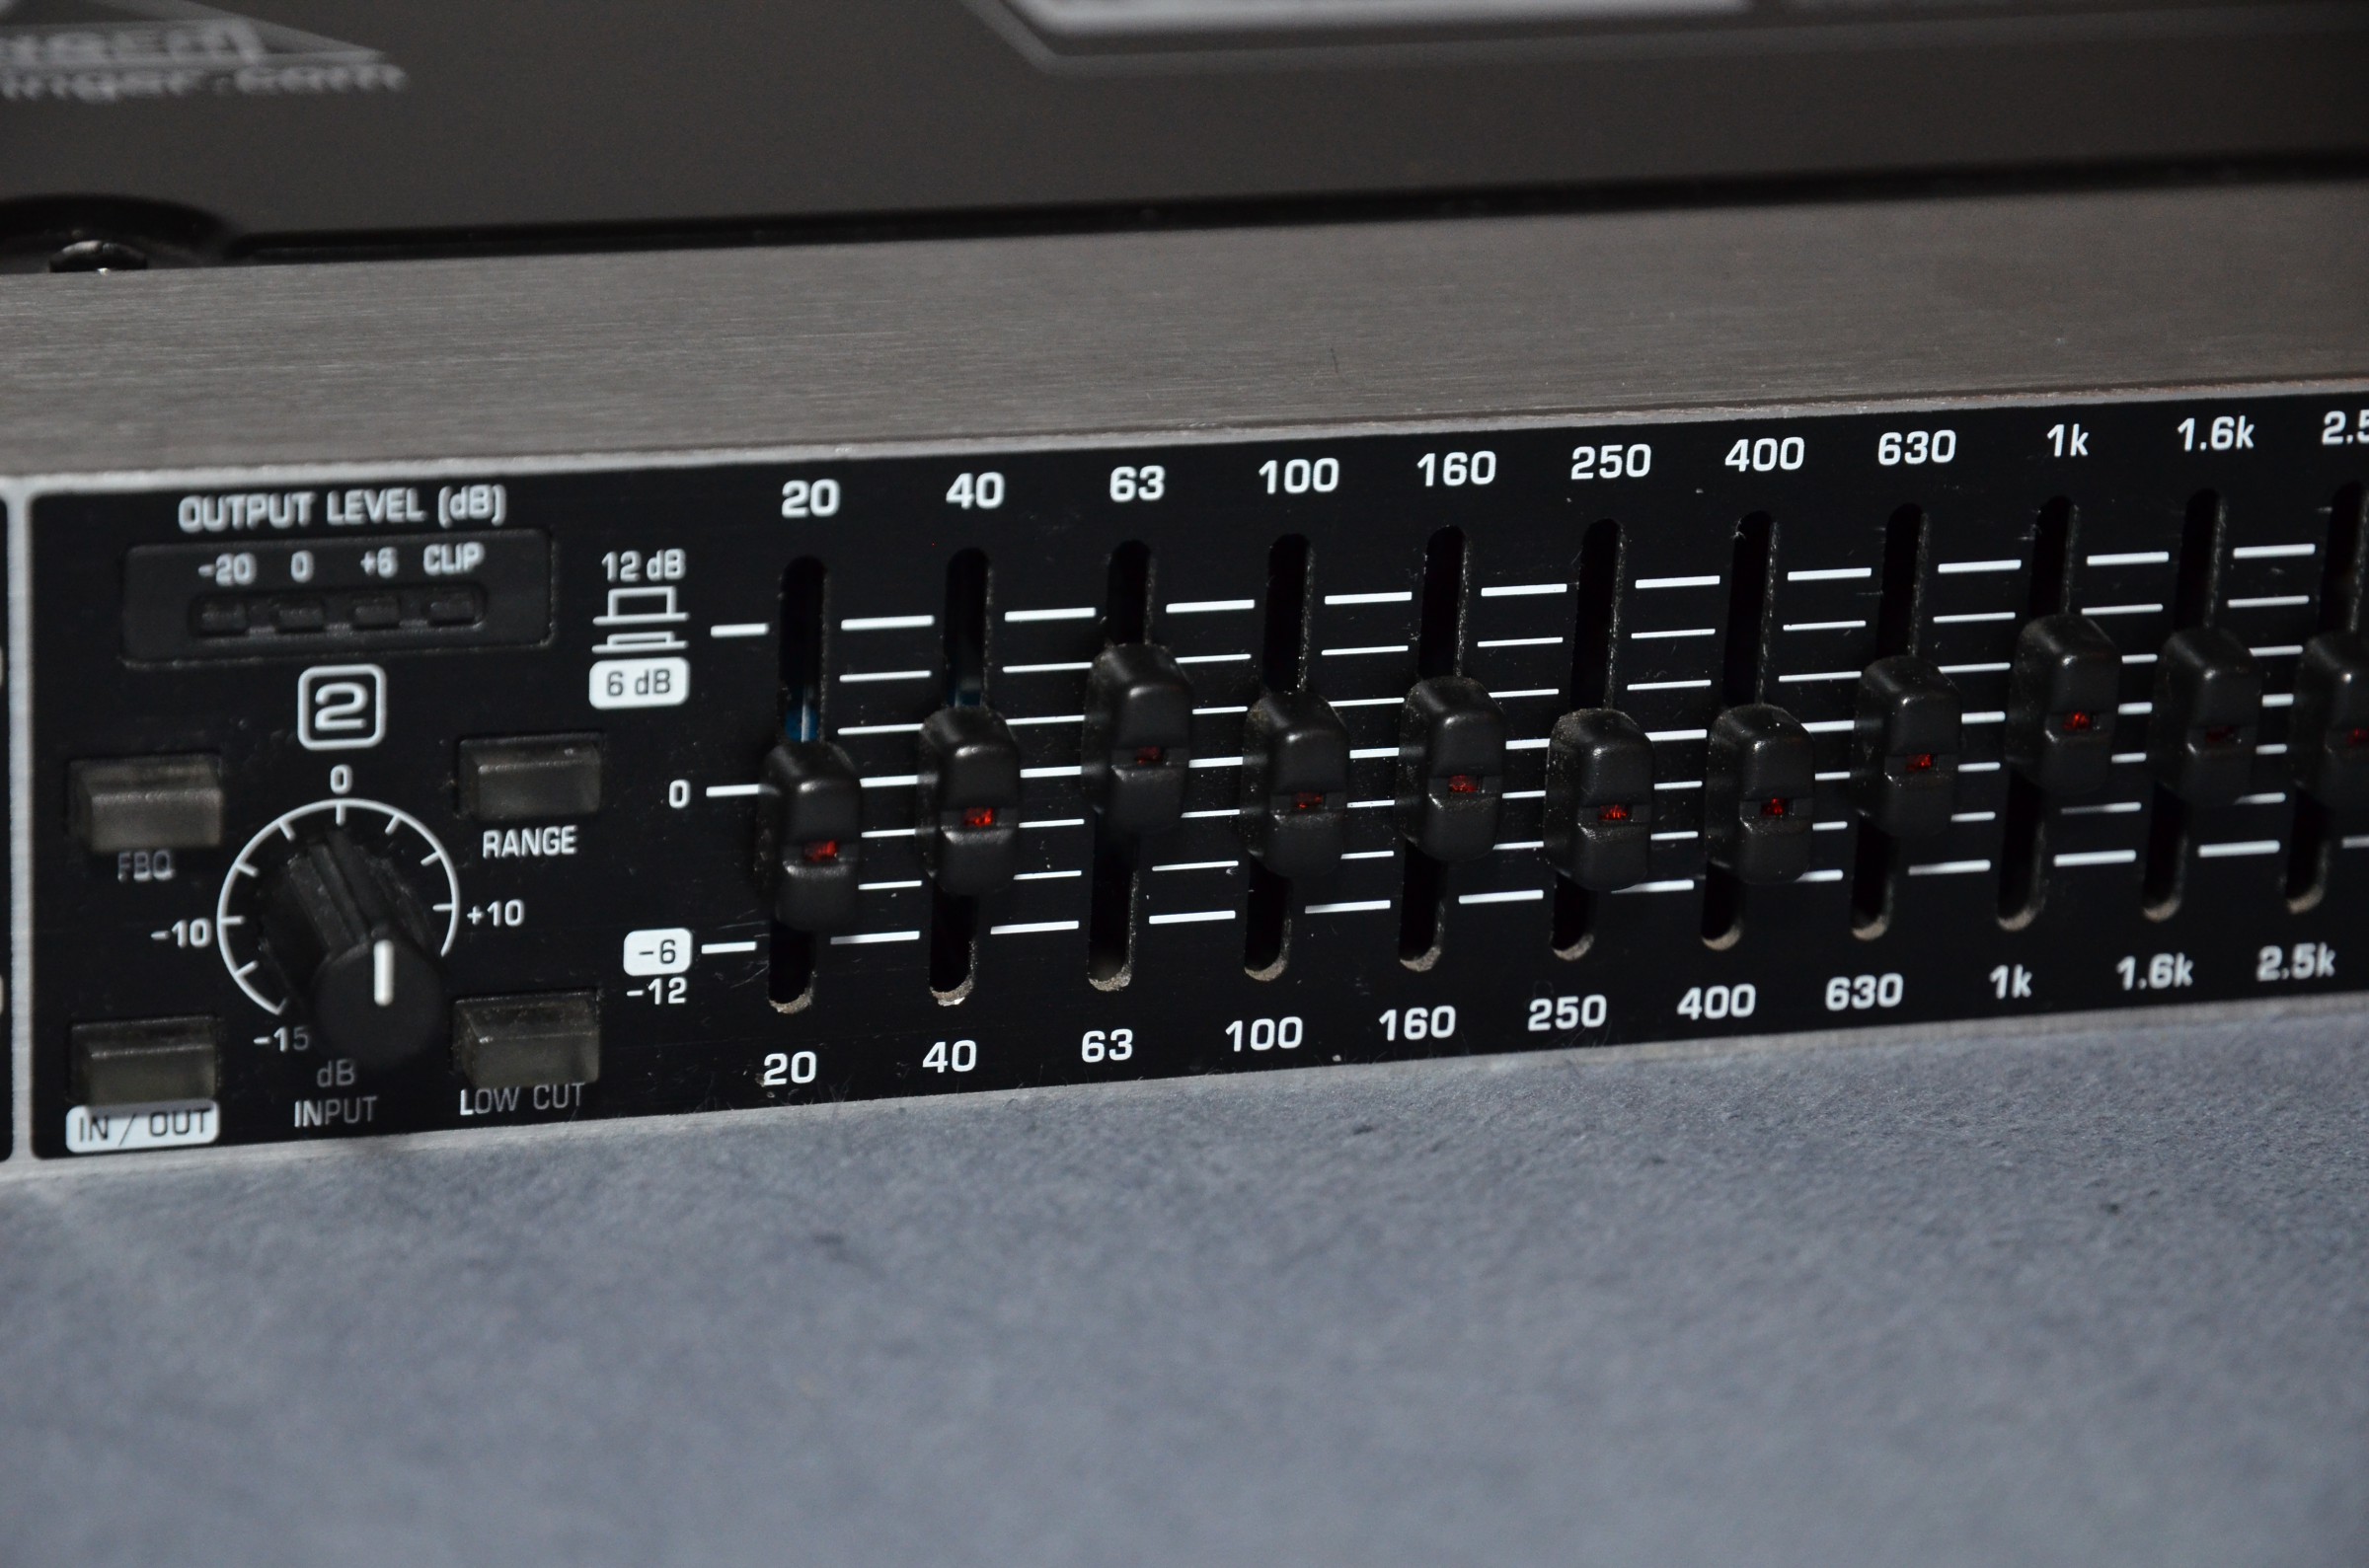
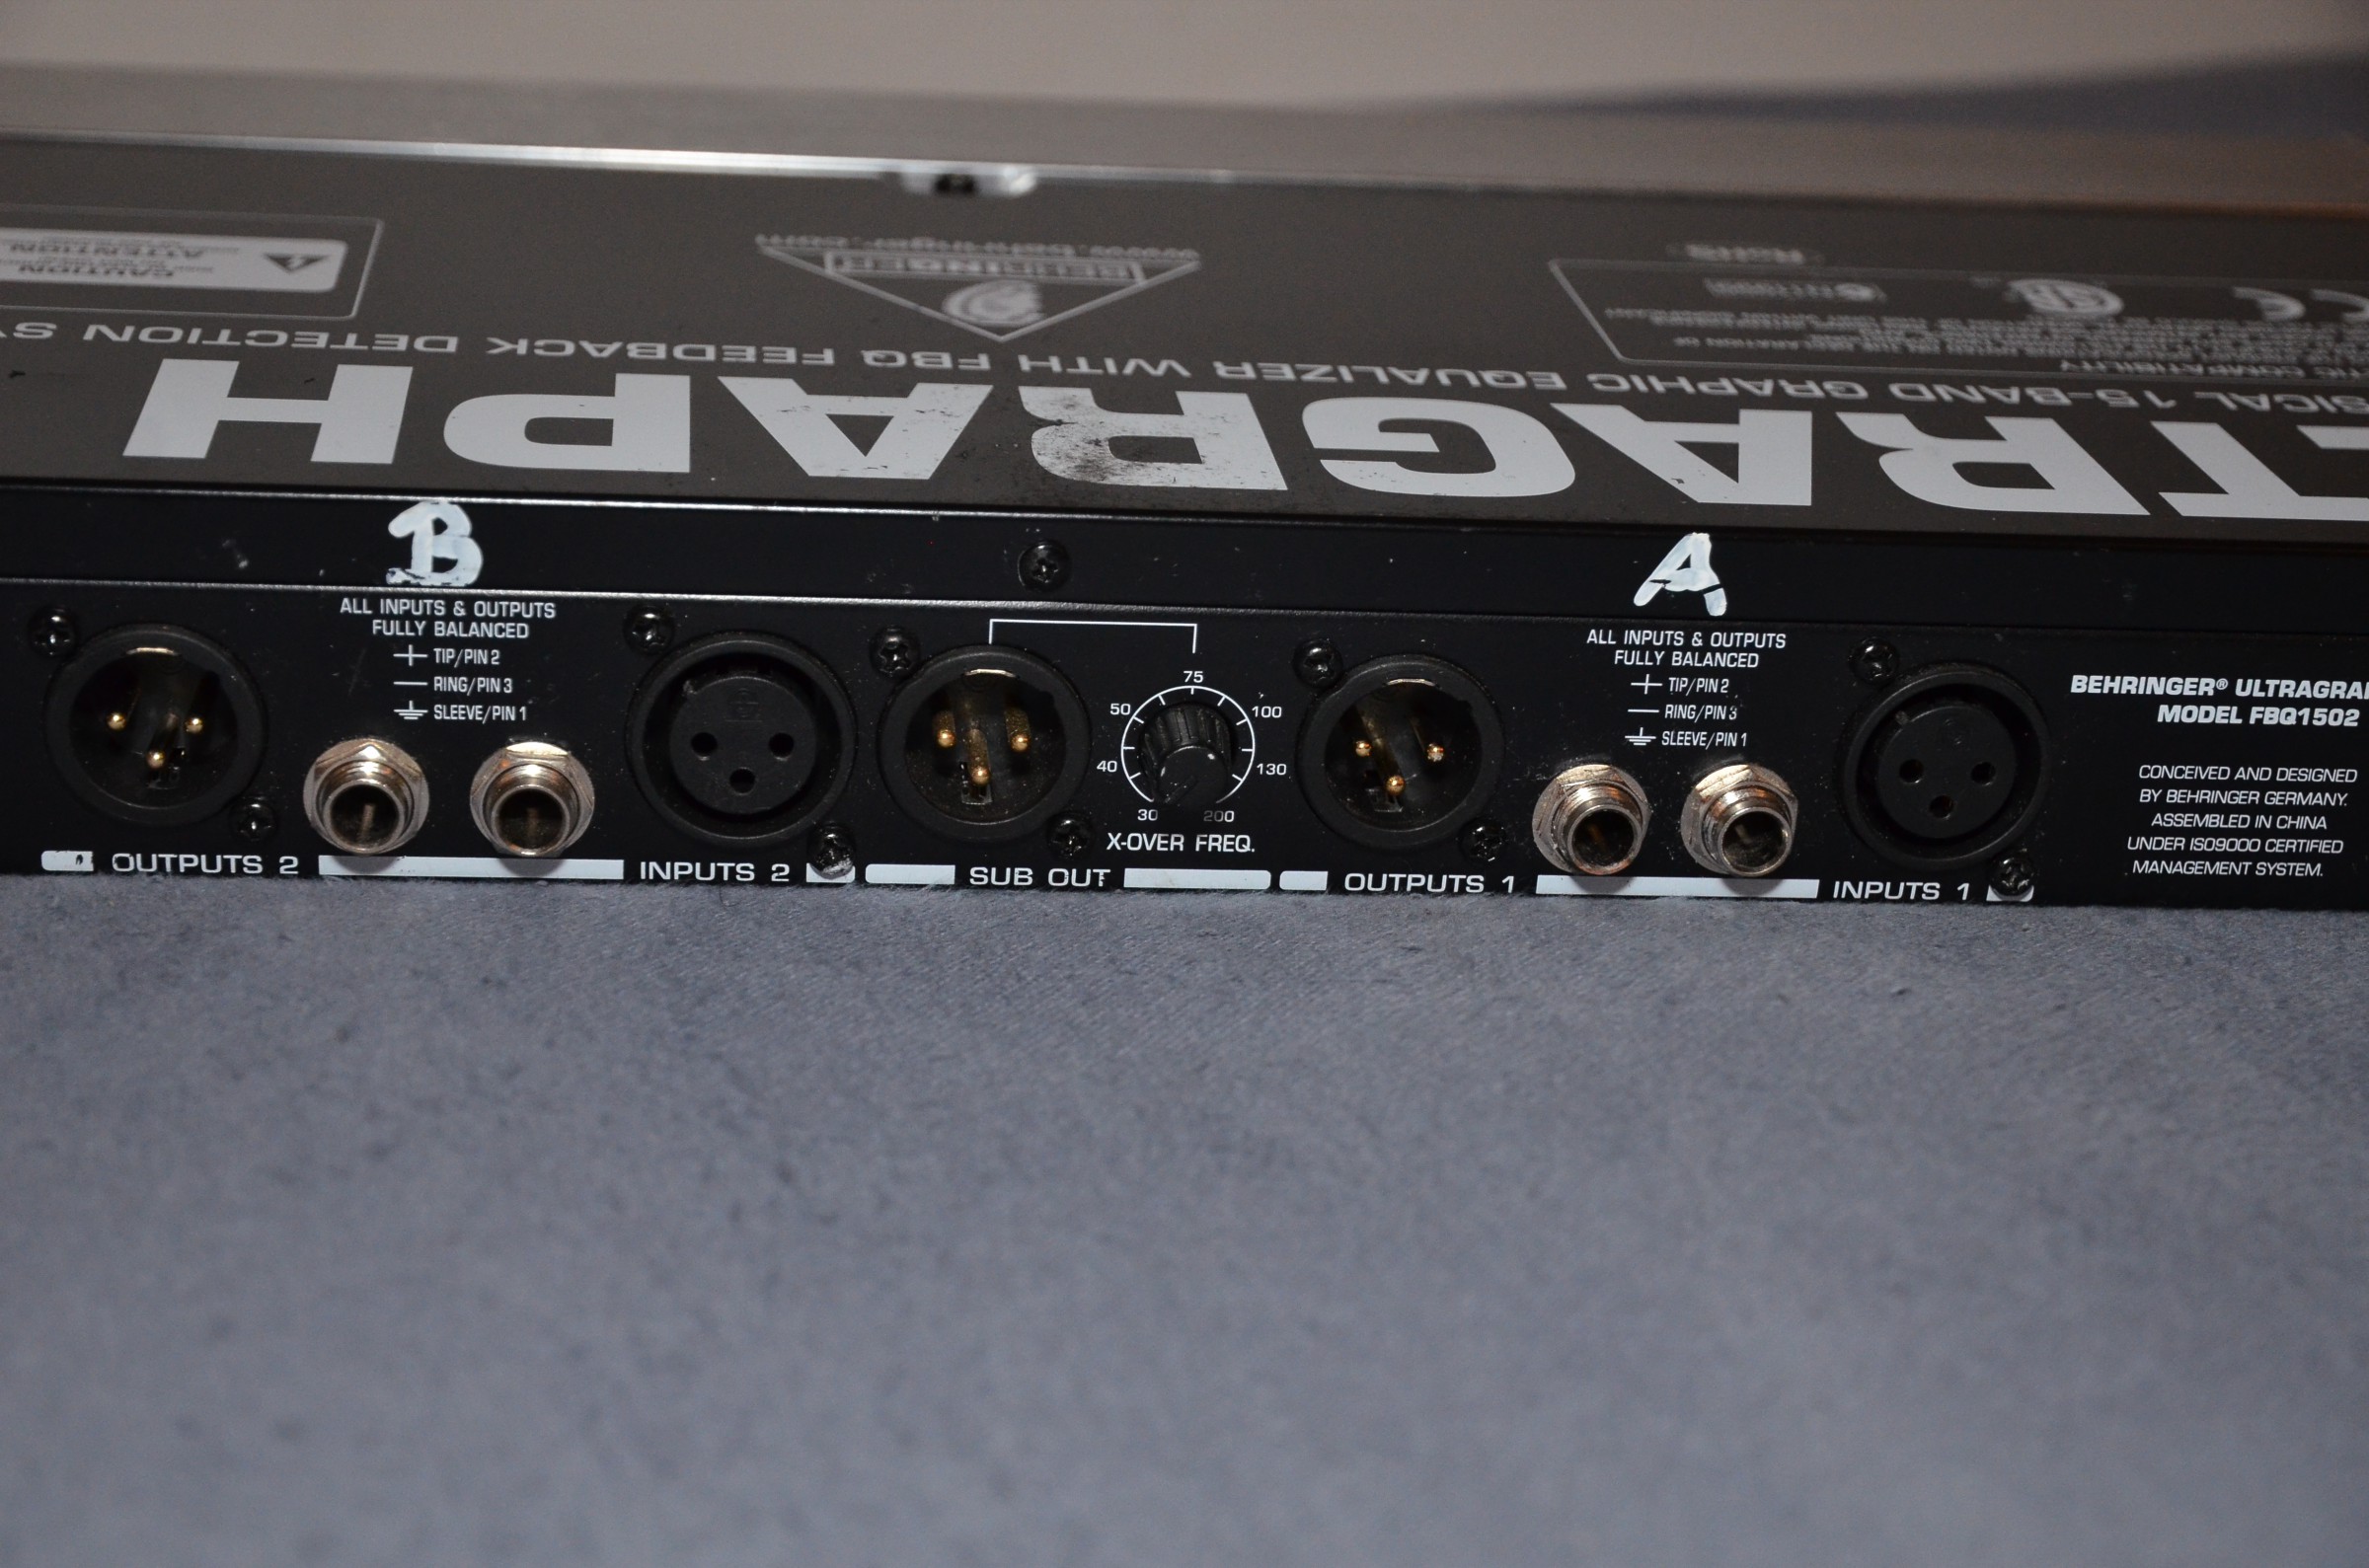
Stereo-Equalizer
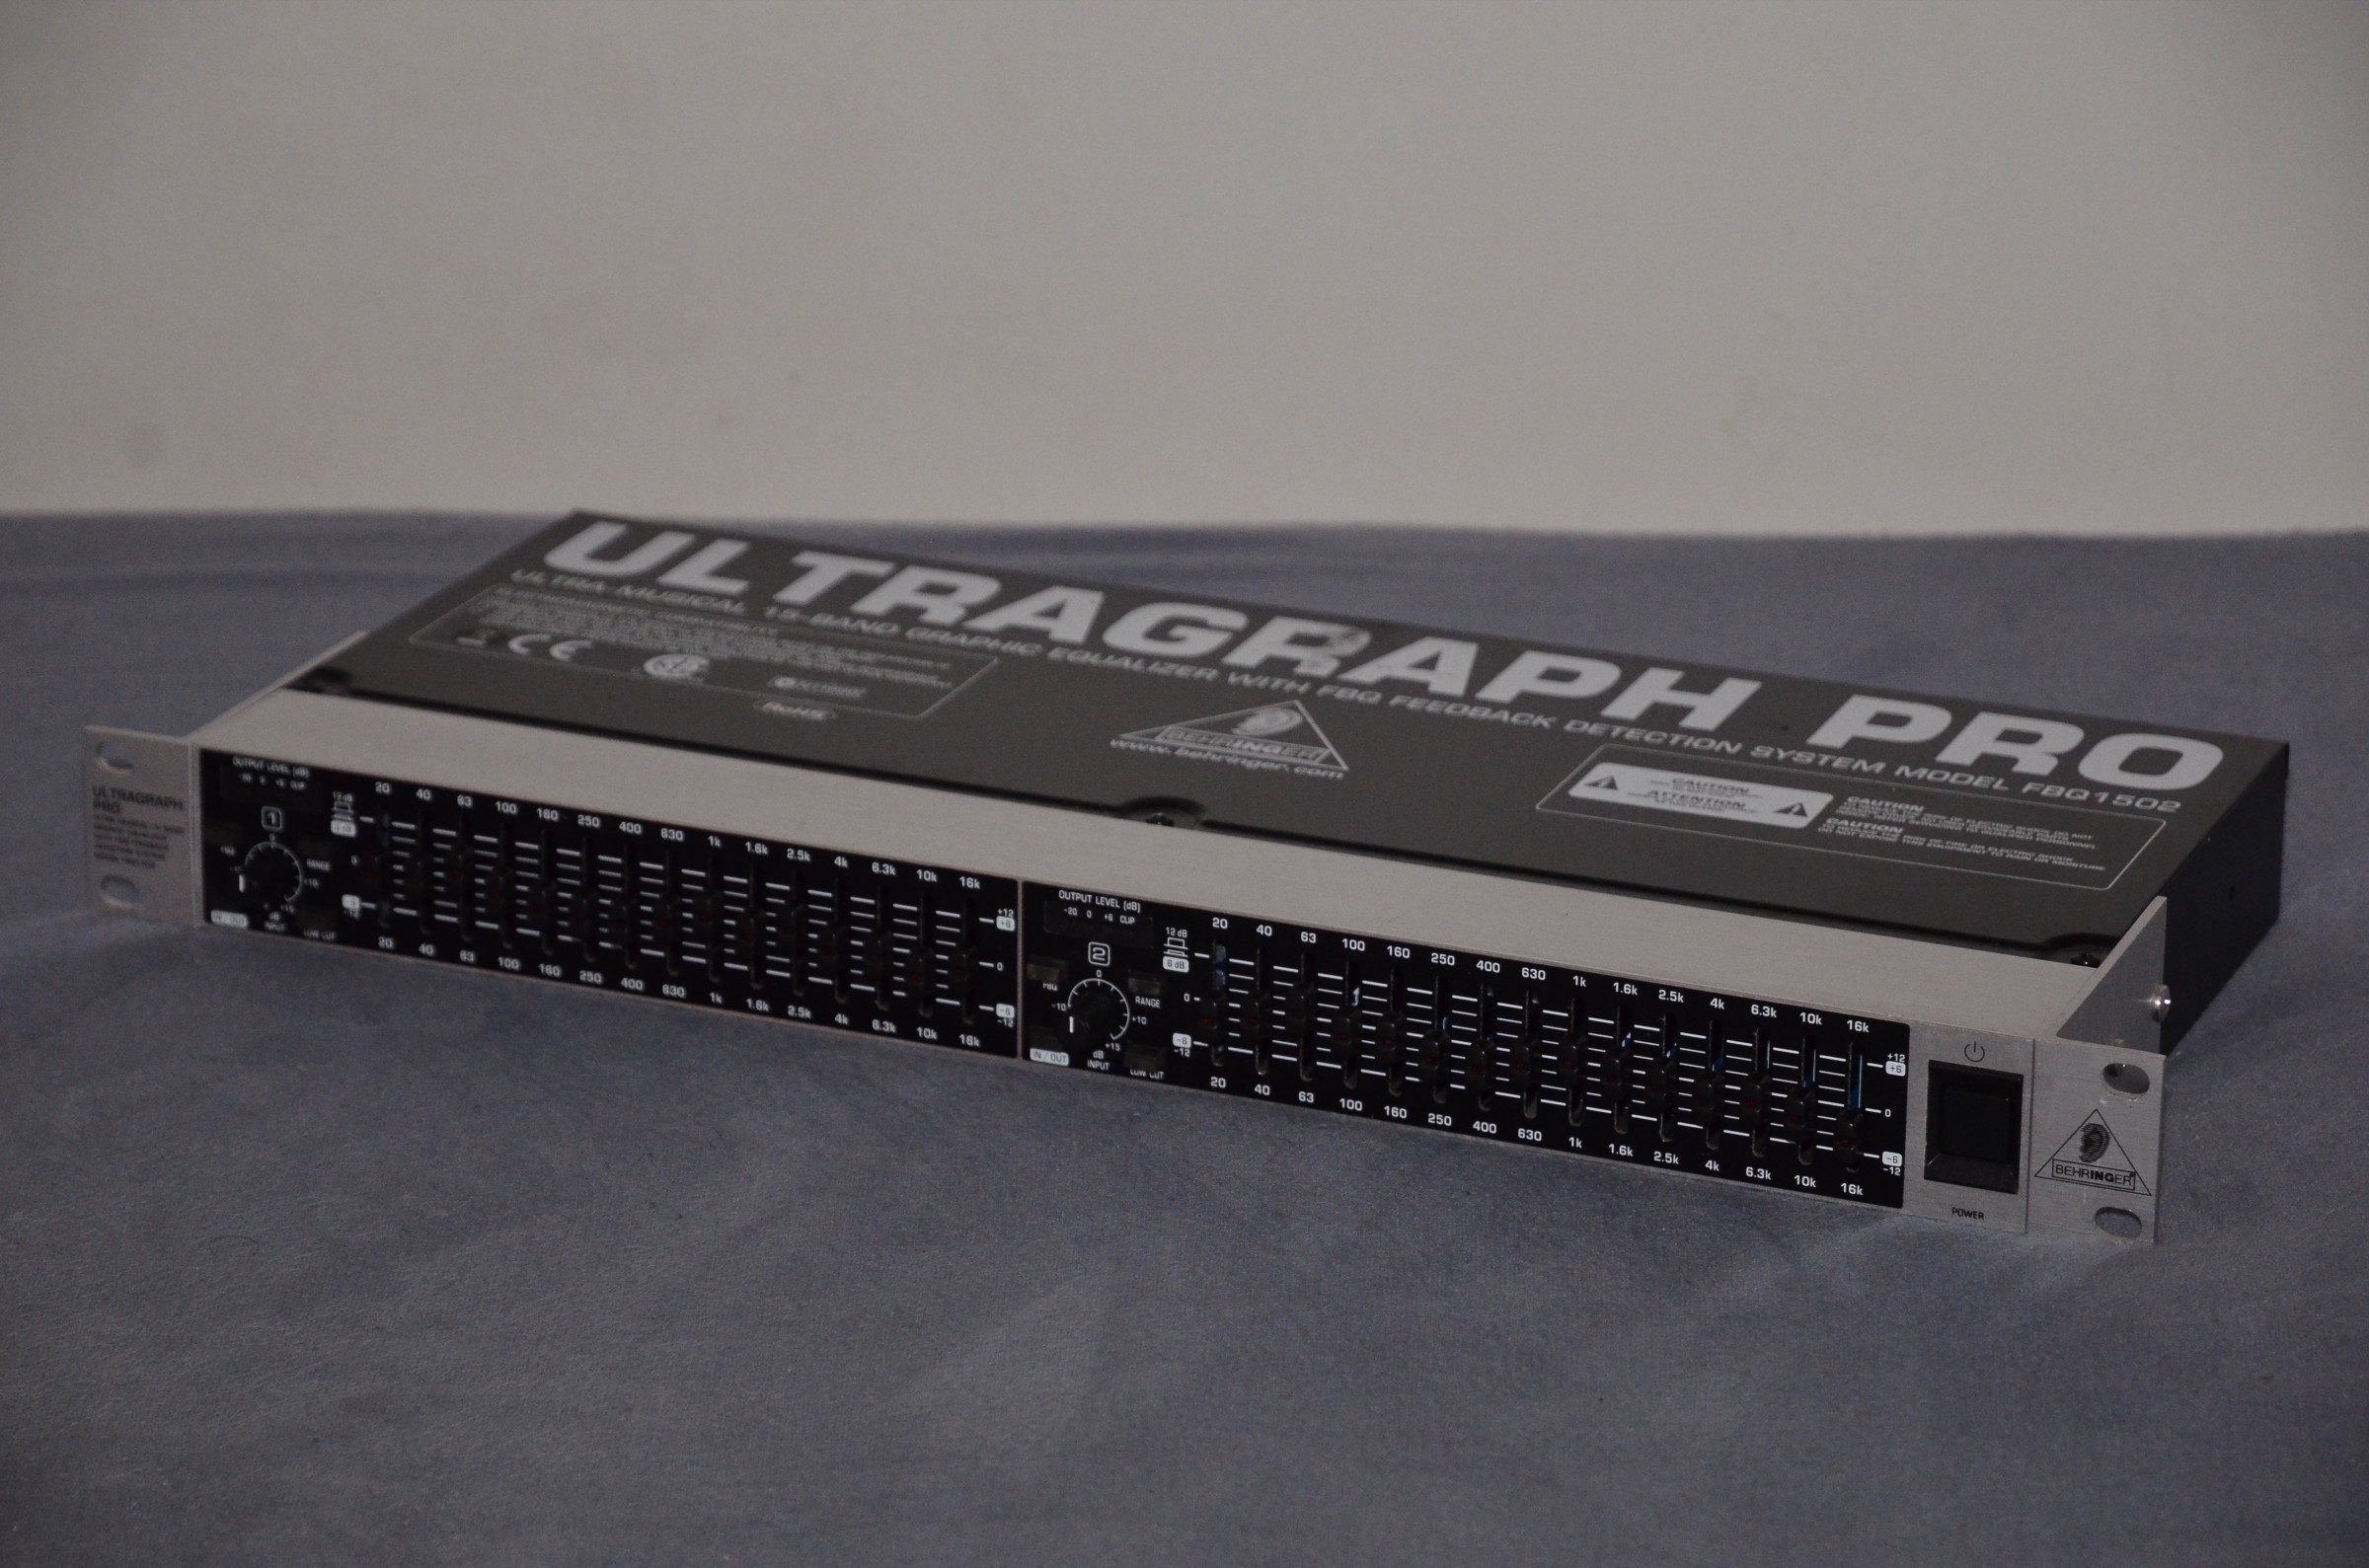
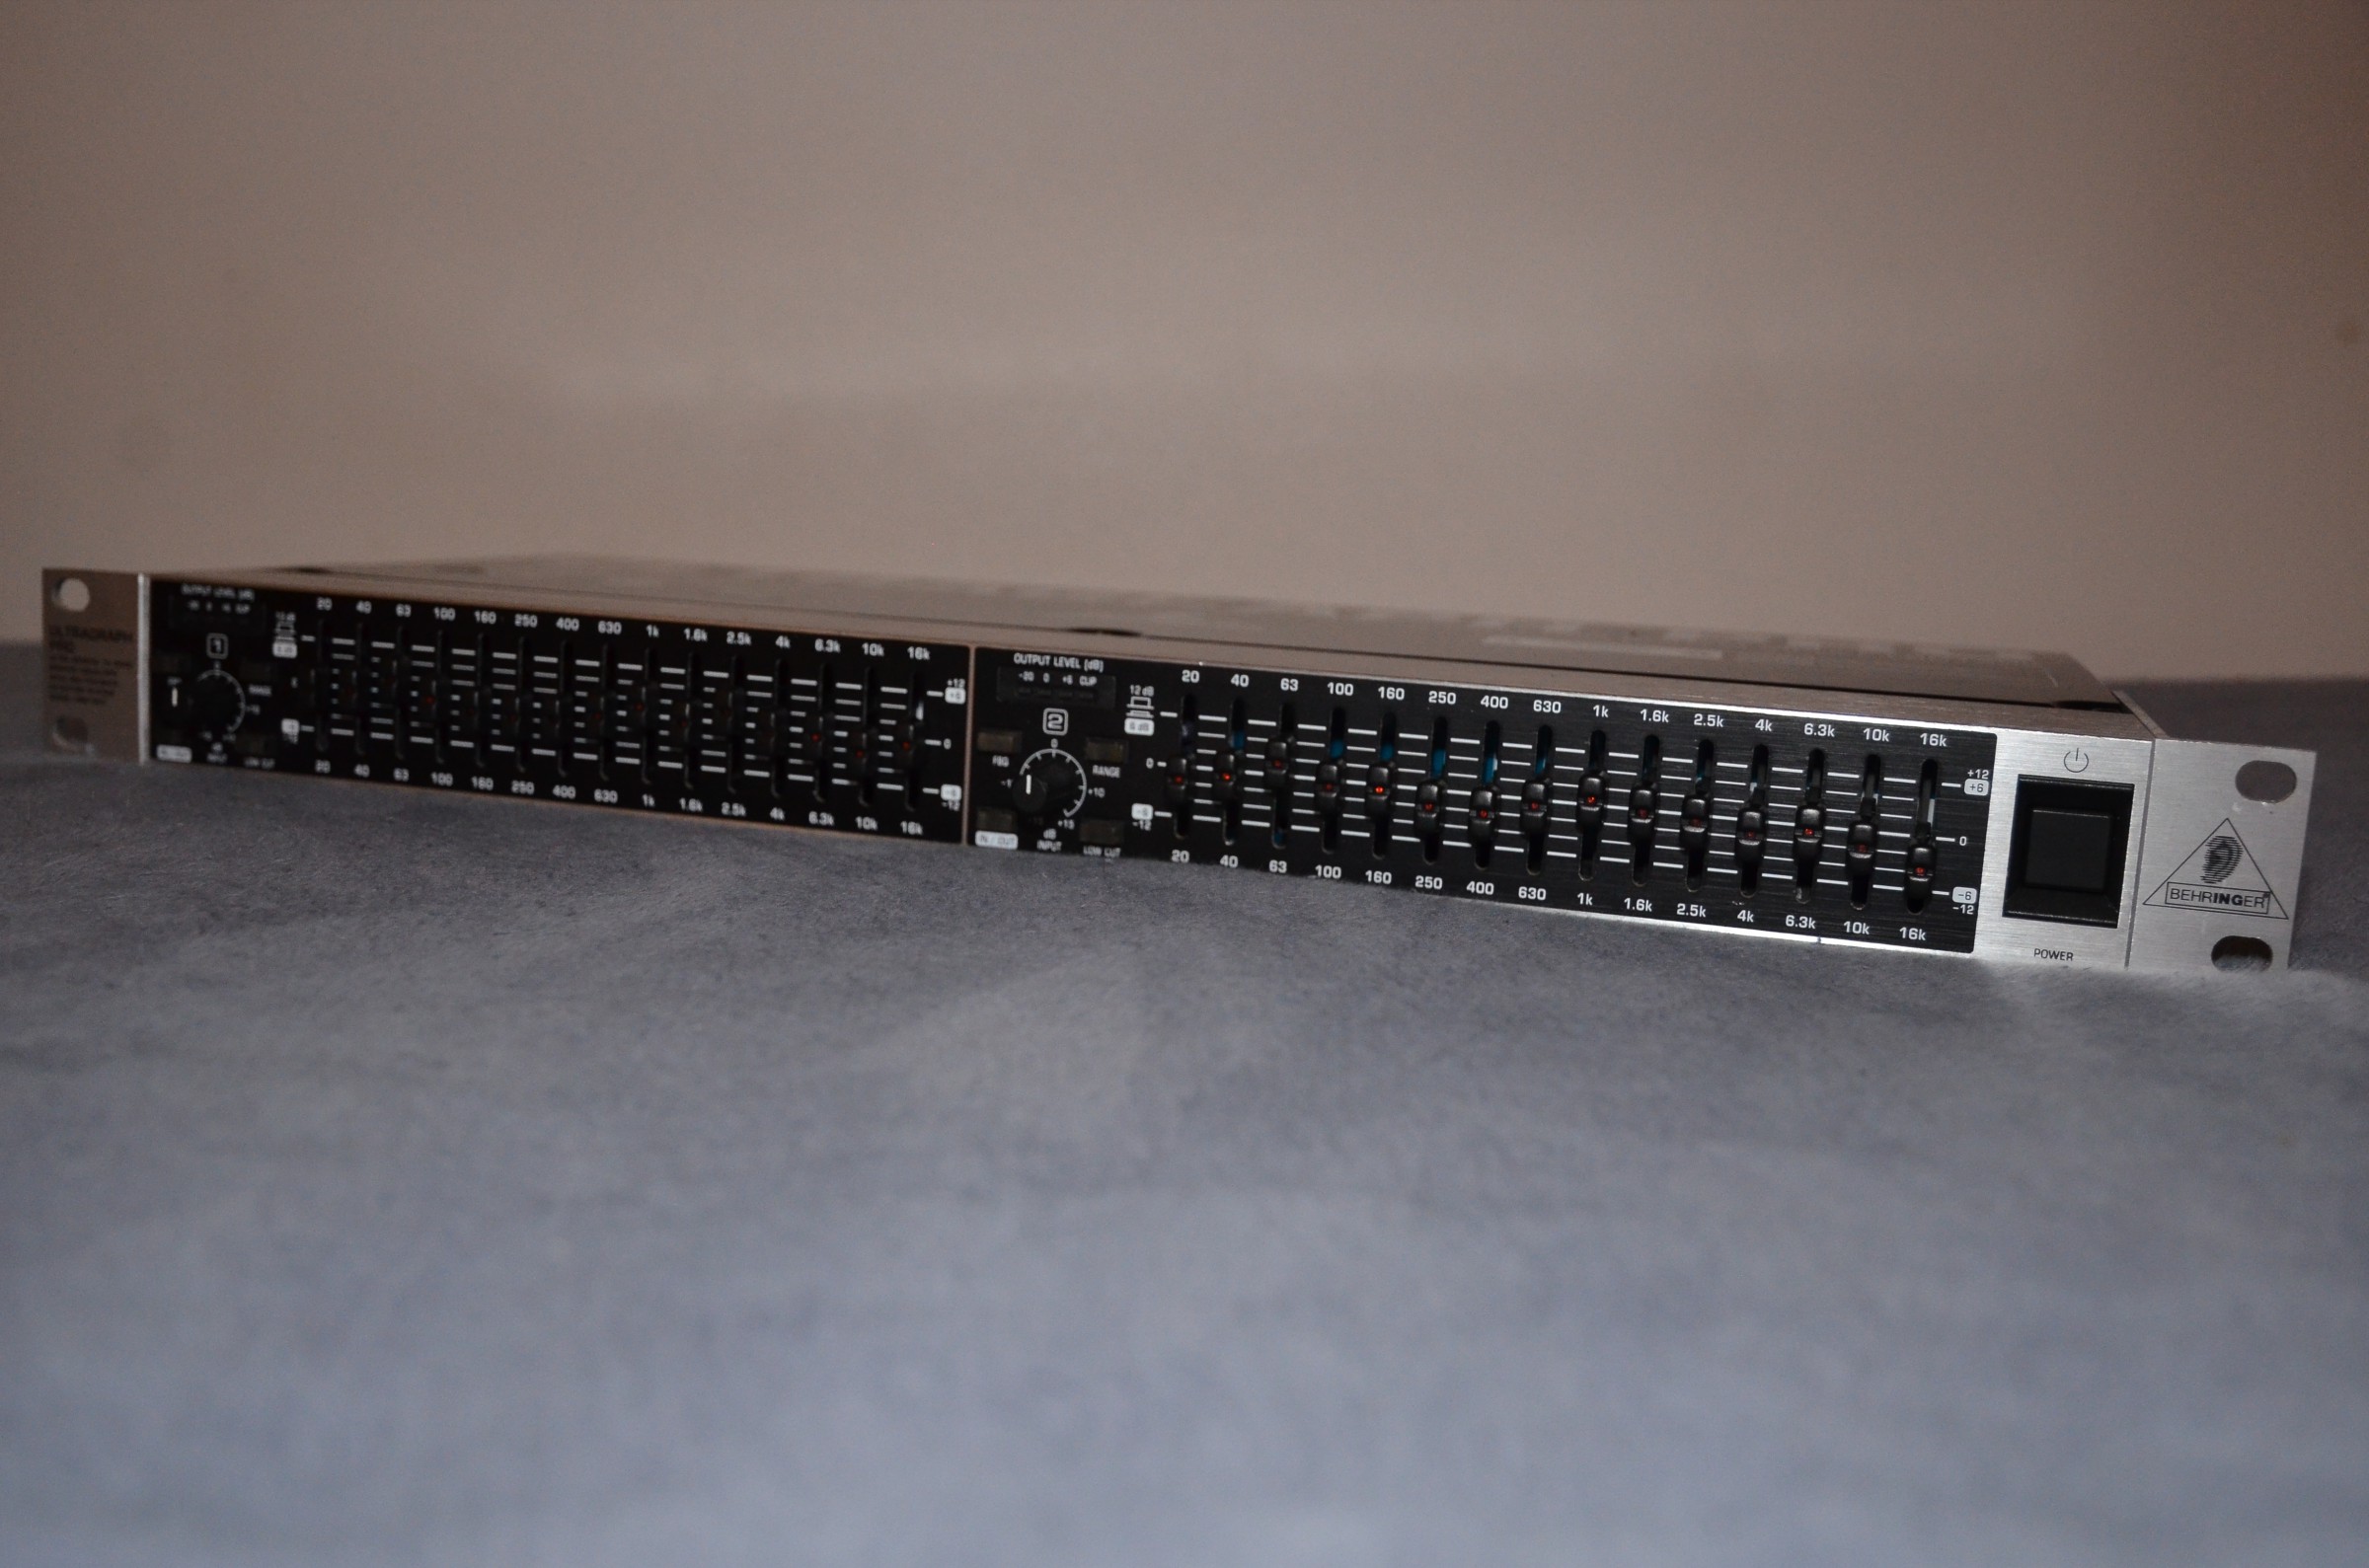
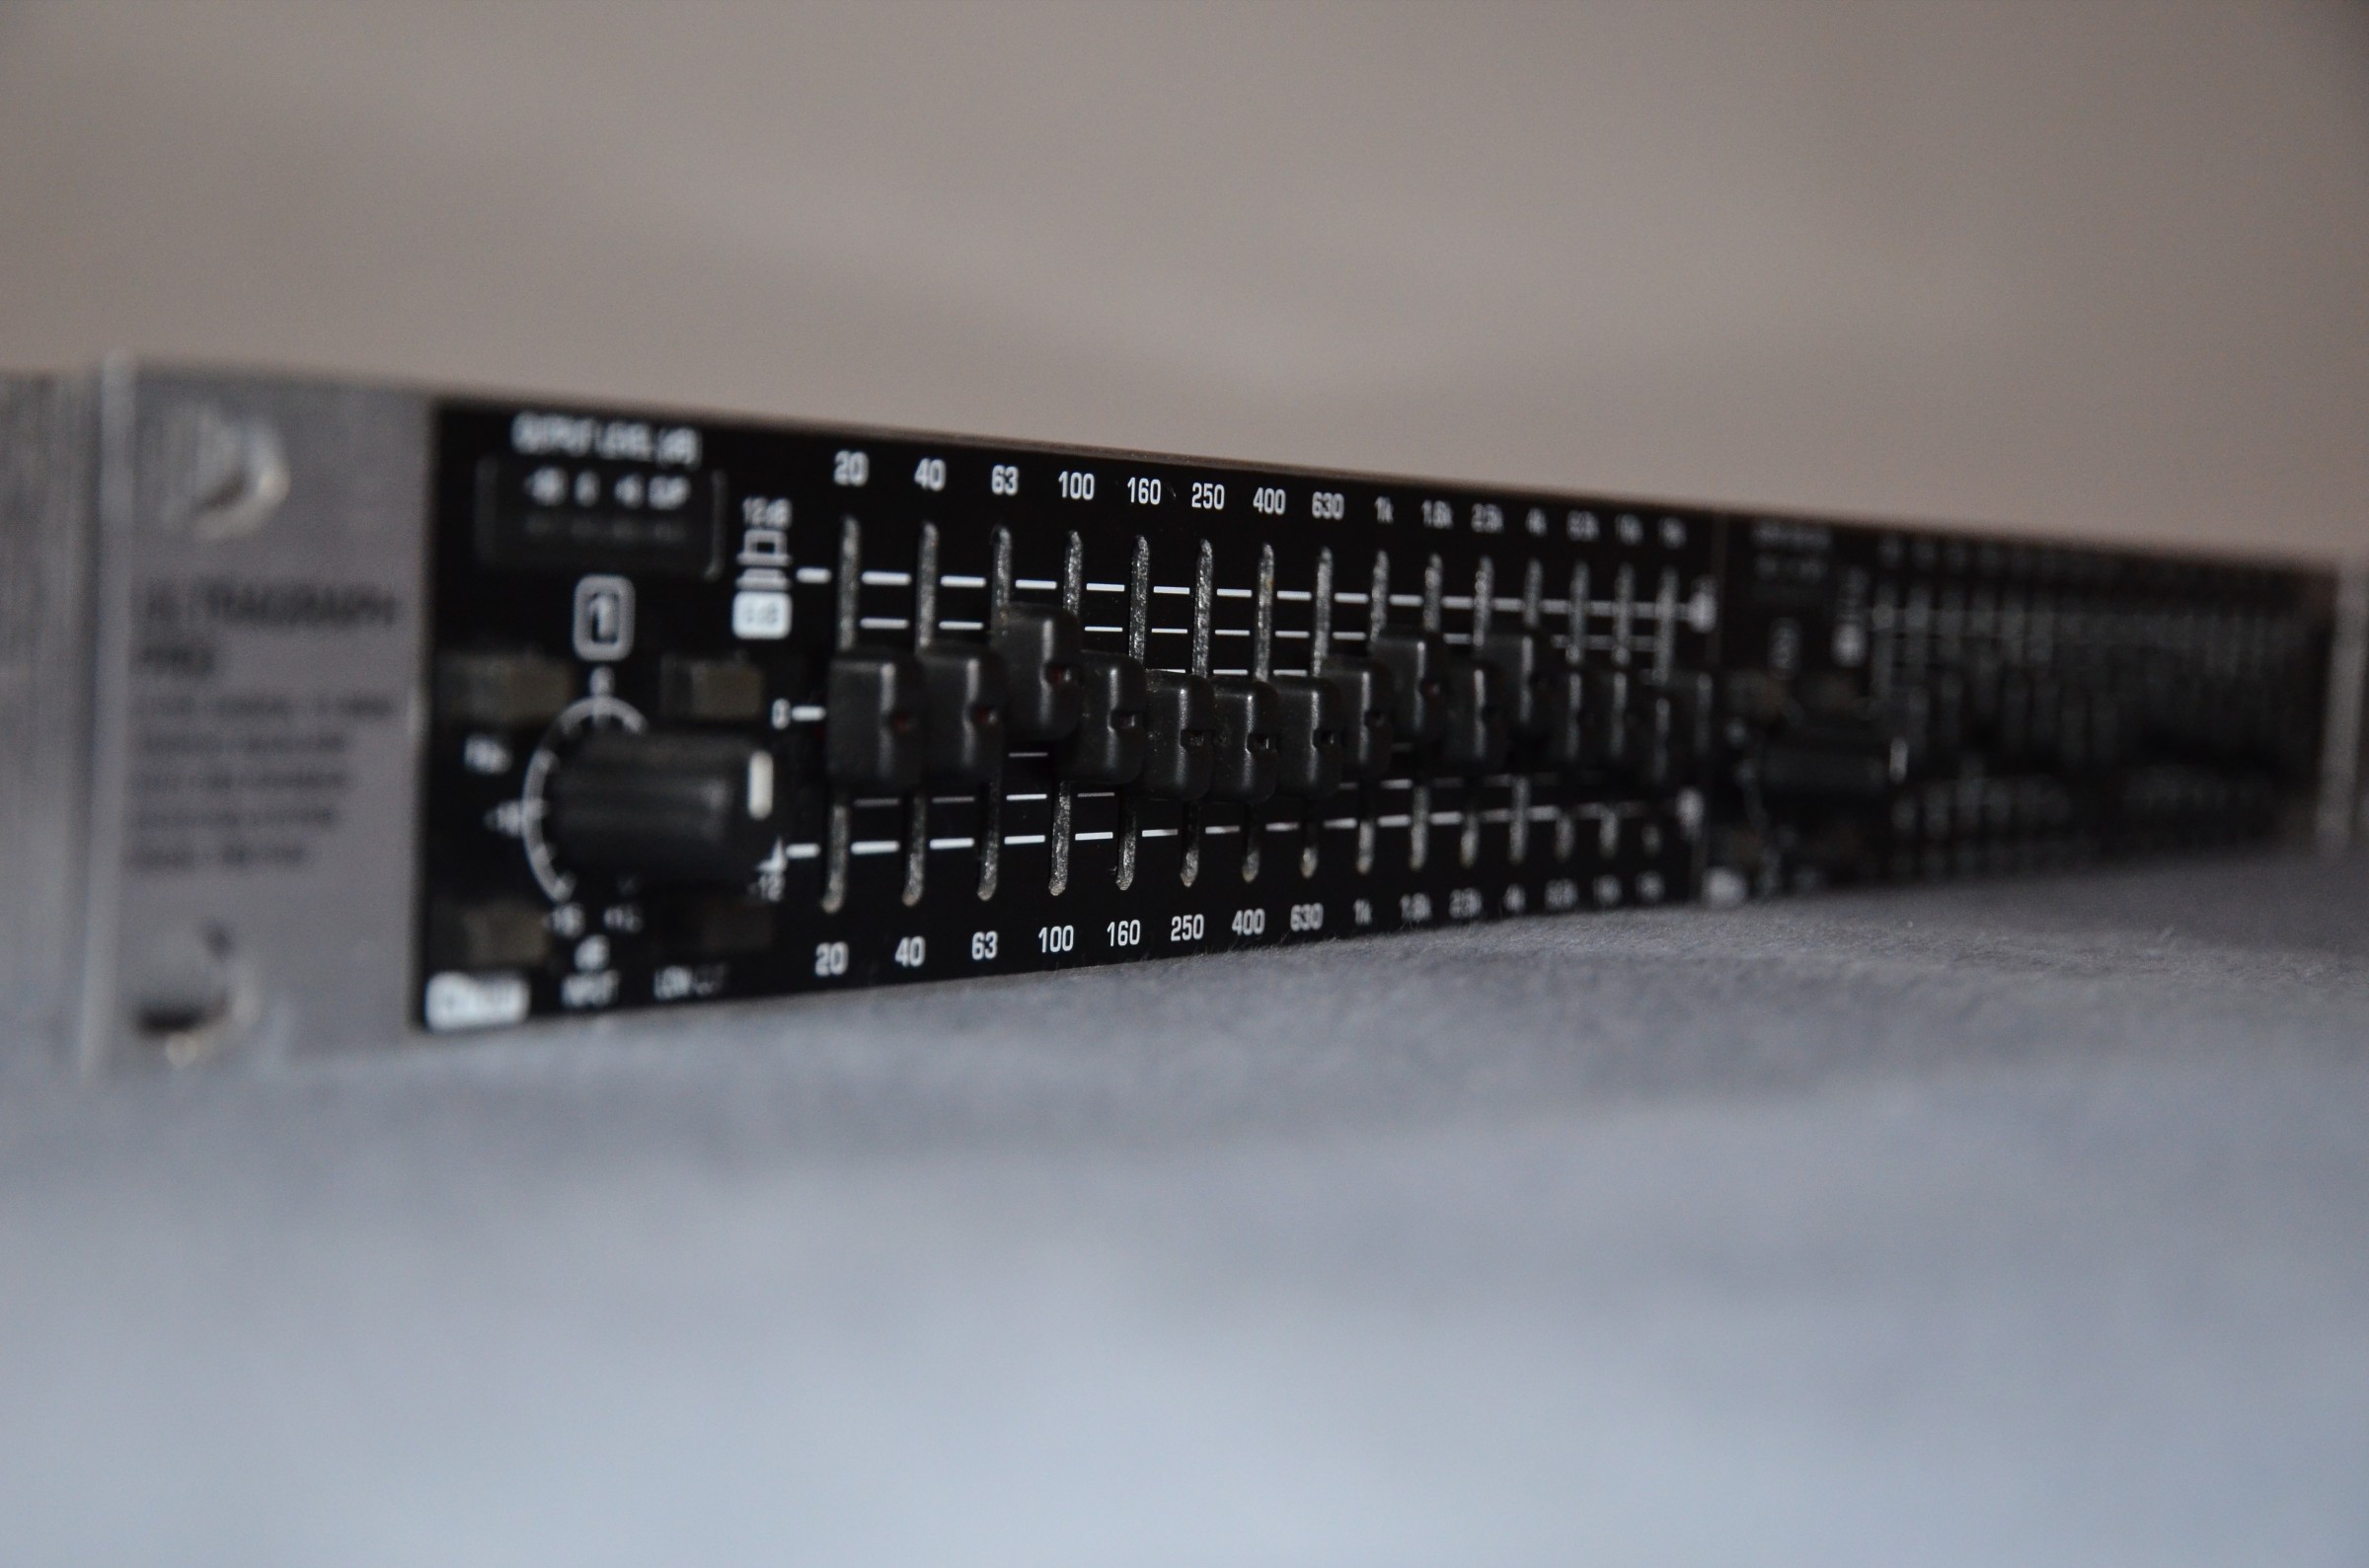
The Behringer Ultragraph Pro FBQ 1502, a graphic stereo equalizer, is used for adjusting the main-signal to the room sound.
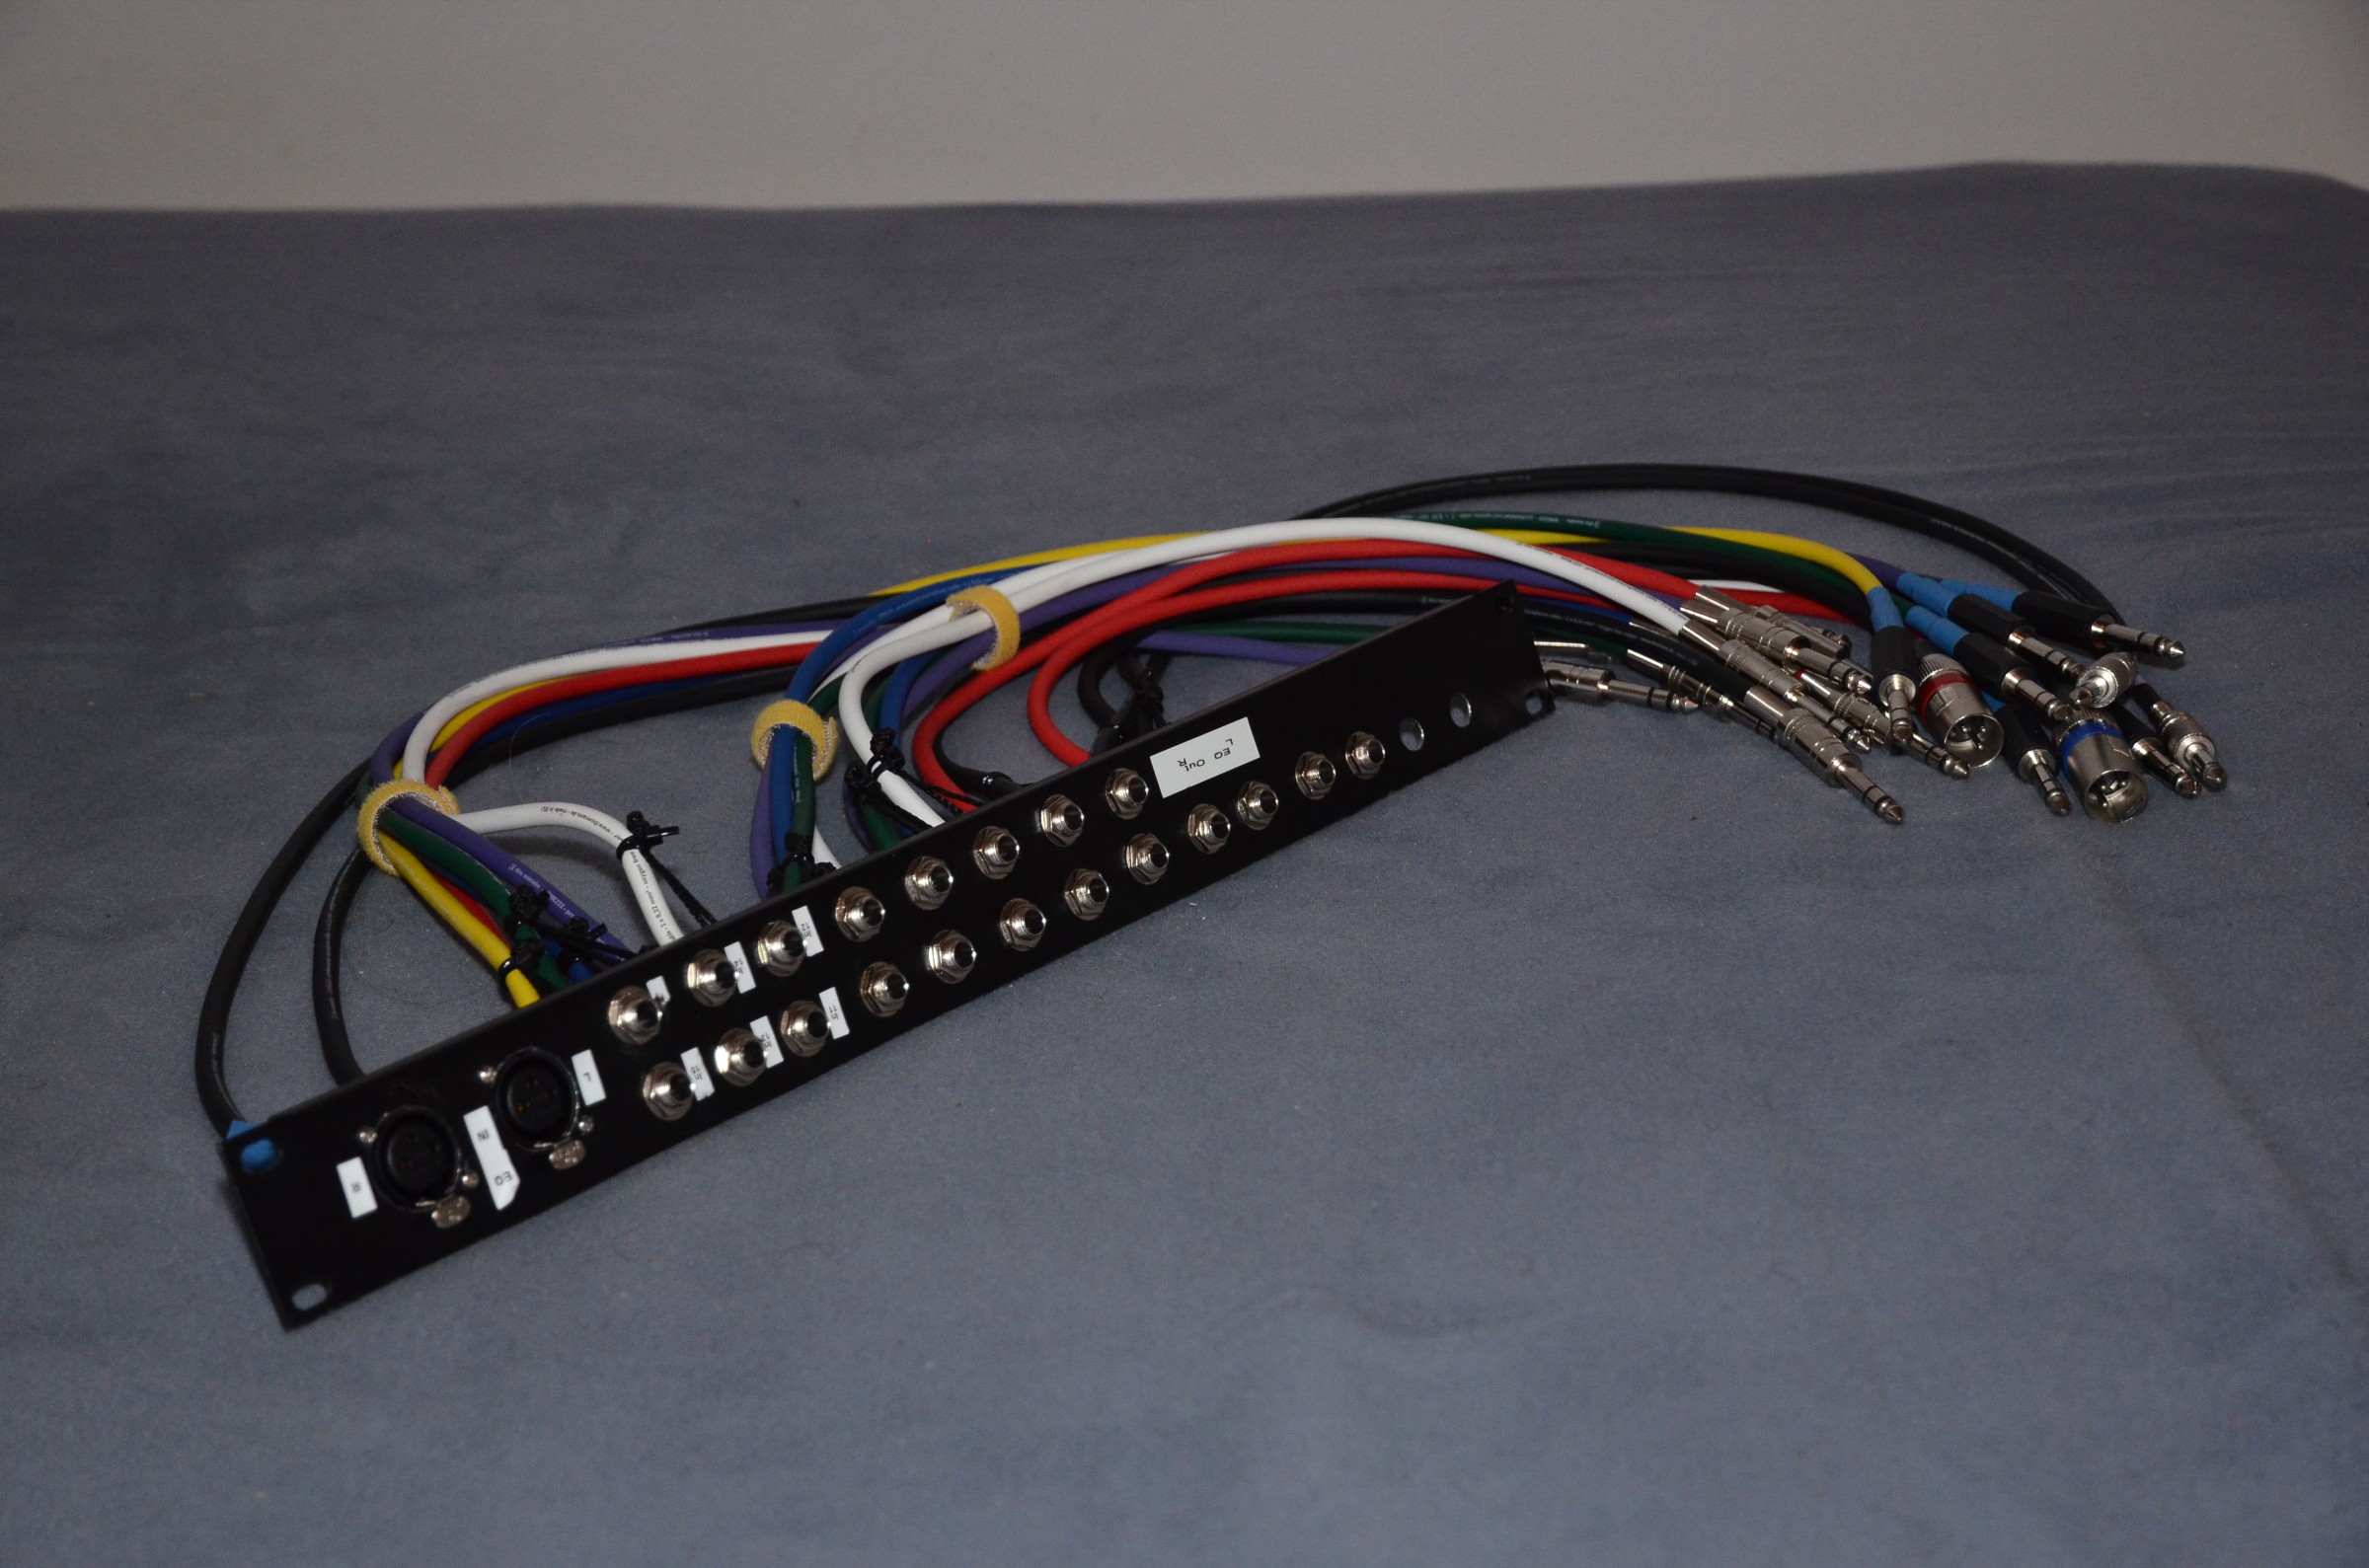
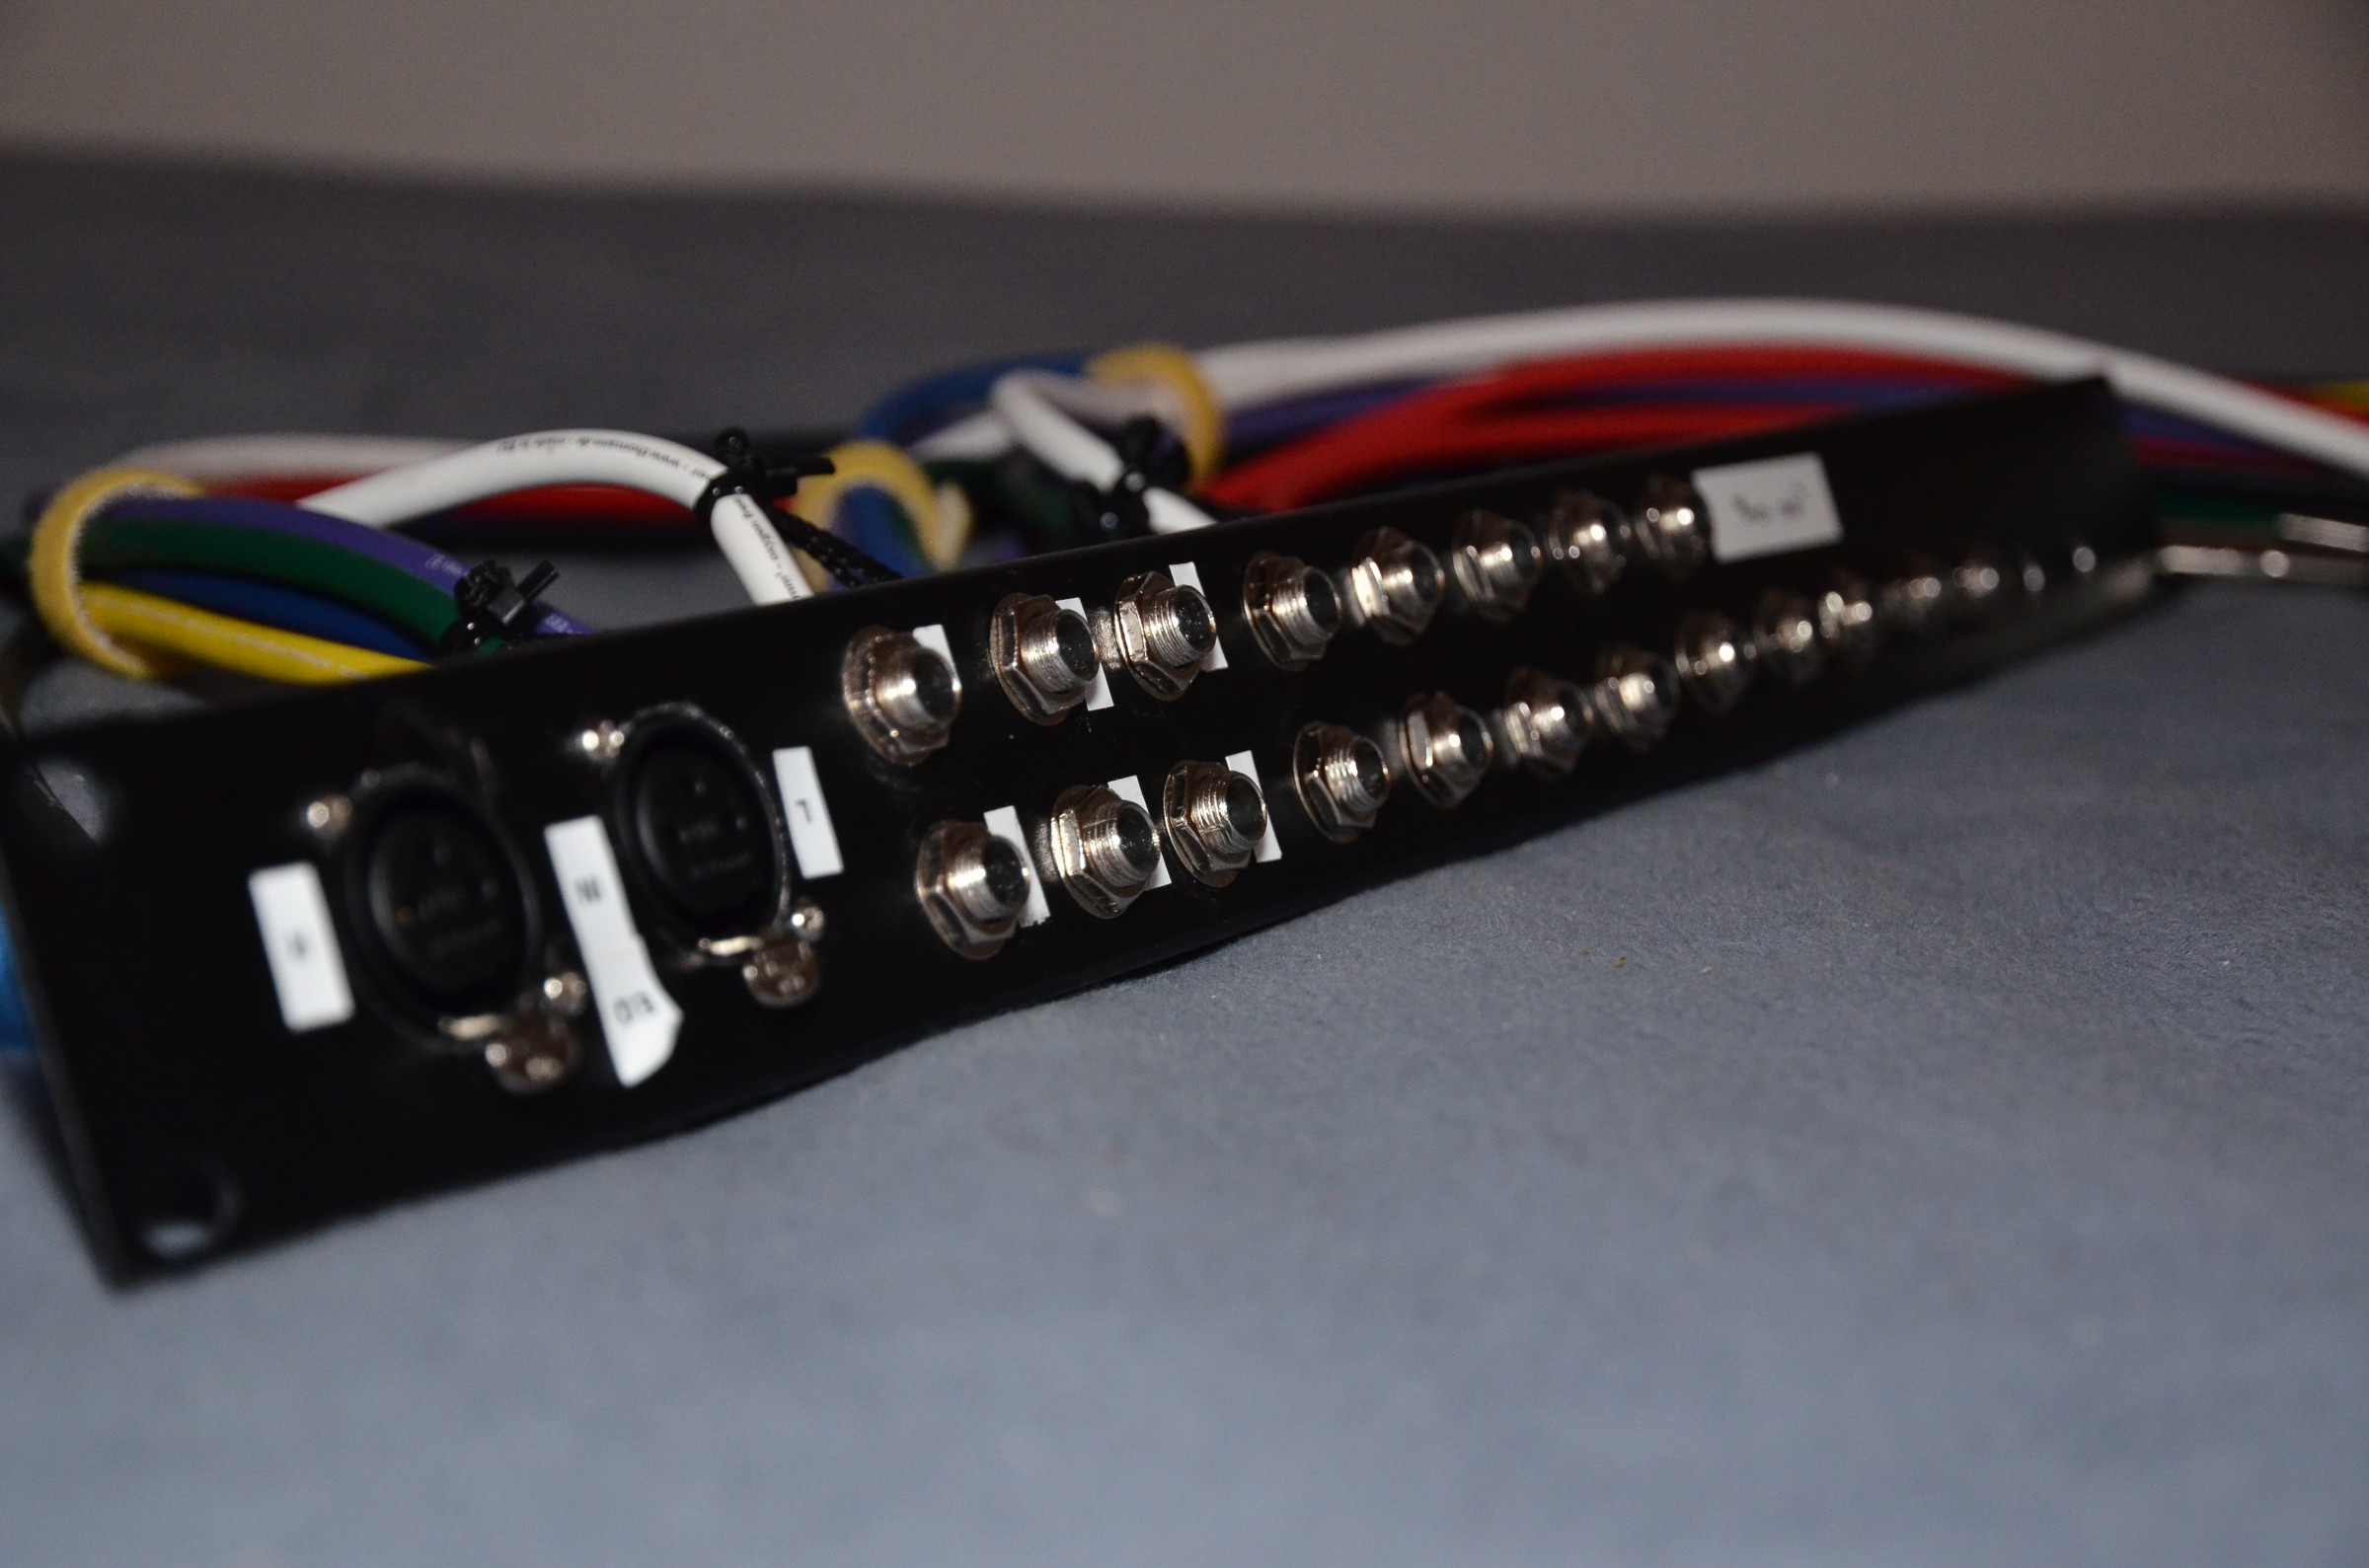
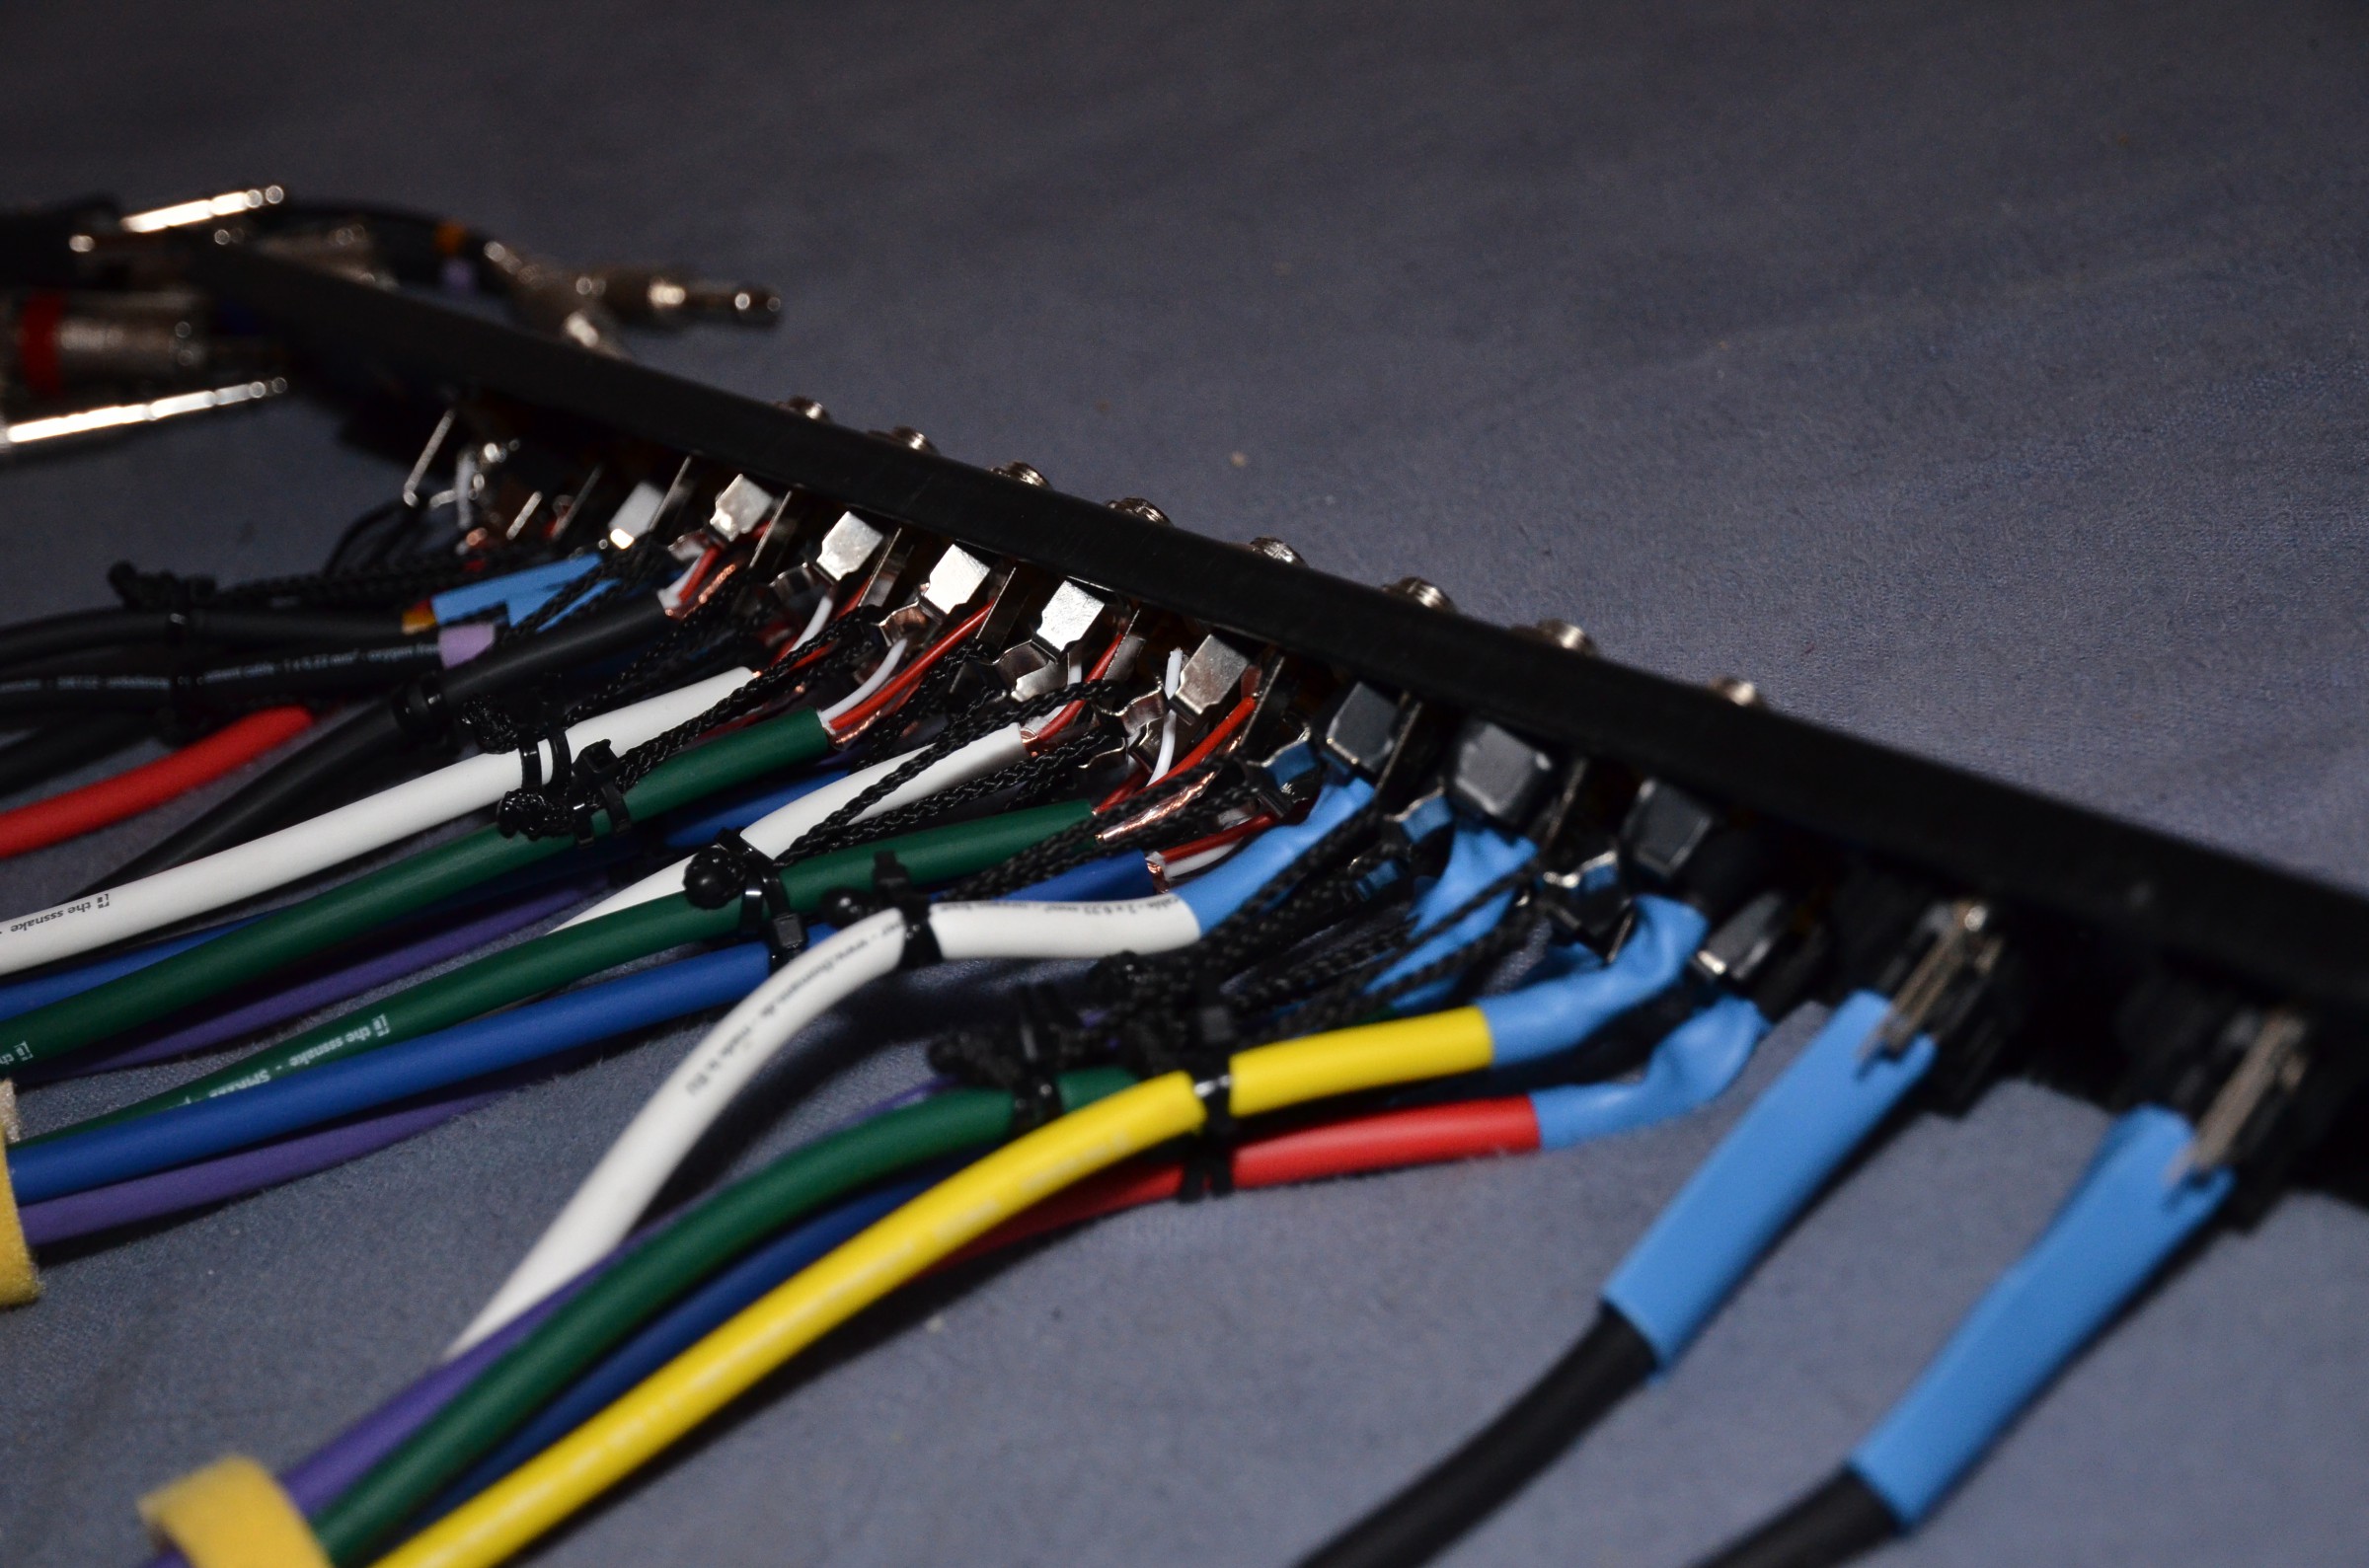
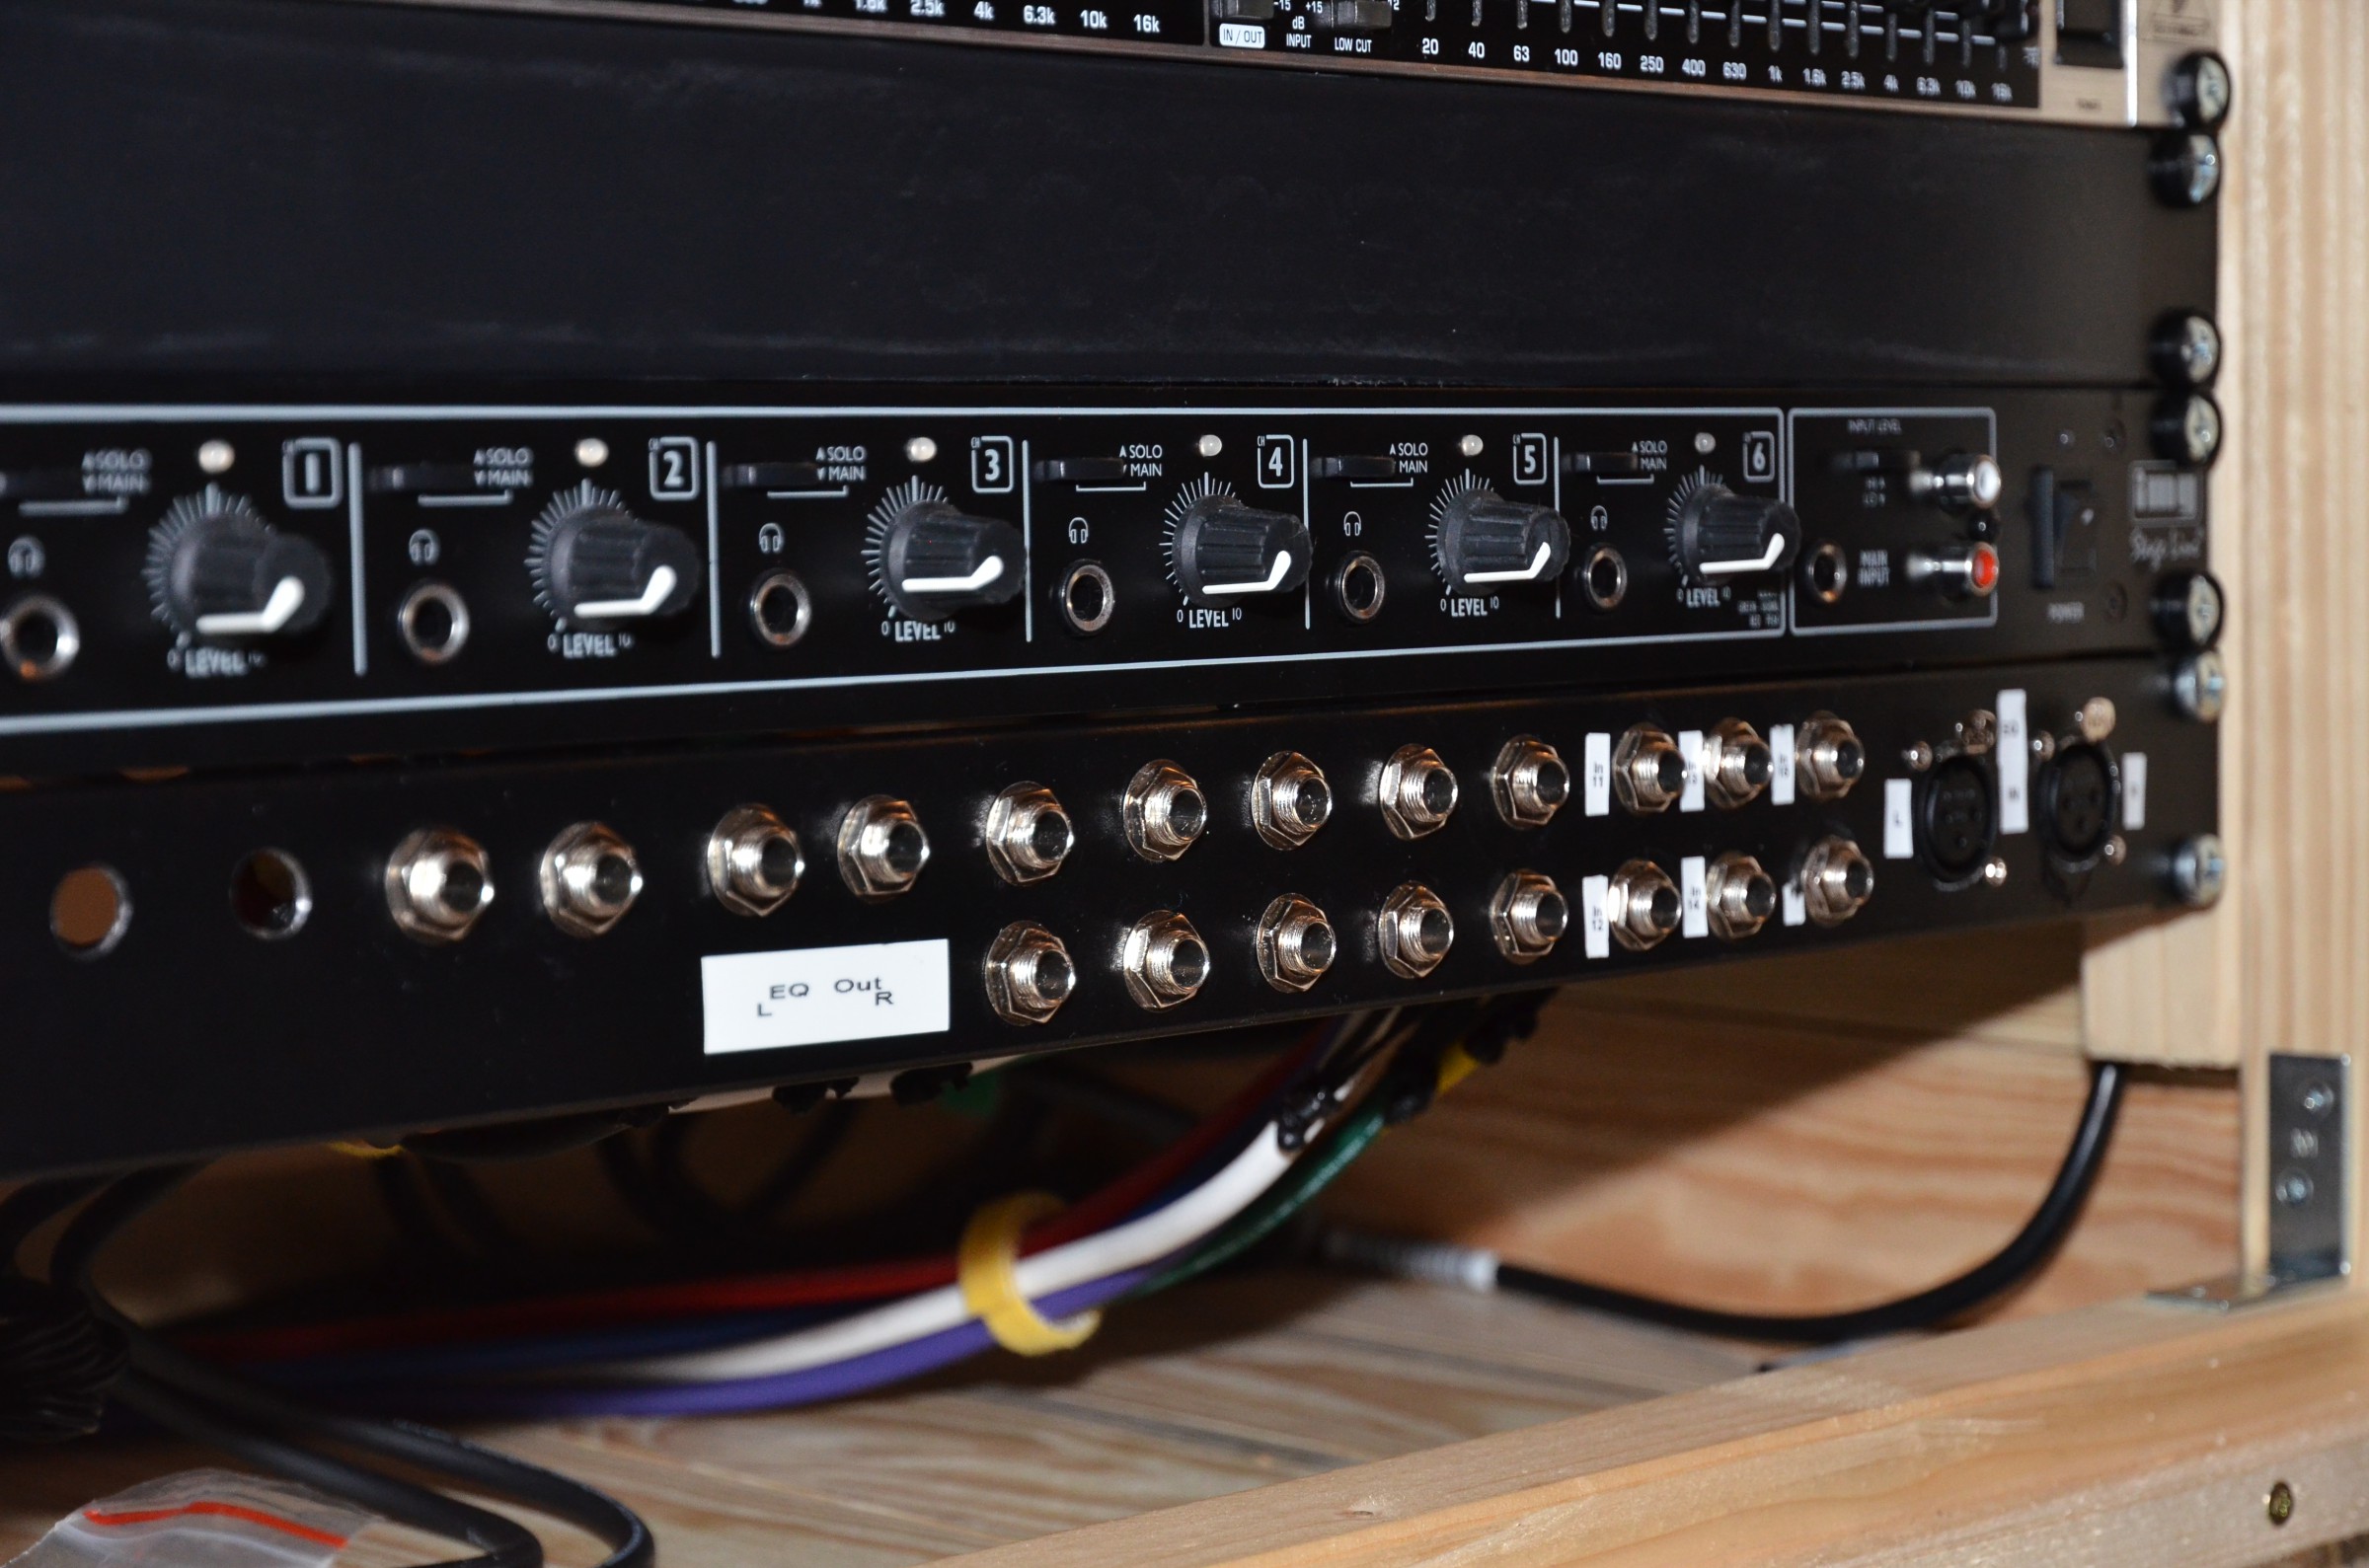
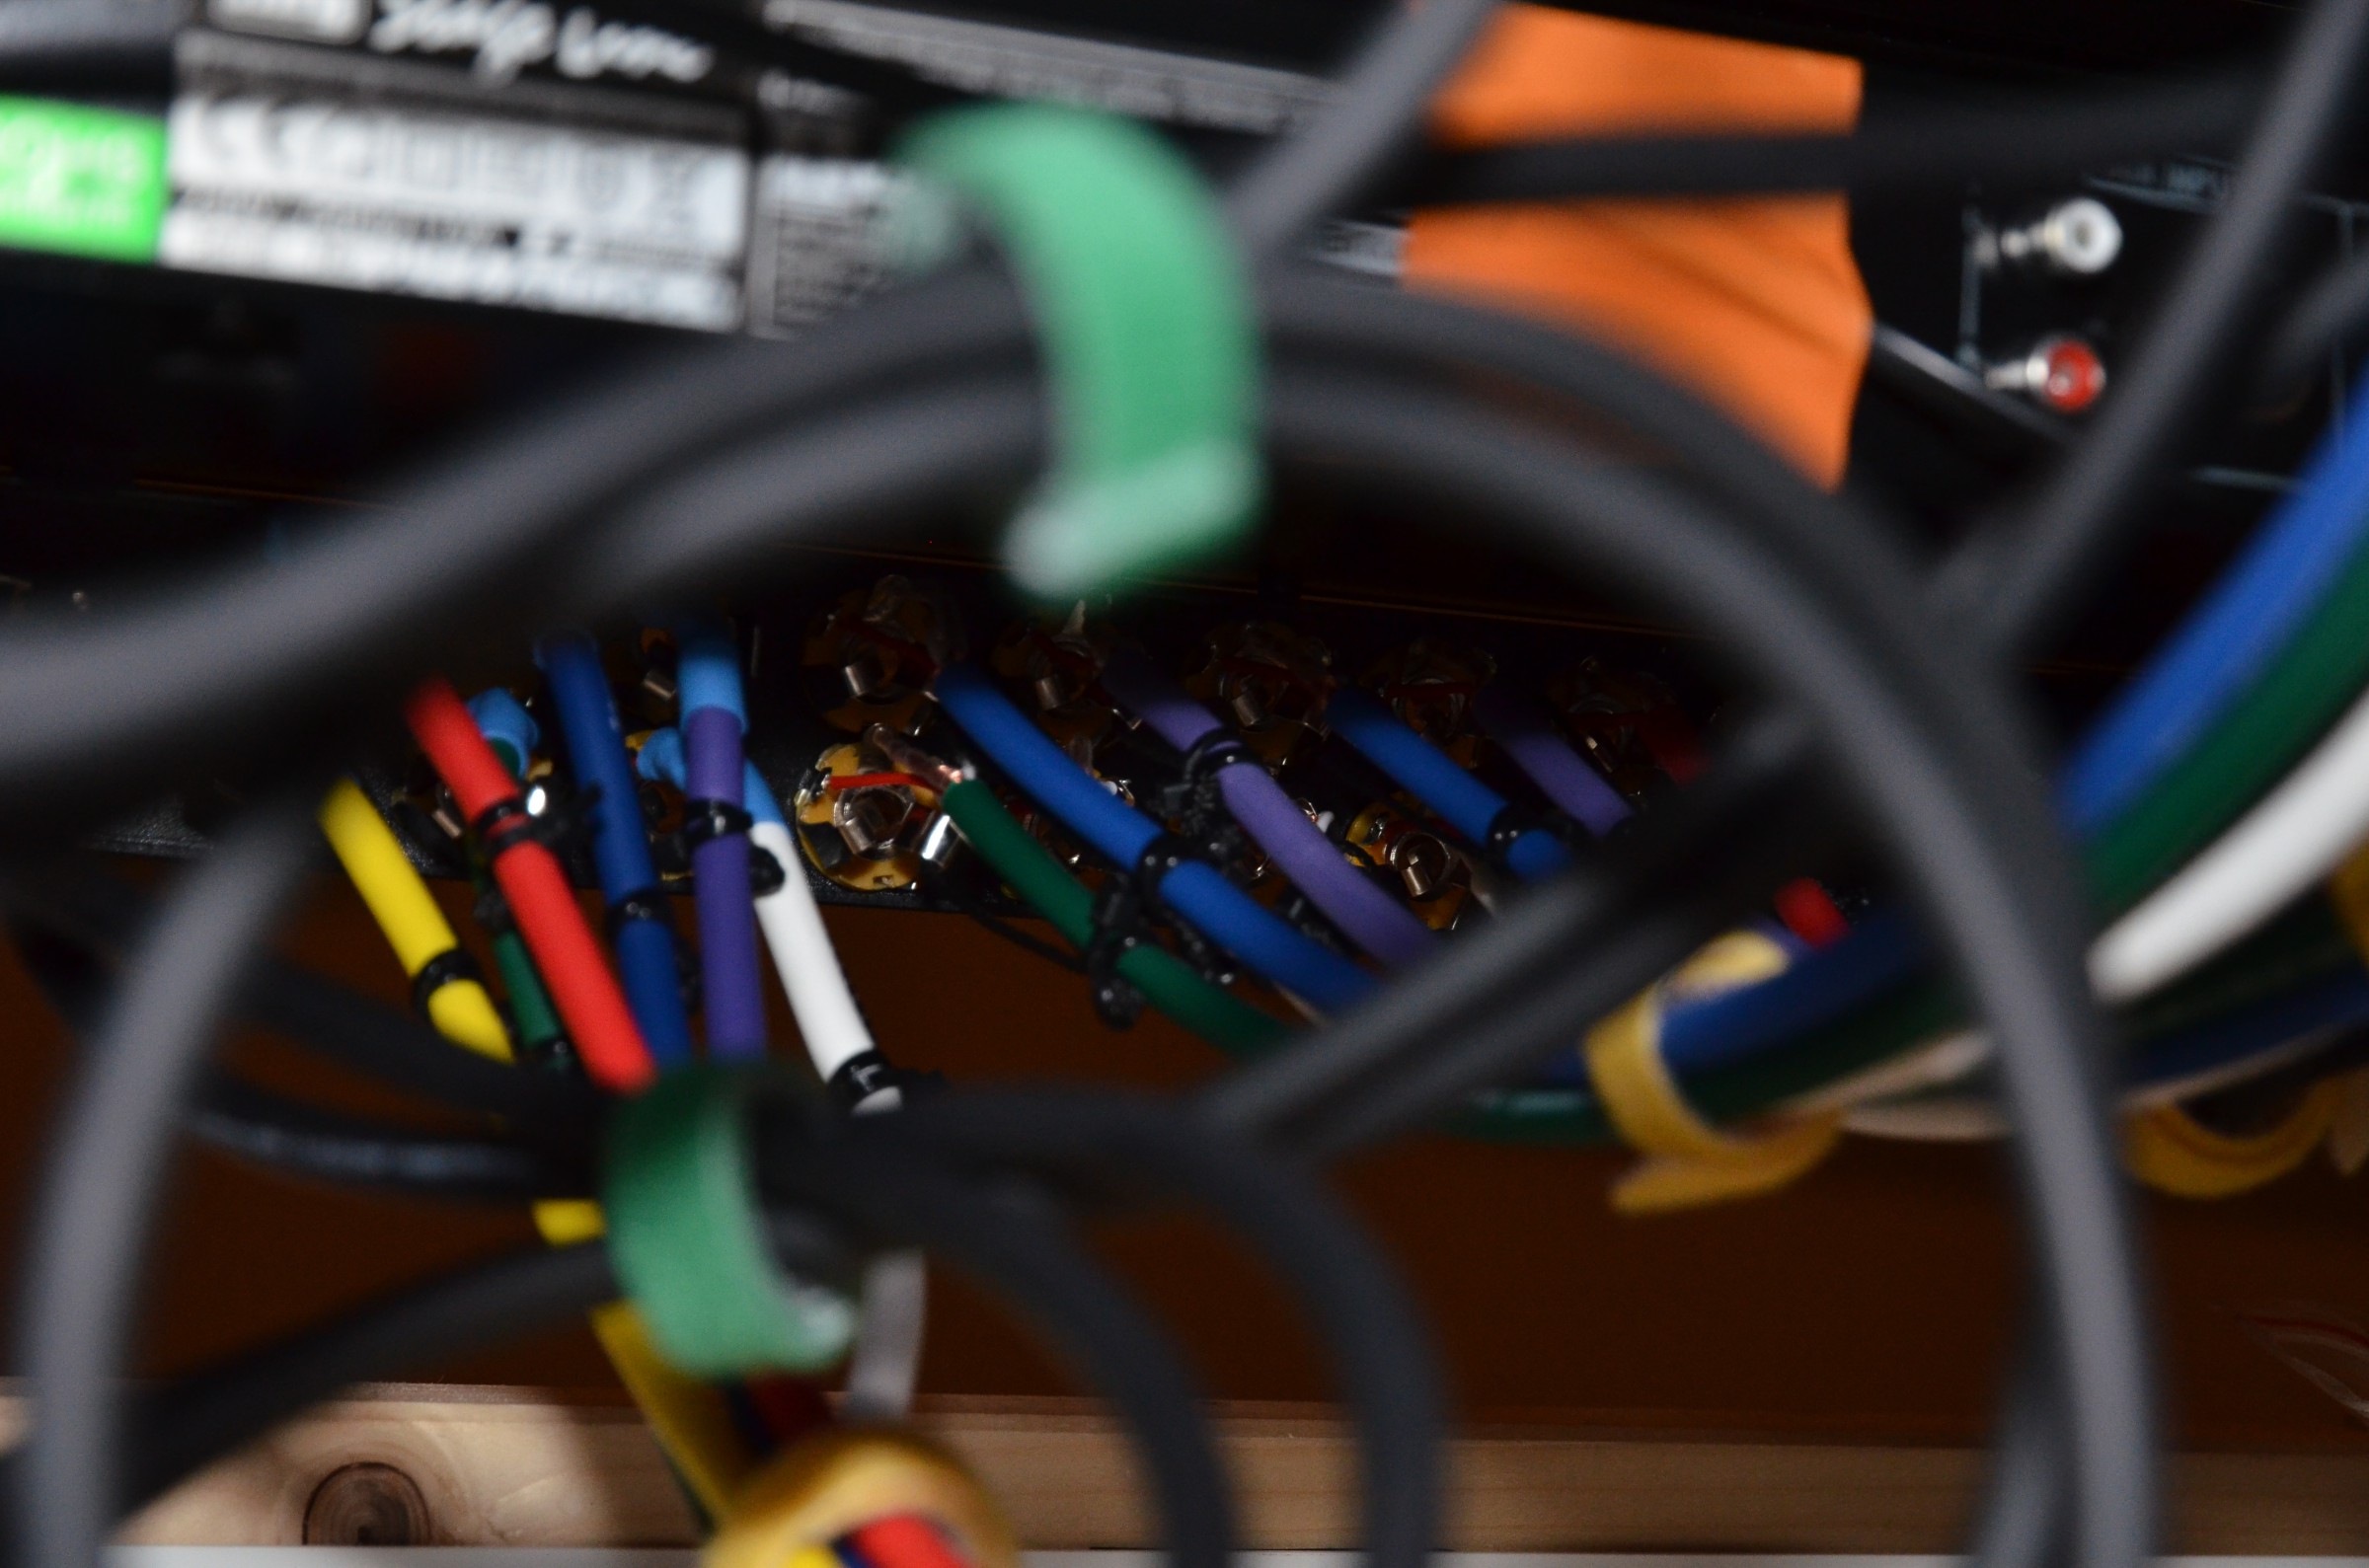
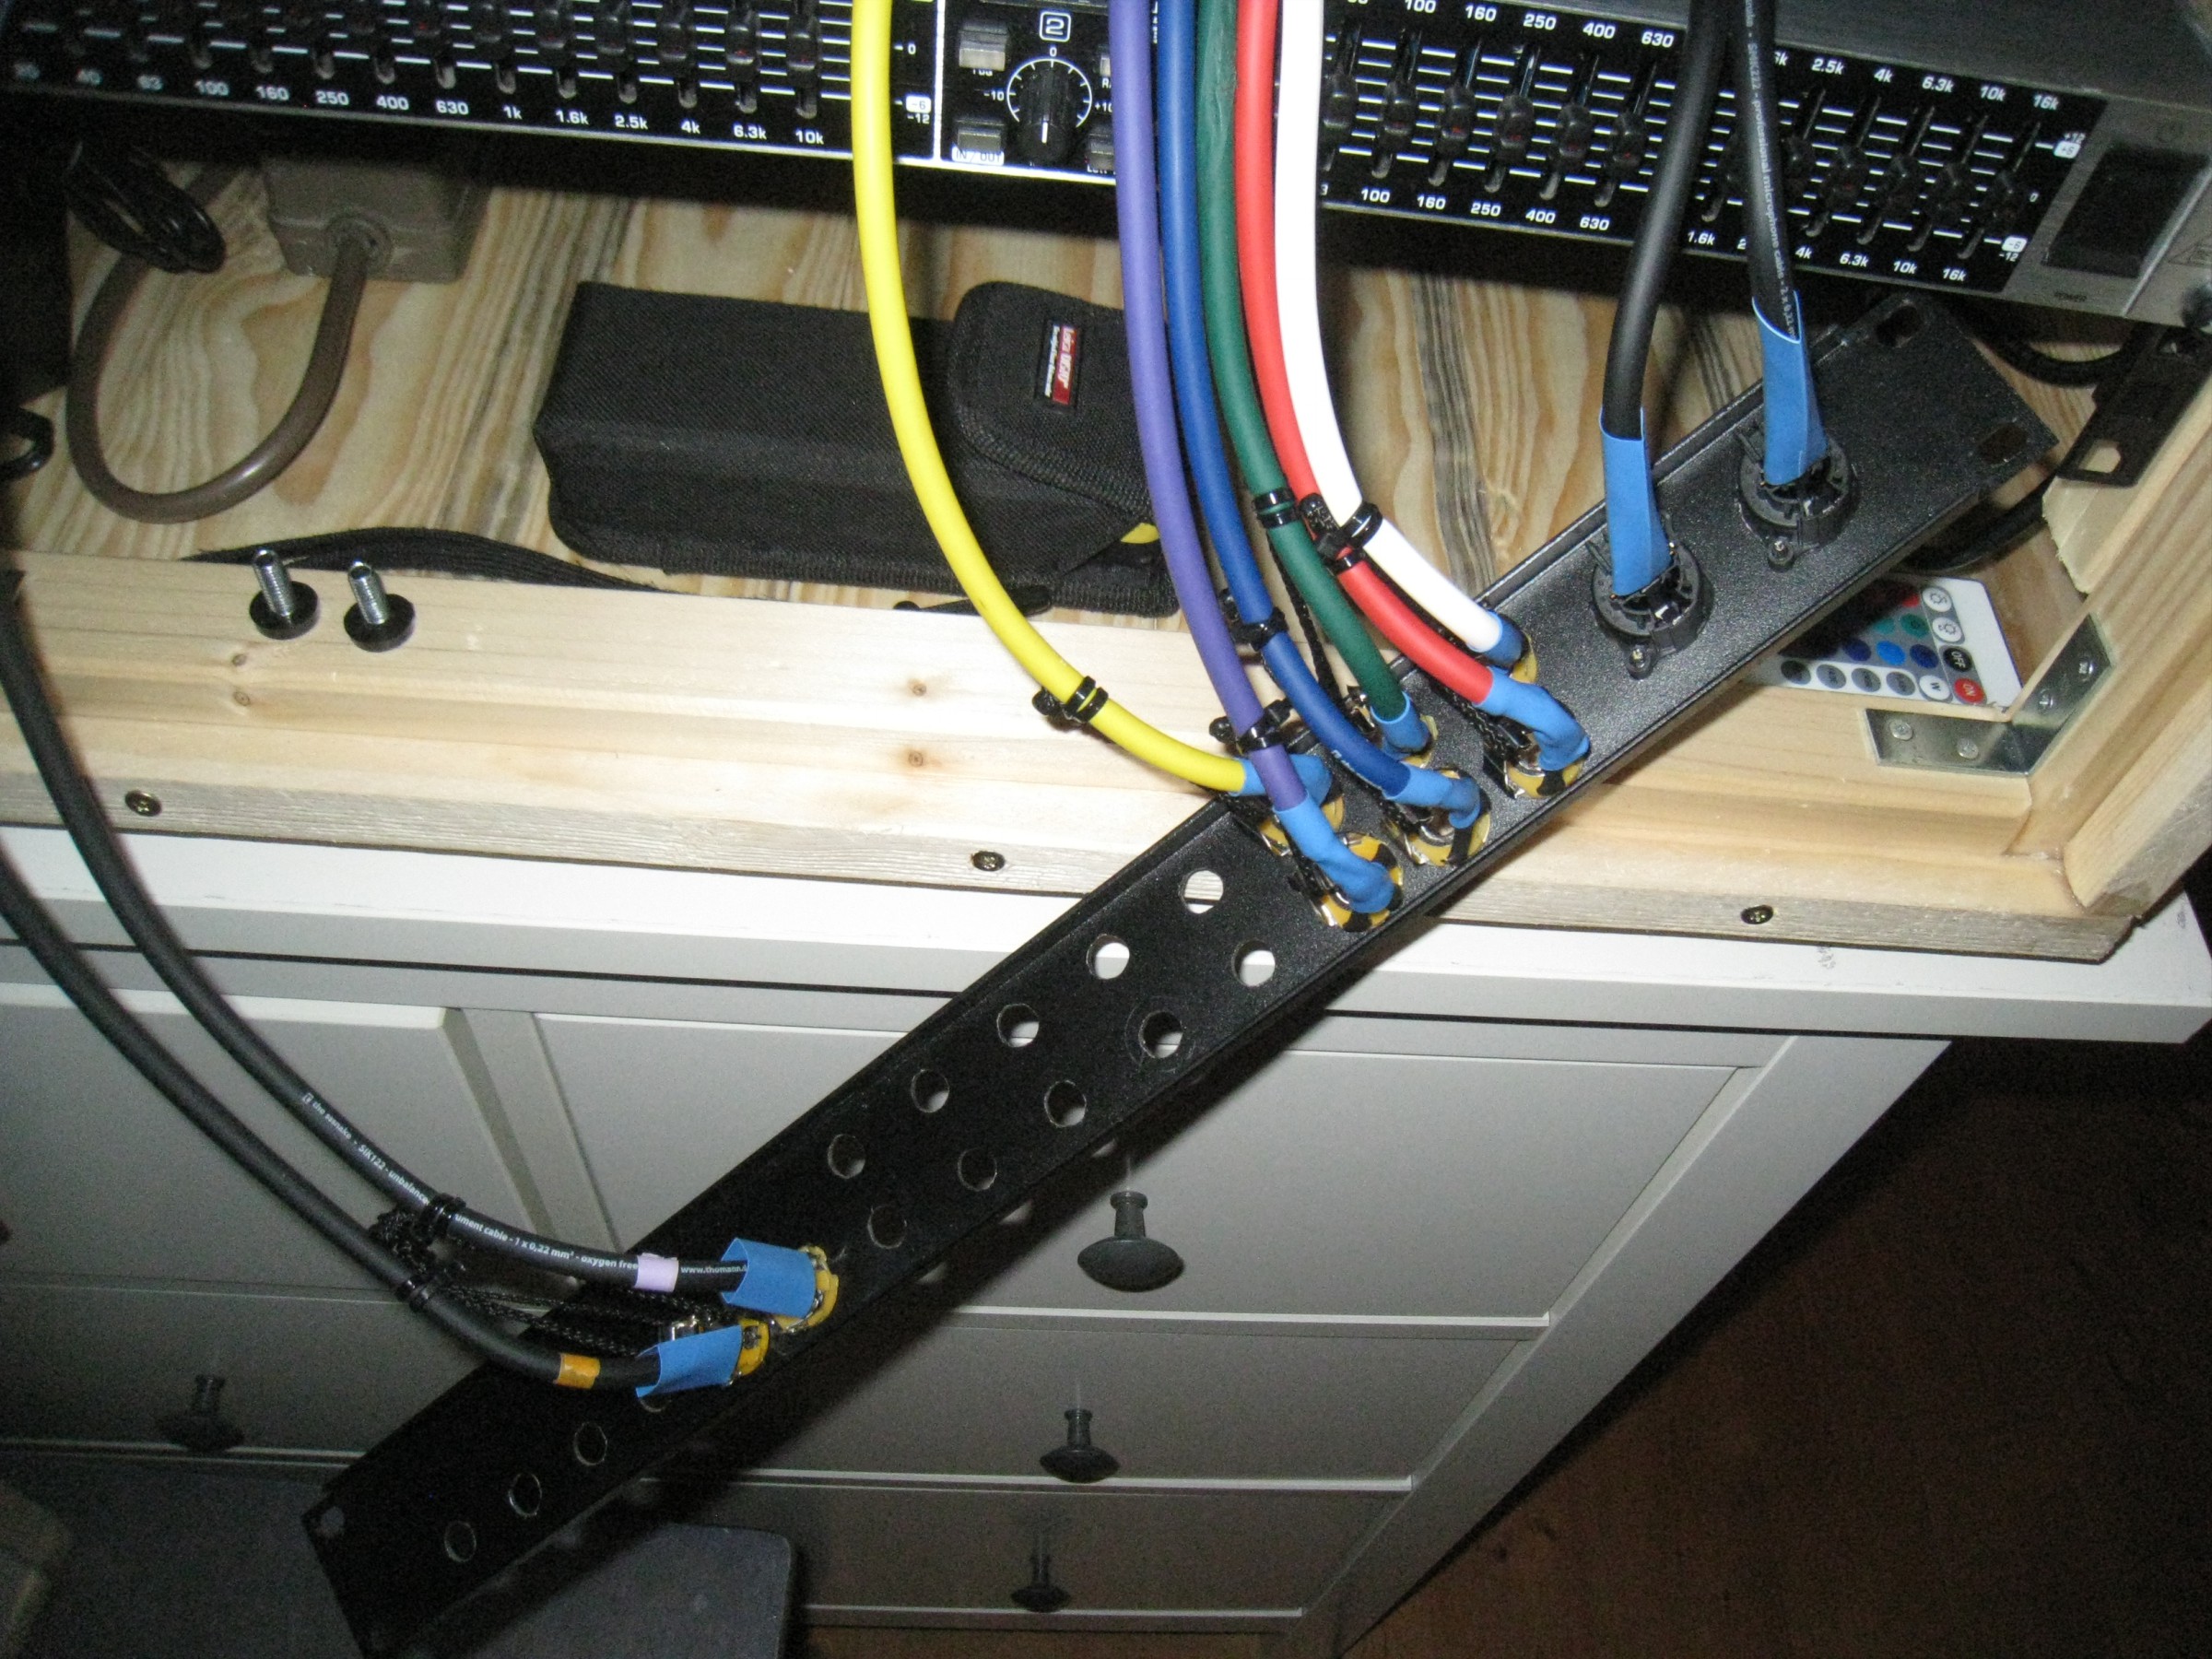
Patch-Panel
A self-made patch panel, to reach the rear inputs of the devices from the front. Apart from two XLR-Inputs for the Mixer output, it has holes for 22 TRS-Jacks.
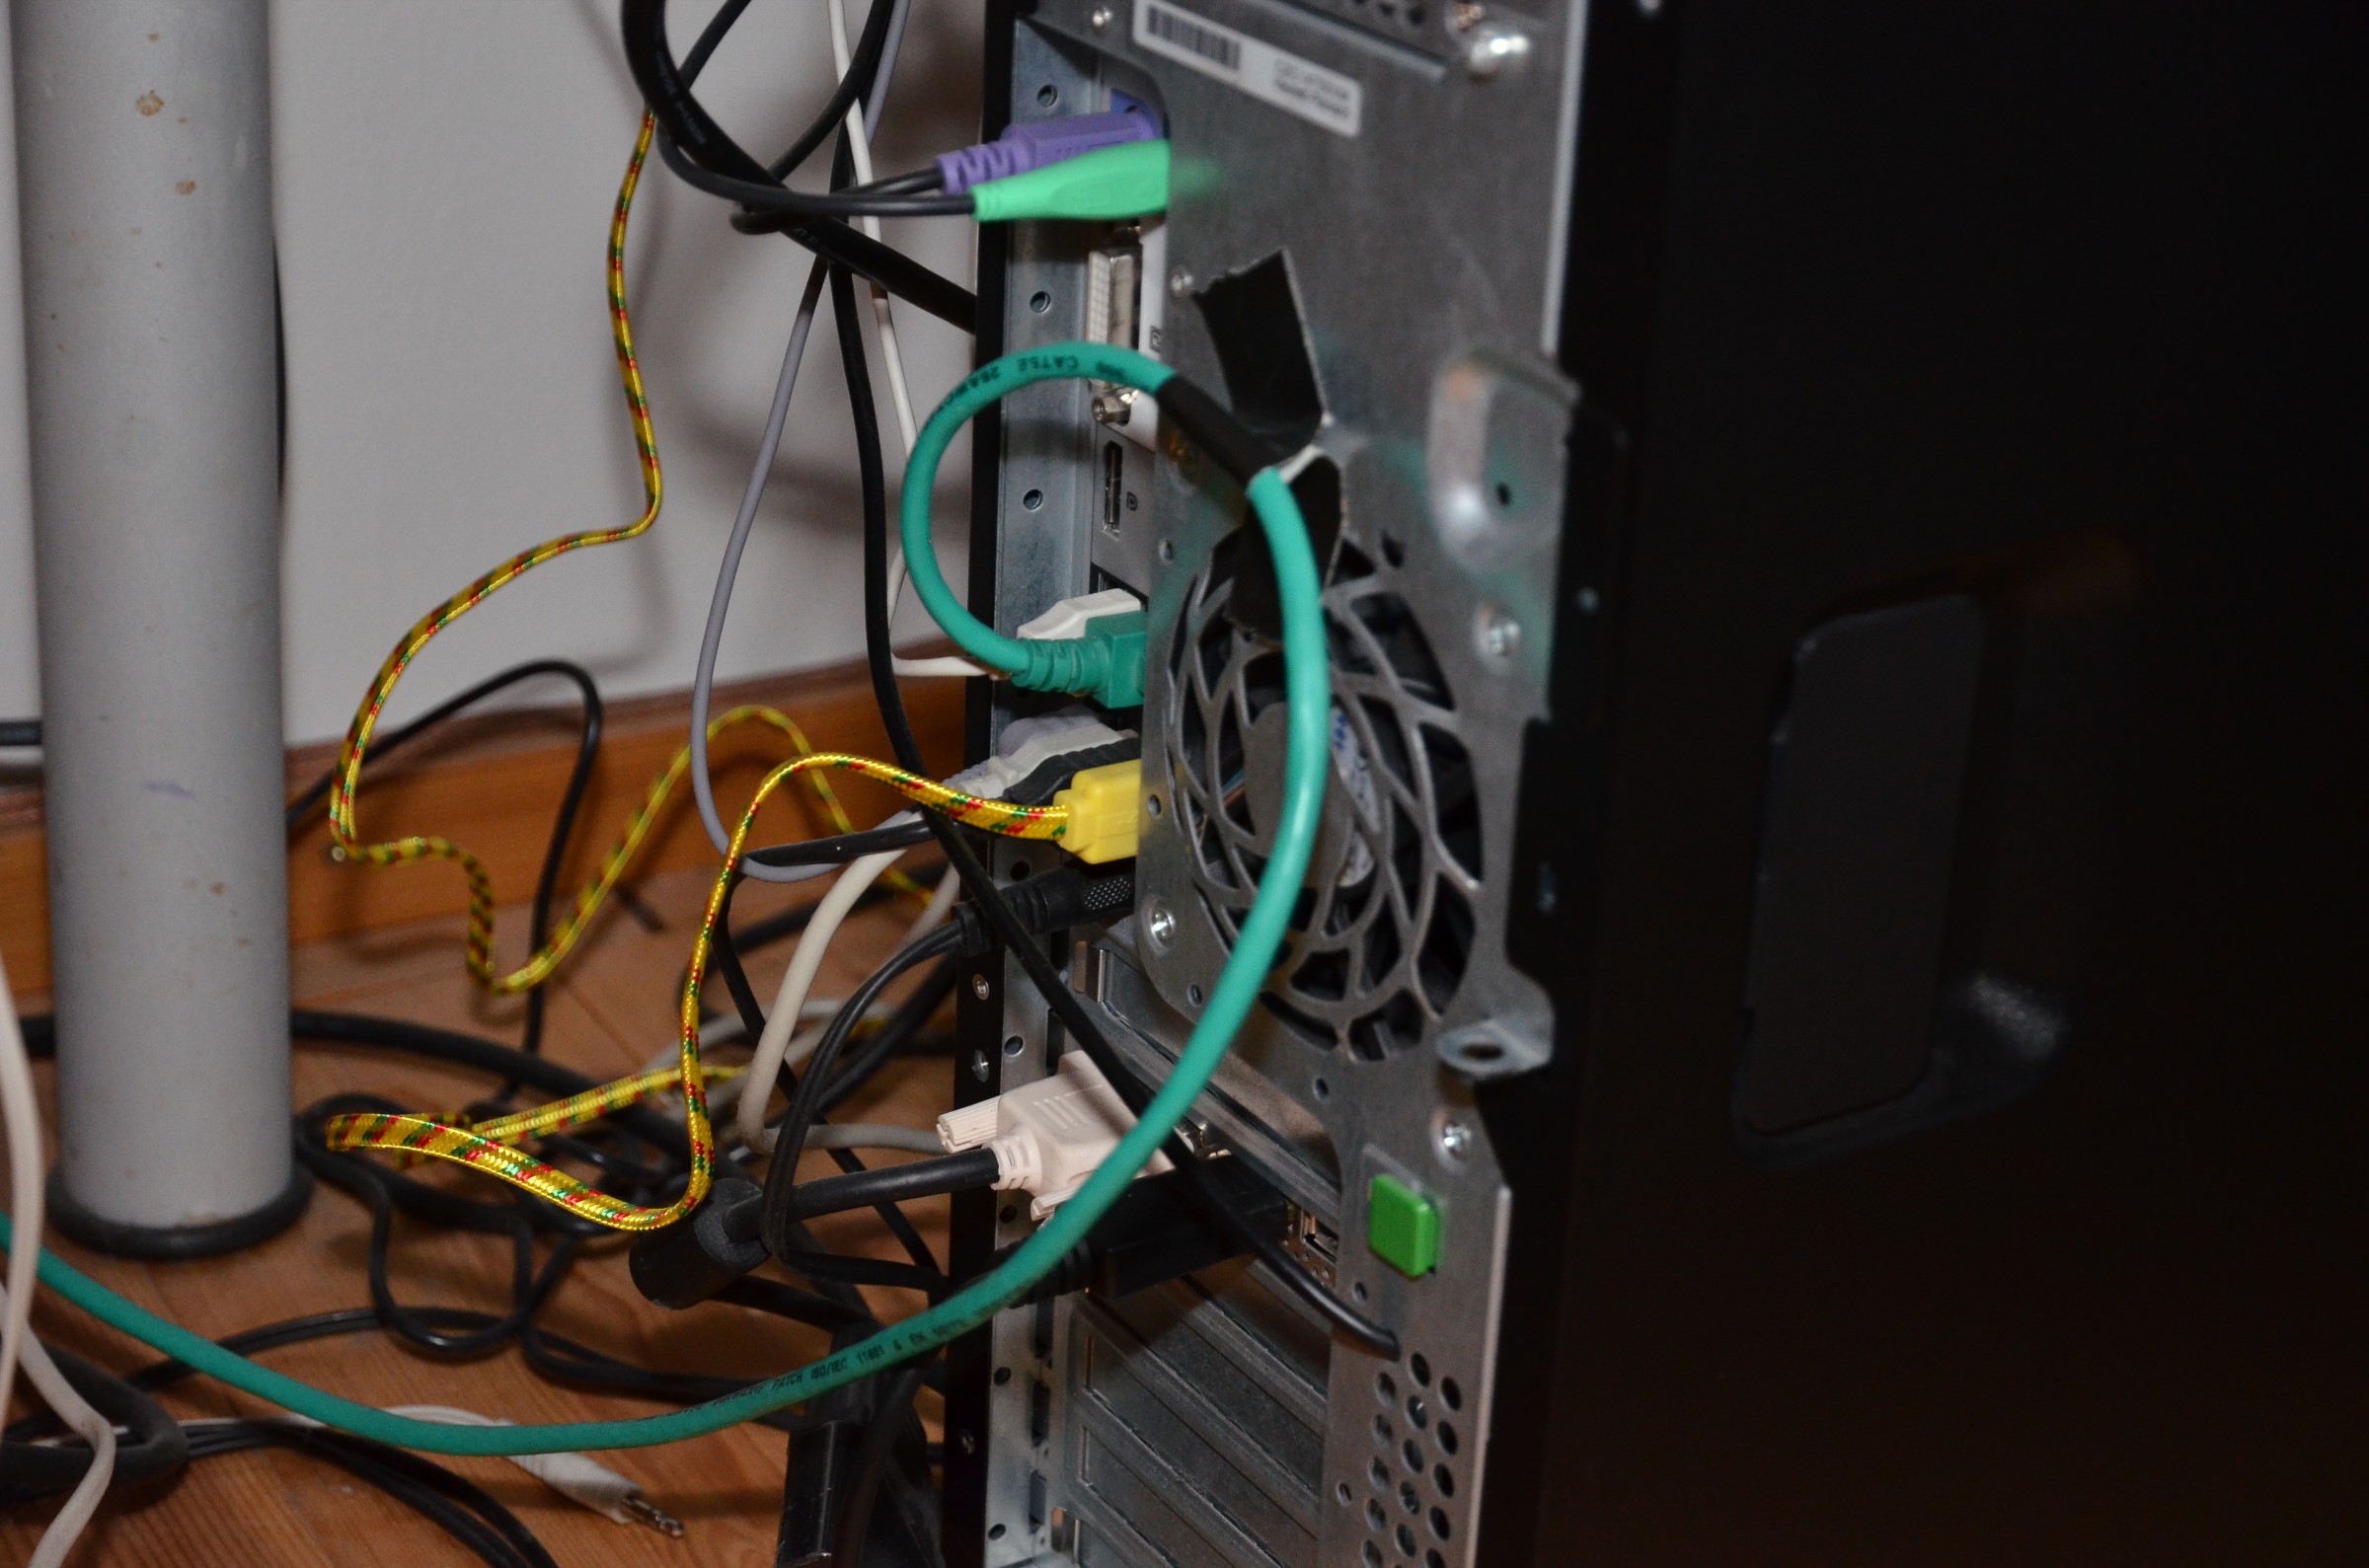
Editing system
My editing computer is a Z210-workstation by Hewlett-Packard. It is equipped with a XENON Quadcore CPU by Intel with 4 X 3.2GHz and 16Gb of RAM. The GPU is a Quadro FX 1700 from NVIDIA.
My backup computer is a xw4600-workstation, also by HP, with an Intel Core 2 Dou with 2 X 2,1GHz, 8Gb of RAM, as well as a Quadro FX 2000 by NVIDIA.
Periphery:
I use: a backlit PS/2-keyboard by HP (KB-0316), a PS/2-mouse by HP, a 3D-mouse by 3Dconnexion (SpacePilot), a desk lamp by IKEA and two ACER-screens (x203w & AL1912).
Software:
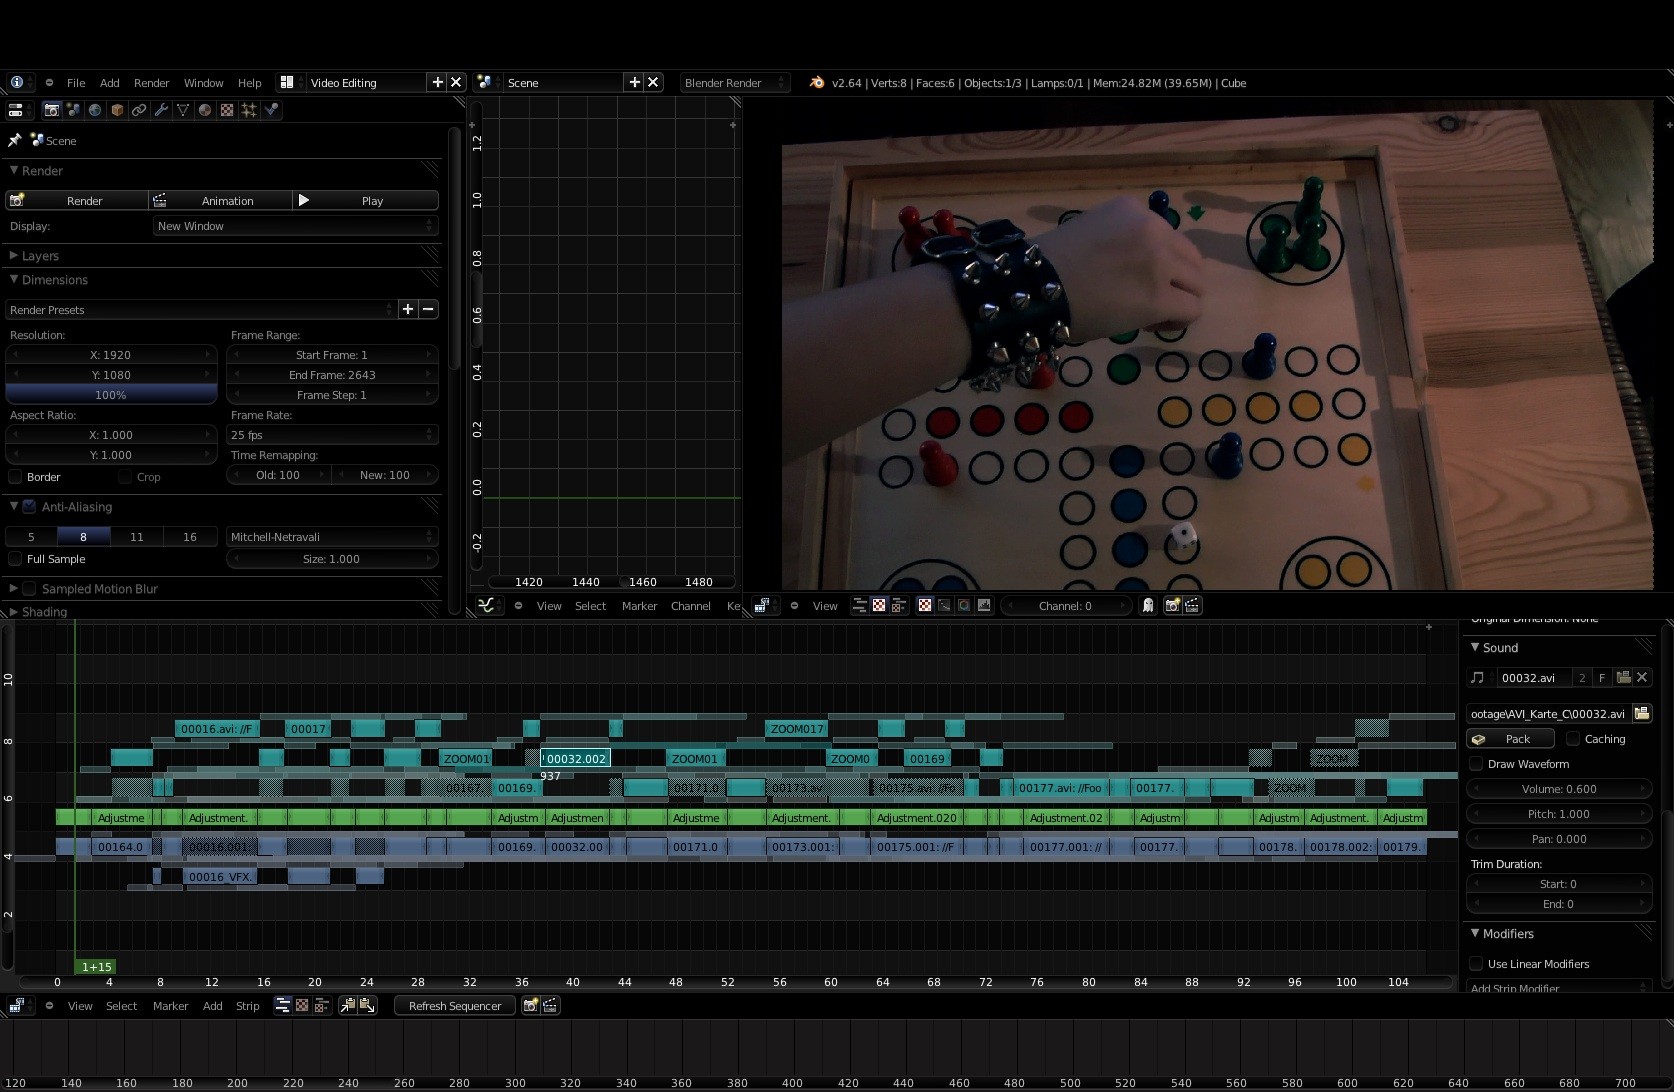
Apart from the Windows-7 operating system (Prof, 64bit; I try to change to UbuntuStudio [Linux]) I only use free software. The main software for a long time was Blender, with which I used to edit and color-grade, design image effects and VFX, single pictures and (titel)animations. Now I am using Blackmagic&s DaVinci Resolve for editing and most importantly for grading. I also use: Gimp, Scribus, Audacity, Reaper, Celtx, ffmpeg & WinFF and DVD-Styler. And, of course, I use Open Office
Accessory
There're lots of accessories that are not worth a whole post, but still important and worth to be mentioned.
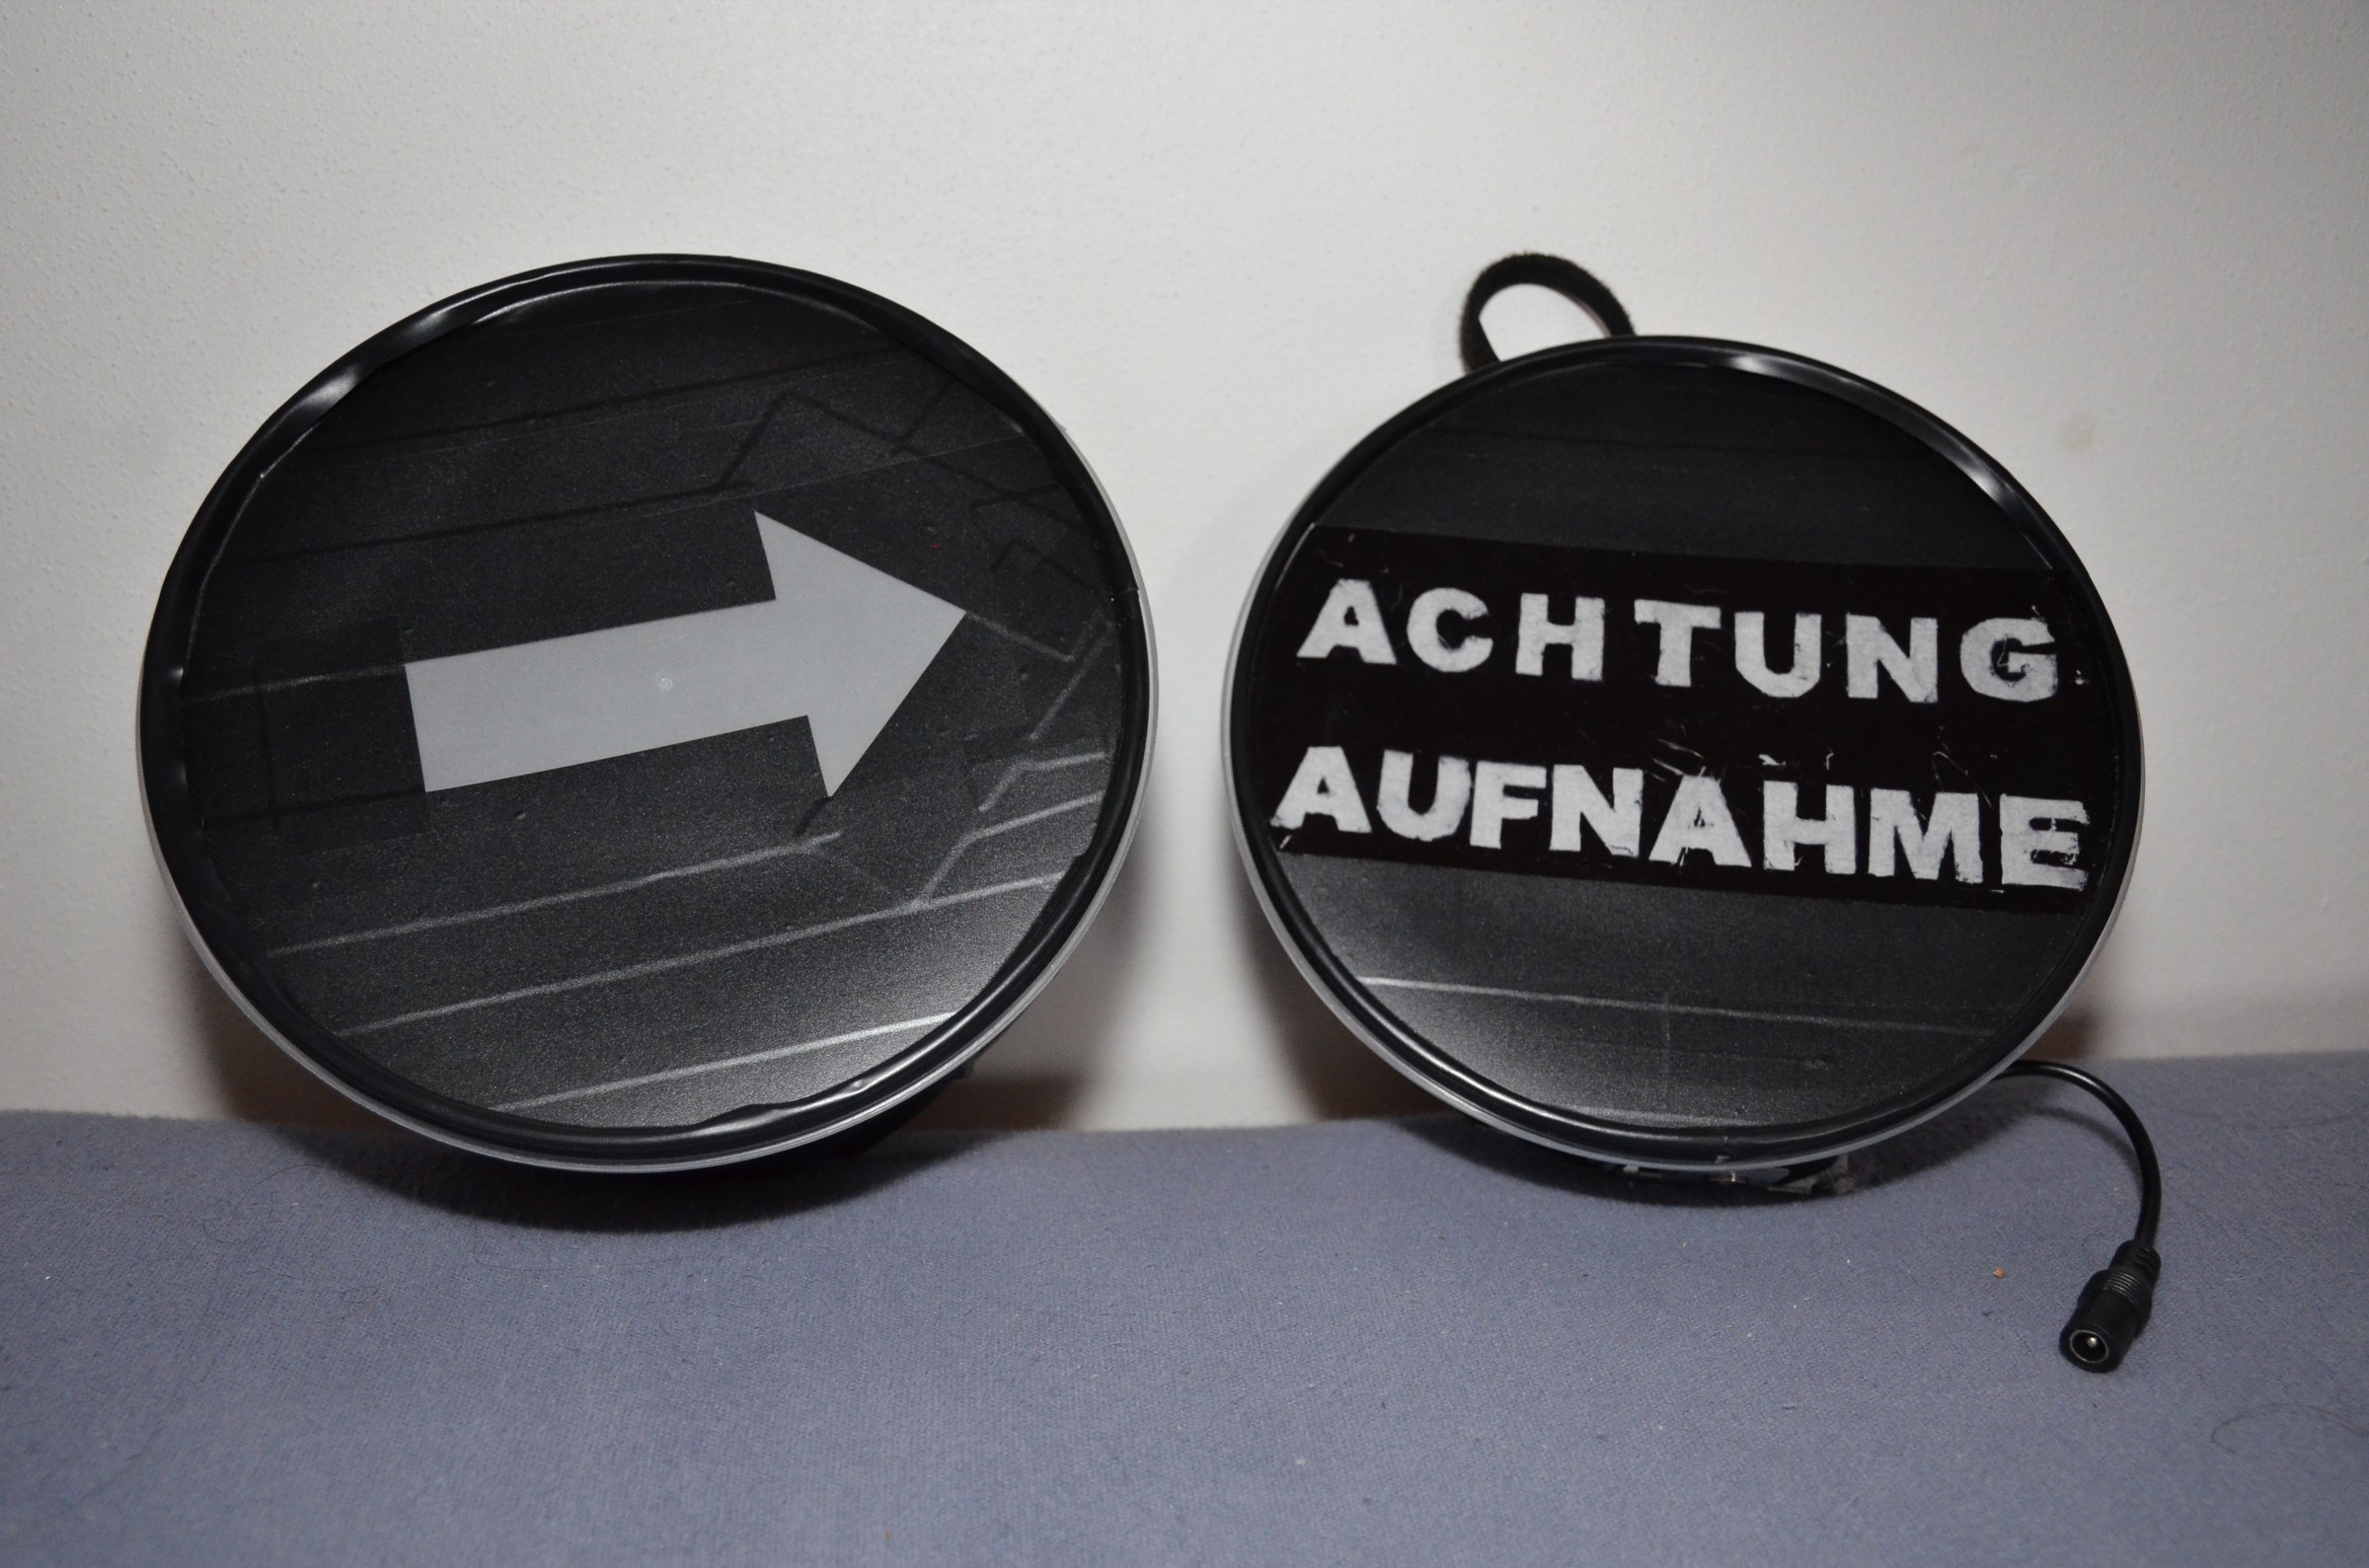
Self made glowing signs with interchangeable gobos
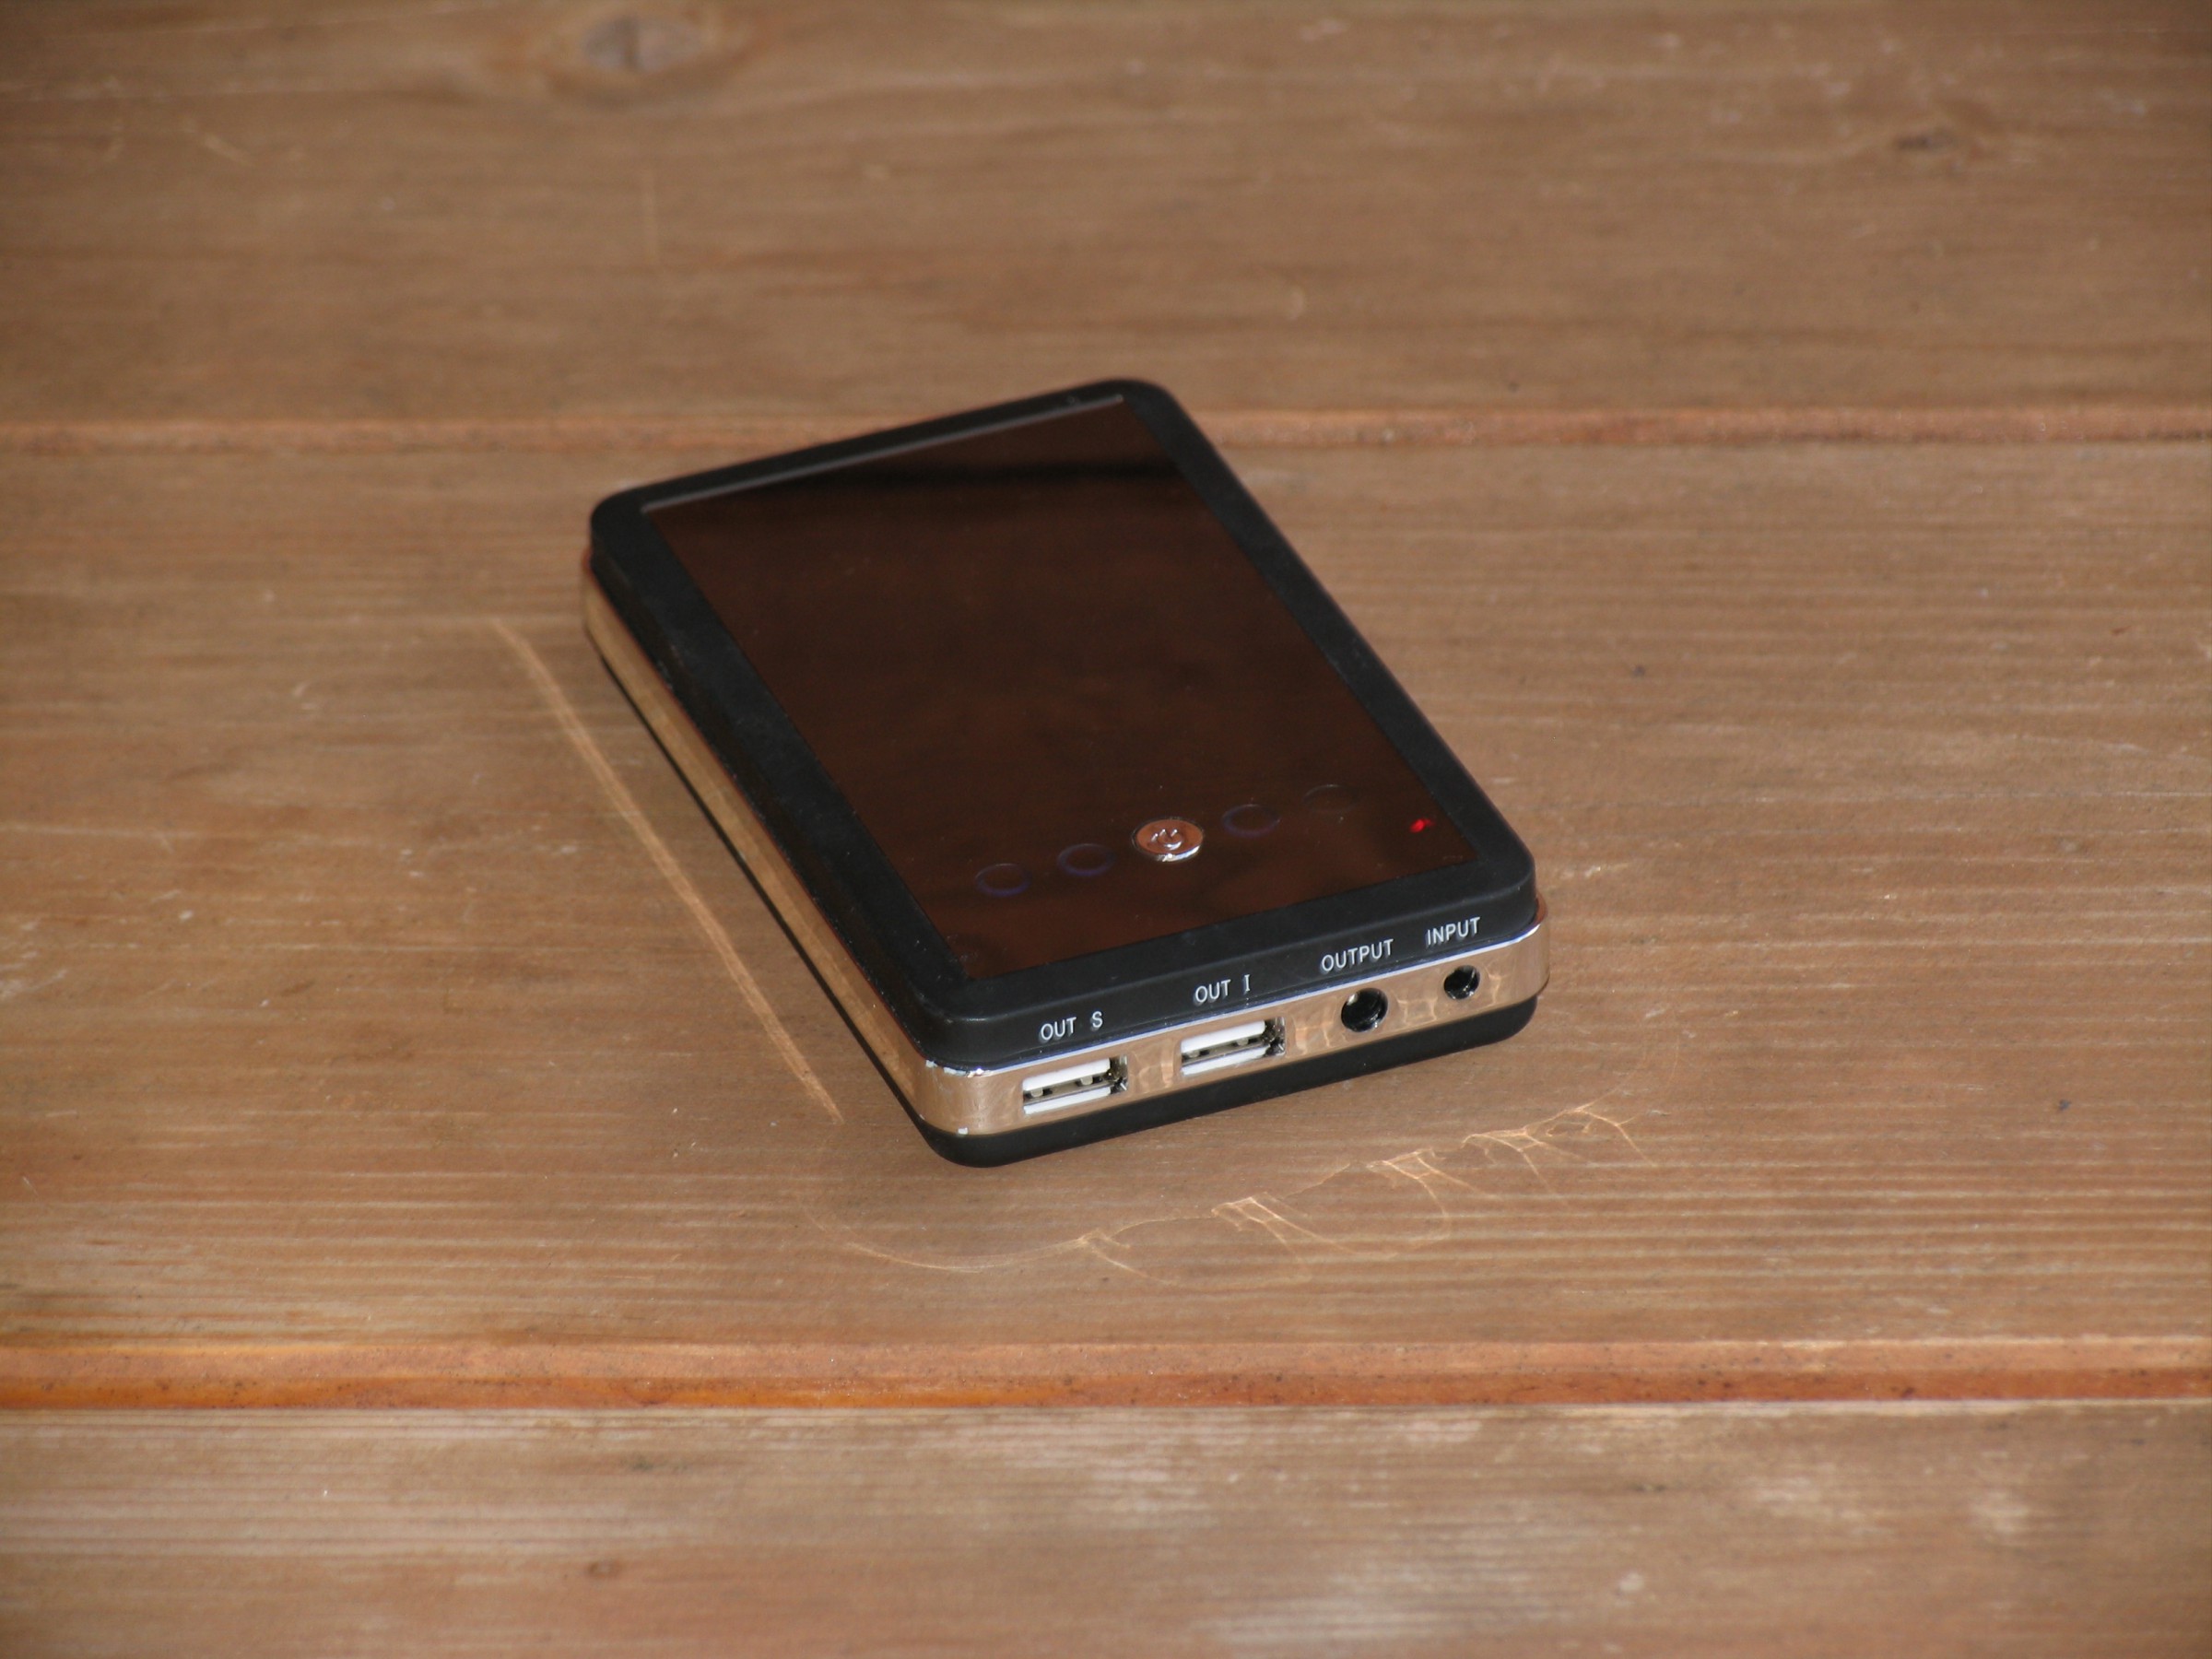
Small monitor to mount on the jib or rig:
Powerbank (rechargable batterie) to feed the monitor:
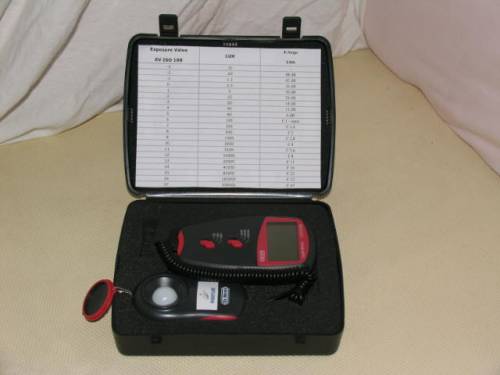
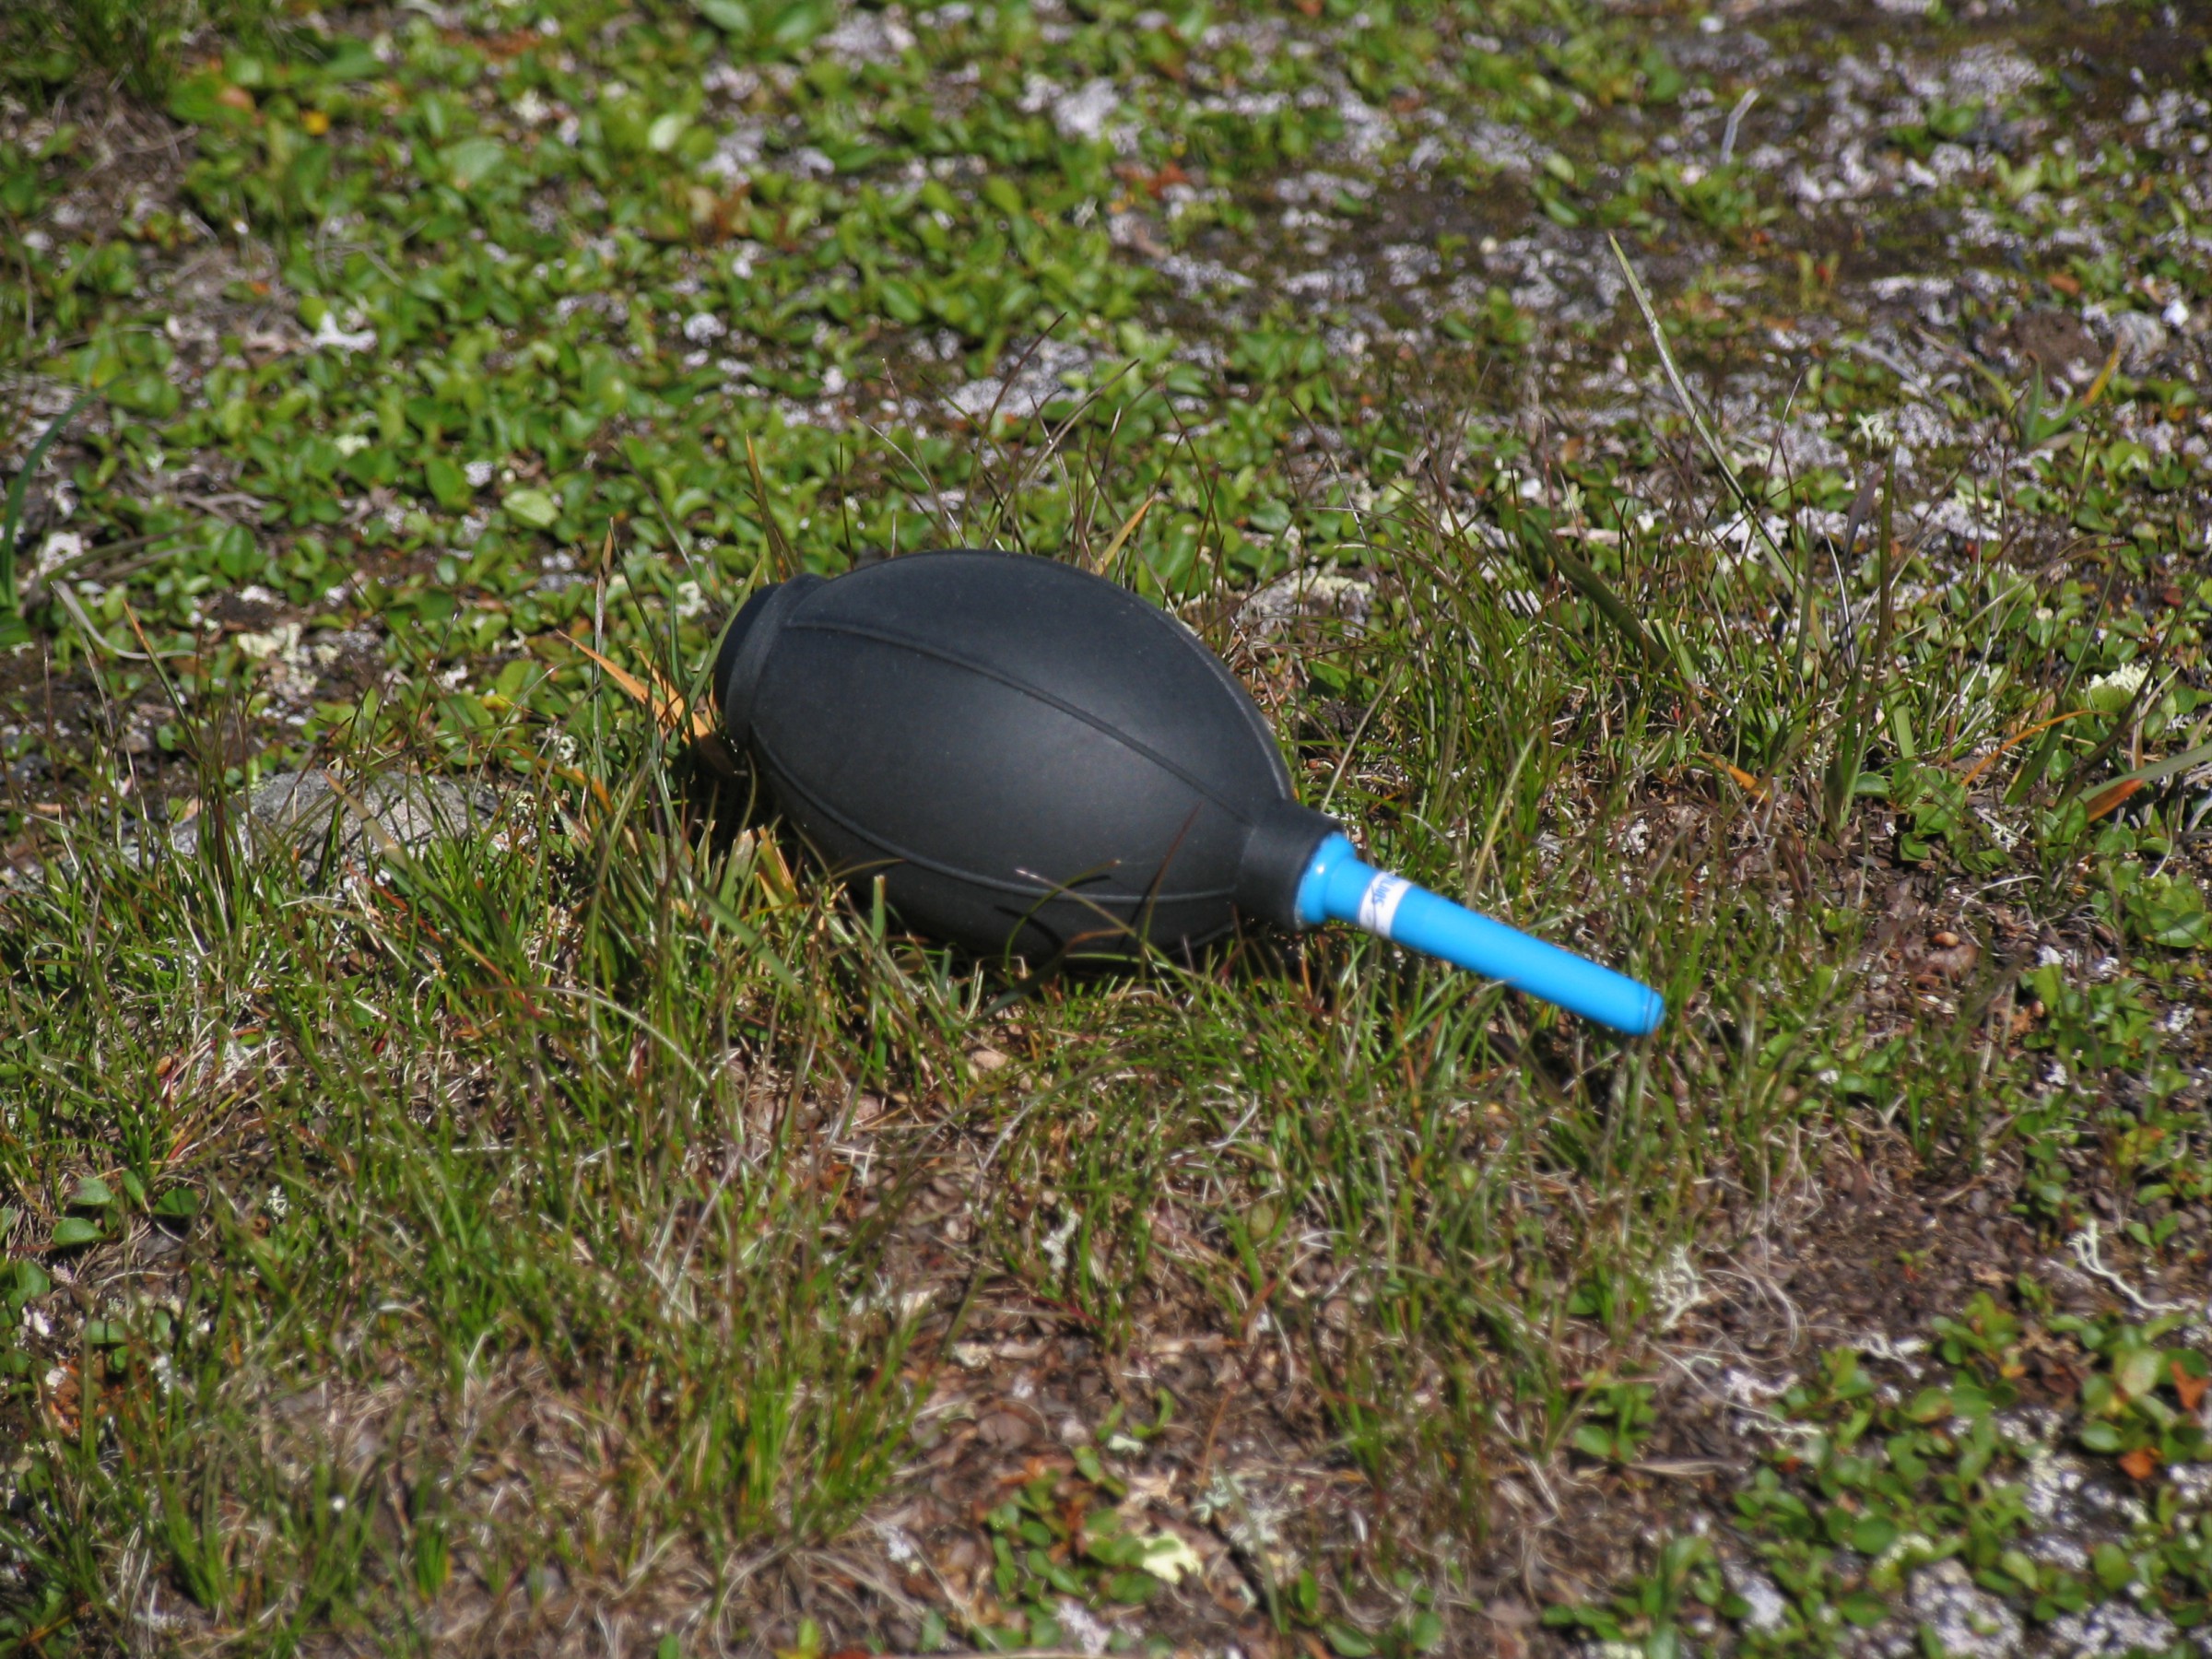
Exposure meter for measuring light intensity of the scene:
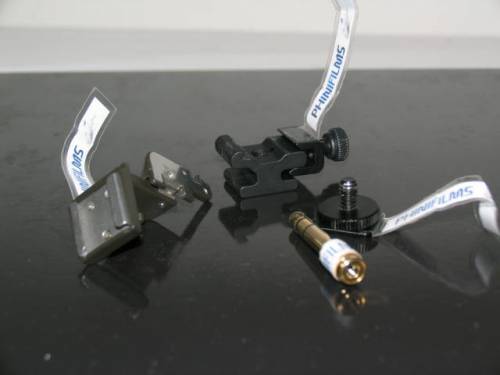
Accessory shoe for camera, tripod, tripod thread and an audio adaptor 6,3 to 3,5mm jack:
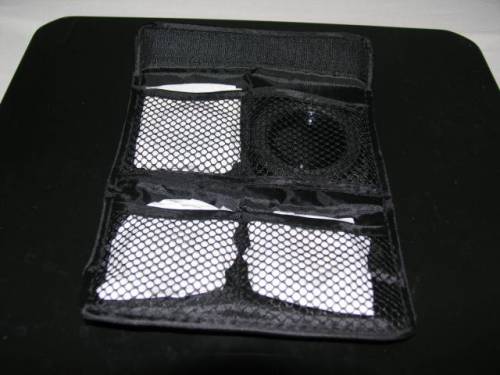
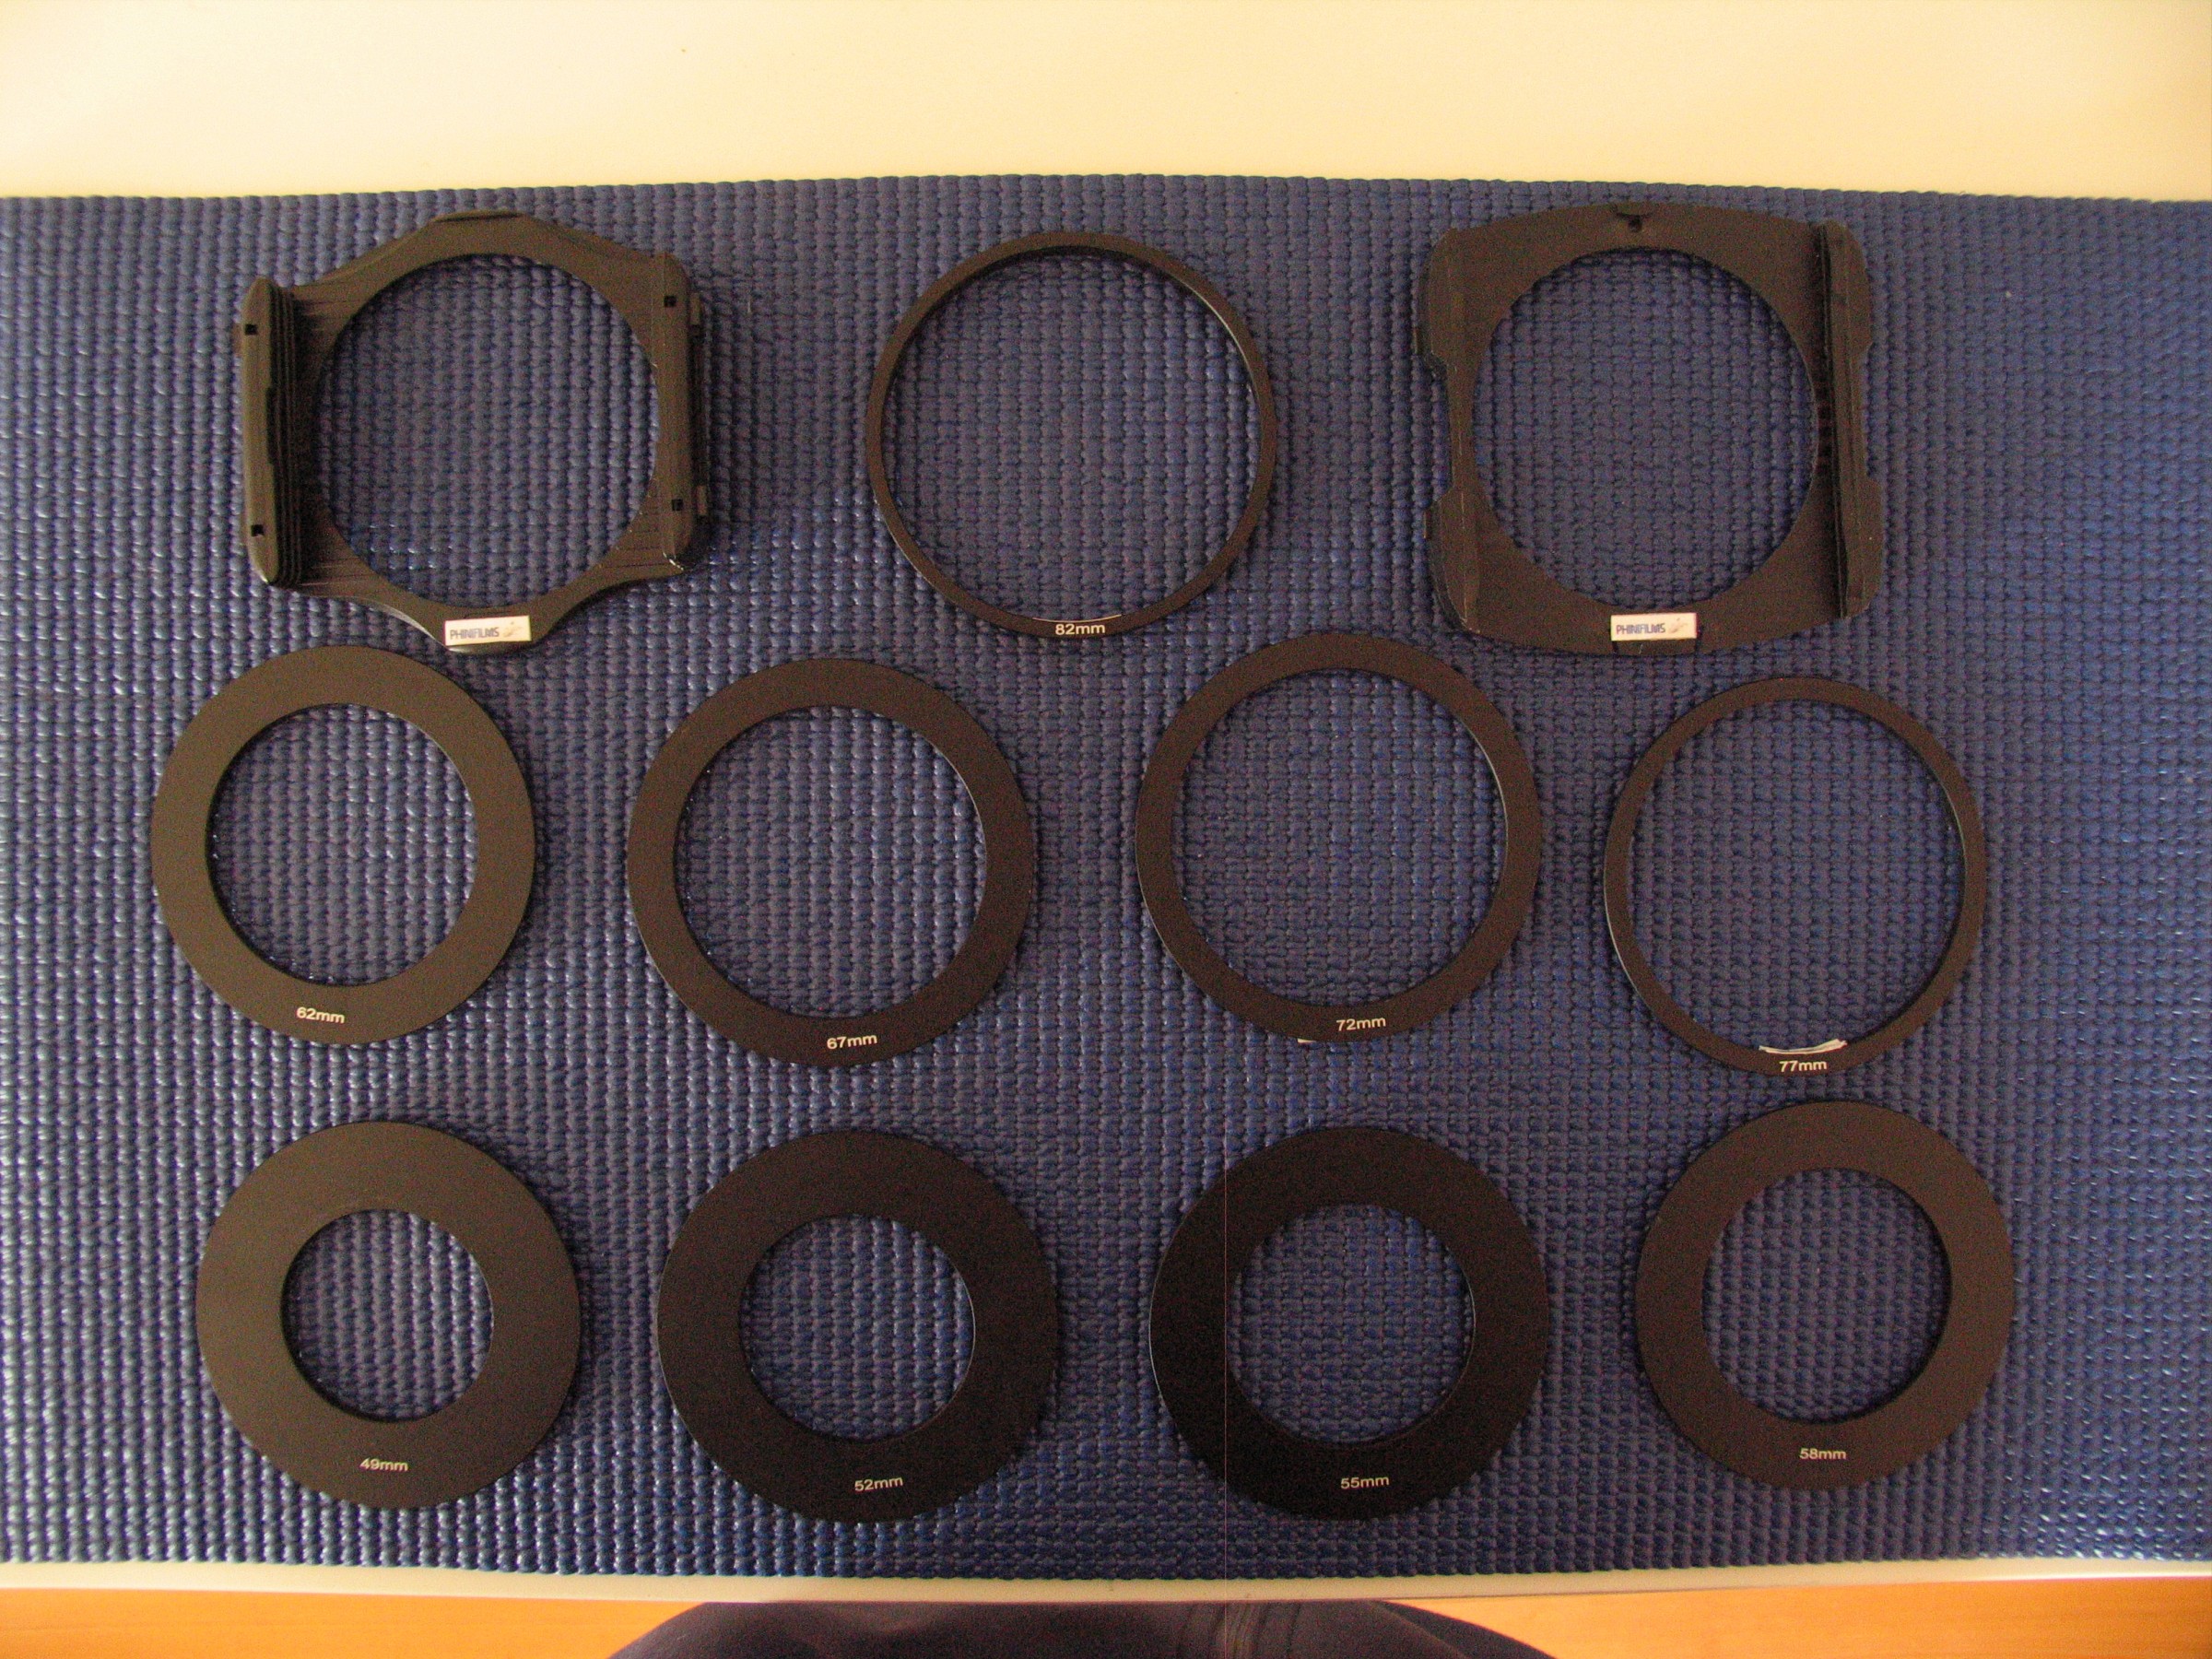
Filters to screw onto the camcorder:
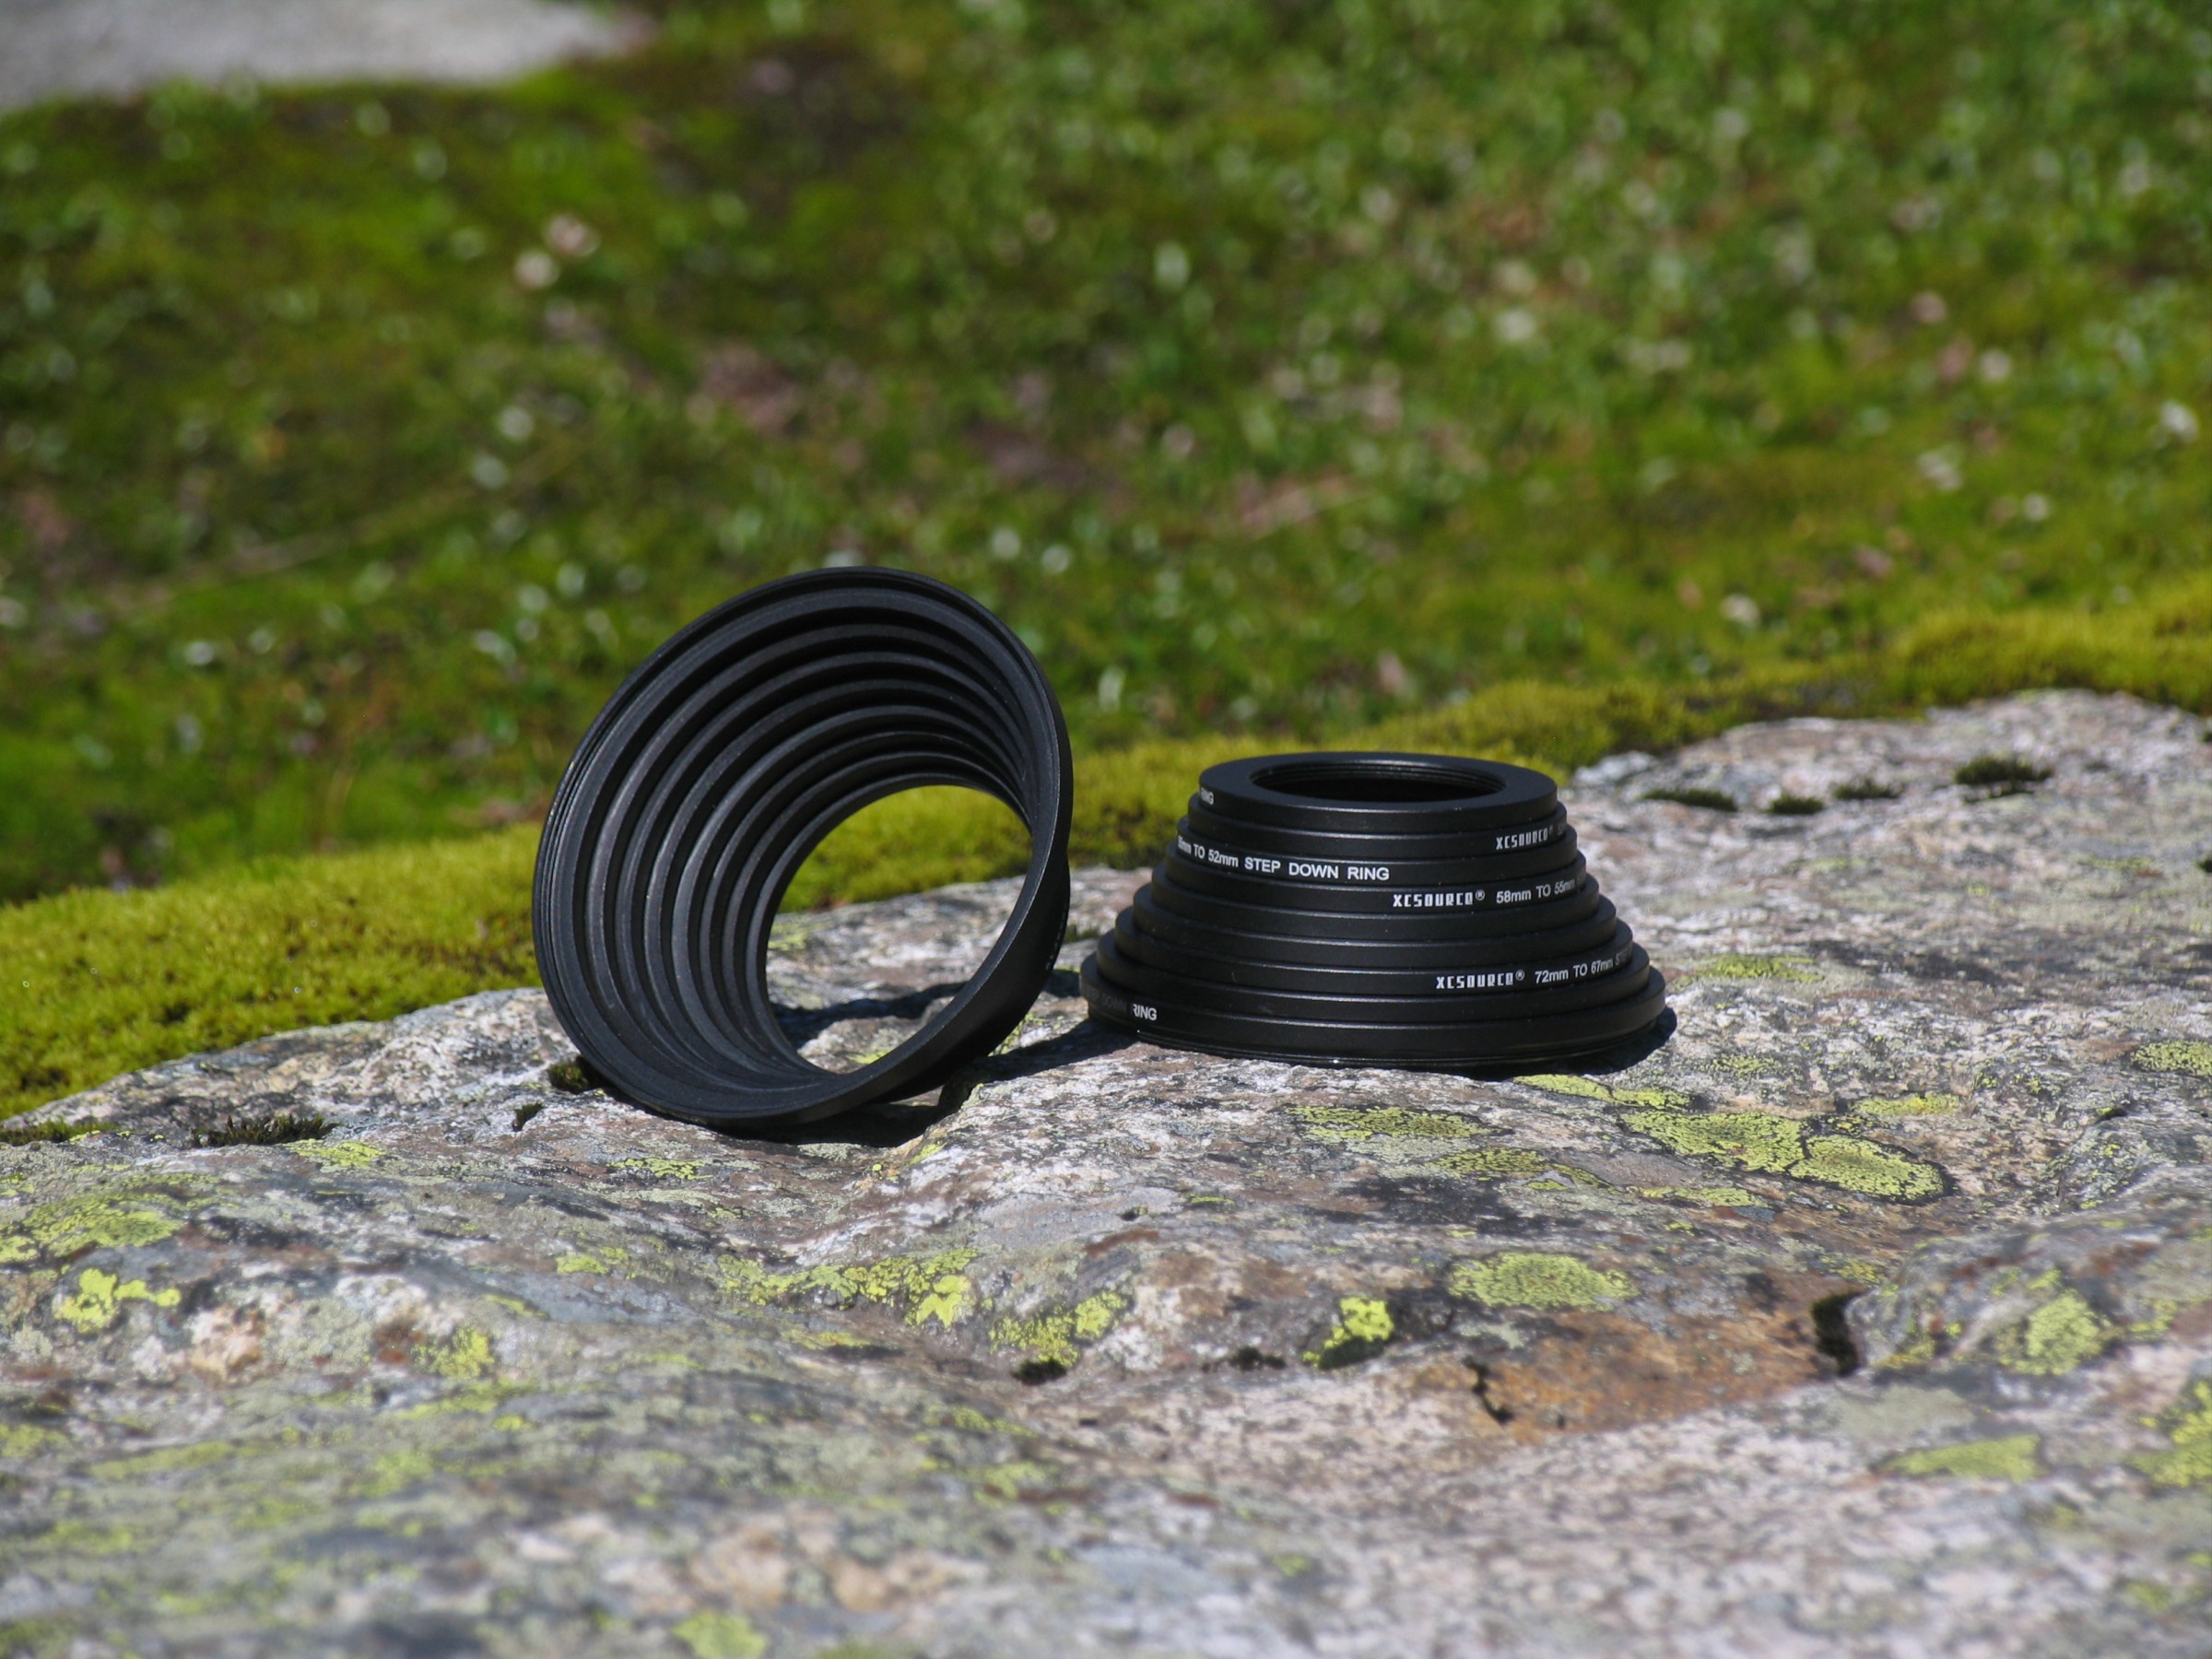
Ein Set Step-Up- und Step-Down-Ringe:
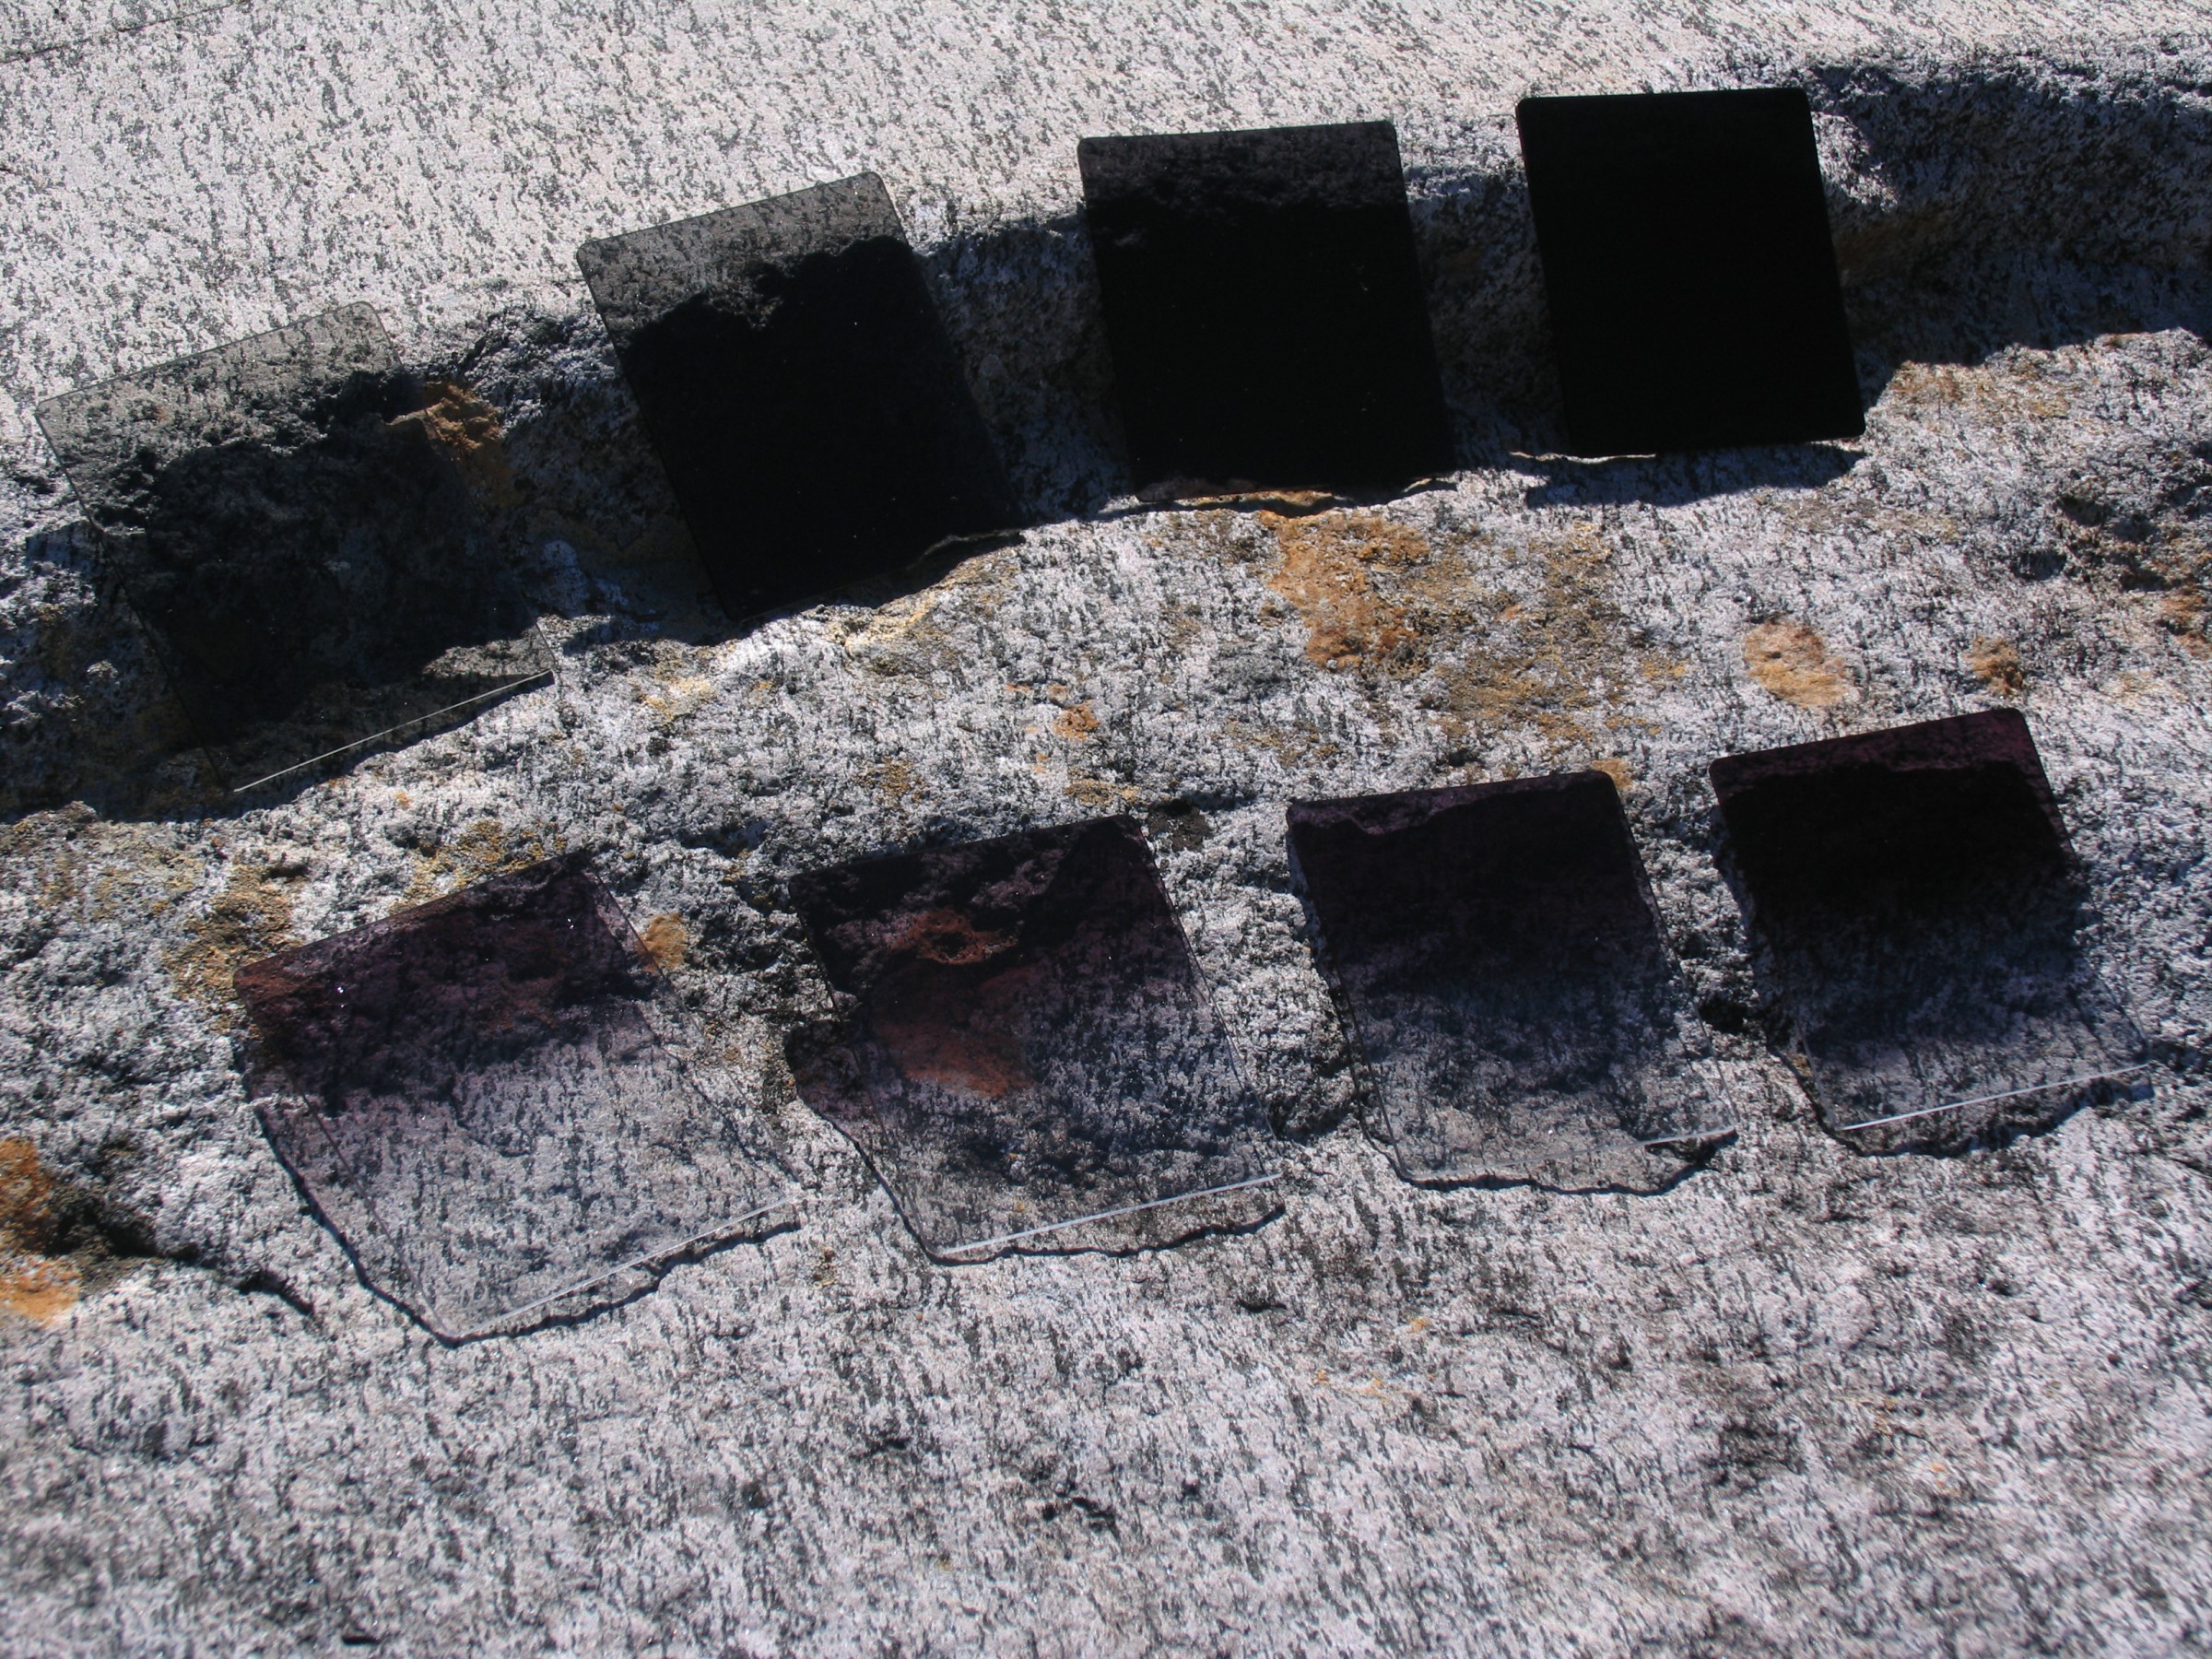
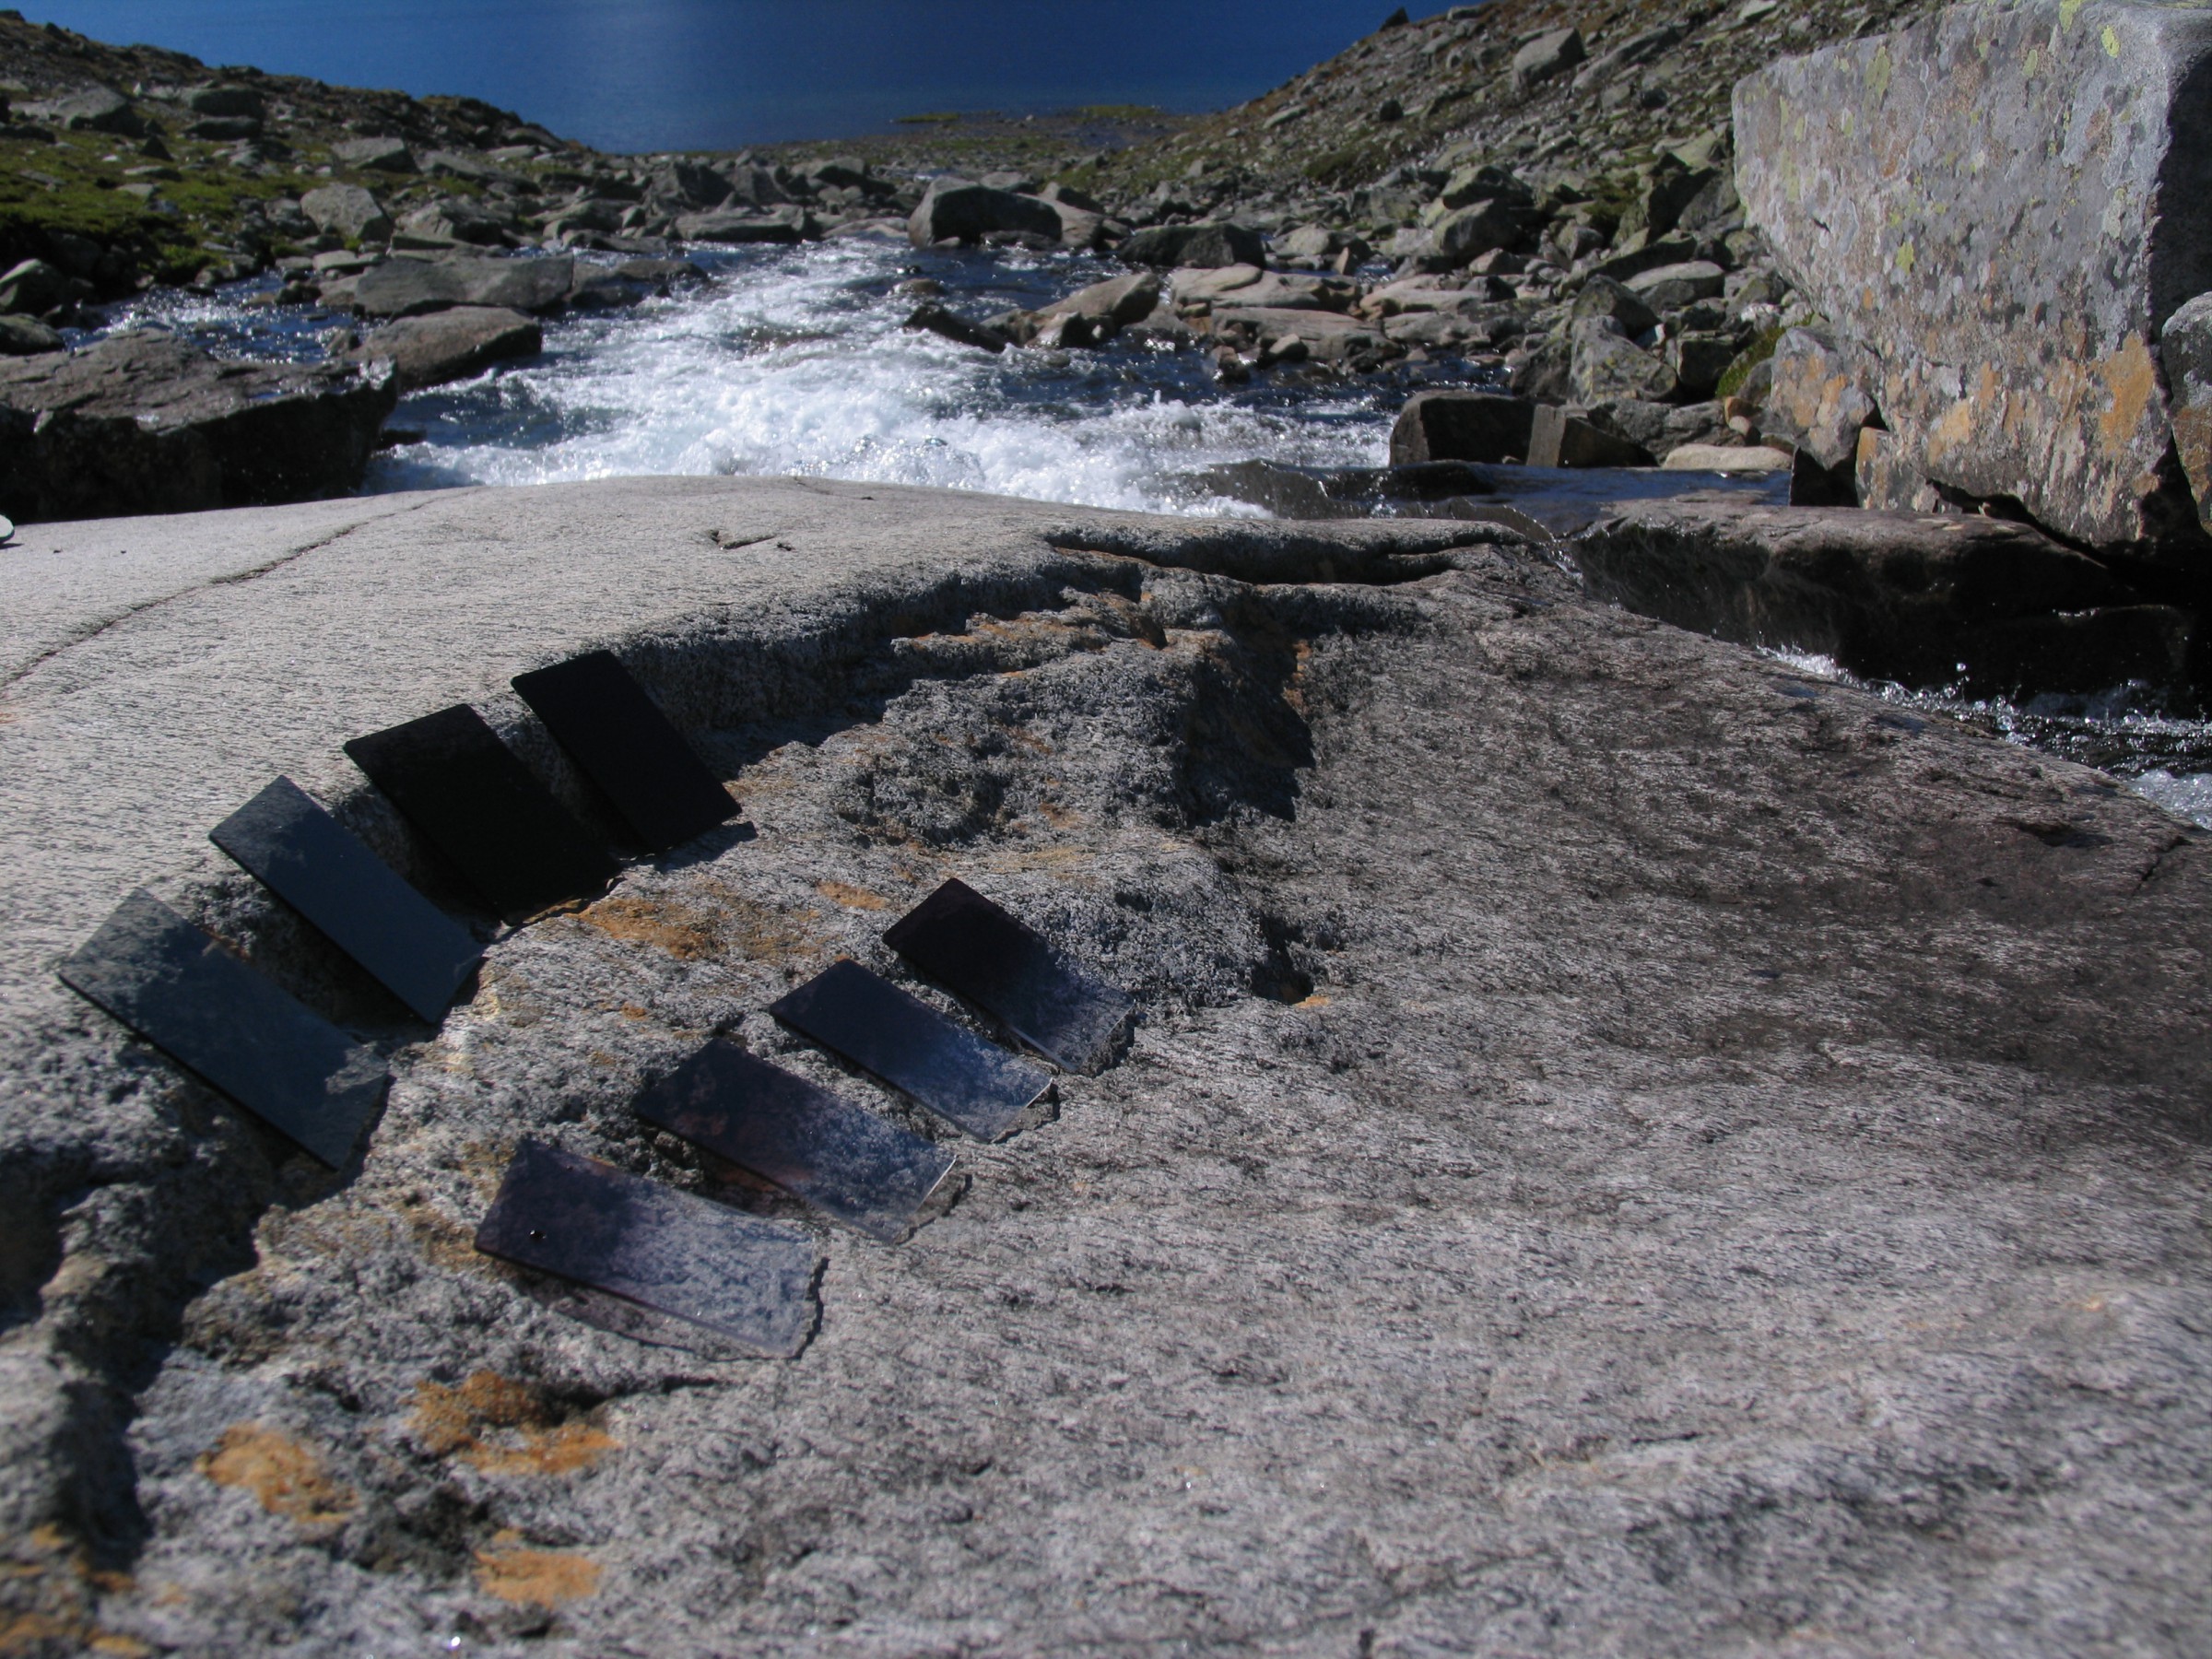
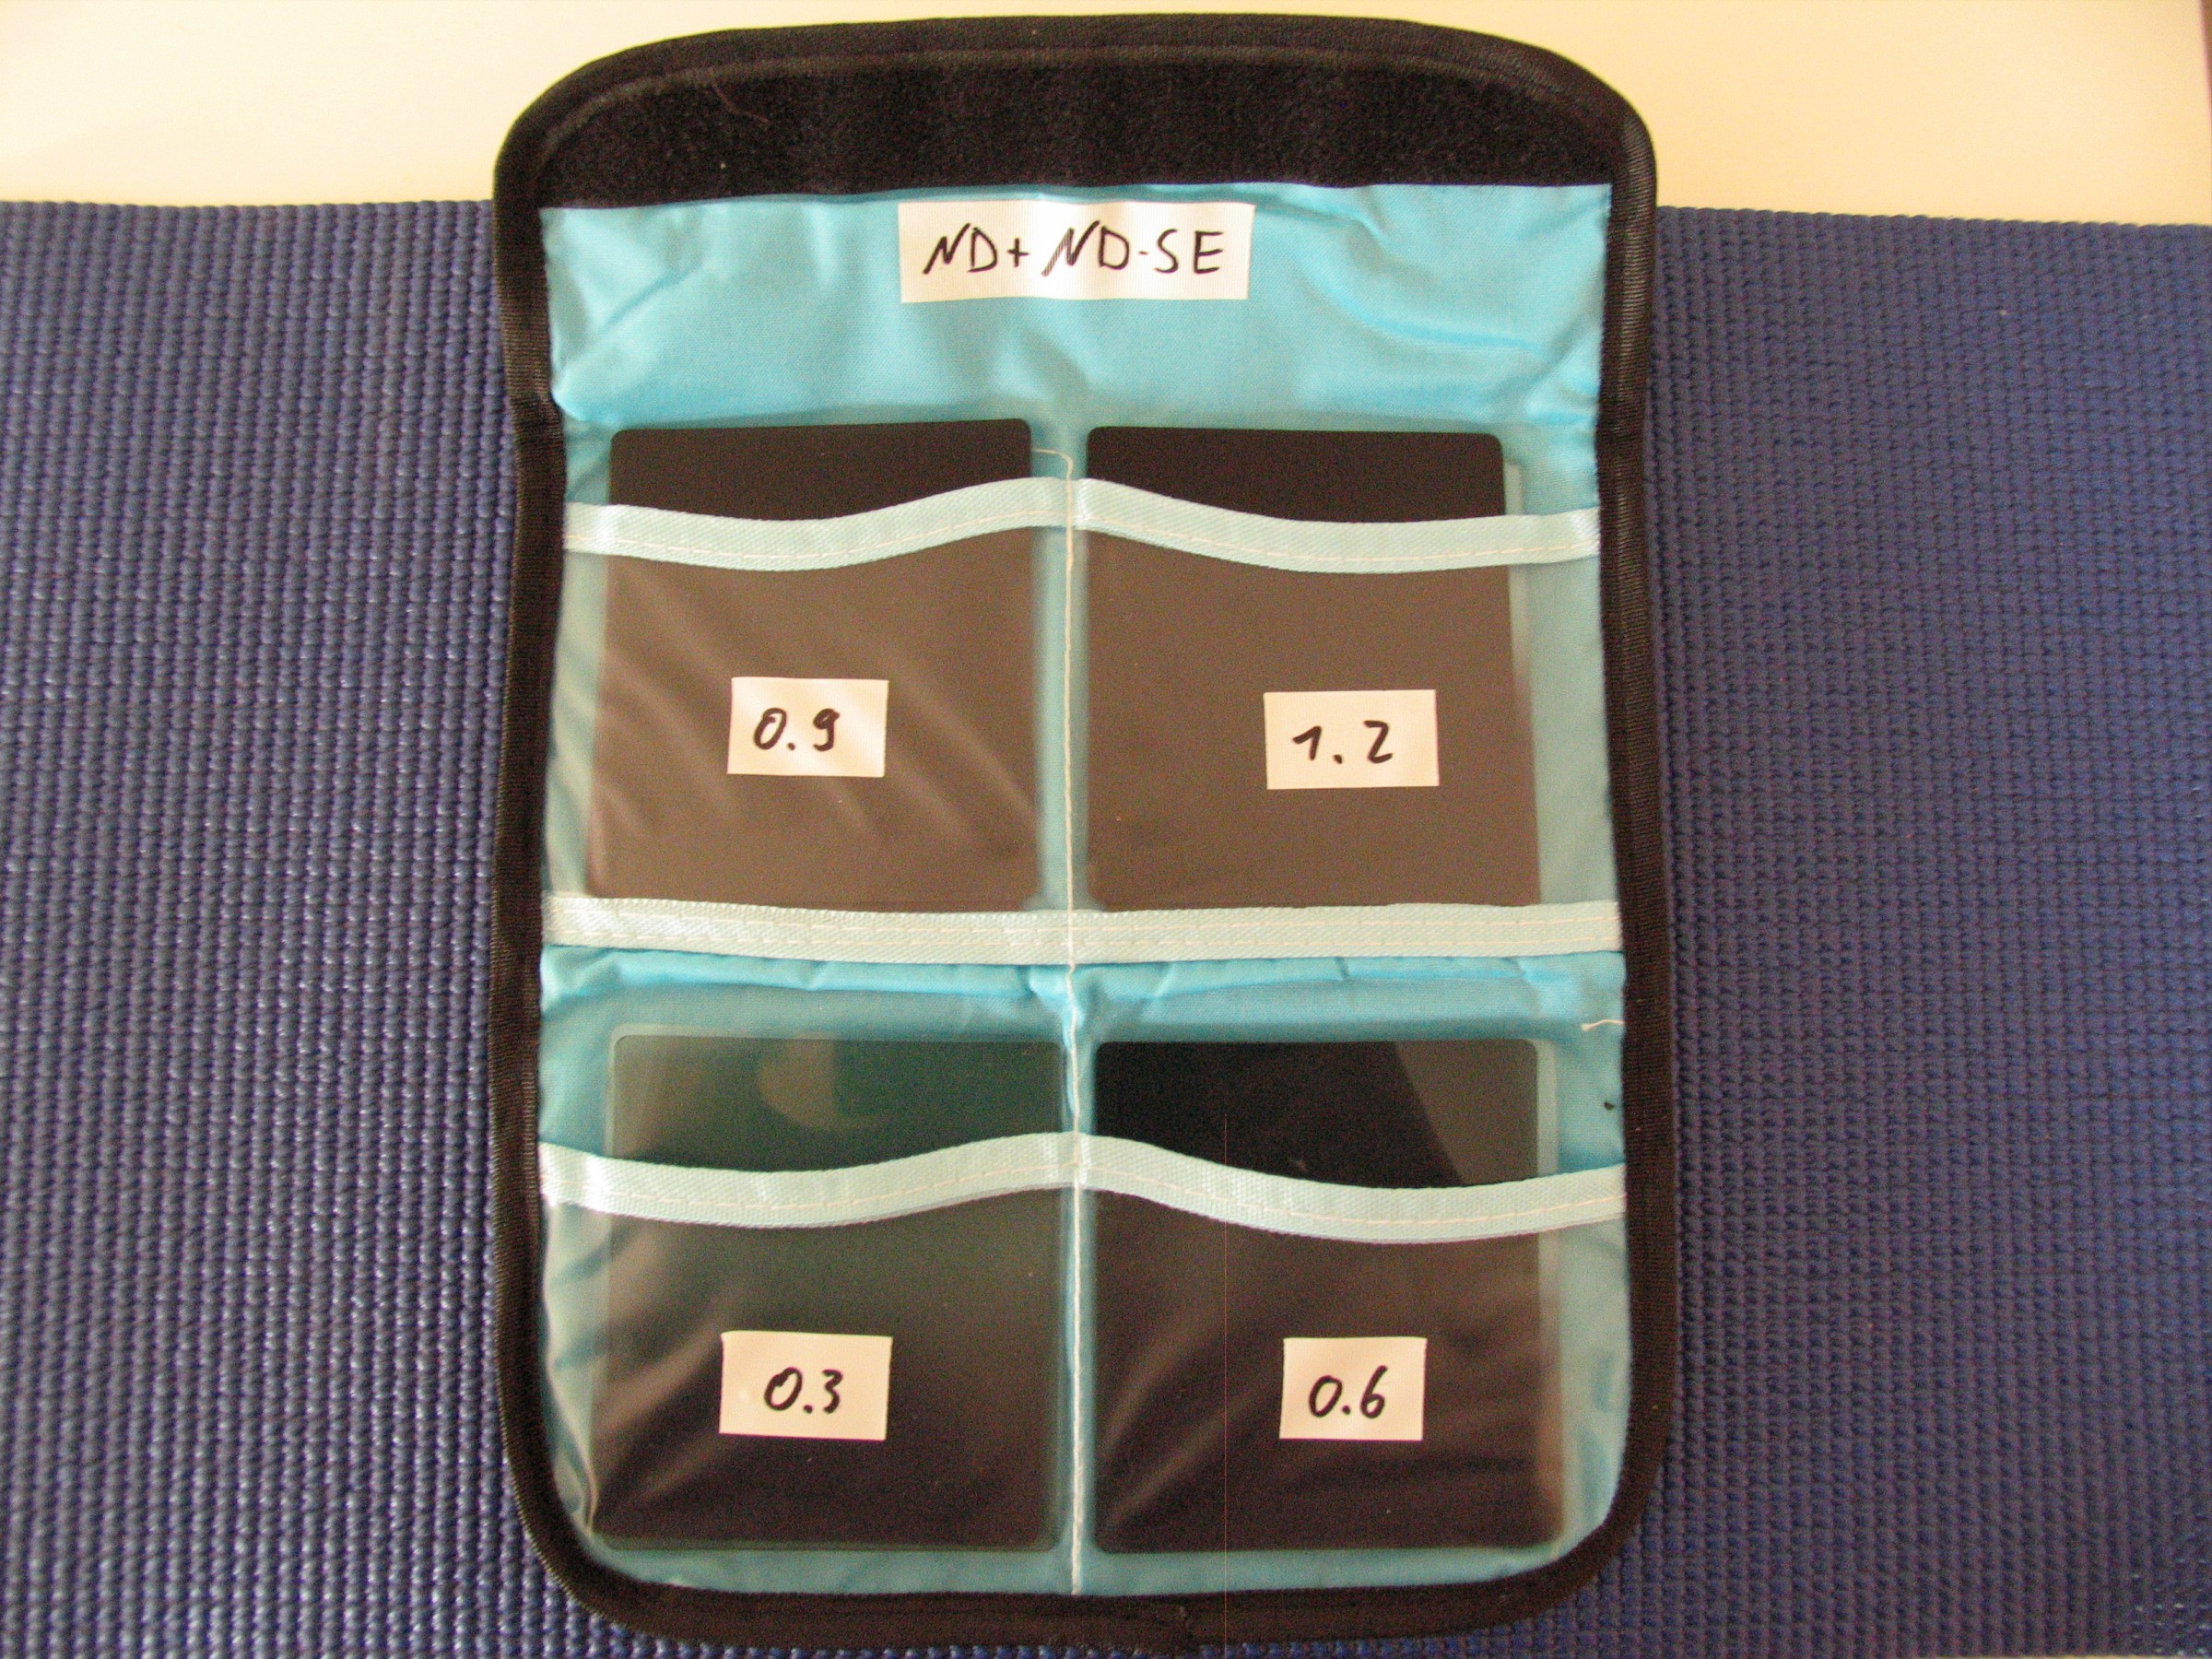
A set of ND-filters 0.3, 0.6, 0.9 & 1.2 (1, 2, 3 & 4 stops darker) in normal and gradual (SE):
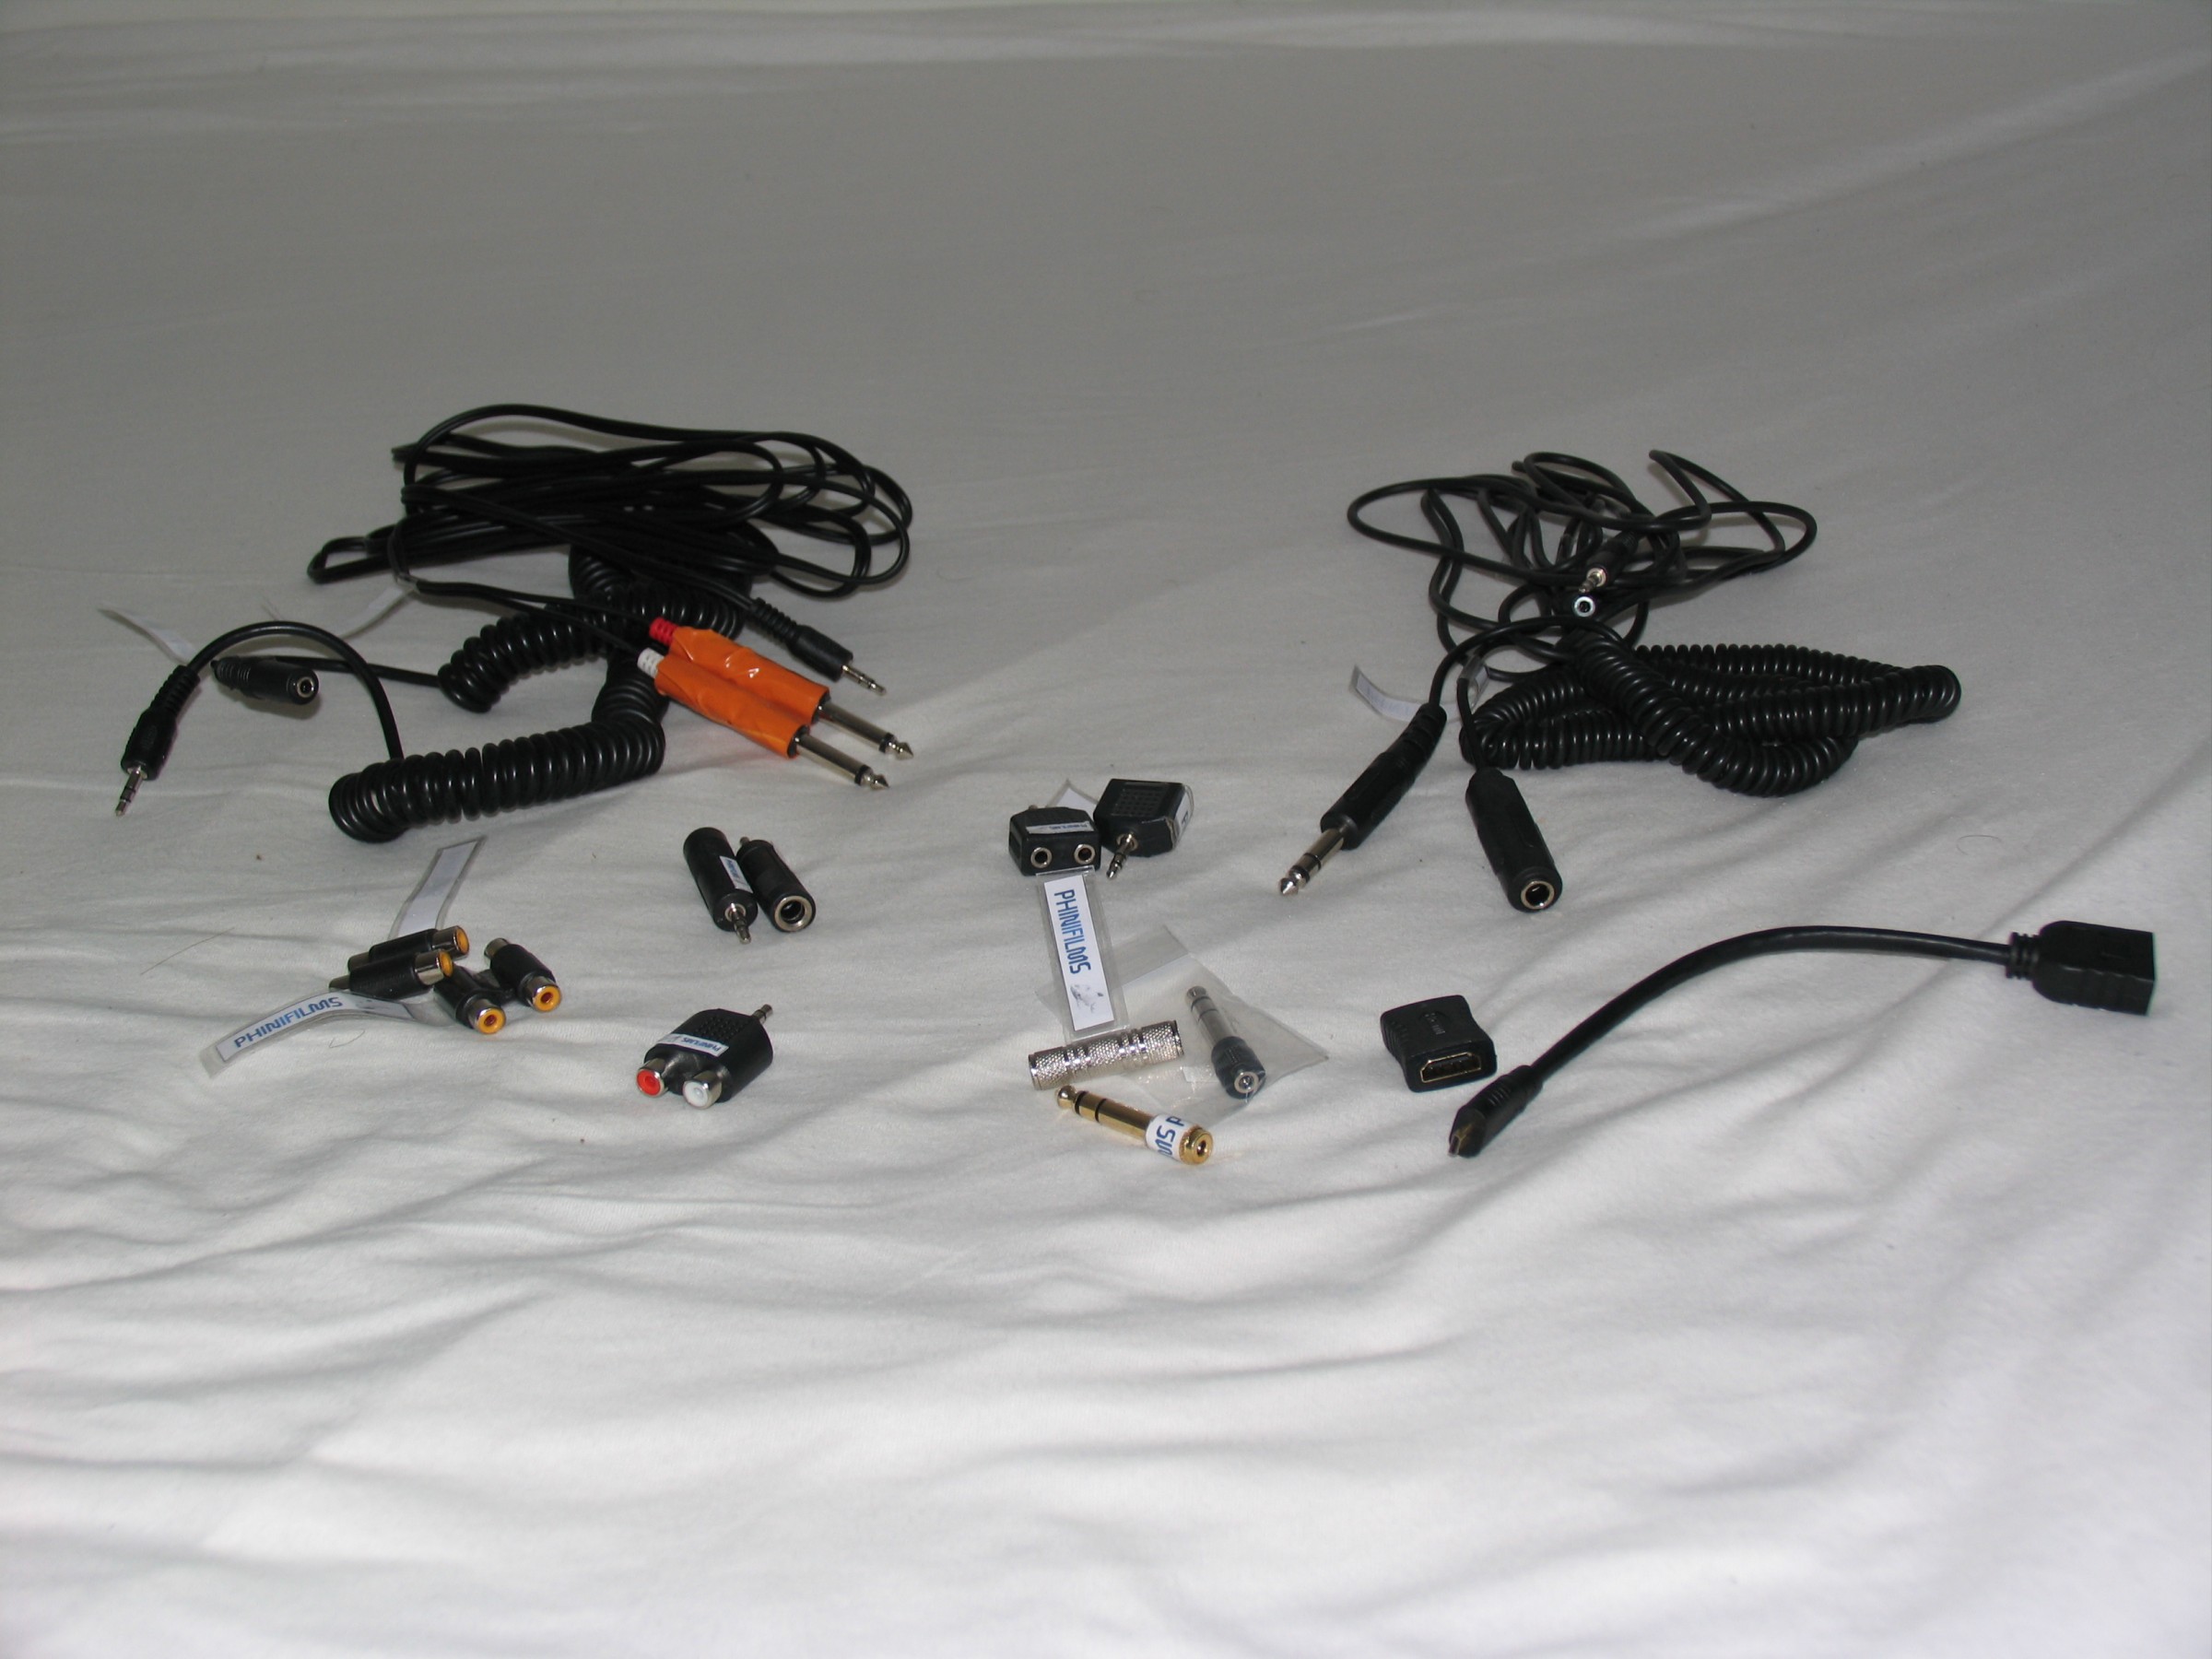
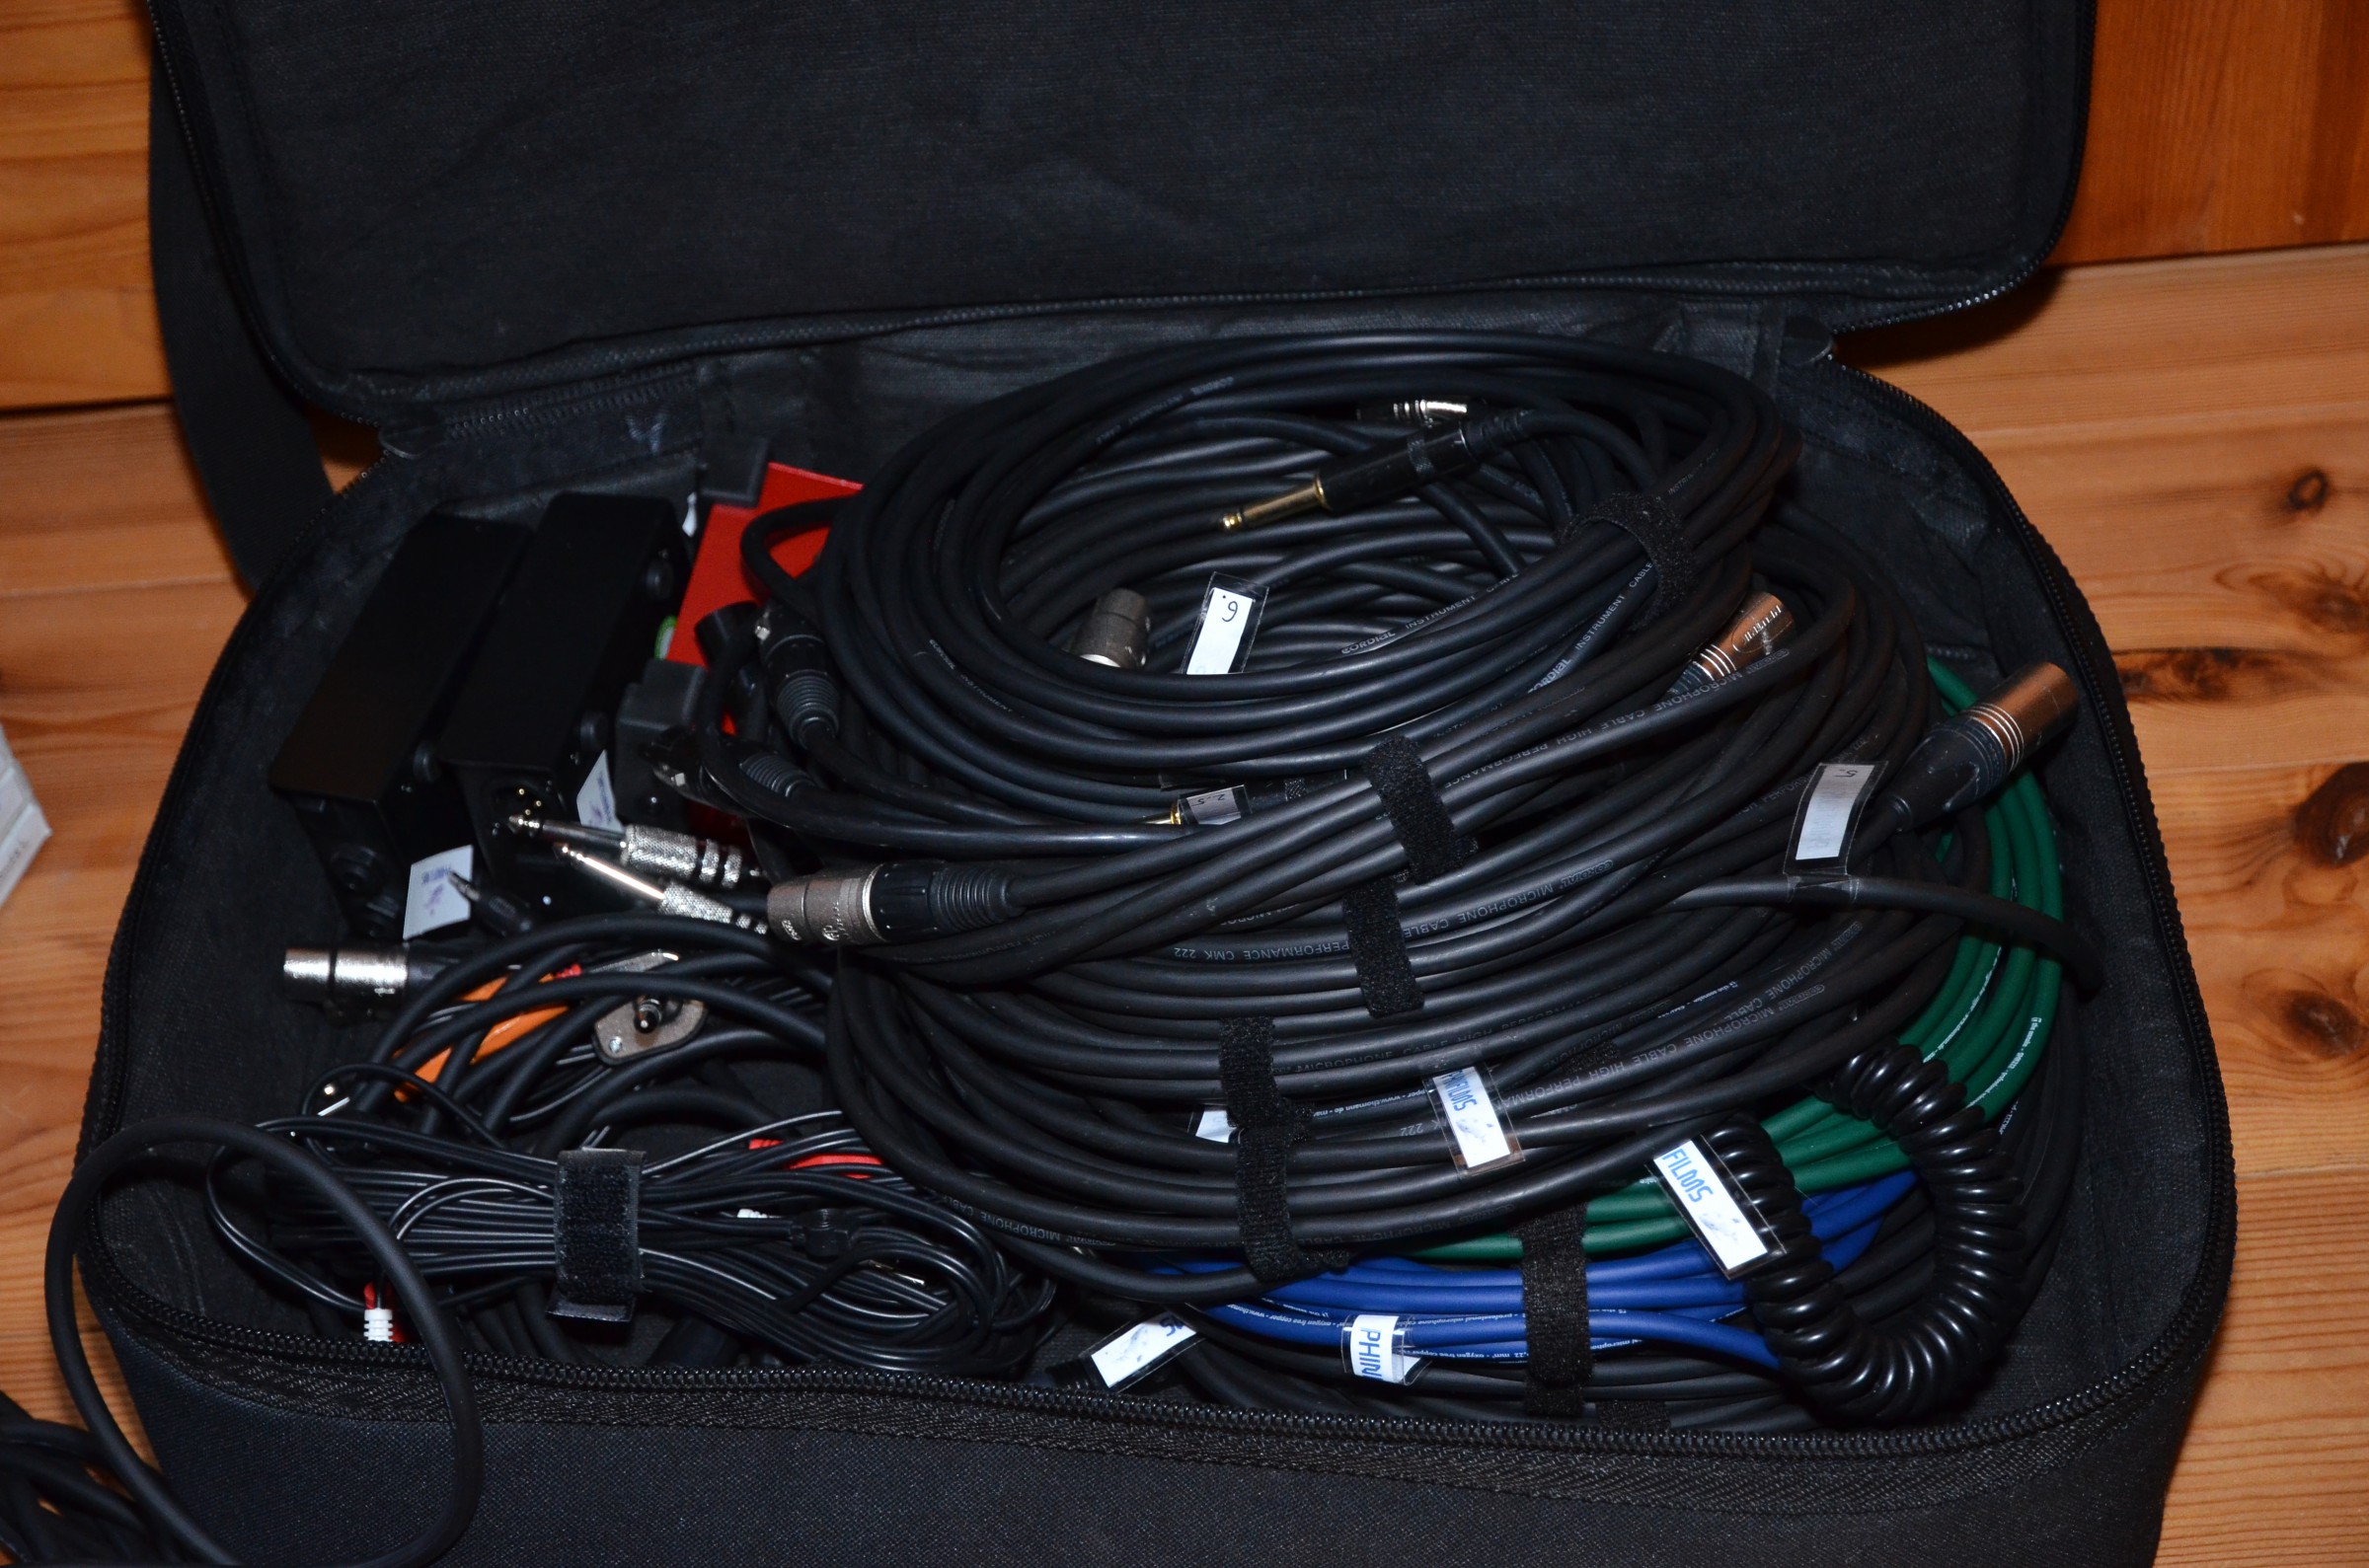
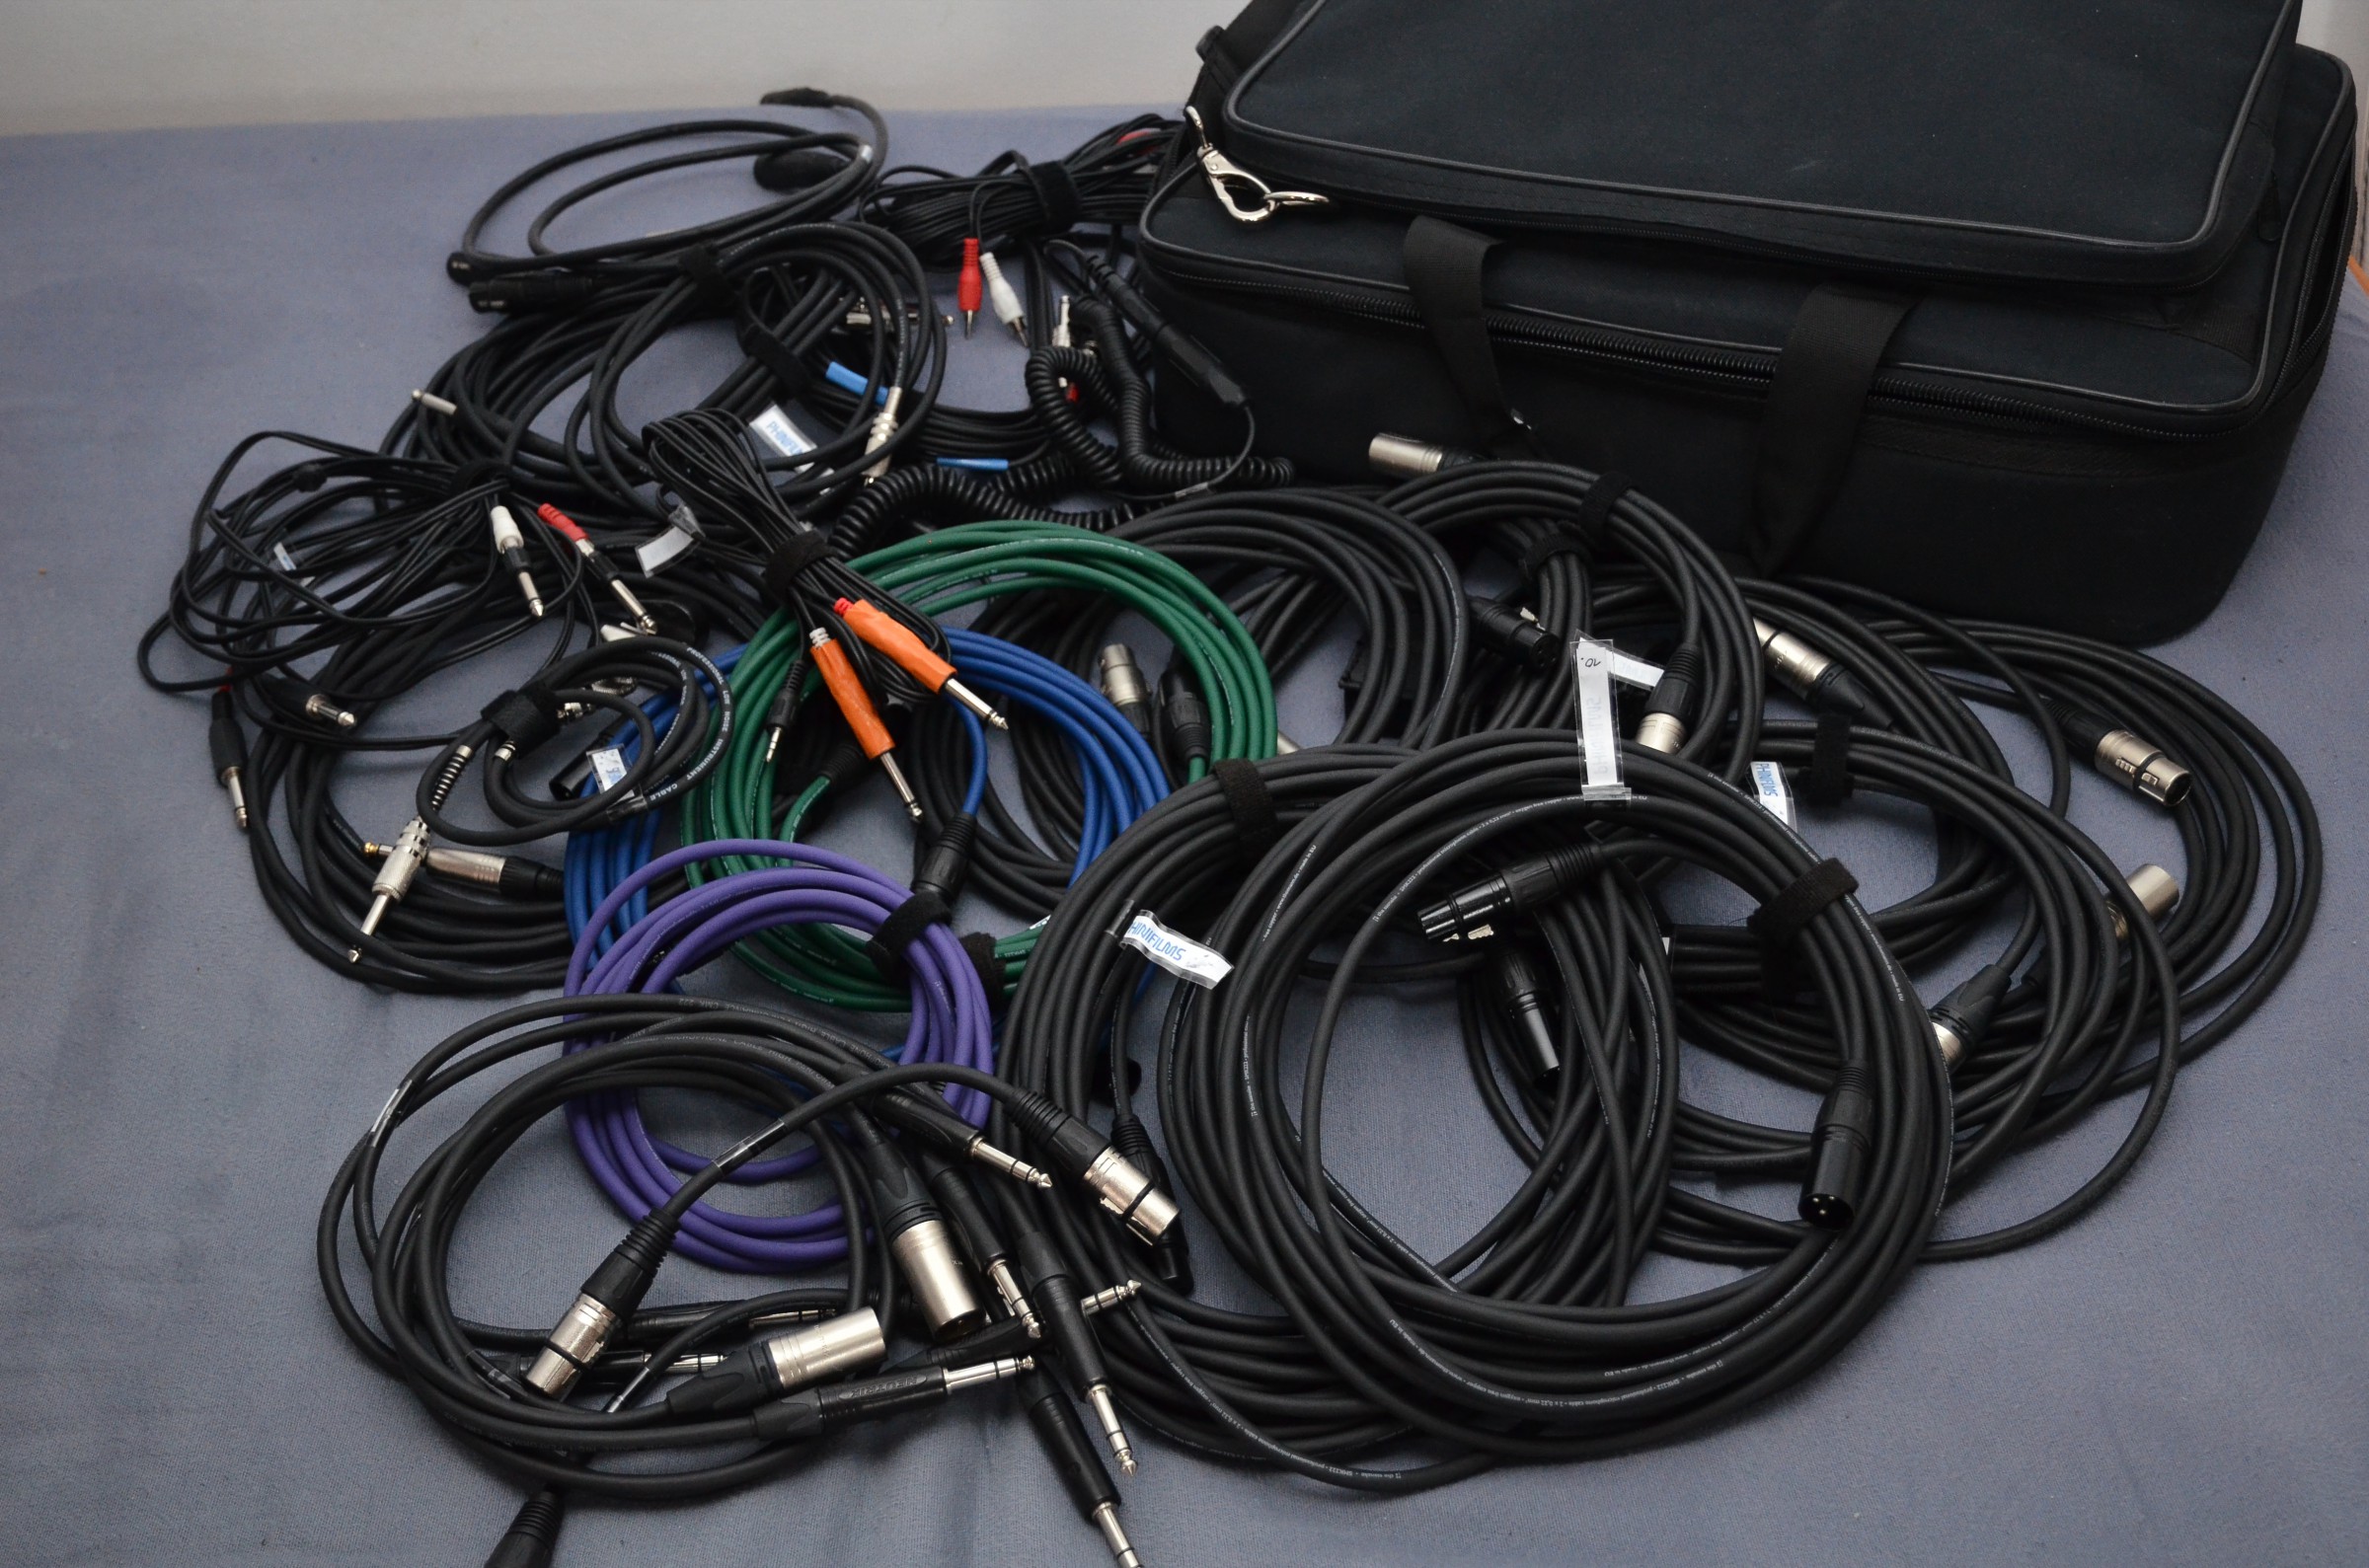
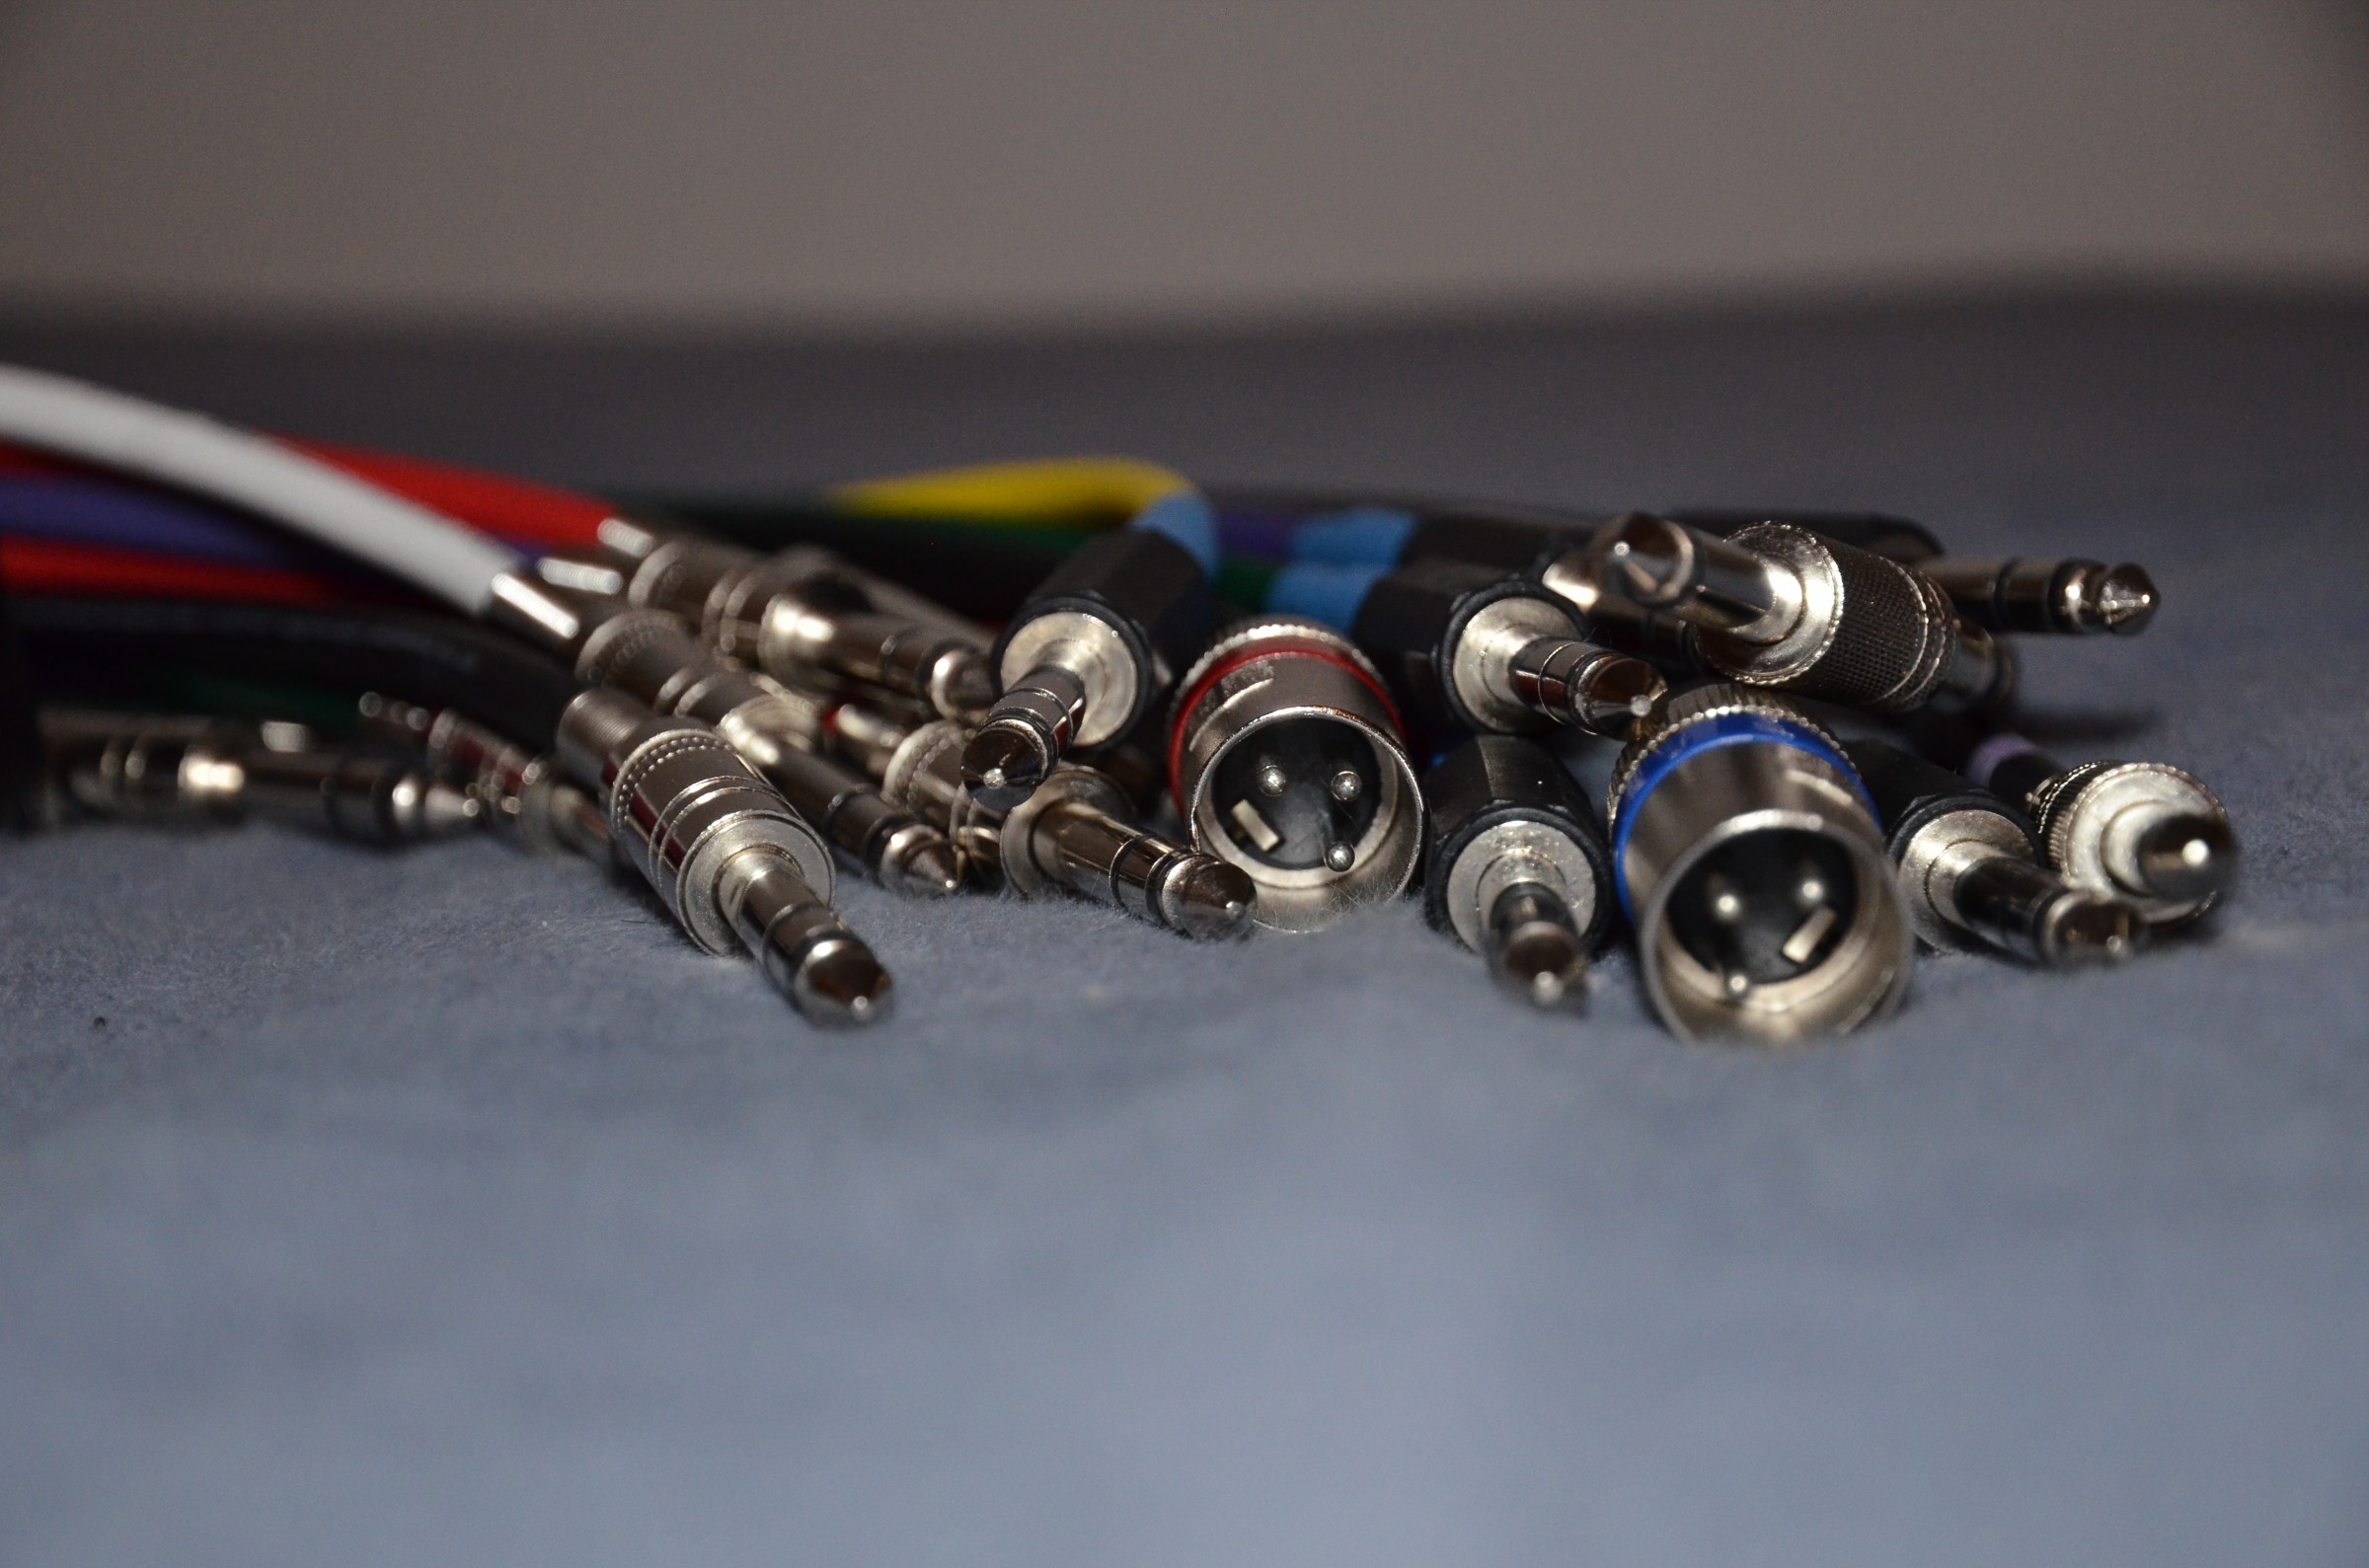
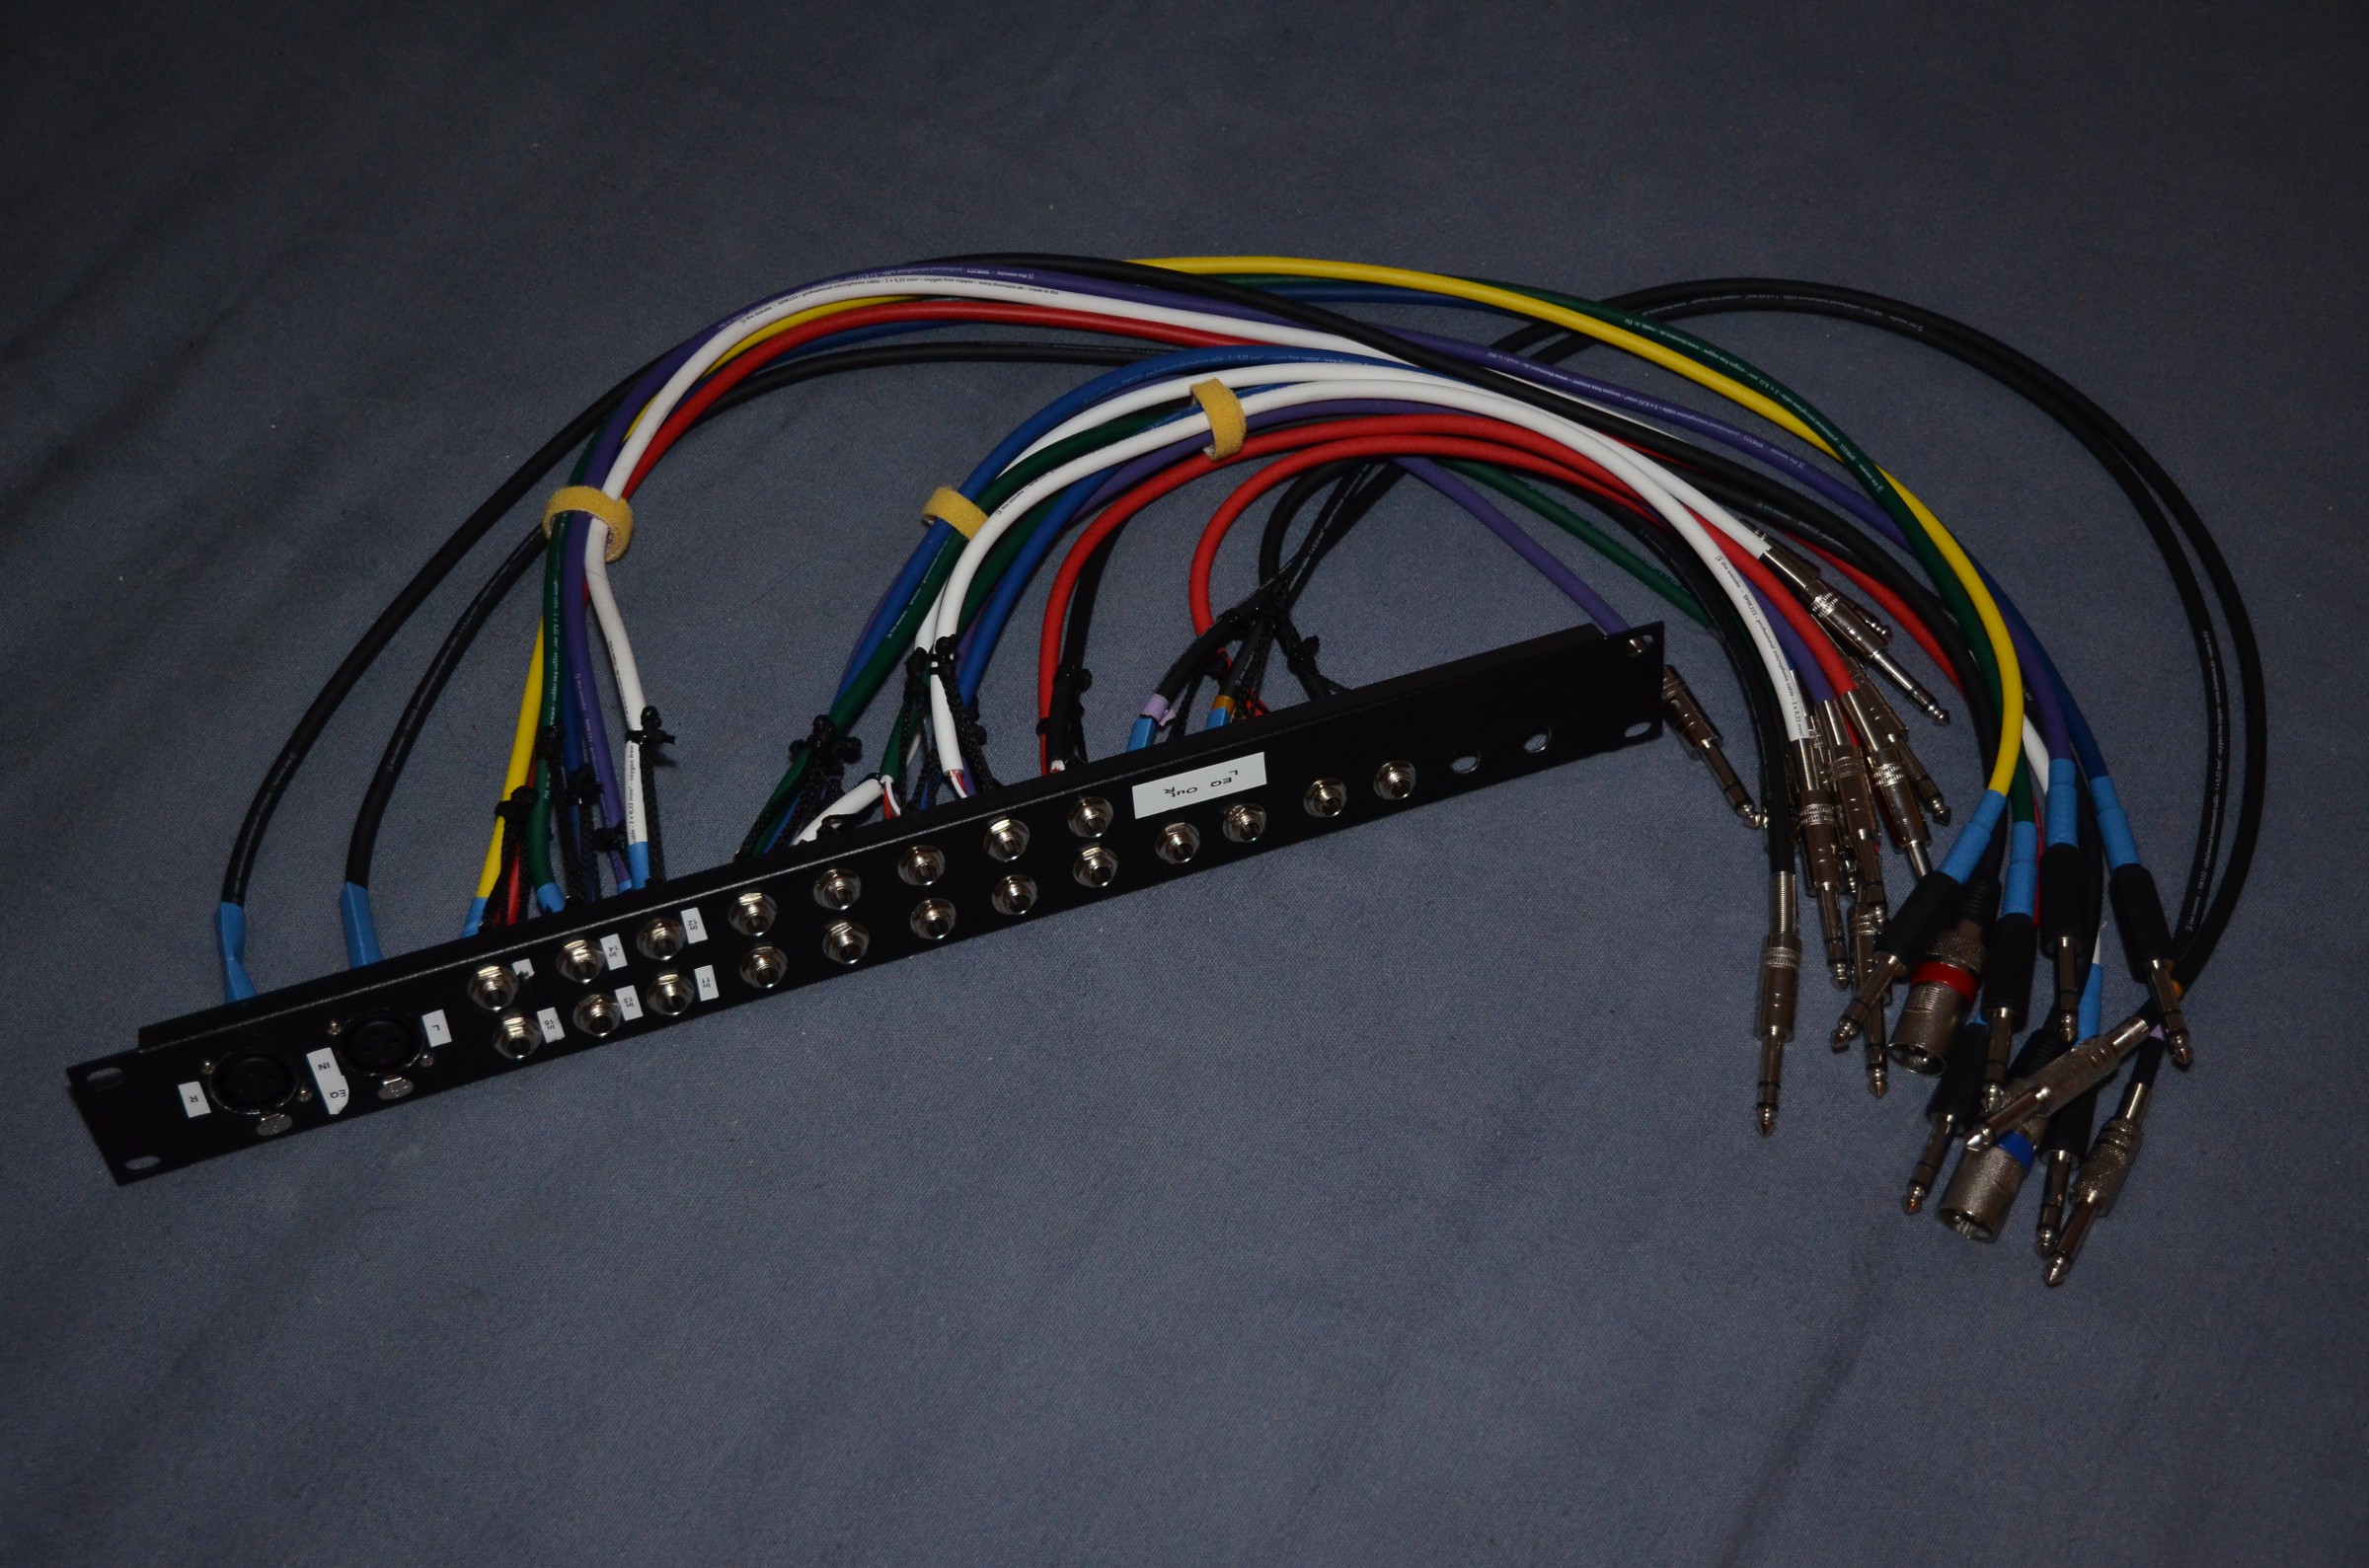
A bunch of cables for connection of audio and picture:
Several DI-Boxes for audio-transfer:
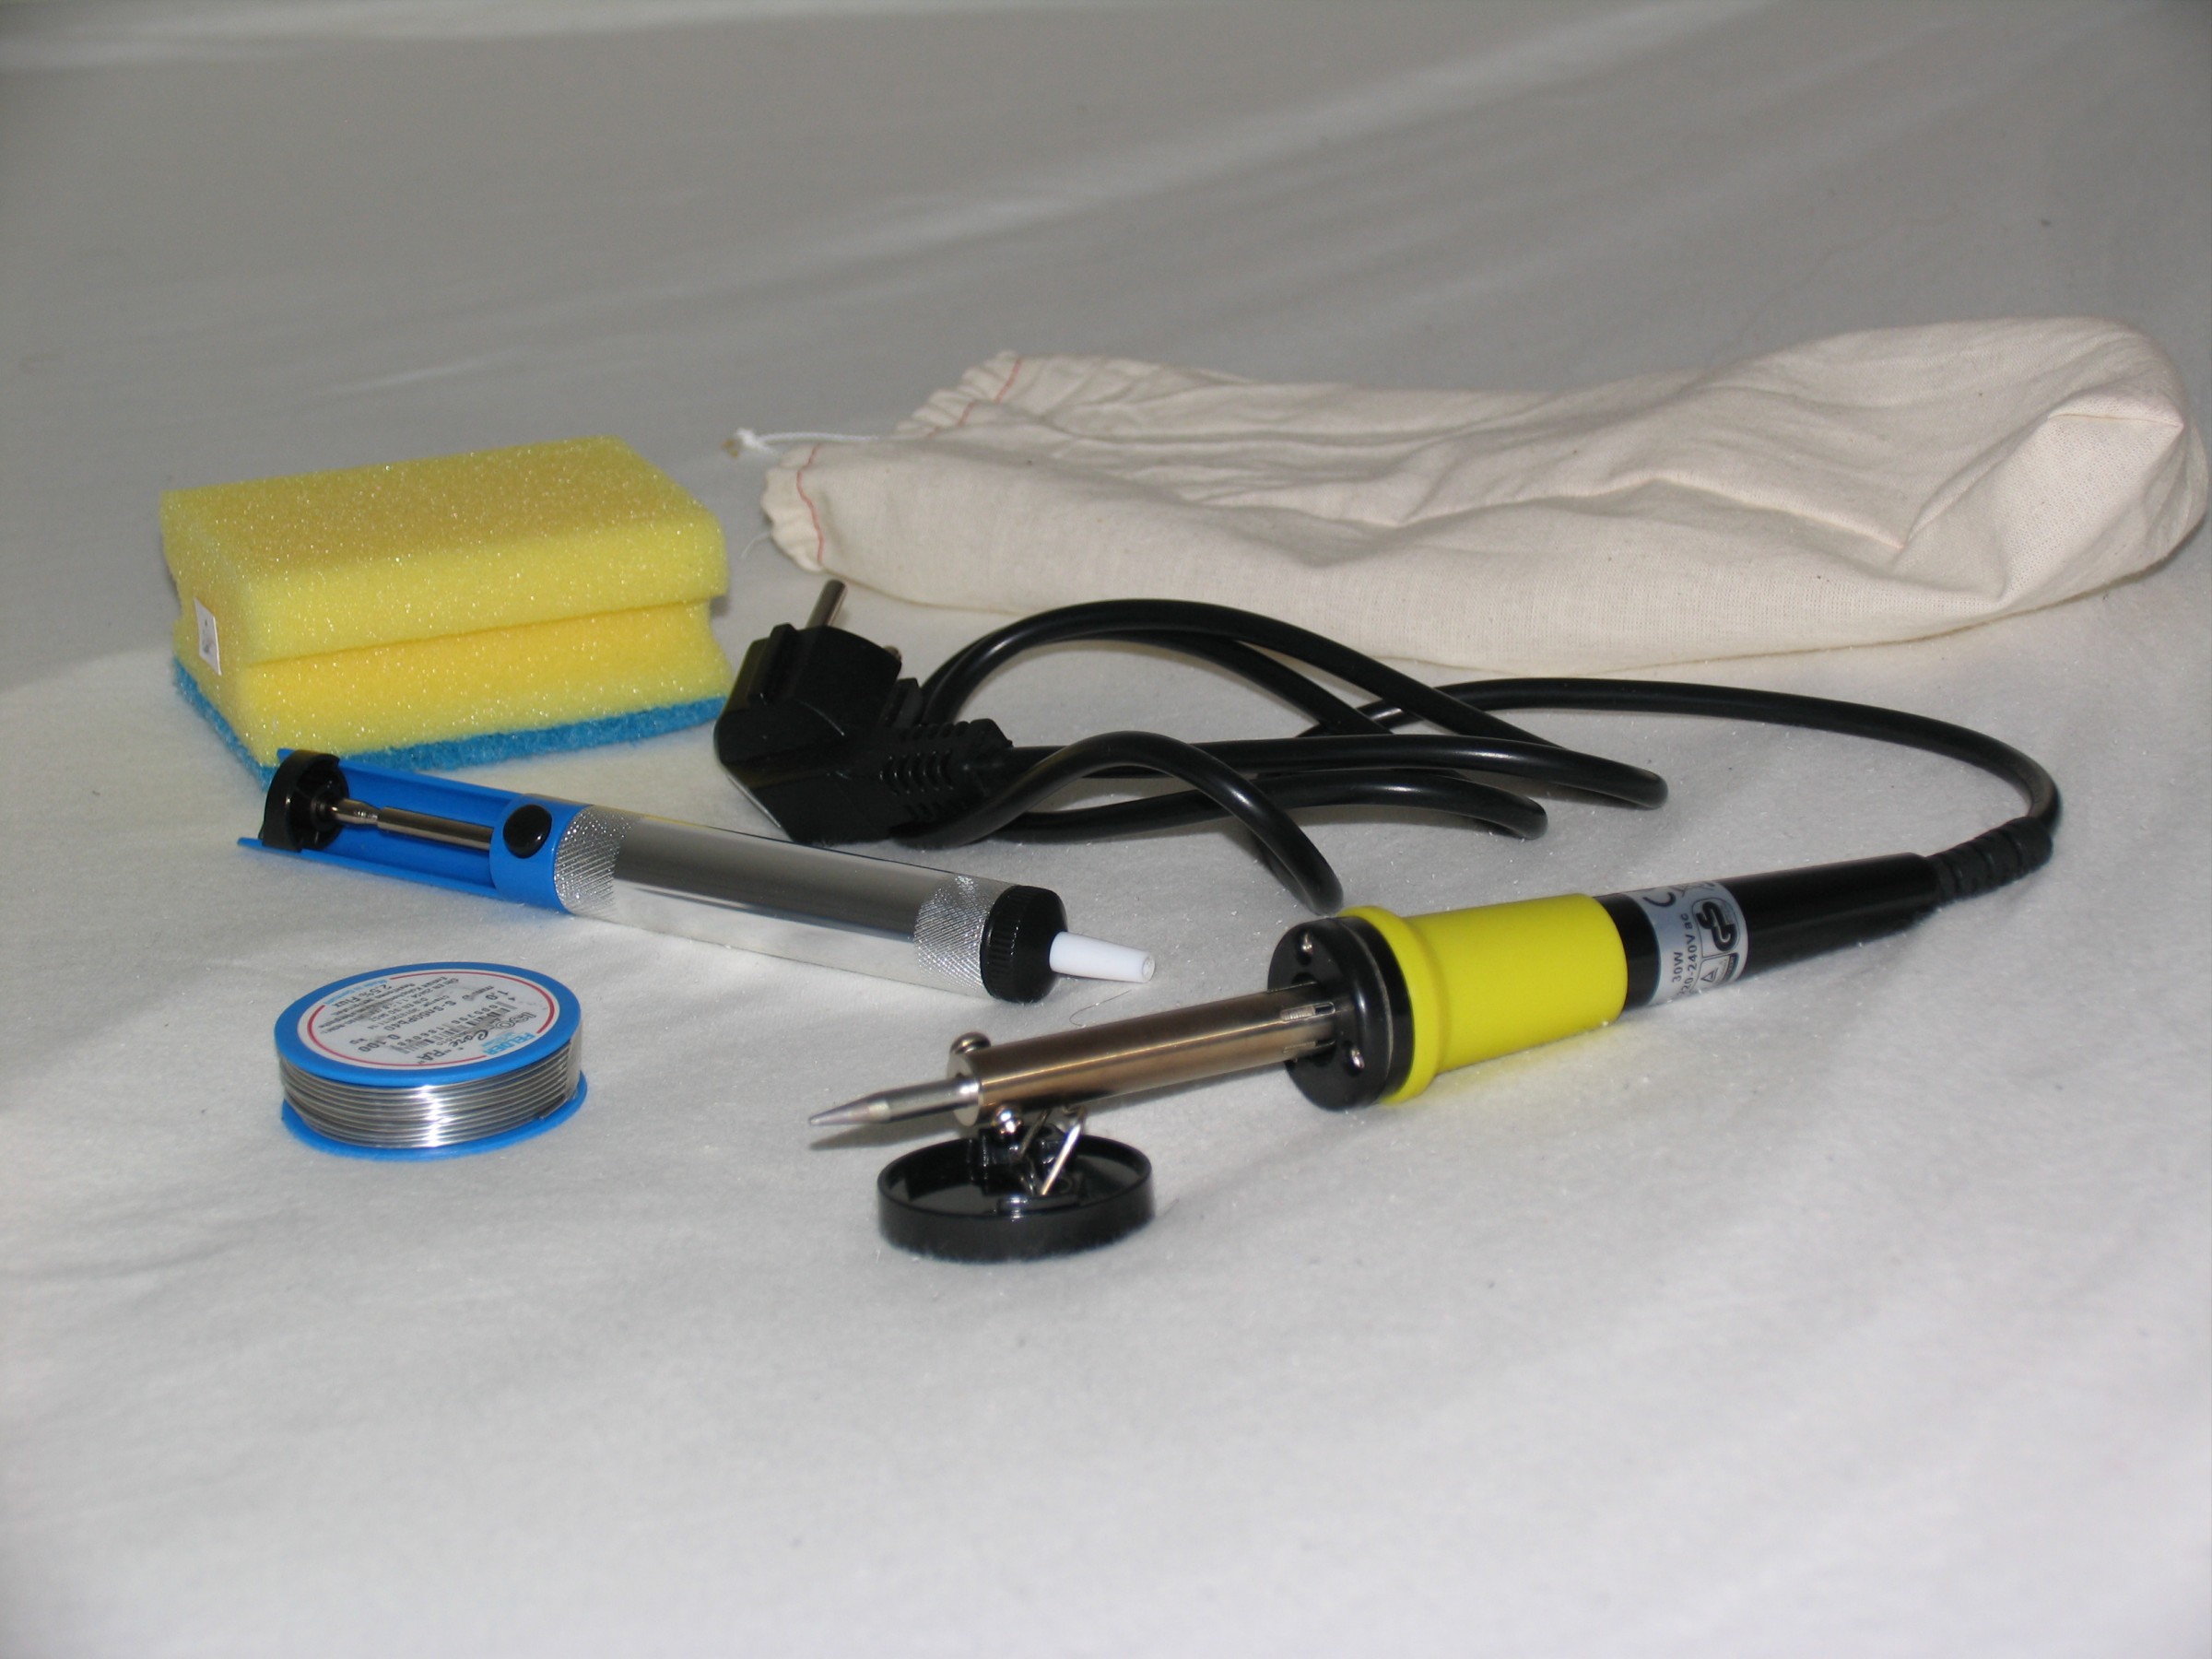
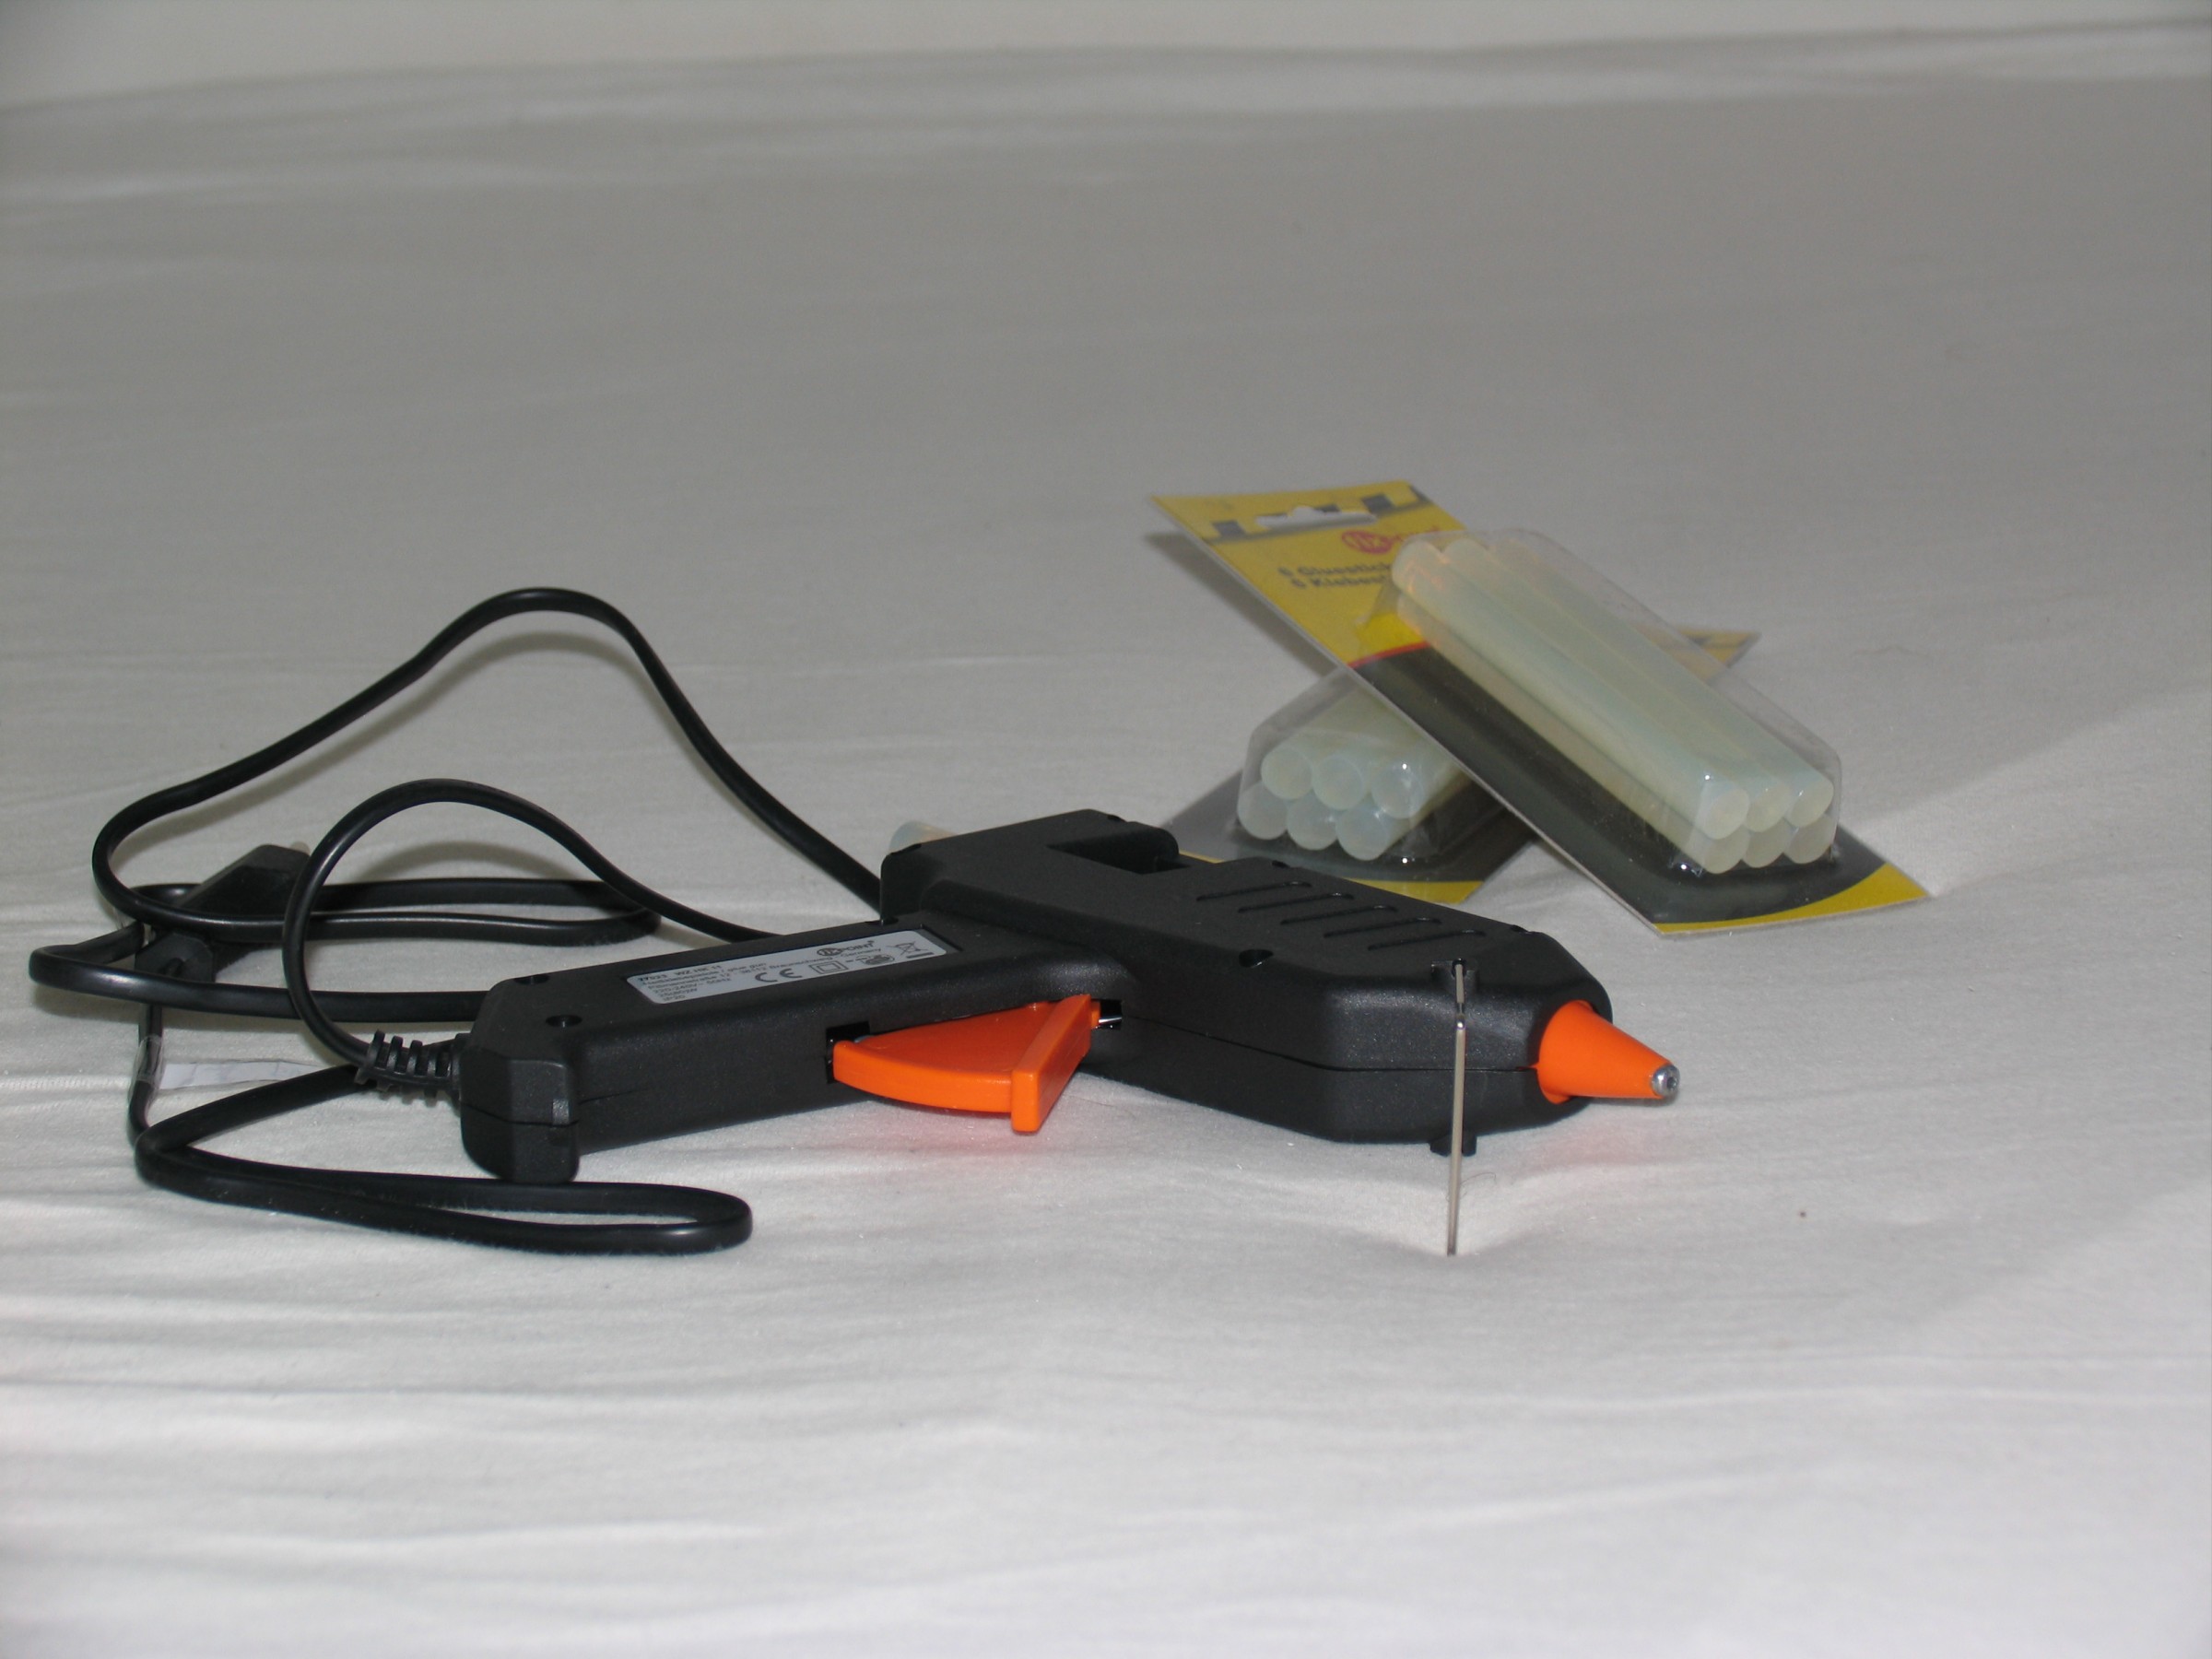
Solder- & glueing-stuff:
A Multimeter and a Cable Tester
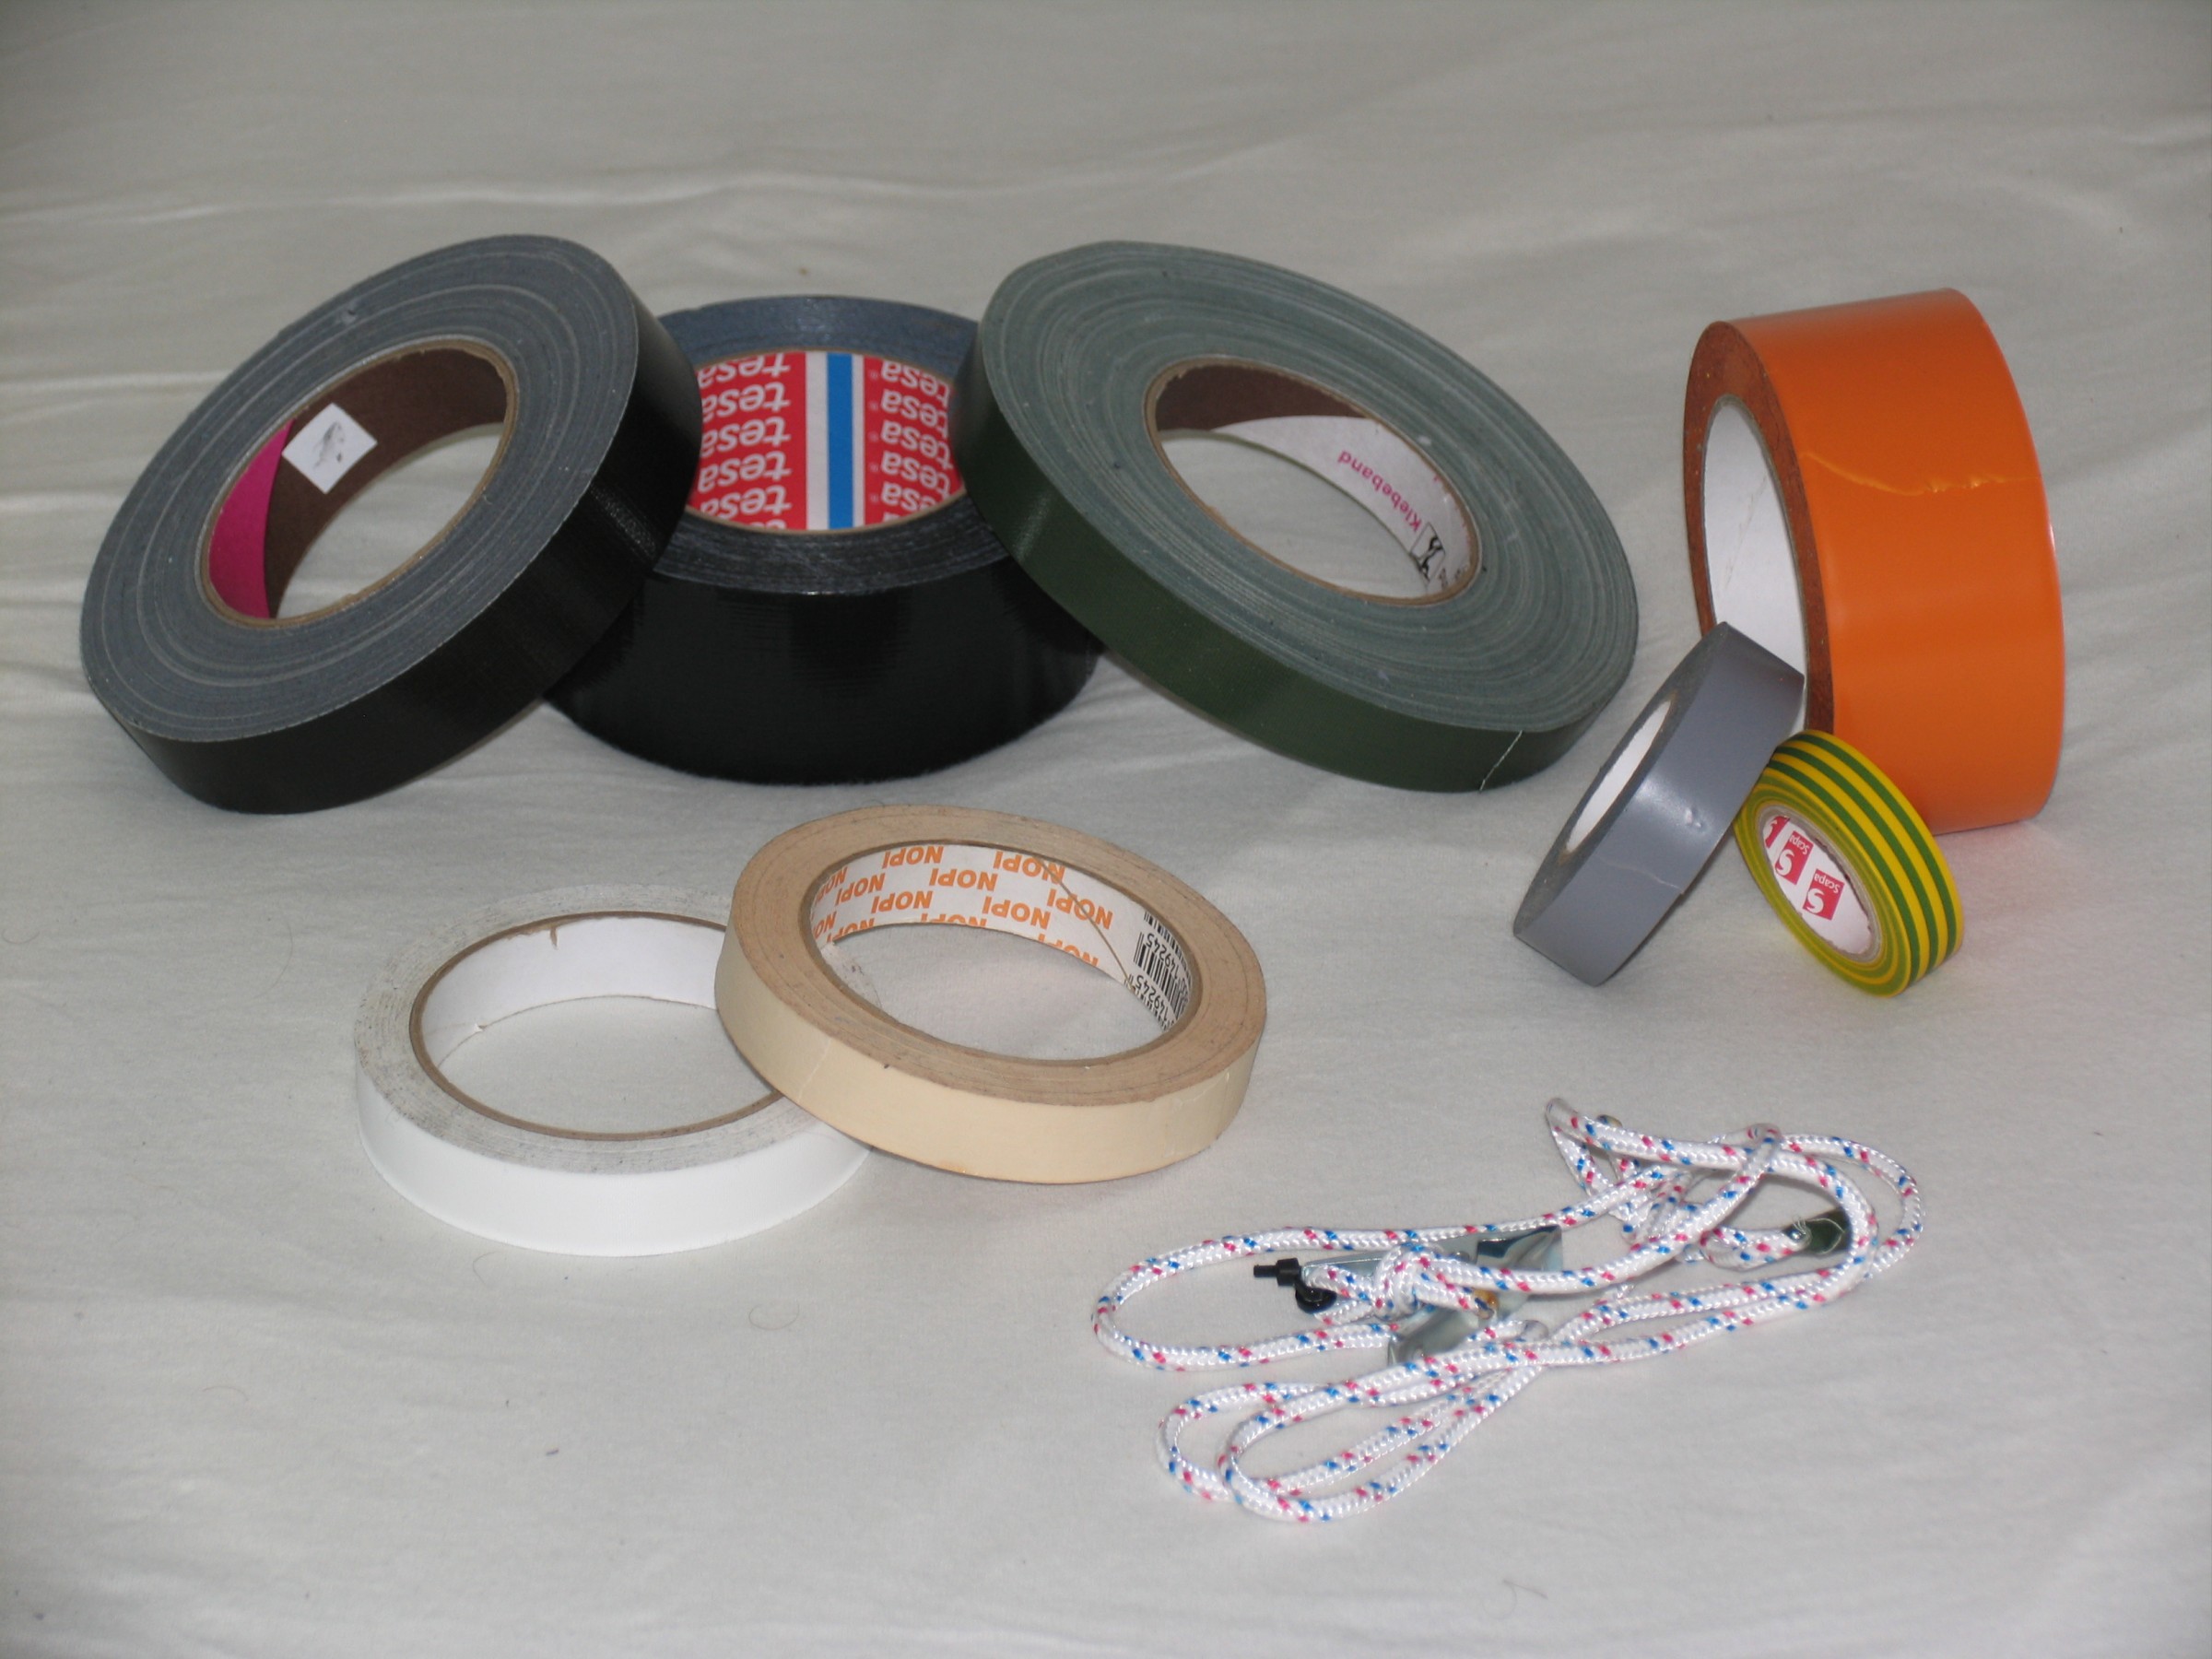
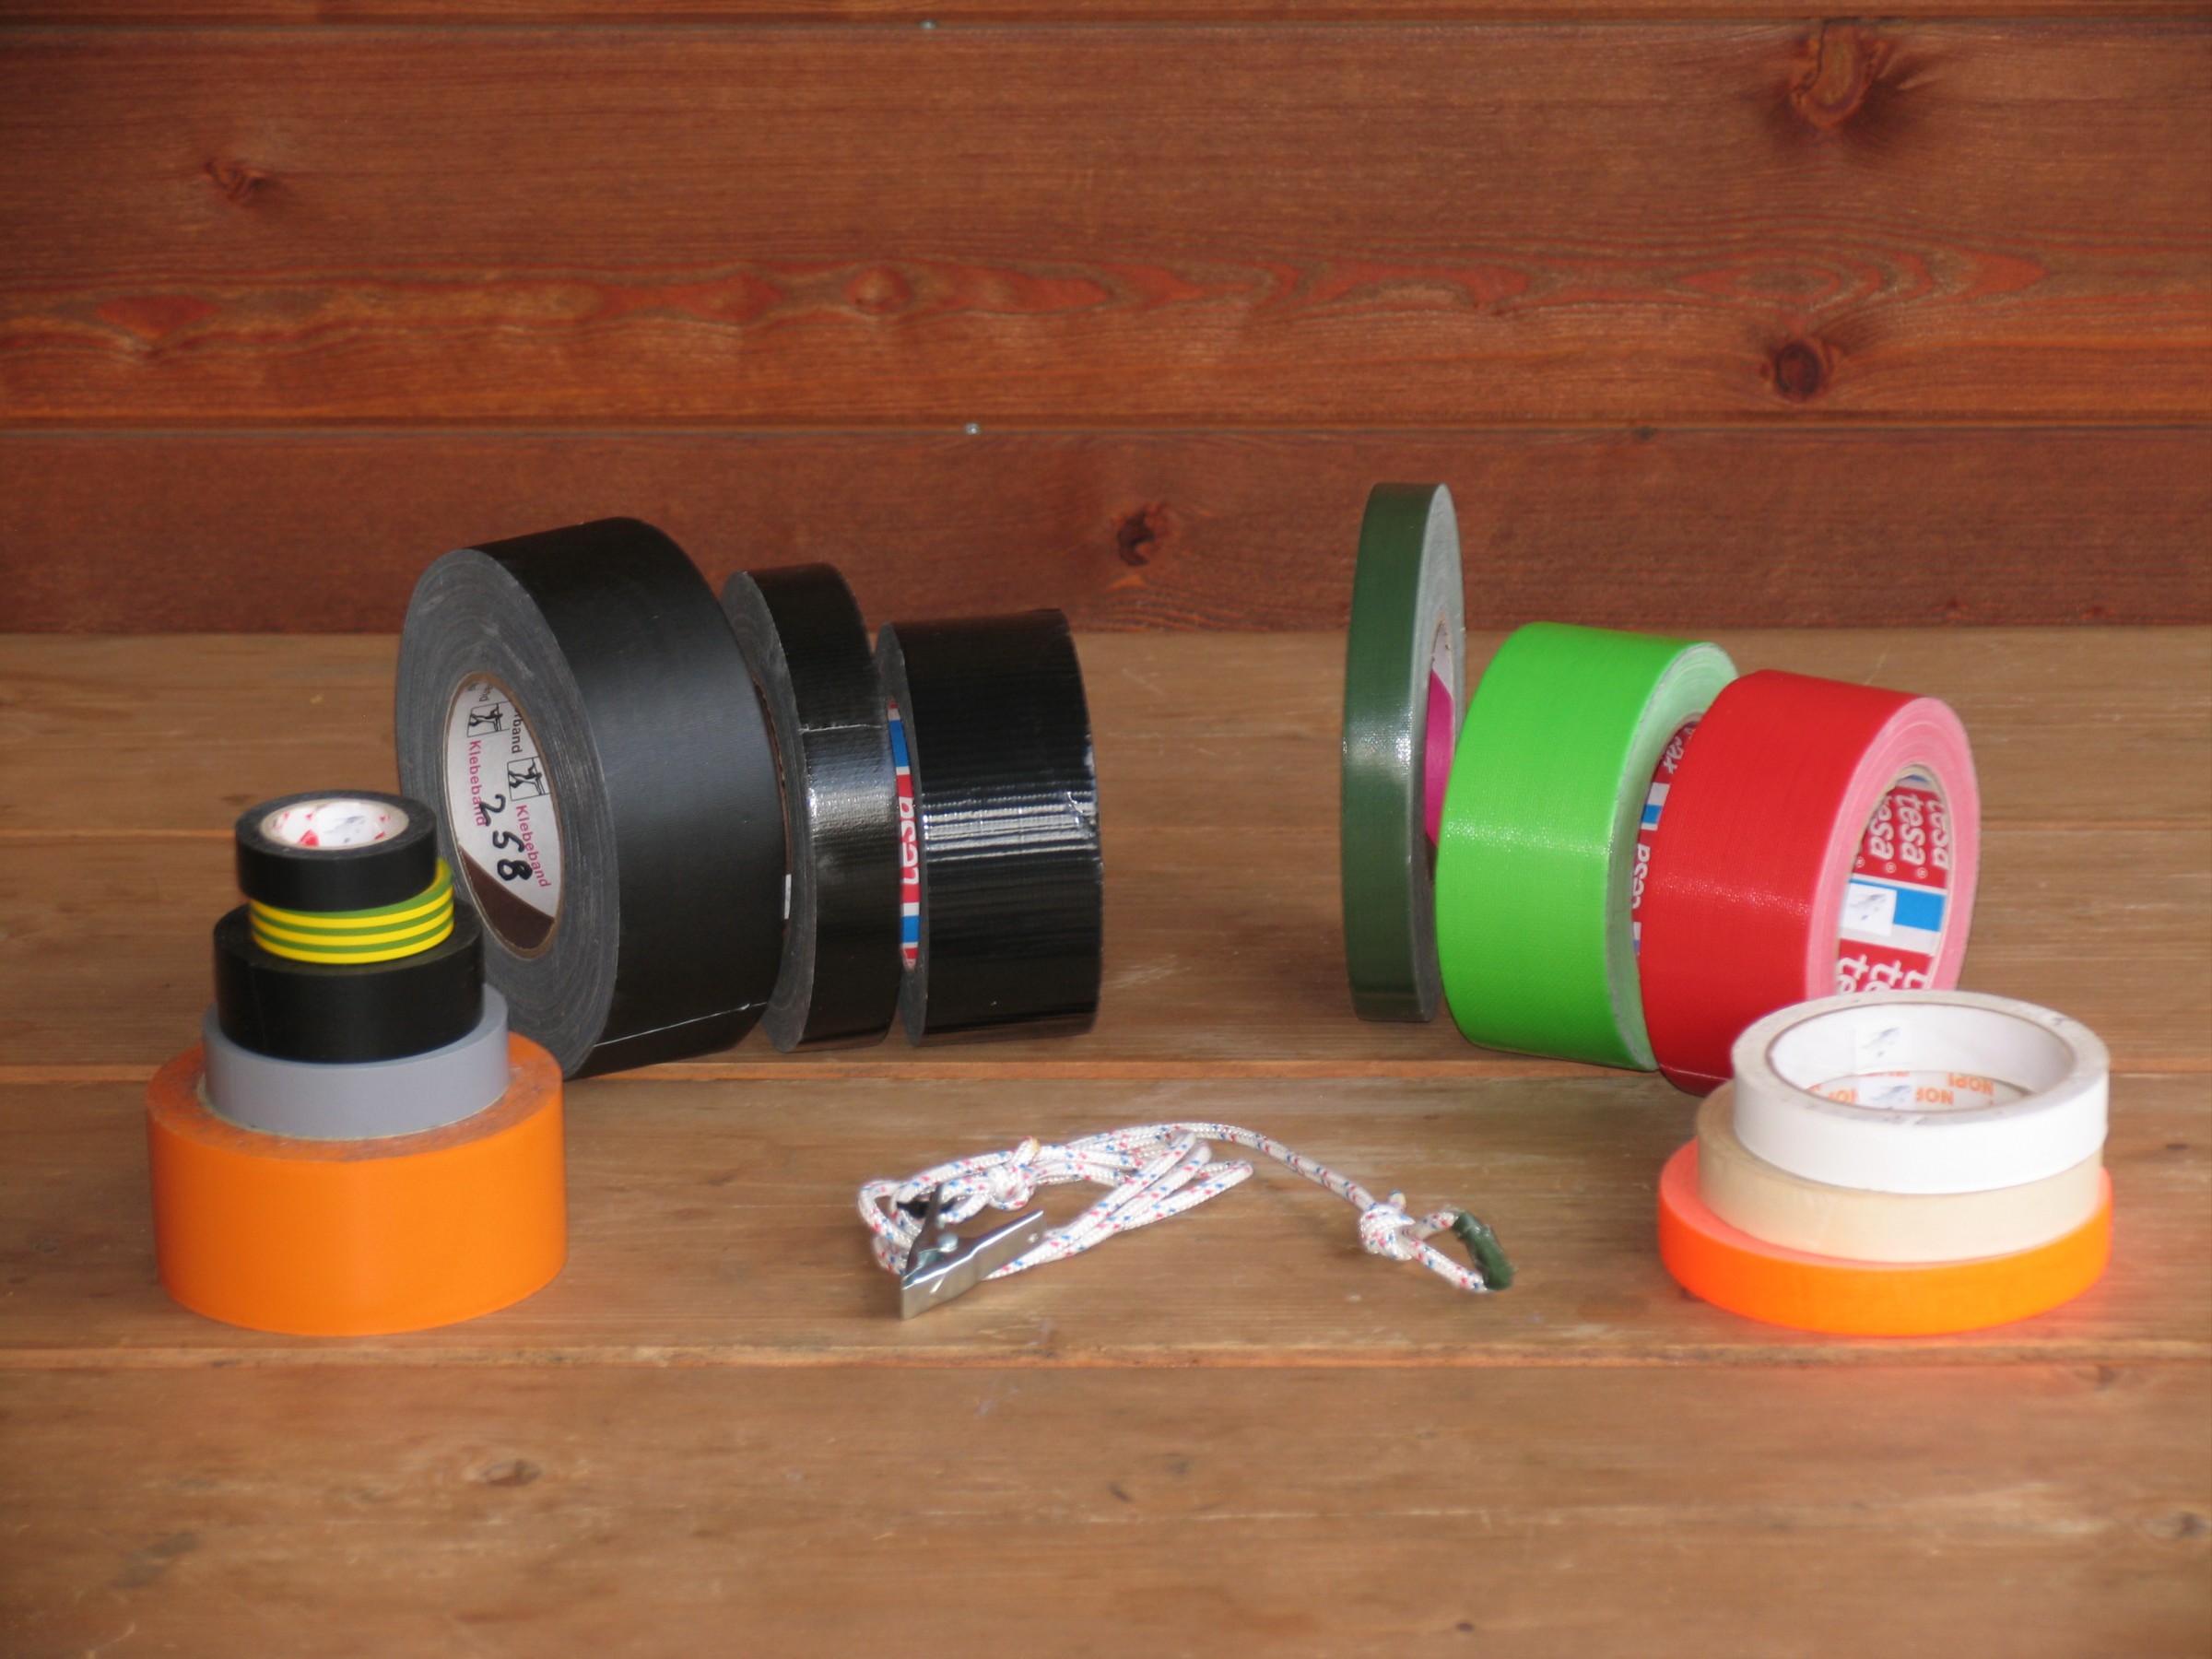
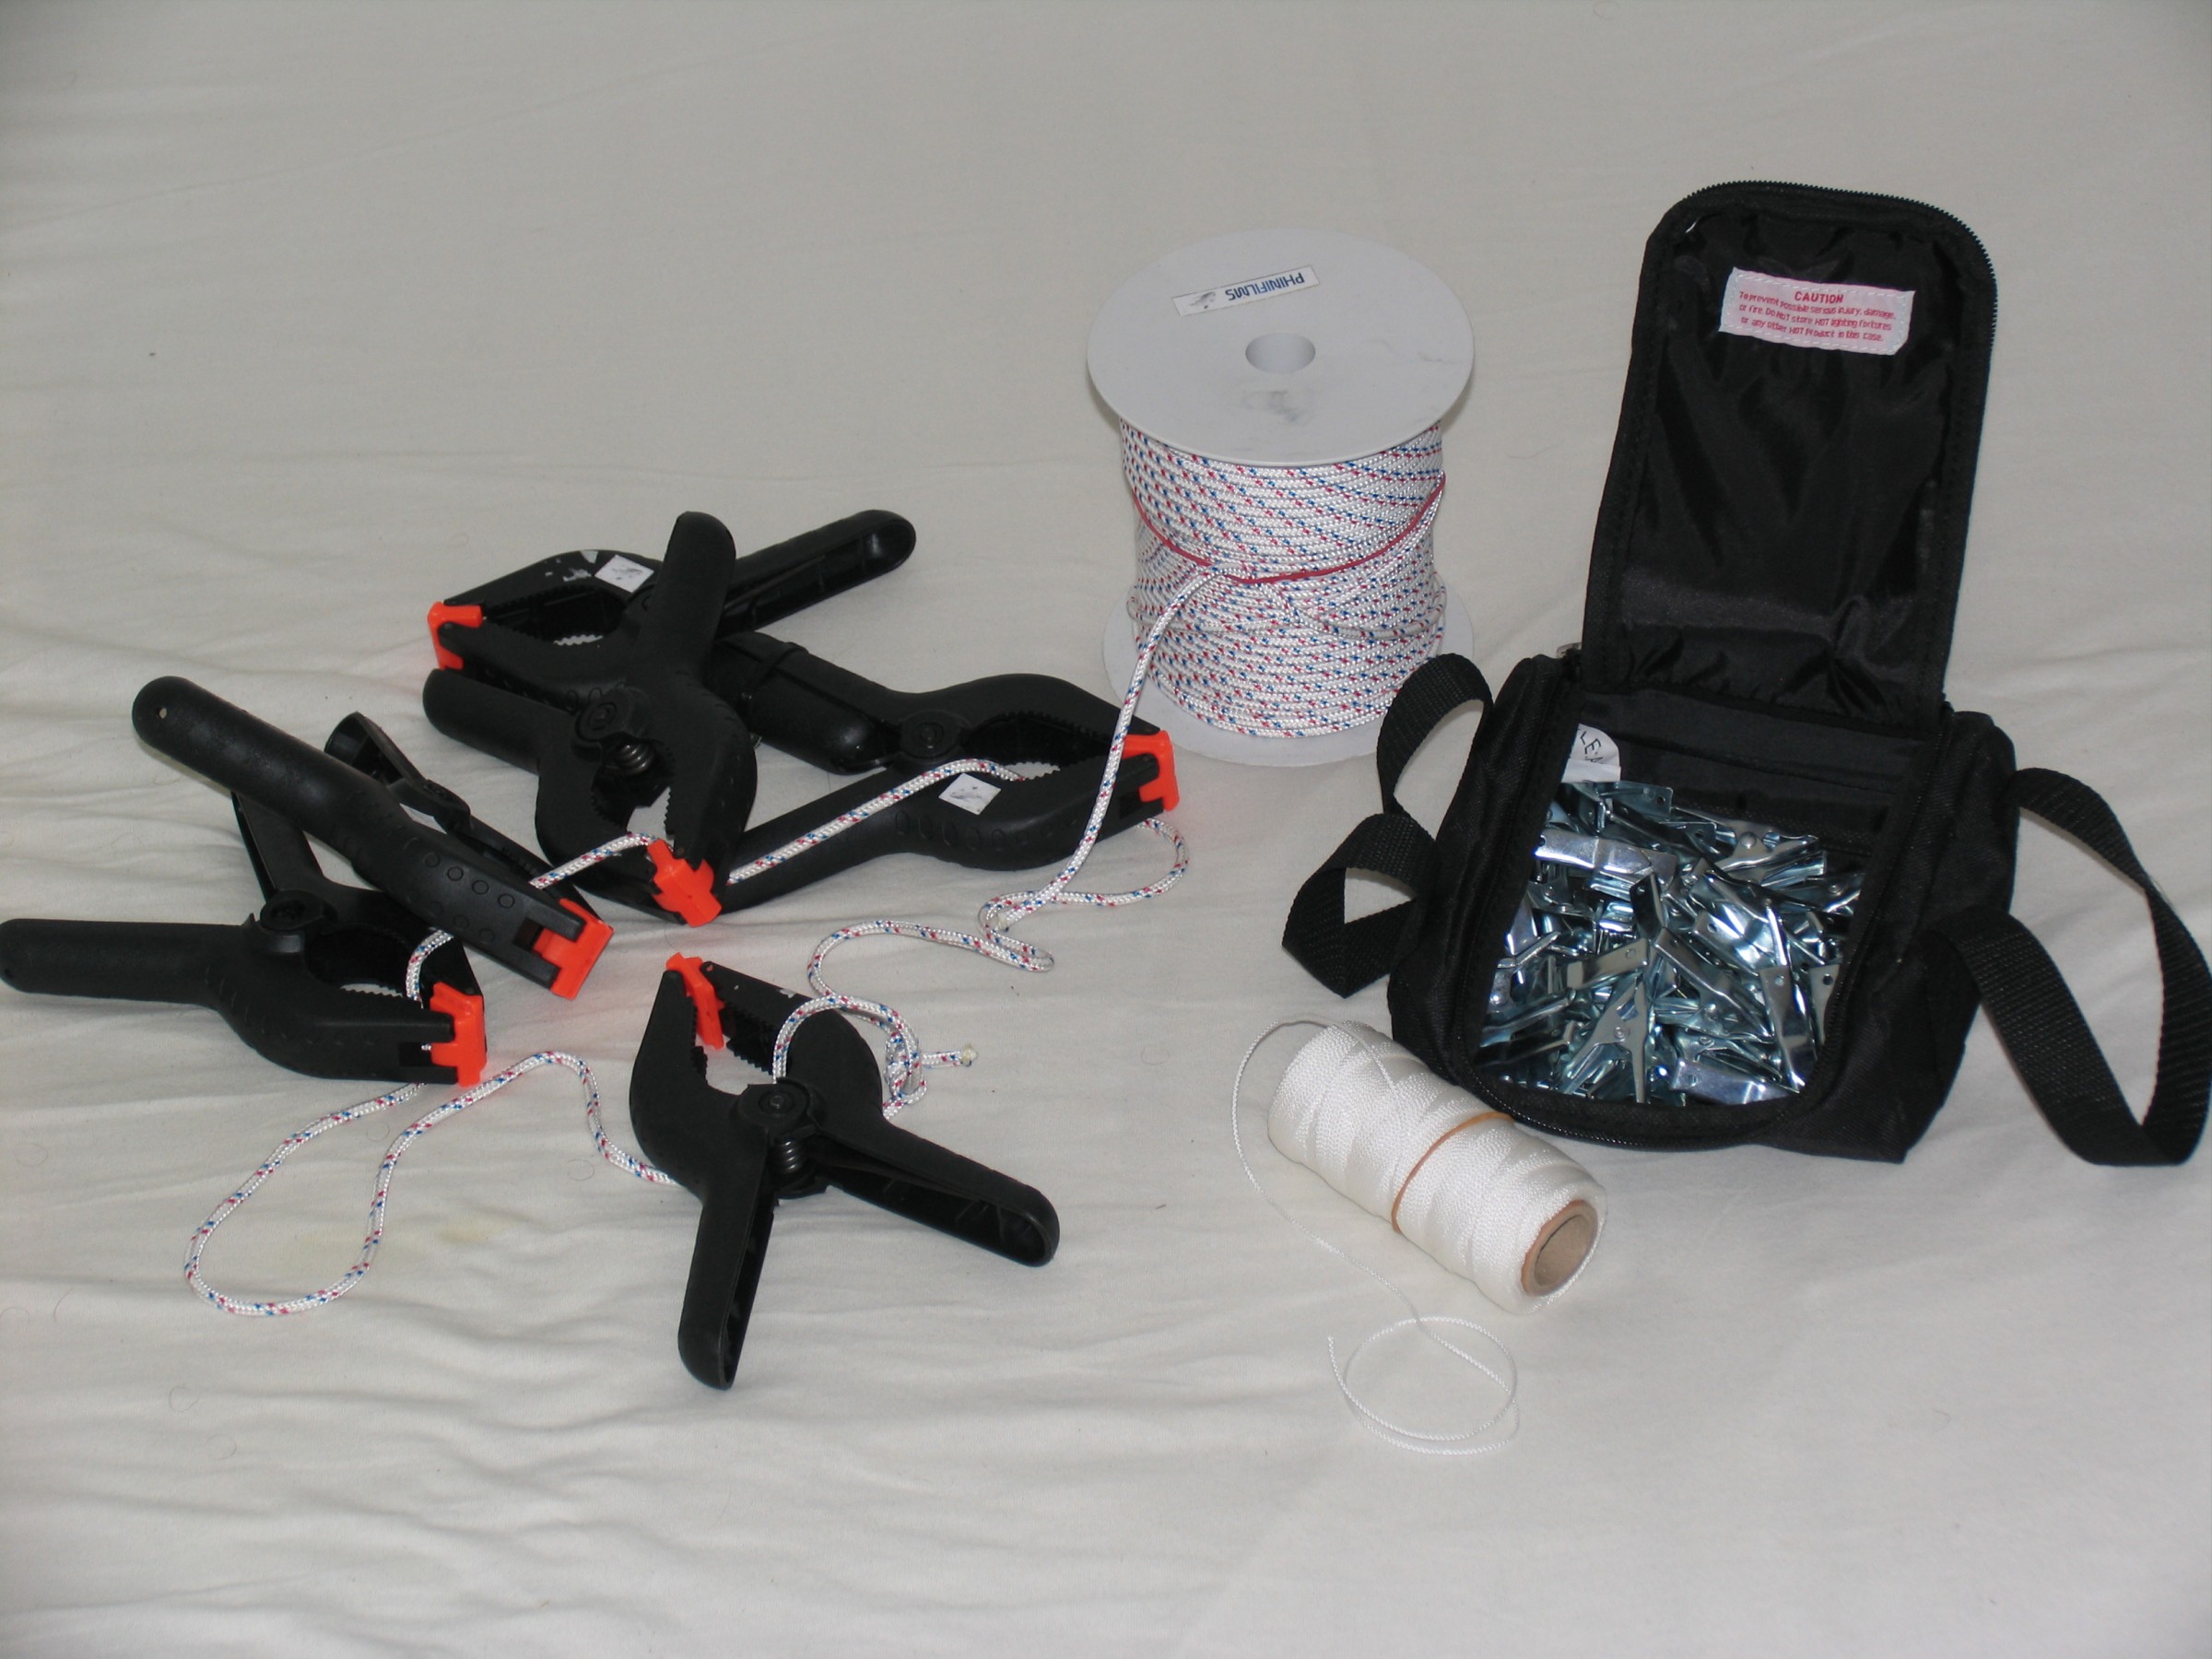
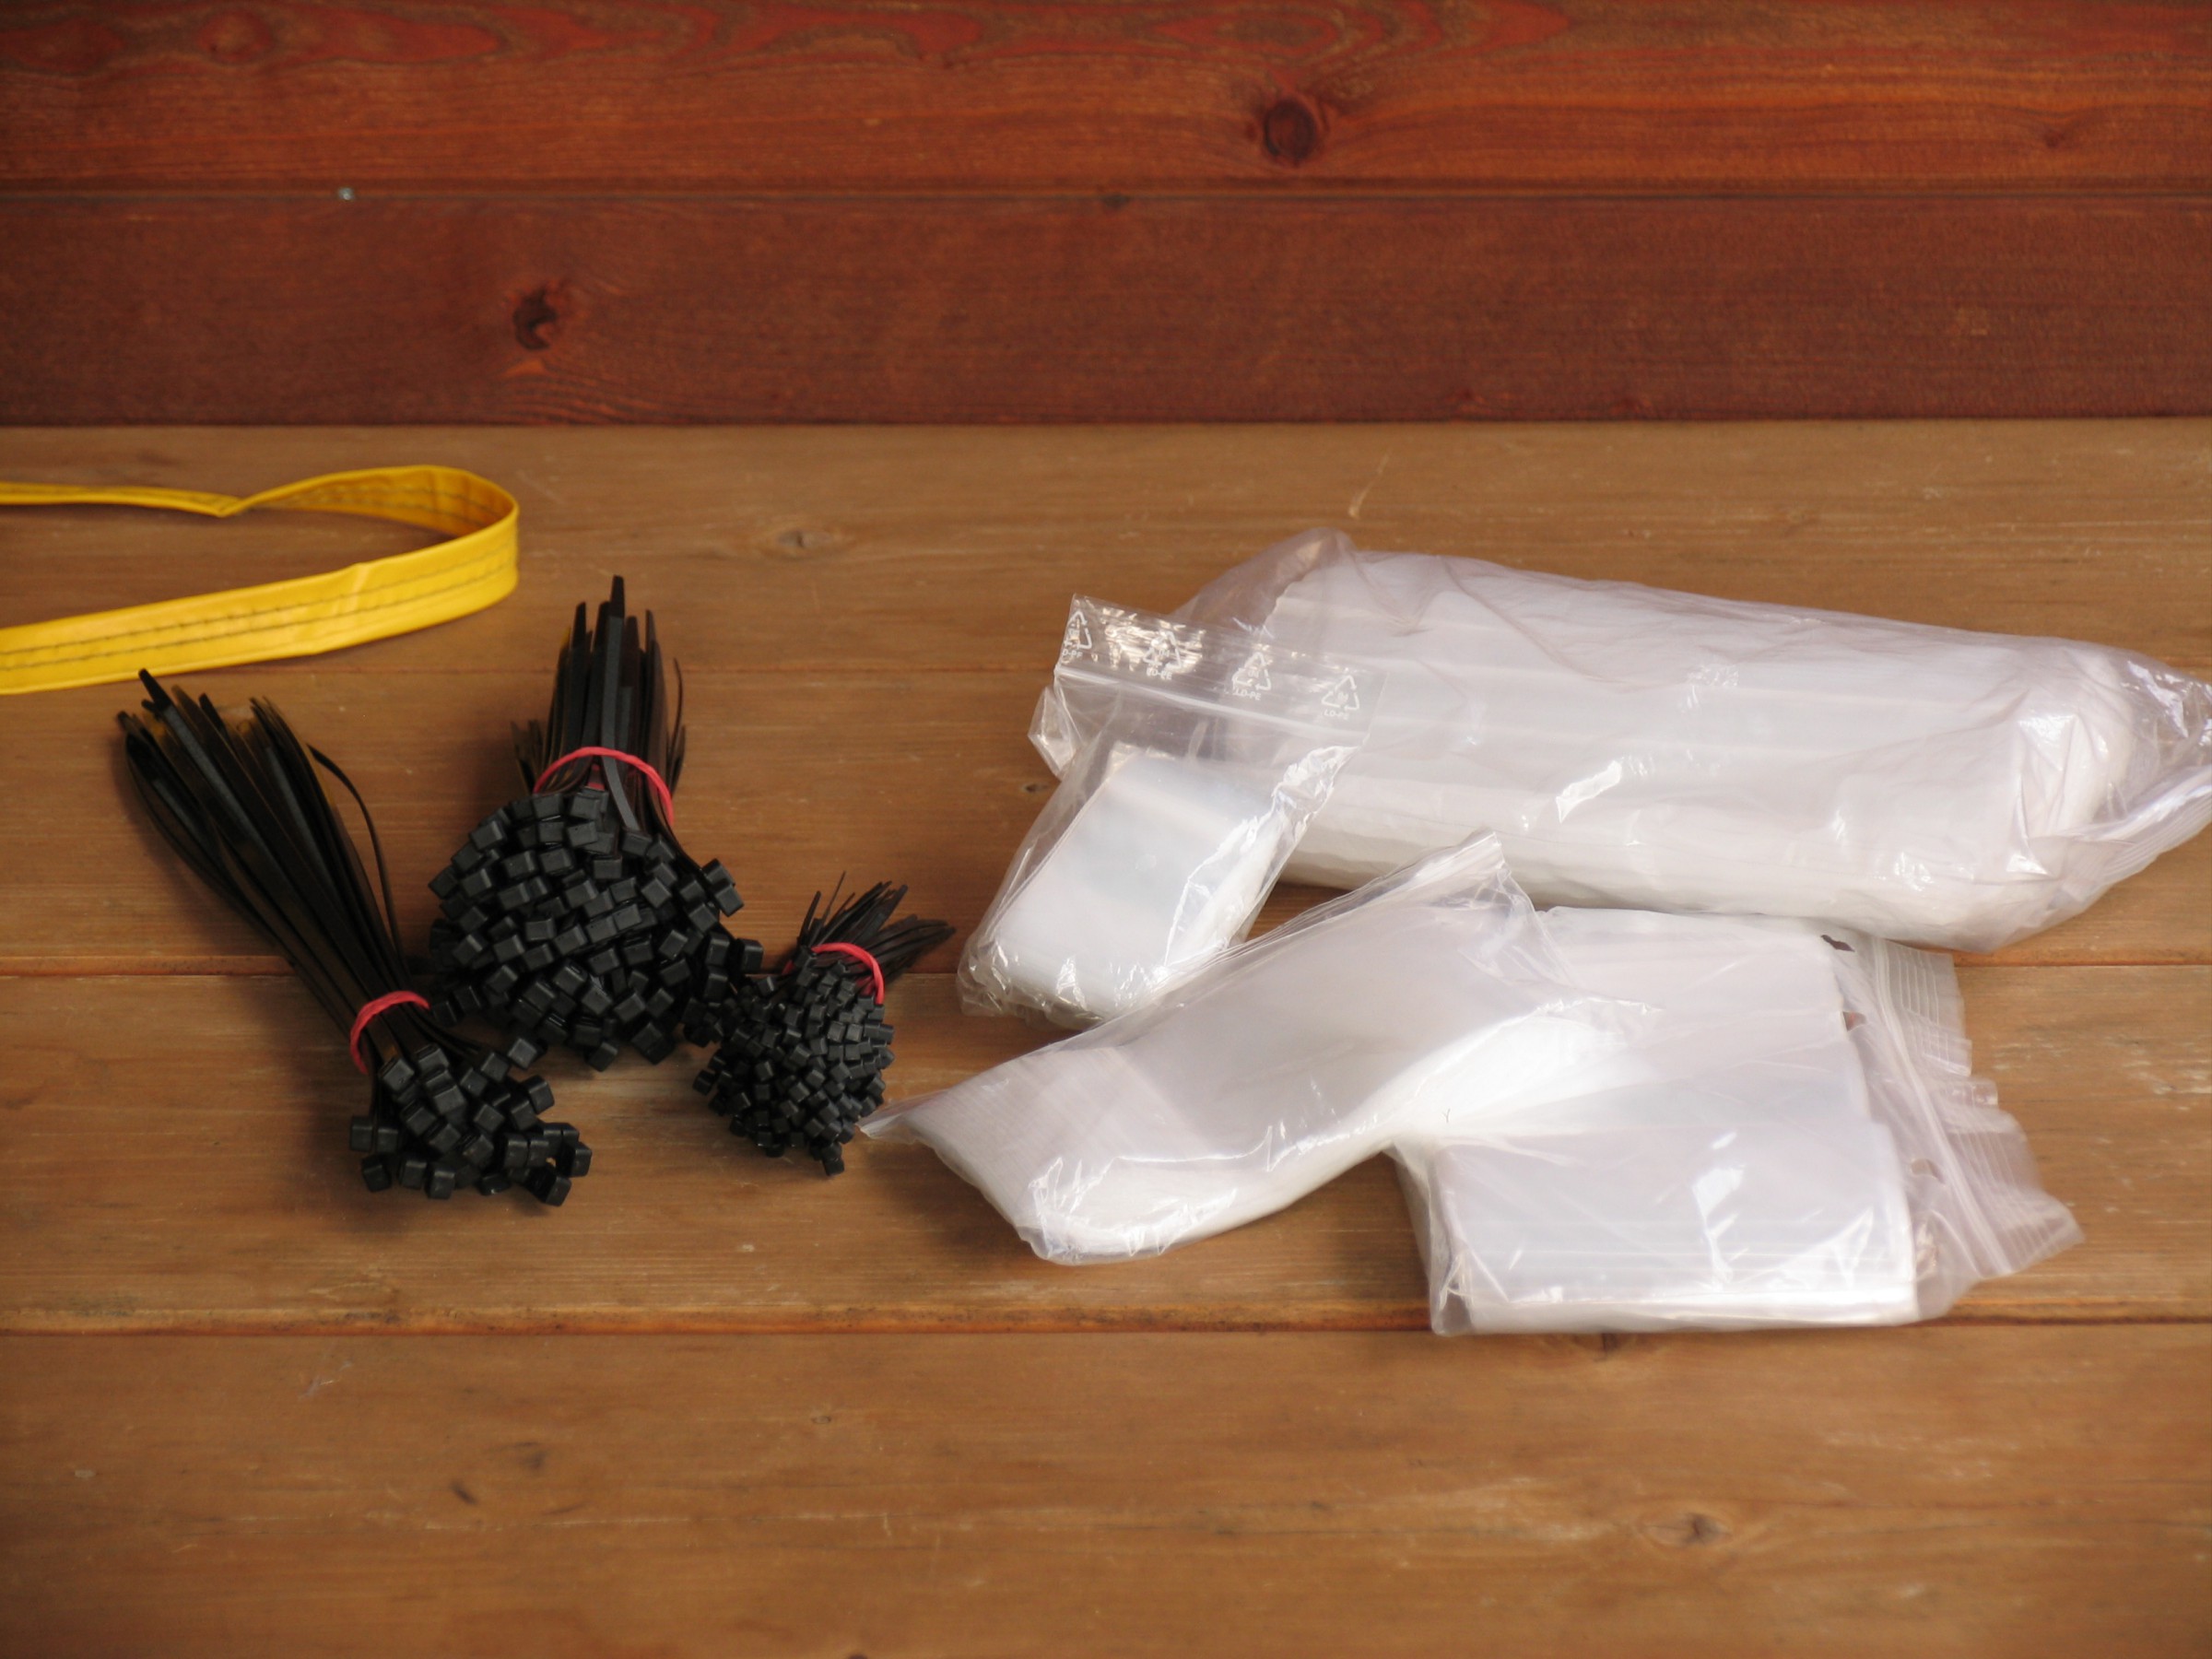
Tapes, clamps, C47s, cords etc.:
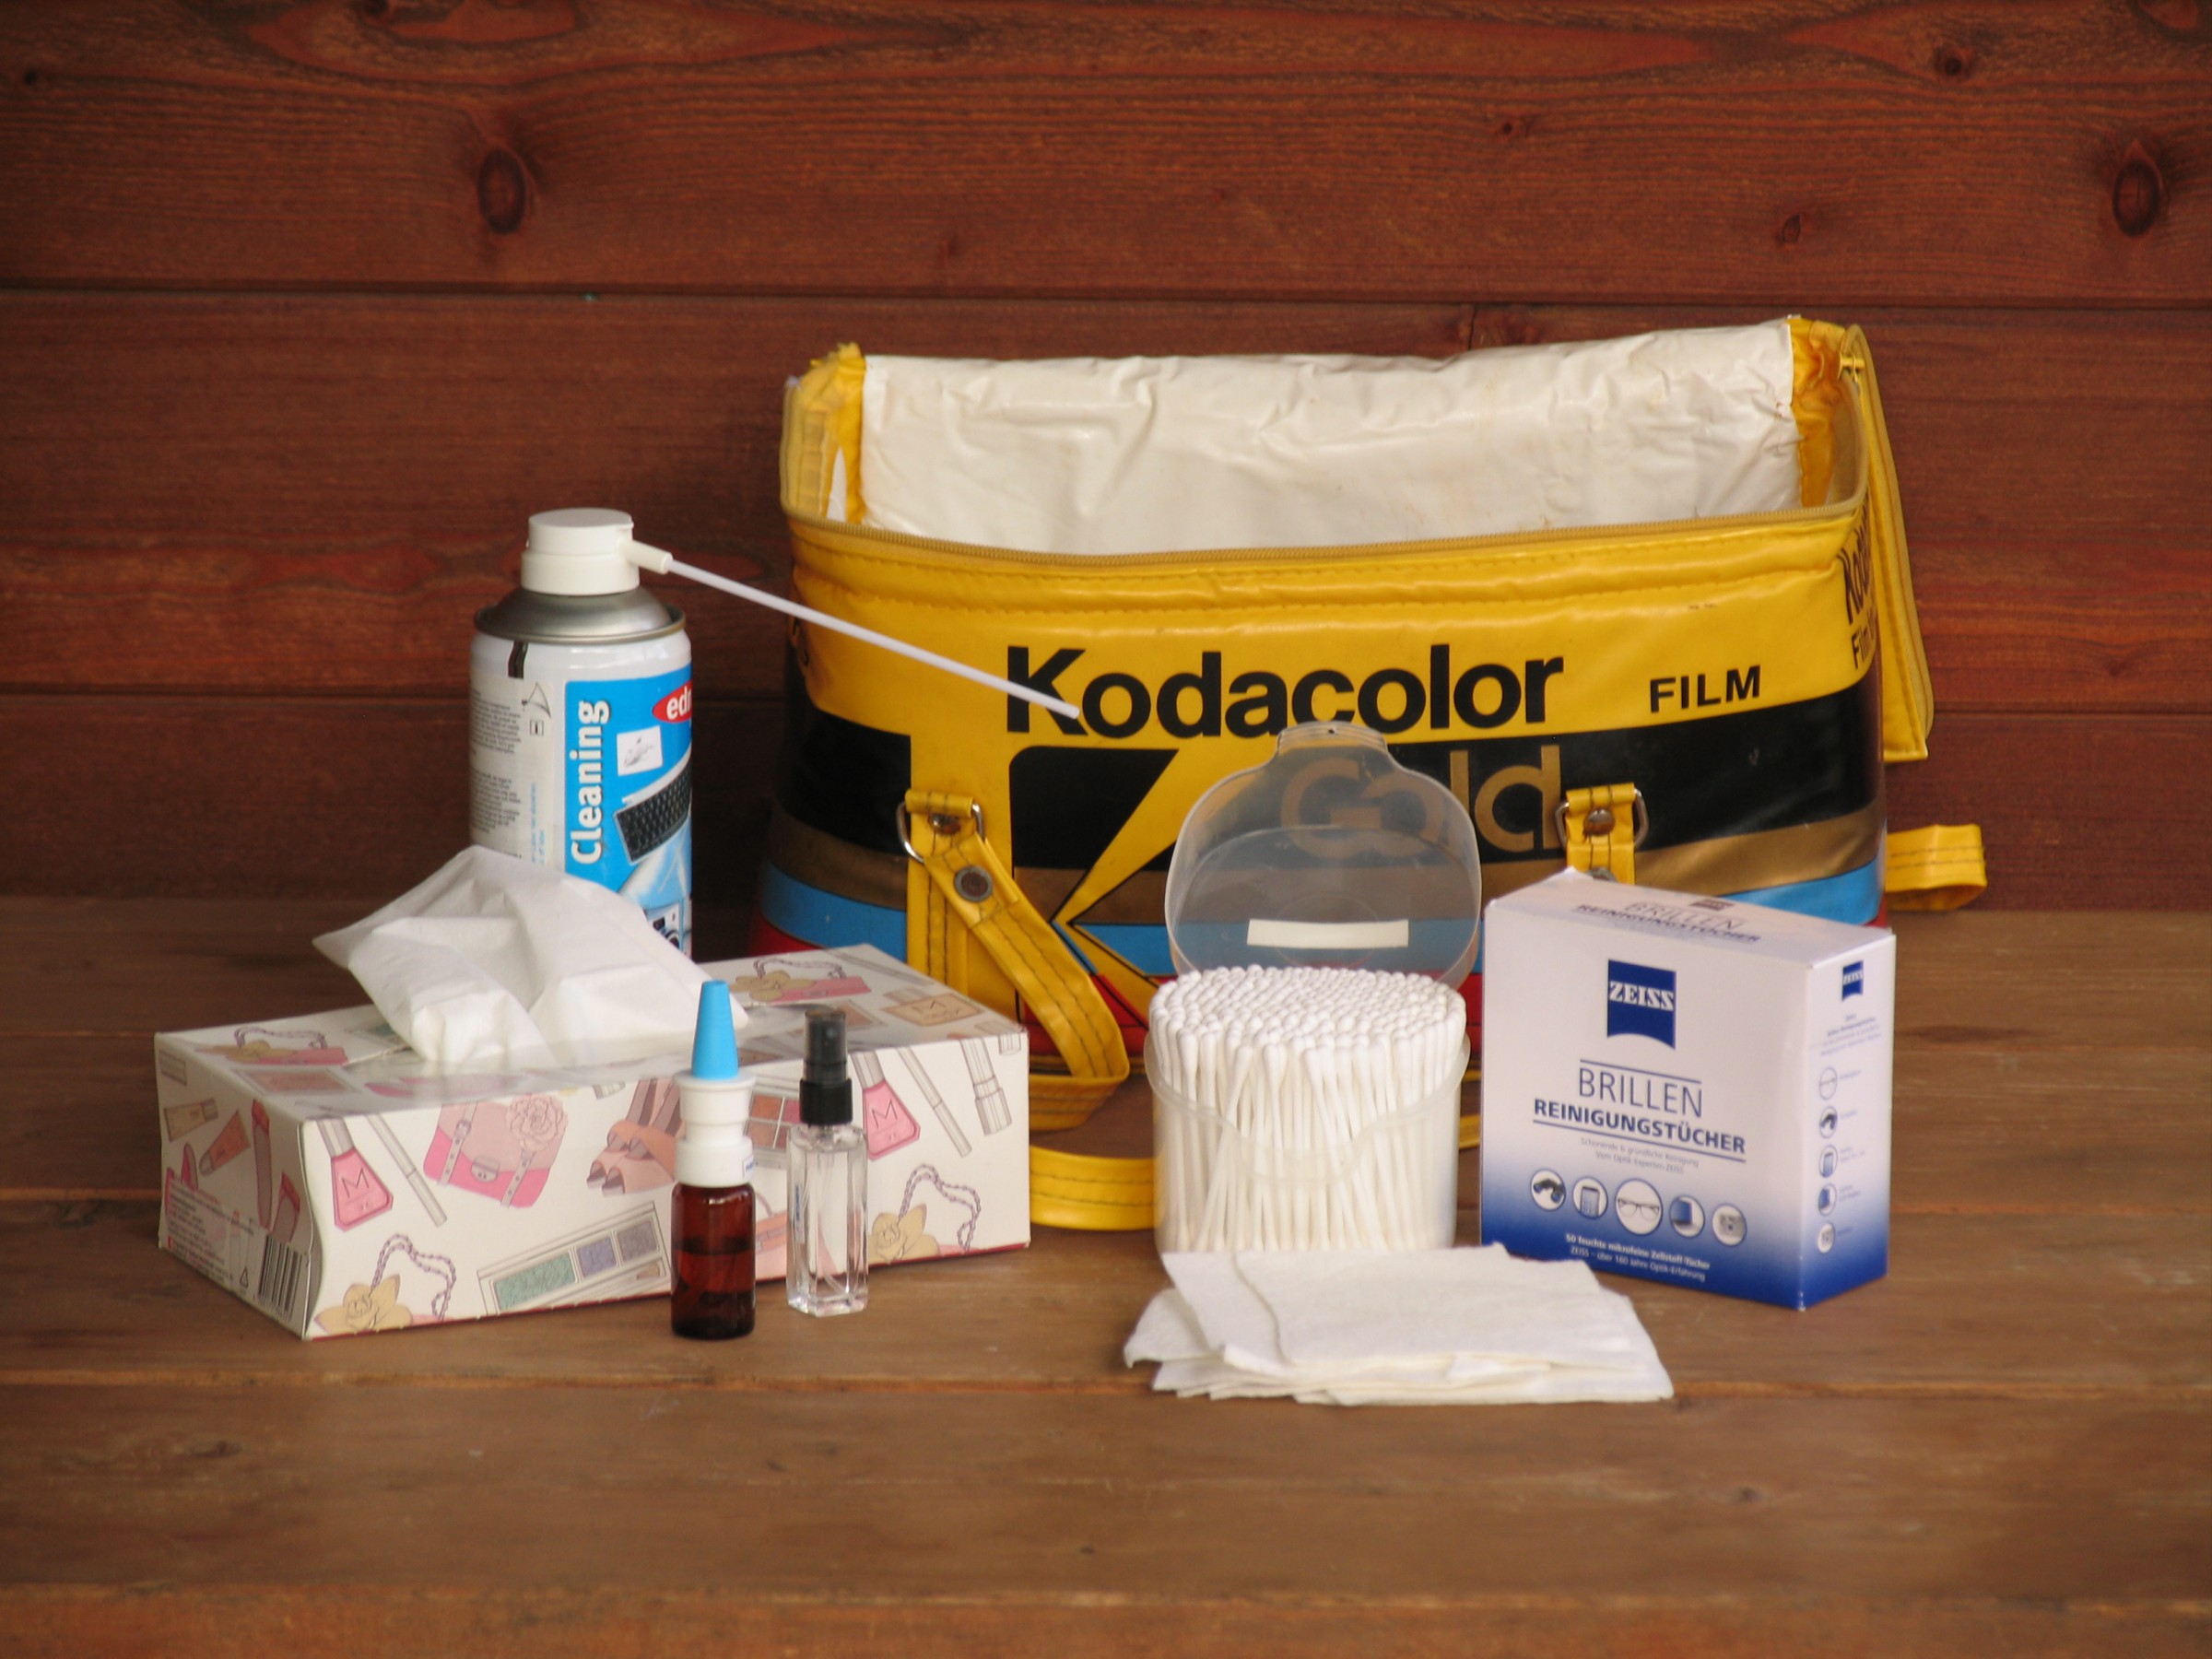
My AC's bag (cleaning and consumption material) and a label maker
My Leatherman:
Some other Tools:
additional entries coming soon…
Patch-Panel
A self-made patch panel, to reach the rear inputs of the devices from the front. Apart from two XLR-Inputs for the Mixer output, it has holes for 22 TRS-Jacks.
Editing system
My editing computer is a Z210-workstation by Hewlett-Packard. It is equipped with a XENON Quadcore CPU by Intel with 4 X 3.2GHz and 16Gb of RAM. The GPU is a Quadro FX 1700 from NVIDIA.
My backup computer is a xw4600-workstation, also by HP, with an Intel Core 2 Dou with 2 X 2,1GHz, 8Gb of RAM, as well as a Quadro FX 2000 by NVIDIA.
Periphery:
I use: a backlit PS/2-keyboard by HP (KB-0316), a PS/2-mouse by HP, a 3D-mouse by 3Dconnexion (SpacePilot), a desk lamp by IKEA and two ACER-screens (x203w & AL1912).
Software:
Apart from the Windows-7 operating system (Prof, 64bit; I try to change to UbuntuStudio [Linux]) I only use free software. The main software for a long time was Blender, with which I used to edit and color-grade, design image effects and VFX, single pictures and (titel)animations. Now I am using Blackmagic&s DaVinci Resolve for editing and most importantly for grading. I also use: Gimp, Scribus, Audacity, Reaper, Celtx, ffmpeg & WinFF and DVD-Styler. And, of course, I use Open Office
Accessory
There're lots of accessories that are not worth a whole post, but still important and worth to be mentioned.
Self made glowing signs with interchangeable gobos
Small monitor to mount on the jib or rig:
Powerbank (rechargable batterie) to feed the monitor:
Exposure meter for measuring light intensity of the scene:
Accessory shoe for camera, tripod, tripod thread and an audio adaptor 6,3 to 3,5mm jack:
Filters to screw onto the camcorder:
Ein Set Step-Up- und Step-Down-Ringe:
A set of ND-filters 0.3, 0.6, 0.9 & 1.2 (1, 2, 3 & 4 stops darker) in normal and gradual (SE):
A bunch of cables for connection of audio and picture:
Several DI-Boxes for audio-transfer:
Solder- & glueing-stuff:
A Multimeter and a Cable Tester
Tapes, clamps, C47s, cords etc.:
My AC's bag (cleaning and consumption material) and a label maker
My Leatherman:
Some other Tools:
additional entries coming soon…


Self made glowing signs with interchangeable gobos